Official game
Play Jarred Defense
This game is hosted by Steam. Continue to the official page to play or download it.
Play on SteamOverview
Jarred Defense launched September 22, 2026 at $9.99 from solo developer Jarred Cat Studios, and it is doing something the tower defense genre mostly stopped doing: making the path yours. Every tower blocks movement. Every maze is hand-built. There are no tower slots, no single correct answer, and no mercy. A cat named Yuki is stuck in a teleporting jar, robots want it, and the game's own store page warns "THIS GAME IS KIND OF HARD."
The launch numbers back the design: twelve reviews, all positive, with players describing the experience as a space-optimization puzzle wearing a tower defense costume. One reviewer with 10 hours already called it the most invested they've been in a game since the early 2000s. This deep dive covers the systems the tutorial doesn't: how path math actually works, when early-sending is free money versus a run-ender, the achievement spread, and the patch history that quietly changed how mazes work.
Getting Started: The Five Rules of Path Shaping
Maze-building TDs live and die on path fundamentals. Everything in Jarred Defense reduces to five rules:
- Hazards beat distance. A six-tile path through lava outvalues a twenty-tile path through clean floor. Distance is a damage timer, but hazards are flat damage per step. Count tiles-over-hazards first, path length second.
- Never build straight. At least one enemy type accelerates the longer it travels in a straight line. Keep every straight segment at two tiles or fewer. Serpentine is not aesthetic here; it is a hard counter.
- Leave one leak. Fully sealed loops trap splitters inside your own kill zone, where they multiply where your towers are densest. The v1.01 patch made this worse for hoarders: trapped enemies now break out by destroying a tower, refunded as a sale. Your maze must have a designed second leg, or the game will design a worse one for you.
- Zone, don't sprinkle. Healers punish spread-out damage by topping off between towers. Cluster your damage towers so a healer's stop heals nothing. Splash towers want choke points; single-target wants long exposure corridors.
- Fliers don't care about your art project. Anti-air belongs near the jar, in a fixed zone that ignores the maze entirely. Budget for it from wave one, not when the first flier waves your maze goodbye.
The Early-Send Economy
The risk-weighted early-send bonus is the skill expression of the game. The devlog 4 patch notes call it an "early-wave bonus to help you get more currency for upgrades," and the economy compounds: money now buys the upgrade tier that makes wave six trivial, which funds the tier that makes wave ten trivial.
The decision table:
| Situation | Send early? | Why |
|---|---|---|
| Solved map, wave 1-2 | Always | Zero risk, compound interest starts |
| Solved map, mid-waves | Yes, if HP buffer > 5 lives | Bonus outpaces the risk |
| New layout, any wave | No | You're rebuilding while waves overlap |
| Ice on the map | Only before a melt wave | The melt can re-open your maze mid-send |
| Boss wave next | No | Bosses check your maze; send before it, not into it |
| Endless Mode | Waves 1-5 only | HP scaling punishes early greed later |
The pattern: the bonus rewards solved problems. If you can already survive the wave at normal speed, sending it early is free money. If you cannot, the bonus is the game charging you interest on a loan you already defaulted on.
Core Mechanics Explained
The Unified Hazard-Charge System
Demo version 1.72 reworked the cores mechanic into one bar charged by all level hazards, replacing individual charge bars per lava or corrosion tile. Practical meaning: hazard stacking is a pool, not per-tile triggers. Routing enemies over four lava tiles drains the same bar they would drain separately, but the unified bar refills as a single resource, which rewards steady traffic over burst routing. Mazes that dump the entire wave into hazards at once waste overkill; mazes that feed hazards a consistent drip extract maximum value.
Towers, Branches, and the Deep Freeze Lesson
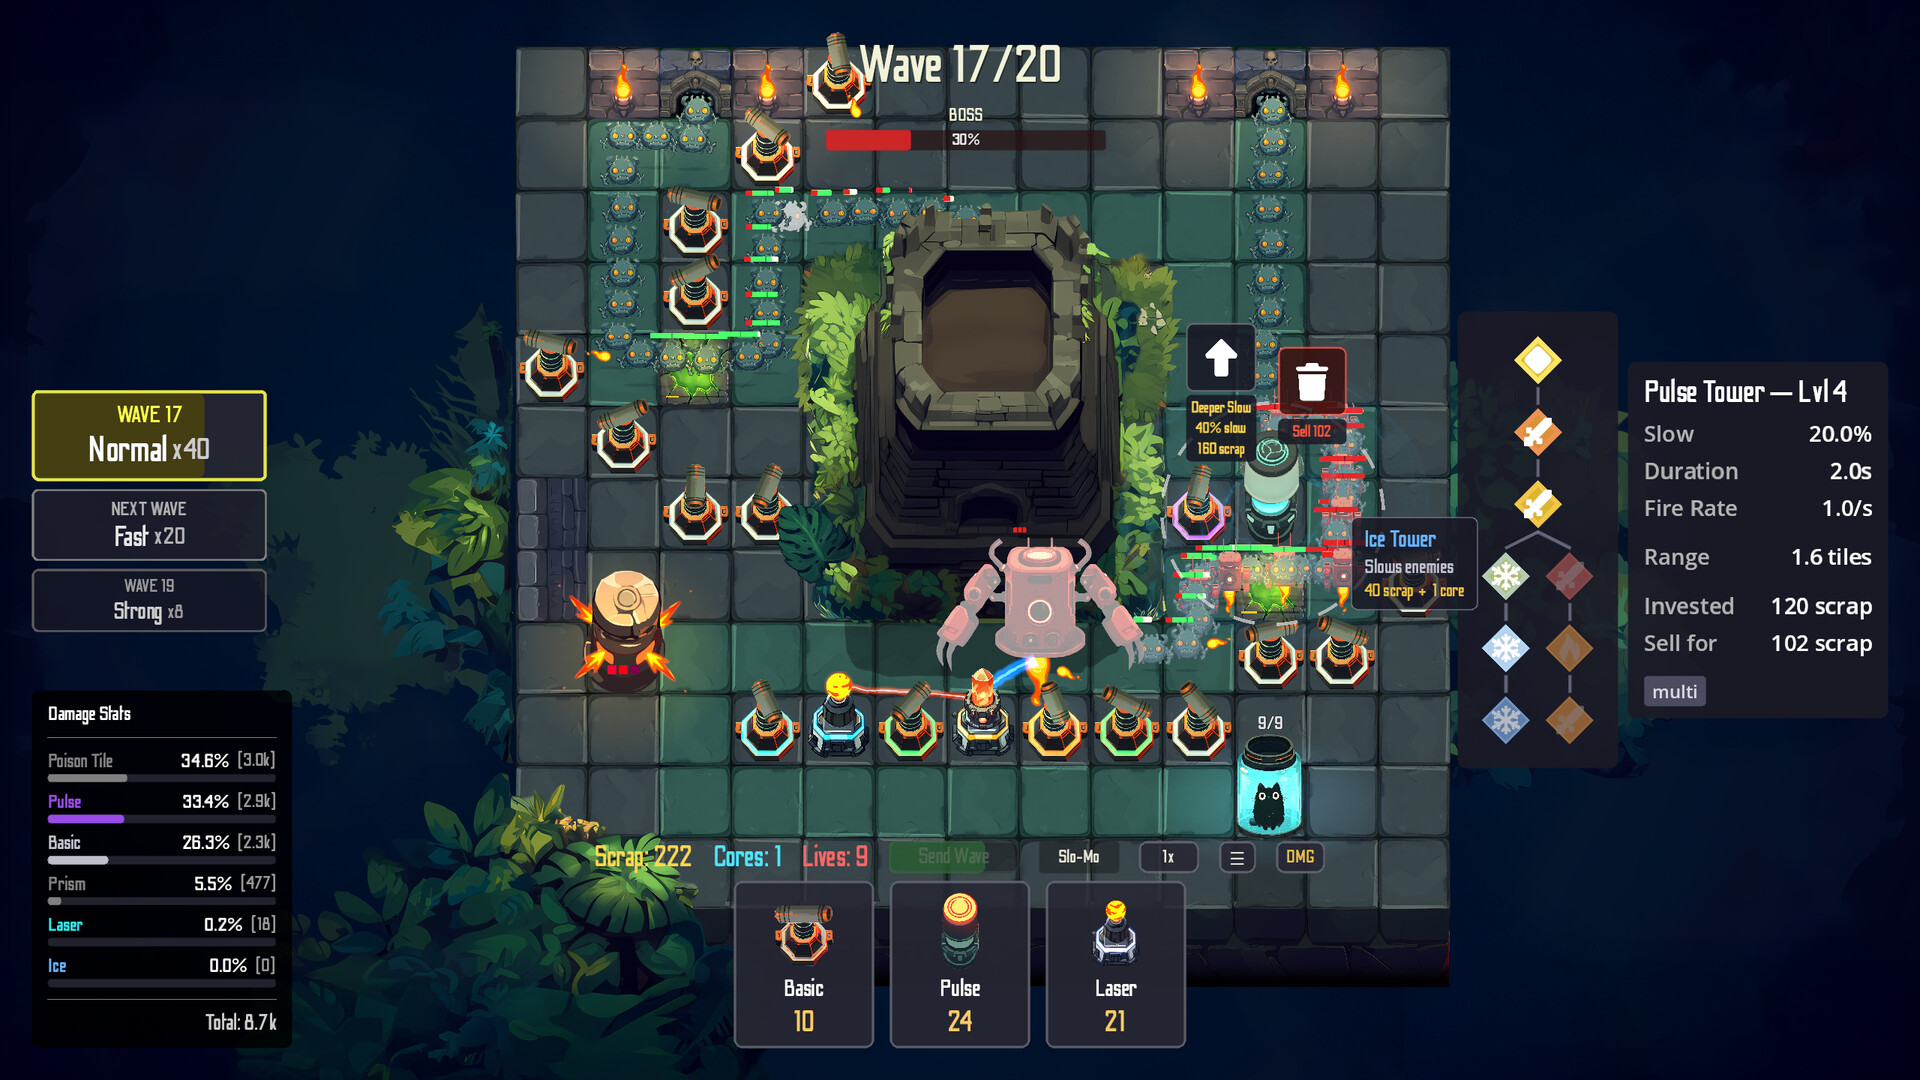
Towers branch at upgrades, and the branches redefine towers rather than tuning them. Devlog 4's example is canonical: the Pulse tower becomes a Deep Freeze tower that deals zero damage and applies a massive slow. That is a different tower wearing the same skin, which means your mid-map pivot is often "re-specialize" rather than "re-build." The visual upgrade tree shows what your tower becomes before you commit; read two branches deep before spending.
Tower archetypes confirmed across store page and patches:
| Tower family | Role | Branch philosophy |
|---|---|---|
| Splash/damage | Choke point clearing | More damage vs. wider area |
| Pulse | Utility control | Damage vs. Deep Freeze (pure slow) |
| JetStream | Directional slow (added 1.72) | Lane denial for straight-line maps |
| Prism | Energy focusing | Six lasers = massive single target (the "Six into one" achievement) |
| Generator | Buff zone (reworked 1.72) | Kills inside its zone earn bonus scrap |
Items Are Your Second Build
Items equip before the map and "change your strategy." The optimization loop that works: choose the item loadout first, then pick tower branches that cover what the items don't. Slow items plus splash towers is the default comfort build. Burn-on-hit items plus long exposure corridors punishes the game's slow walkers. The 1.72 patch added three new items, so loadout diversity is still growing.
The Melting Ice Clock
Ice blocks melt near heat sources and permanently reshape the map. This is the campaign's signature twist: the maze you built for wave one is a different maze by wave eight. Two habits fix it: check every heat source's blast radius before placing, and pre-build your post-melt second leg in the space the ice will vacate. The best players treat melting as a scheduled event, not a hazard.
Progression Strategy
The First 30 Minutes
- Play the demo's three campaign levels first even if you bought the full game. They teach path reading with training wheels.
- Trace the default path before placing anything. The route preview is exact; use it.
- Build your first serpentine with two legs, not one sealed loop.
- Route at least 40% of the path over the map's hazard tiles.
- Spend your first upgrades on one tower's branch, two deep, before buying tower variety. One specialized tower outperforms four generic ones in the early game.
What to Unlock First
Optional challenges unlock new towers and items, which makes them the real progression system. The efficient order:
- Clear every challenge the moment it unlocks. The unlocks compound; skipping them mid-campaign means hitting the mastery stages with a base kit that gets out-scaled.
- Replay the current campaign level with each new unlock before advancing. One replay teaches you the tool under known conditions.
- Leave Endless Mode until the campaign's done. It's a different game (economy over aggression) and starting it early builds habits that lose campaign levels.
- Publish one community map early to bank the "Everyone's problem." achievement regardless of skill level.
Campaign Stage Framework
The twelve levels are handcrafted puzzles; the framework is what transfers:
| Stage | Levels | The lesson | Your counter-habit |
|---|---|---|---|
| Foundation | 1-3 | Path drawing, hazard value | Serpentine with two legs |
| Twists | 4-6 | Melting ice reshapes maps | Pre-build the post-melt maze |
| Pressure | 7-9 | Fliers, healers, splitters | Zoned defense, anti-air near jar |
| Mastery | 10-12 | Bosses, tight budgets | Branch pivots and item swaps mid-run |
Step-by-Step: The Per-Map Loop
- Read phase (30 seconds). Spawn, jar location, hazard tiles, ice blocks, heat sources. Sketch two maze legs in your head before placing tower one.
- Skeleton build. Place the minimum towers that define the serpentine. Do not fill in; wait for wave one to show you the enemy roster.
- Wave one probe. Watch what spawns. Fliers revealed? Pre-plan the jar zone. Splitters? Check your loop for trapped space. Speeders? Kill every straight segment now.
- Fill and specialize. Add towers into the skeleton's interior, choosing branches against the revealed roster. Two-deep on one branch before spreading.
- Early-send judgment. Survive a full wave comfortably first. Then send early on every stable wave to bank the compounding bonus.
- Mid-wave edits in slow motion. New enemy type appearing is the trigger, not boredom. Patch the leak, swap one branch, resume speed.
- Post-wave audit. Which tiles took damage? Which tower never fired? Sell the dead weight (v1.01 refunds correct sales anyway) and re-route before the next send.
Advanced Tips
- The dead-end exploit is patched, but the lesson remains. v1.01 made trapped enemies break out through towers at refund price. Sealed mazes are no longer free wins; build the second leg.
- Slow-motion is a scouting tool. The pause-and-edit window at wave start is where you read rosters. Reviewers consistently call mid-wave slow-motion editing the game's best QoL feature; use it to fix, not to fidget.
- Generator zones want dense waves. The reworked generator is a buff zone where robot kills earn bonus scrap. Place it where your choke point kills cluster, not on the path's entry.
- Prism towers are boss meltdowns. Six lasers feeding one prism (the "Six into one" achievement) turns it into a single-target delete button. Build the six-laser prism as your boss check, positioned at the maze's final choke.
- Three stars means no leak. The Perfectionist achievement (3 stars on every campaign map, 1% ownership) requires a maze that never leaks a life. Design for zero-leak from wave one: lives lost early are the star-killer, not the final wave.
- Watch the red. v1.01 added red display for stat downgrades in trees. A branch that shows red is telling you the power fantasy moves sideways before it moves up; read the whole branch before committing.
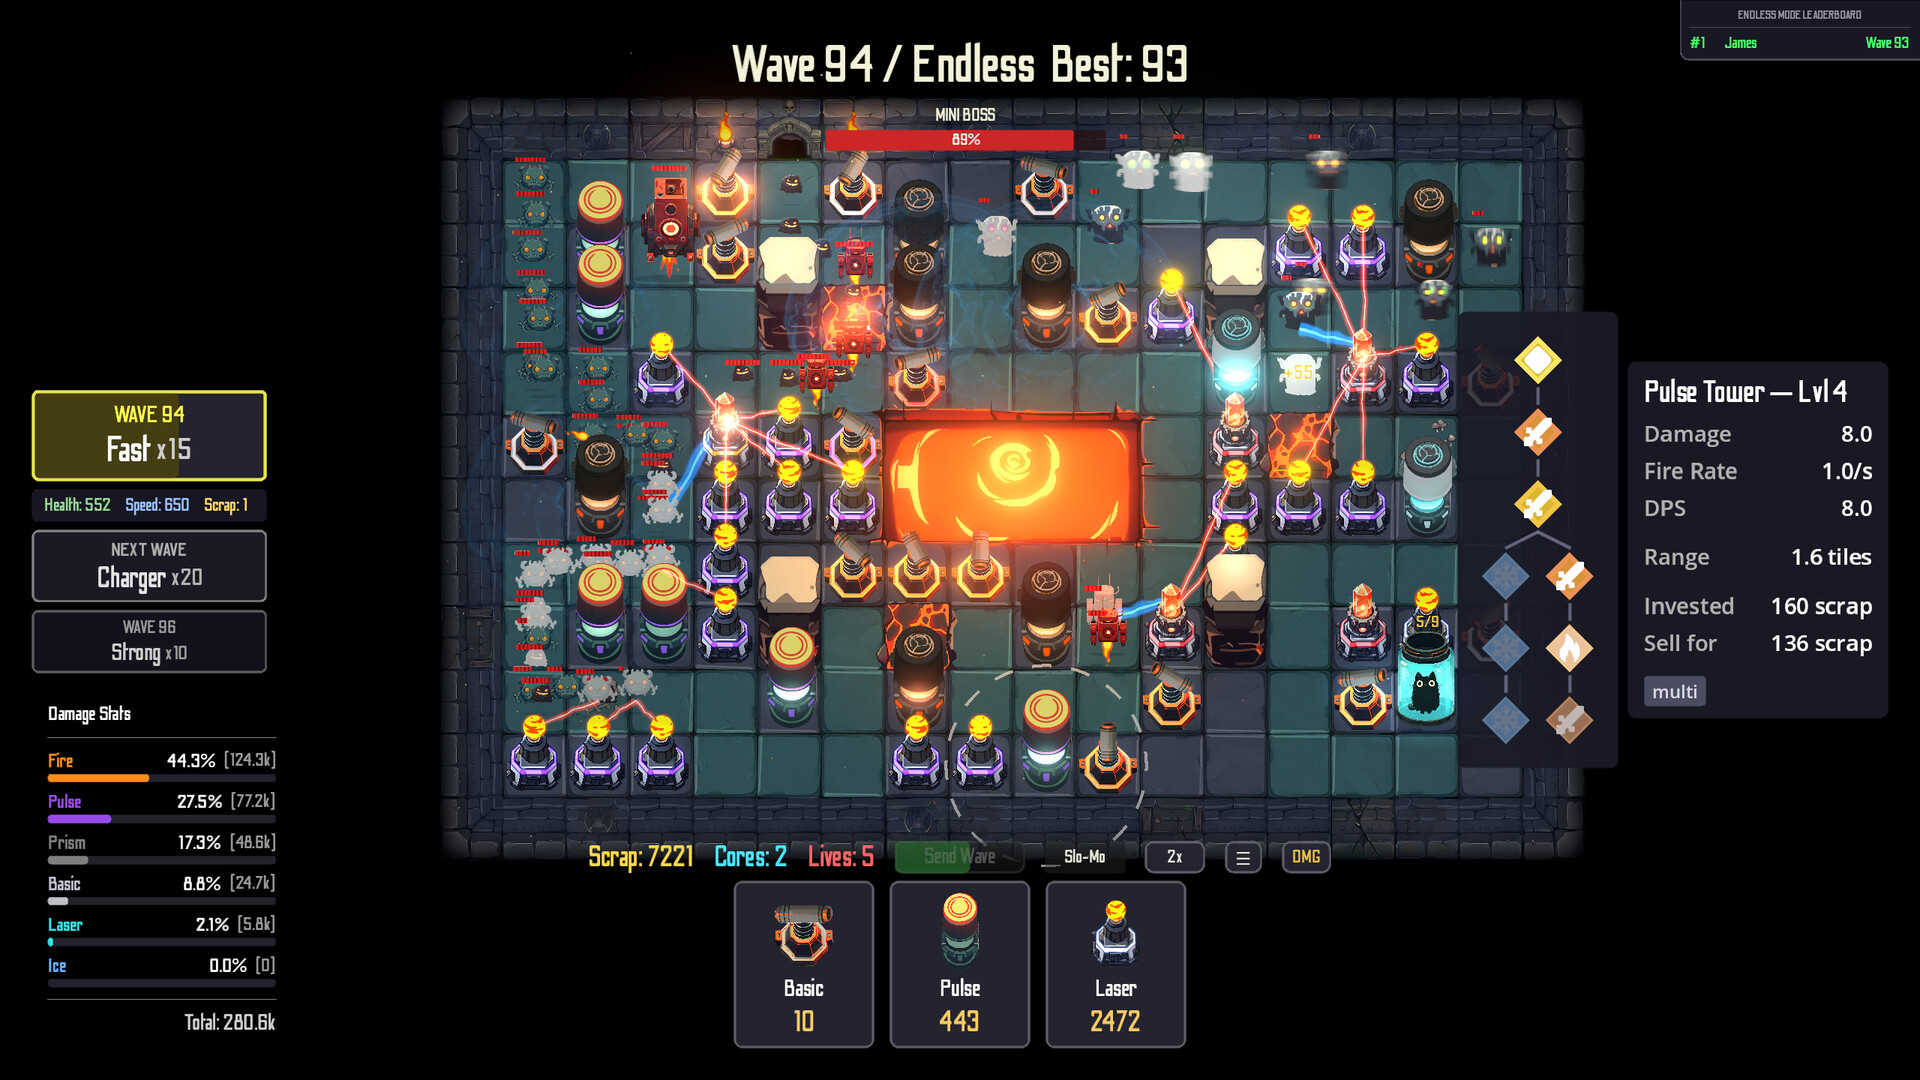
- Endless meta thinking. HP scaling past wave 40 punishes damage-spam builds. Endless leaders run hazard-dense mega-mazes with two or three fully-branched utility towers doing the control work while hazards grind.
Steam Achievements
Eight achievements, and the global unlock rates from launch week tell you exactly where the game's walls are:
| Achievement | Requirement | Unlocked | Difficulty |
|---|---|---|---|
| Time to panic. | Sell 5 towers while a boss is on the map | 30% | Deliberate: sell-and-rebuild during any boss |
| Completely fine. | Survive a mission with only one of nine lives remaining | 22.6% | Skill check: you'll get it by accident once |
| Technically legal. | Hidden | 14.4% | Unknown trigger |
| Watch your step. | Hurt 10,000 enemies with tile hazards | 13.4% | Endless Mode grinds this passively |
| Still in here. | Hidden | 7.2% | Unknown trigger |
| Six into one. | Feed one prism tower with 6 lasers | 6.7% | Build knowledge: dedicated setup |
| Everyone's problem. | Publish a community map | 2% | Five minutes in the editor |
| Perfectionist. | Earn 3 stars on every campaign map | 1.4% | The real 100% gate |
The spread is a difficulty curve in numbers. "Time to panic" at 30% is nearly automatic. "Perfectionist" at 1.4% is the game telling you what its endgame is. Note that hazard-grinding achievement: Endless Mode with a lava-heavy mega-maze is the intended farming route for "Watch your step."
FAQ
How hard is Jarred Defense really? Beating the campaign is moderate; mastering it is the game. Final waves in solved mazes still wipe first attempts, and 3-starring every map is a 1.4% club. The store page's "THIS GAME IS KIND OF HARD" is accurate marketing, not humility theater.
How long is the campaign? 4-6 hours across 12 levels. Challenges, Endless leaderboards, and Community Maps multiply that indefinitely. Launch-week players averaging 2-10 hours are still in campaign-plus-challenges territory.
What's the best early tower? Specialize one damage tower's branch two levels deep before buying variety. The Pulse-to-Deep-Freeze route is the safest early control pick; pure damage branches fall off against healer waves without utility support.
Do I need the demo if I bought the game? No, but the demo's three levels are the gentlest pathing tutorial in the package. The full game assumes you can read a path preview.
Is Endless Mode worth playing before finishing the campaign? It builds wrong habits. Endless rewards long-term economy and hazard density; early campaign levels reward adaptive mazes. Finish the twelve first.
Is there a demo? Yes, demo version 1.72 is live on the store page with the reworked cores mechanic, the JetStream tower, and the generator buff zone.
Mac and Linux? Both supported. Windows, macOS, and Linux all ship, powered by the Godot engine.
What changed in the day-one patch? v1.01 fixed the dead-end exploit (trapped enemies now destroy a blocking tower at full refund) and added red highlighting for stat downgrades in upgrade trees.
Screenshots