Official game
Play Dunebound Tactics
This game is hosted by Steam. Continue to the official page to play or download it.
Wishlist on SteamOverview
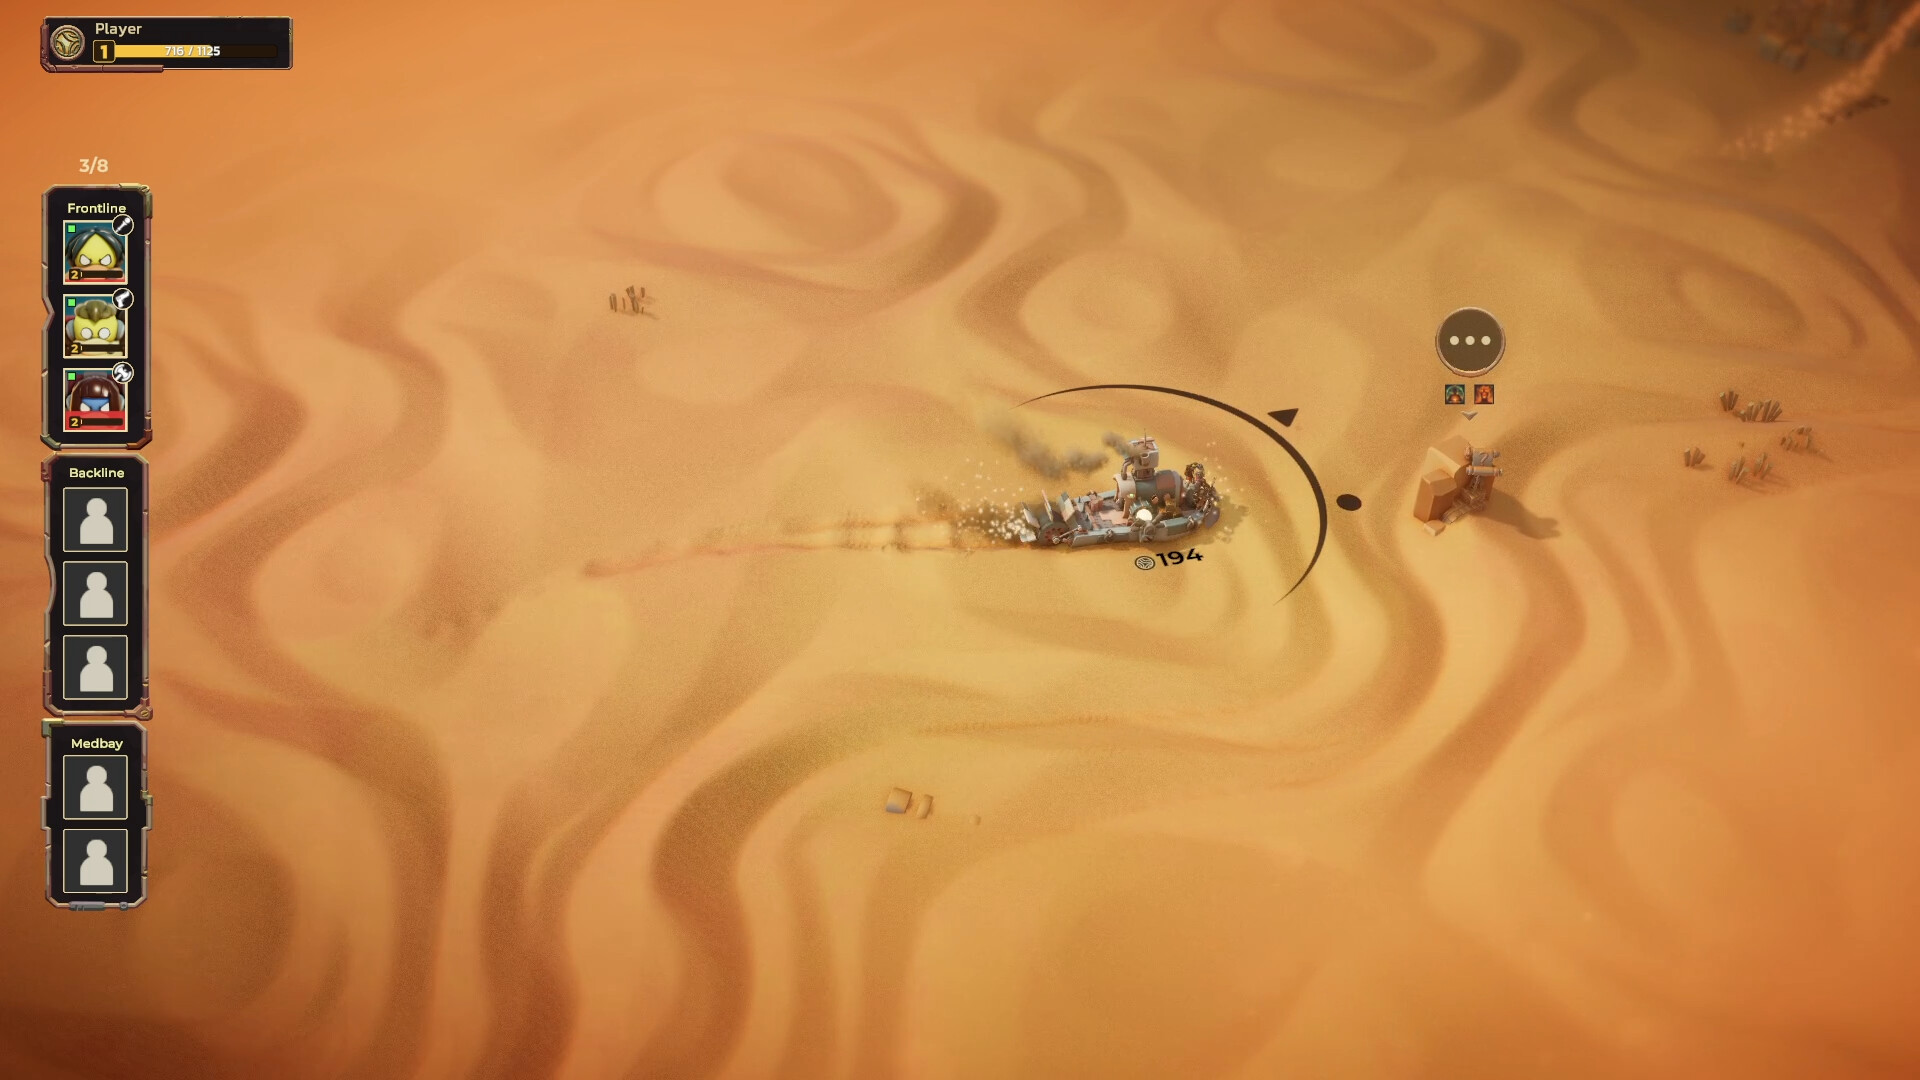
Dunebound Tactics is a roguelite turn-based tactical RPG from Terahard Ltd, published by indie.io. You lead a caravan of survivors across a desert that an empire and an arcane order are fighting over. Your ship runs on Elios, a resource you pull from quests, from enemy corpses, and in the worst moments from your own wounded crew. The full campaign launches September 14, 2026 on Windows and spans four acts.
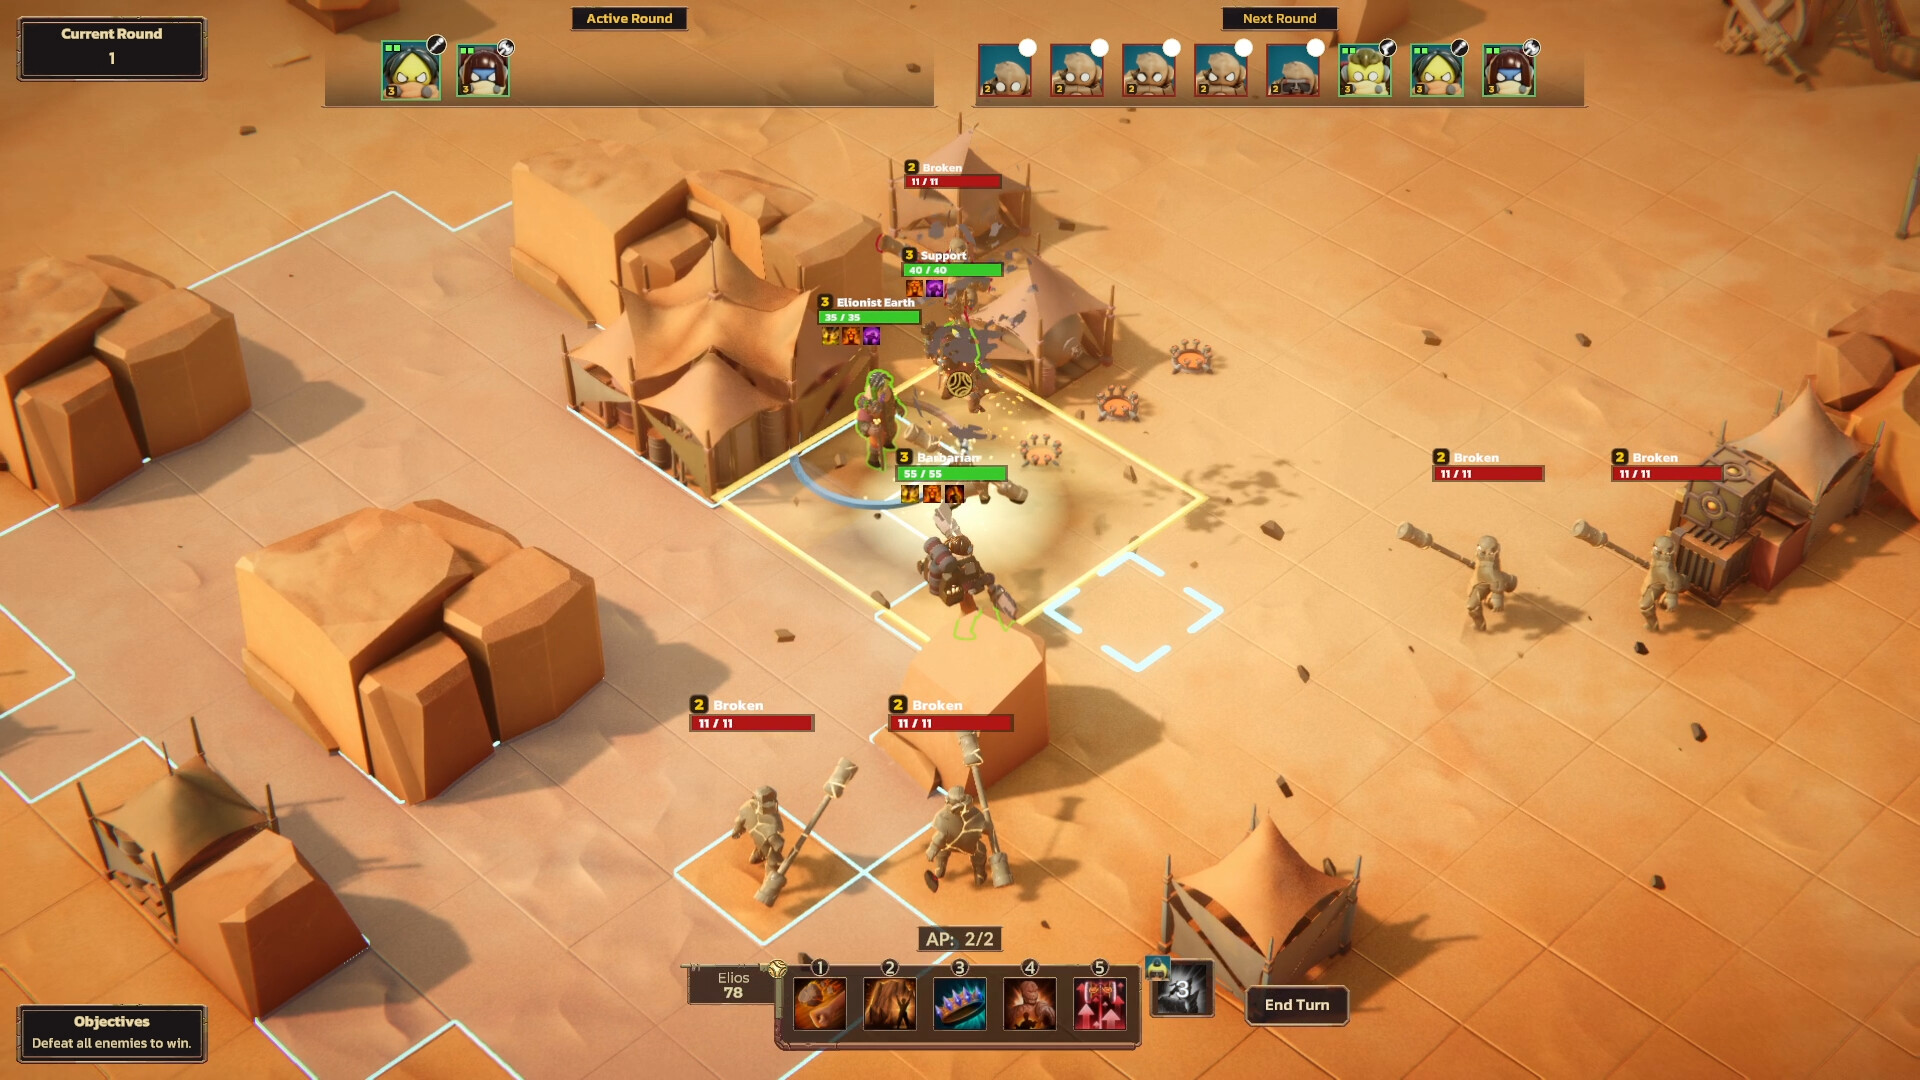
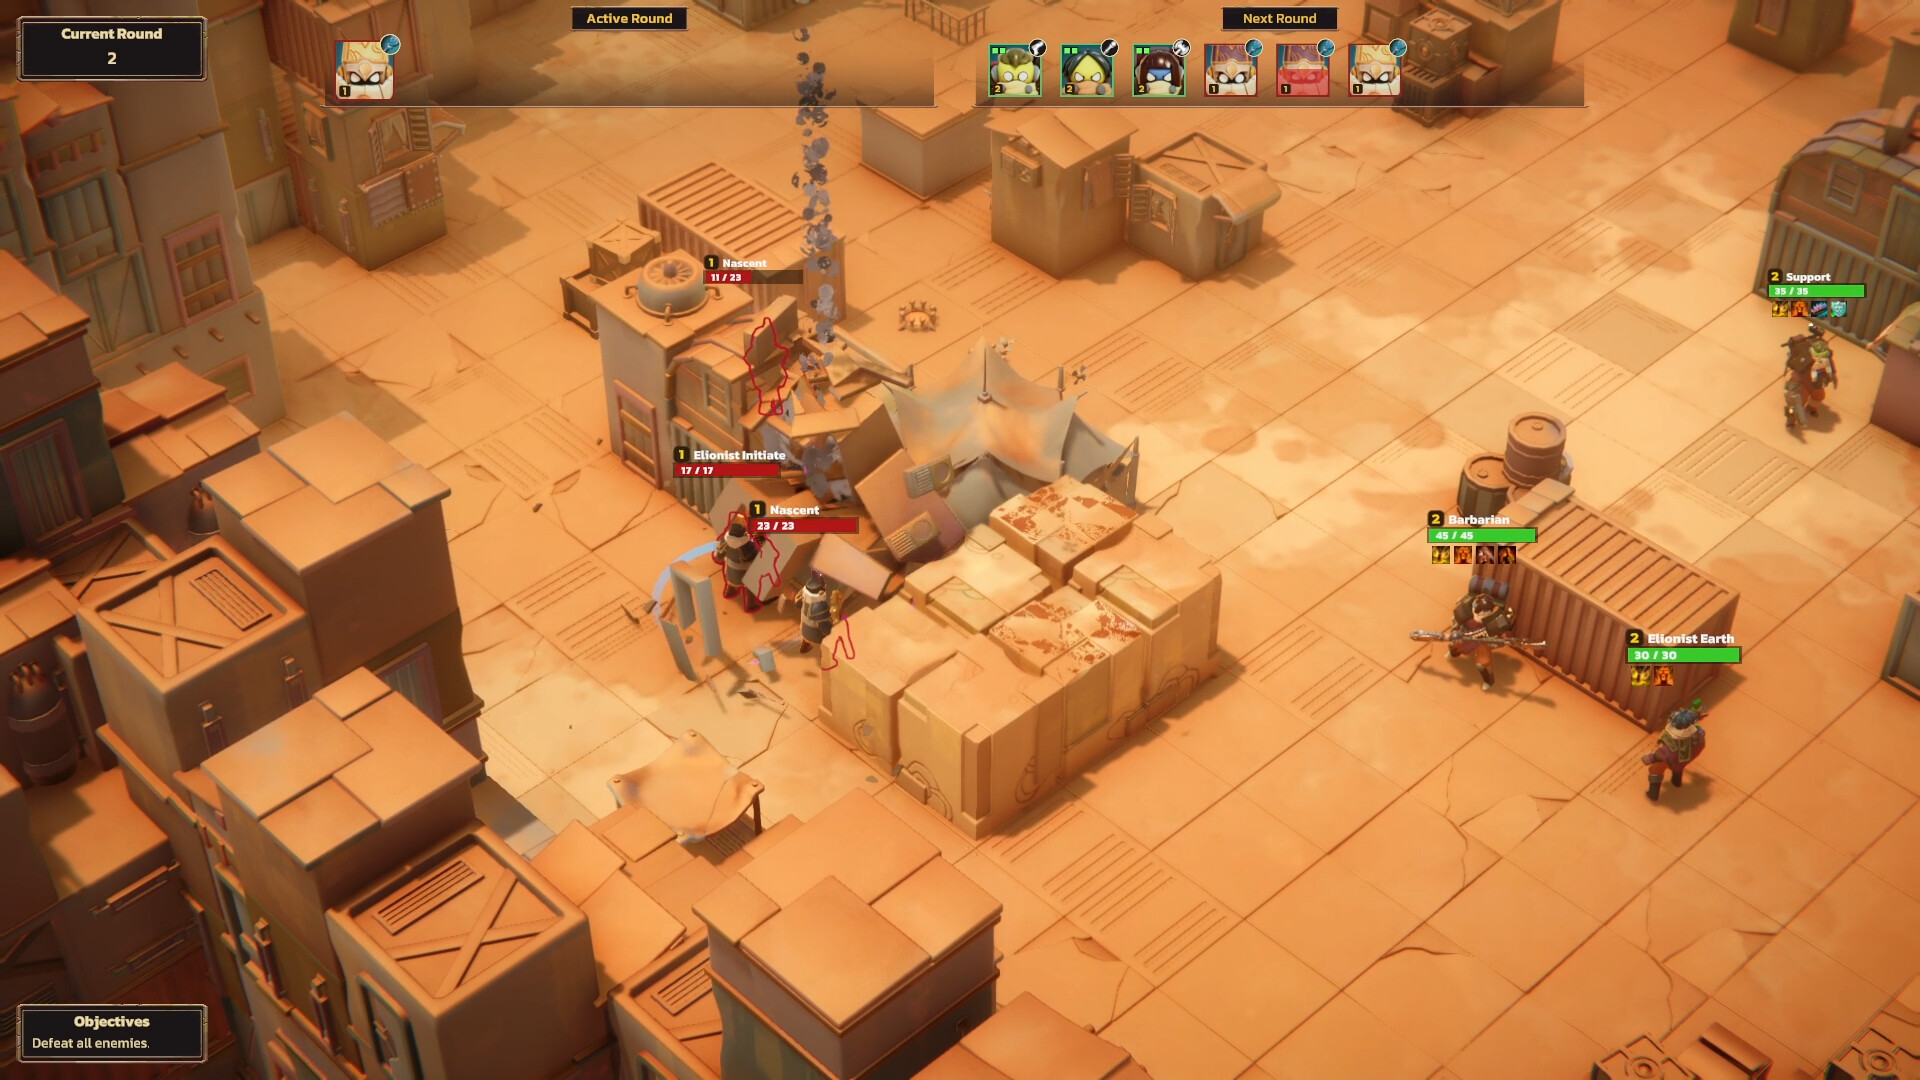
Two design pillars set it apart from other tactics games. First, the battlefield is fully destructible and reshapable. You do not sit behind cover and trade shots. You delete cover, rebuild it somewhere better, or bury the enemy under it. Second, failure feeds forward. When a run collapses, the wreck stays in the world, and the next caravan can recover its modules and survivors.
| Fact | Detail |
|---|---|
| Developer / Publisher | Terahard Ltd / indie.io |
| Release | September 14, 2026 (Windows) |
| Structure | Narrative campaign, 4 acts, roguelite runs |
| Classes | 15 playable, 38 enemy classes |
| Traits / Modules | 16 traits, 50+ modules |
| Enemy factions | Imperials and Arcanists |
| Core resource | Elios (fuel, combat power, and life support in one) |
| Price | To be announced; free demo on Steam |
Who should play it: fans of Into the Breach's puzzle combat, FTL's travel economy, and Battle Brothers' roster pain. Who should wait: anyone who quits a run when a favorite character dies permanently, because this game builds that moment into its fuel system.
What Changed From the Demo
The launch build is much bigger than the demo most players tried during Next Fest. Knowing the delta helps you unlearn demo habits.
- The demo gives you two classes and stops at the first biome boss. The full game ships all 15 classes, 16 traits, and the complete module pool.
- The campaign runs across four acts with dynamic world generation. Battlefields, locations, and quests are rolled per run.
- The Next Fest update overhauled enemy AI and encounter templates, rebalanced every encounter, recalibrated resource spawn rates, and smoothed progression pacing. Aggressive pushes that worked in the early demo get punished now.
- Caravan skills, last stand events, and assassination missions appear throughout the acts. The demo barely touches these.
If you played 20 hours of the demo, the launch game still opens with roughly 30 minutes of tutorial. Skip nothing. The interface hides real information, and the tutorials are where you learn it.
Getting Started: Your First 30 Minutes
- Finish the tutorial without skipping combat explanations. It takes about half an hour. The movement rules and Elios spending rules it teaches are the backbone of every later fight.
- Build the terrain-check habit. Before you move a single unit, scan three things: what cover exists, what can be destroyed, and what your Elios allows you to raise. Fights are decided in this inspection, not in the shooting.
- Spend your first actions on enemy cover, not on enemies. Pillars and barricades do nothing for you while they stand. Delete them, then reposition your own units into the gap before the enemy reacts.
- Hold your Elios in the opening fights. New players burn Elios on terrain abilities immediately and then stall the ship later. Treat Elios as fuel first and ammunition second.
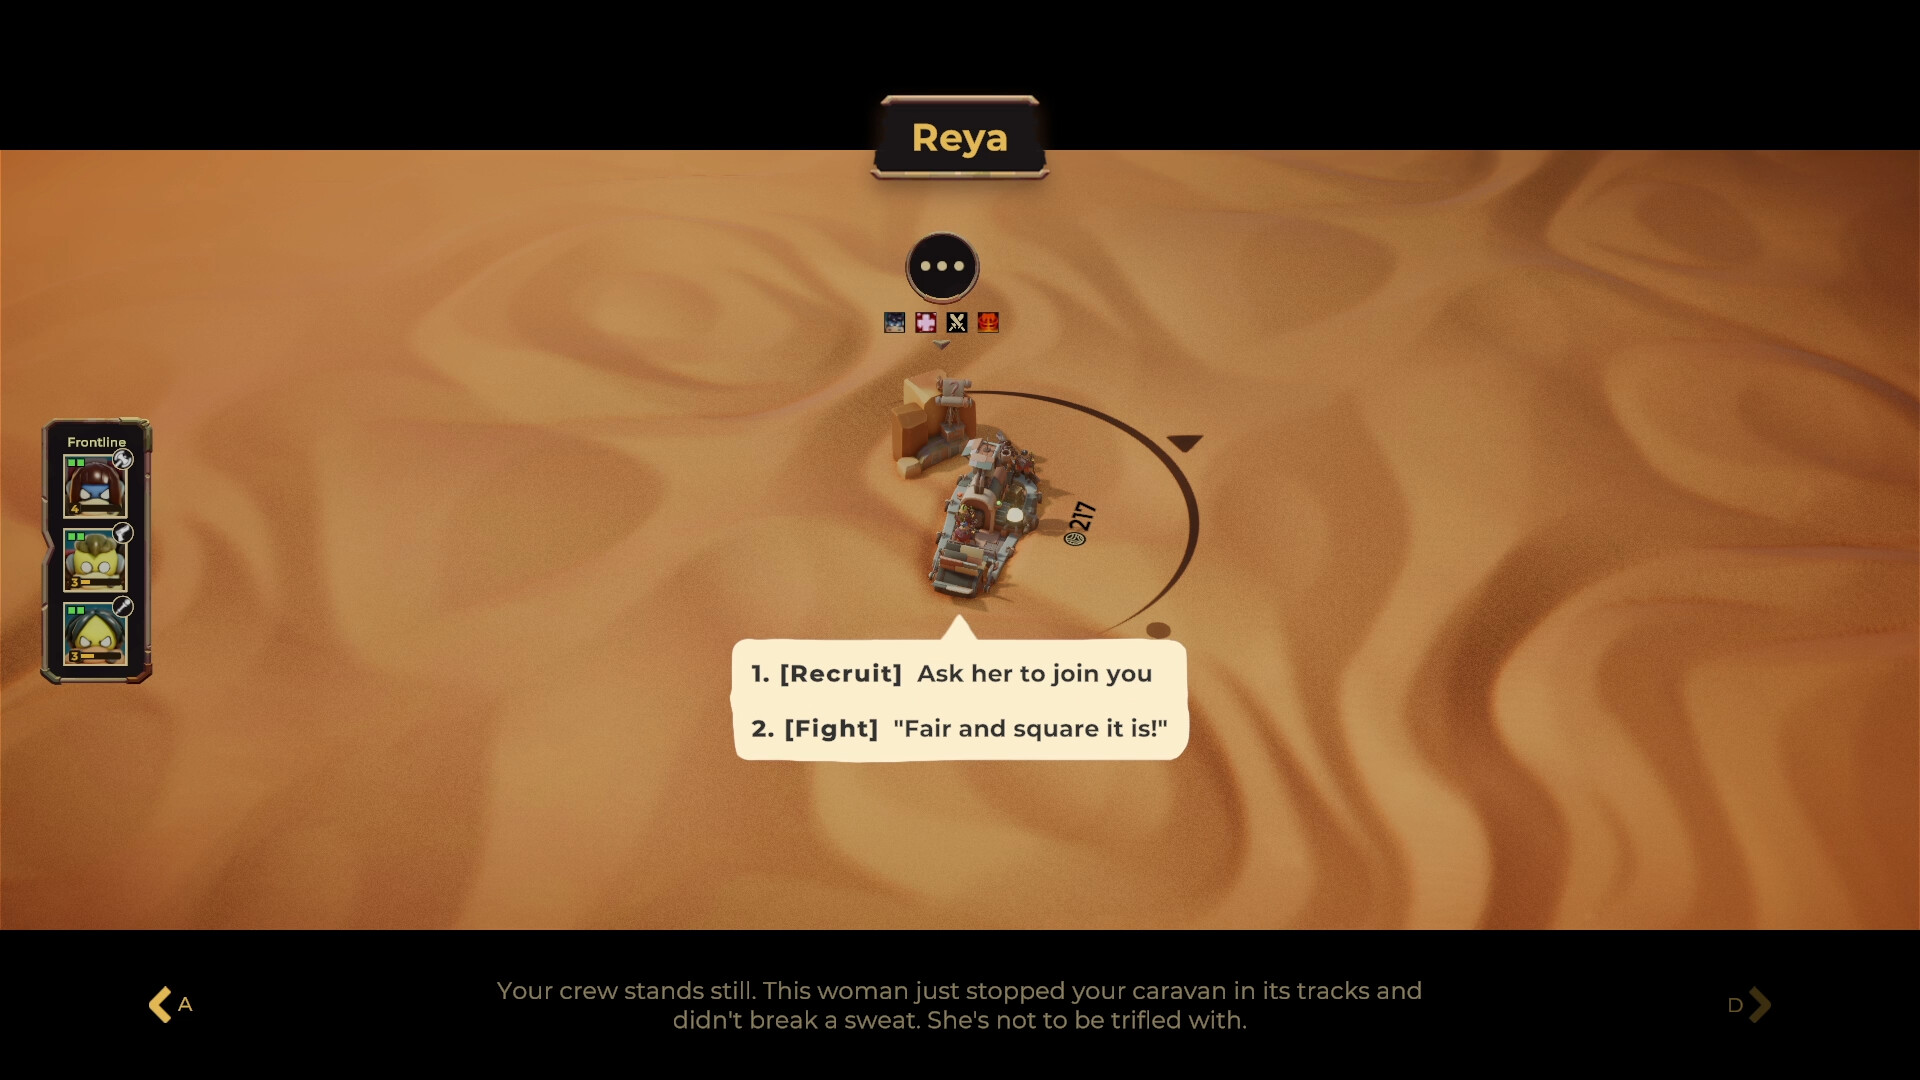
- Recruit by role, not by sympathy. Caravan seats are limited. A roster with two healers beats a roster with five damage dealers and no infirmary coverage.
- Stop at the first biome boss and take stock. The boss punishes sloppy positioning. If you scrape through with wounded crew, consider whether a heal in the infirmary beats pushing on wounded.
Beginner Mistakes to Avoid
| Mistake | Why it hurts | Fix |
|---|---|---|
| Treating pillars as cover for your units | The game has no traditional cover system. Pillars block movement and sight but do not reduce incoming damage | Use terrain to block and redirect, not to soak hits |
| Spending all Elios on combat abilities | The engine stalls without fuel and the run grinds to a halt | Keep one full engine jump in reserve at all times |
| Extracting Elios from wounded crew early | It removes a character permanently for a short-term fuel gain | Save it for genuine death spirals, late in a run |
| Recruiting every survivor you meet | Seats run out and dead weight dilutes your combat reliability | Recruit into empty roles only |
| Ignoring wreck sites from previous runs | Wrecks hold modules and sometimes living survivors | Route past your own wreckage before pushing forward |
| Fighting every battle as an attrition slog | Last stands and assassination missions break normal pacing | Build at least one burst-damage option into every run |
| Rushing into Imperial territory underleveled | Enemy tiers jump ahead of your party quickly | Follow the leylines and take side quests until you out-level the region |
Core Mechanics Explained
The Elios Economy
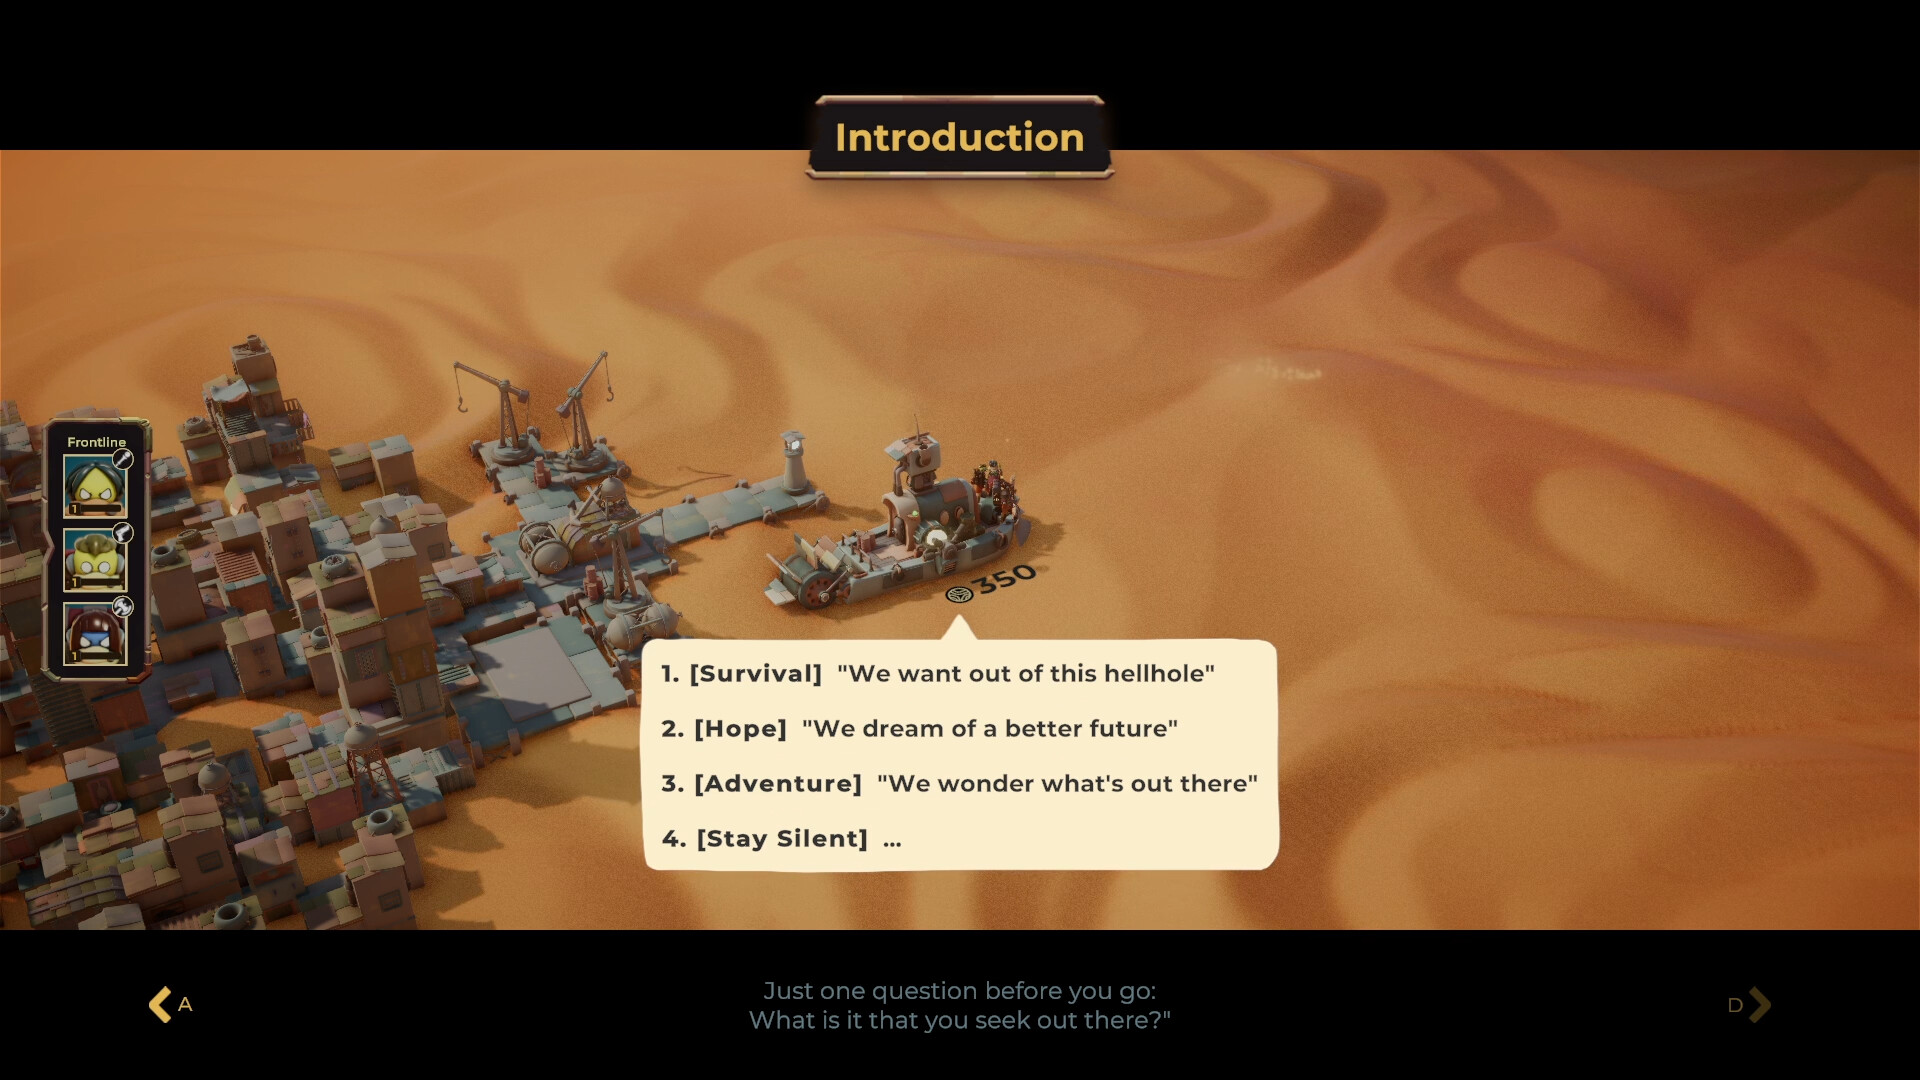
Elios does three jobs at once. It powers the ship engine that moves your caravan along the leylines. It pays for terrain abilities in combat. It also doubles as a life-support currency, because the infirmary competes with your fuel tank for the same stock.
You gain Elios from three sources:
- Quests. Narrative events pay out safely. This is your baseline income.
- Fallen enemies. Bodies harvested after a fight. Riskier, since it rewards aggressive play.
- Crew. Extraction from wounded crewmates yields the most, at the cost of the character. The game frames this as a choice, not a punishment, and it is the darkest lever in the system.
The math to internalize: one engine jump of Elios is your survival floor. Income above that floor is combat budget. When you break this rule, you get the classic death spiral: win a fight, spend everything, then watch the ship stall in a region you cannot survive on foot.
Terrain Manipulation Toolkit
Every terrain ability costs Elios and an action. Each solves a different spatial problem.
| Tool | Cost profile | Best use | Failure mode |
|---|---|---|---|
| Ice pillar | Cheap, reusable pattern | Blocking movement, creating corridors | Open maps with no chokepoints |
| Explosive pillar | Medium | Softening elites that close distance | Wasting it on weak units |
| Mines | Cheap, area denial | Ambush setups, last stand perimeters | Forgetting your own minefields |
| Pitfall + push | Two-unit combo | Removing an enemy from the fight without killing it | Pushing the wrong enemy in |
| Cover destruction | Action cost only | Opening firing lanes before the enemy settles | Destroying cover you then need |
The absence of a traditional cover system is the key thing to understand. Your units do not gain damage reduction from hiding behind pillars. Terrain controls where enemies can stand and what they can reach. Damage prevention comes from geometry, not from hunkering.
Caravan Skills
Caravan skills sit outside the per-class ability kit. They buff allies, shred cover, or deal damage before the enemy's turn. Think of them as a shared emergency toolbox: when one unit is out of position and the action economy is against you, a caravan skill covers the gap. The Preacher's Curse is the flagship example, a map-wide debuff that saps enemy strength and mobility from the backline.
Classes, Traits, and Modules
Fifteen classes cover the usual tactical spread, but the trait system is what creates builds. Each class can roll traits that enhance skills, boost stats, or add abilities that change how the class plays. Modules stack on top, with more than 50 available across a run.
A worked example: a class with a push skill, a trait that extends ice pillar duration, and a module that refunds Elios on kills produces a control mage that plays an entirely different game from a raw damage build of the same class. When you plan a run, plan the trait-module pairings first and let the class fill the role.
Enemy variety is the other half of the equation. Thirty-eight enemy classes across the Imperial and Arcanist factions means late runs are about knowledge. Knowing which Imperial squad composition counters your front line is worth more than any single upgrade.
Progression Strategy
Run Structure and Meta-Progression
Each run is a fresh caravan, but the world remembers your failures. Wrecks from previous runs persist with recoverable modules and occasionally living survivors. Your first three runs exist to open the map and plant wrecks intentionally near your expected route. That sounds cynical. It works.
The other meta-progression is knowledge. Which enemy classes appear in which act, which terrain templates favor your build, when ambush events trigger. No guide can hand you this; the game generates it differently each run. What you can do is keep notes between runs. Players who treat each failure as reconnaissance catch up fast.
The Unlock Priority
- Classes before modules. Every new class is a new toolkit. Modules polish a kit you already have.
- Healing access early. The Preacher is the only class with an innate heal. Getting infirmary capacity and healing options secured in act one keeps runs alive.
- Terrain synergy traits second. Pillar duration, push distance, mine count. These multiply with every class that uses them.
- Elios economy modules third. Refunds on kills, reduced ability costs. They pay for themselves within a run.
- Raw damage last. Damage is the easiest stat to find and the least interesting to build around.
The Infirmary Decision Framework
Every wounded crewmate presents the same choice: heal them and keep their skills, or extract their Elios and keep moving. Use this test.
- Heal if the character fills a role your roster cannot replace, if you hold an Elios surplus above your reserve floor, or if the run is early and their long-term value is high.
- Extract if the run is already doomed without fuel, if the character duplicates an existing role, or if the alternative is the whole caravan stalling.
- Never extract for convenience. The upgrade you buy with a crewmate's life in act one is never worth the act three hole in your roster.
Class Guide and Roles
Full class-by-class numbers land with launch, but the roles are clear from the demo and the developer spotlights. Build your caravan around role coverage first.
| Role | What it does | Priority | Notes |
|---|---|---|---|
| Frontline / tank | Holds ground, absorbs the first exchange | 1 per run, no exceptions | Push skills here are gold for pitfall combos |
| Healer / support | Sustains the roster through a run | 1, starting act one | The Preacher is the only innate healer class |
| Burst damage | Deletes elites in assassination missions | 1 to 2 | Required for assassination event loadouts |
| Area control | Pillars, mines, terrain shaping | 1 | Scales hardest with traits and modules |
| Scout / flex | Reads encounters early, fills gaps | Fill last | Useful in ambush-heavy acts |
The Preacher Spotlight
The Preacher deserves its own section because it warps how a caravan plays. It is a close-range ranged fighter, which sounds contradictory until you see it work: it hovers just behind the front line, inside debuff range but outside melee reach.
| Skill | Type | What it does | When to use it |
|---|---|---|---|
| Affront | Debuff | strips enemy power, dodge, and movement speed | Before an elite reaches your line, not after |
| Soothing Words | Heal | marks an ally with a Sacred Echo, restores about 8 HP on trigger | Pre-mark your tank before a predictable enemy turn |
| Curse (caravan skill) | Map-wide debuff | saps enemy strength and mobility across the field | Open with it in last stands and vs. swarms |
The heal number looks small. It is not. Eight reliable hit points on the exact unit the enemy is focusing, timed to their turn, is the difference between a tank that holds and a funeral. The Preacher is also the reason you can run aggressive builds: their sustain covers mistakes that would otherwise end a run.
Pair the Preacher with a frontline unit that has a push skill. Affront slows the target, the pusher shoves it into a pitfall, and the fight becomes five enemies against six of you while the Slow crawl back into range.
Step-by-Step Strategies
1. Opening a Standard Skirmish
- Pause and inventory the terrain: count enemy cover pieces and identify two destruction targets.
- Check your Elios against your reserve floor. Above the floor, you can spend. Below, you fight with geometry only.
- Destroy the enemy's best cover piece with your first action.
- Move your front line into the space the cover used to occupy, cutting the enemy's advance in half.
- Hold your backline one tile further back than feels right. Ranged AI overextends to reach it.
- Harvest bodies after the fight, then re-check your engine reserve before moving on.
2. The Ice Pillar Funnel
- Identify a chokepoint or build one by destroying flanking cover.
- Raise ice pillars to leave a single-file corridor toward your melee units.
- Place your tank at the corridor exit and your damage dealers one tile behind.
- Let the enemy file in. Affront or Curse the front of the line to slow the flow.
- Kill the file as it feeds in. The pillar placement decided this fight before any shot was fired.
- On open dunes, skip this play. Funneling needs terrain that agrees with you.
3. The Explosive Pillar Elite Trade
- Spot the elite closing on your line and accept that you cannot out-trade it head on.
- Place an explosive pillar on the tile it must cross.
- Trigger it as the elite arrives, softening it before its attack lands.
- Follow with burst damage to kill it before its next turn.
- Log the cost. You spent Elios plus actions, so this play is reserved for units your normal attacks cannot answer.
4. The Pitfall Push Combo
- Dig a pitfall between your line and the enemy approach.
- Assign a push-skill unit to the lane facing the pit.
- Bait a target into push range, ideally something slowed by Affront or Curse.
- Push it in. The enemy is now out of the fight without a kill, saving your damage budget.
- Focus fire on the remaining squad while they path around the hole.
- In last stand events, repeat this to pin wave after wave at the same spot.
5. Last Stand Setup
- Read the event ahead of time if the map allows, and reposition your caravan skills toward control, not damage.
- Build your perimeter with mines one tile outside melee range, so attackers trigger them on approach.
- Pre-mark your tank with Soothing Words before the first wave lands.
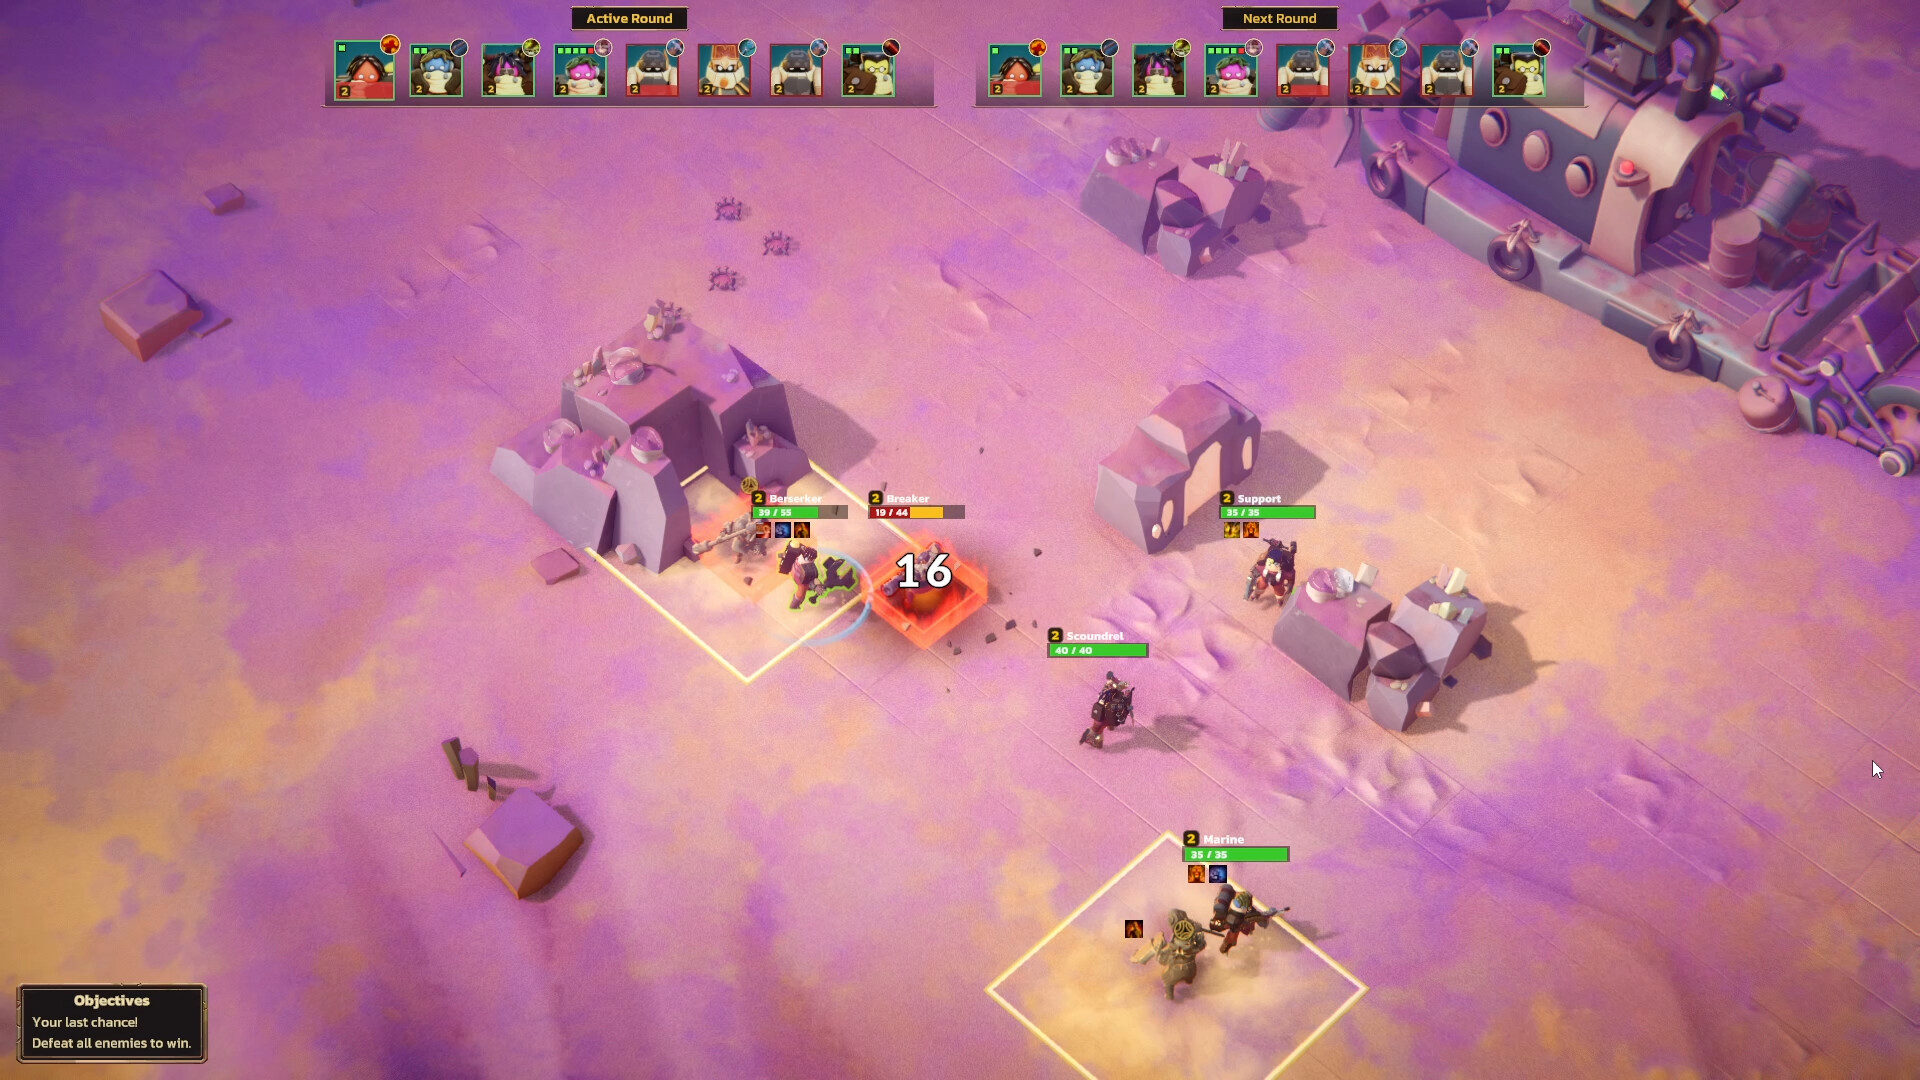
- Open wave one with a map-wide Curse. Swarms lose most of their threat when slowed as a group.
- Use pitfall pushes to pin each wave's front runner at the same chokepoint.
- Save explosive pillars for the wave that includes an elite. They are your answer to armored stragglers.
6. Assassination Mission Loadout
- Prioritize burst damage over sustain when the mission offers a loadout choice. These missions reward killing the target fast, not outlasting waves.
- Bring at least one unit that can cross or ignore terrain, since targets retreat behind fresh cover.
- Open by destroying the target's cover, not by attacking the target. A exposed target dies in one focused turn.
- Bank one caravan skill for the escape phase, when bodyguards collapse on your position.
- Accept trades. Losing a frontliner after the target drops is a win condition, not a failure.
7. The Wreck-First Opening
- Start the run and check the map for your previous caravan's wreck.
- Route to the wreck before following the main quest, even when the detour costs travel Elios.
- Strip every module. Recruit any survivors you find, if seats allow.
- Spend the recovered modules immediately. A powered-up start makes the first story battles trivial and snowballs through act one.
- Only then rejoin the leyline path. You have traded time for a spike that compounds.
Advanced Tips
- The reserve floor is one engine jump. Write the number down. Everything above it is combat budget. Every spiral starts by breaking this rule once.
- AI punish knowledge matters post-patch. The Next Fest rework taught enemies to punish overextended units. End every turn with your backline outside enemy movement plus attack range, not just outside attack range.
- Curse before funnels. A slowed squad files through an ice pillar corridor at half speed. The same fight without the debuff costs you a frontliner.
- Mines trigger on approach, not on attack. Place them a tile outside melee range so enemies detonate them while closing. Mines inside your own line detonate where you live.
- Destroy cover you cannot use. Enemy cover left standing is enemy advantage. Your own unused cover is a speed bump. Neither is worth an action unless it changes geometry.
- Extraction math beats sentiment. A duplicated role is fuel. A unique role is a run-long asset. Decide by roster coverage, not by how much you like the character.
- Biome repetition is a feature. Rerunning the first desert biome in the demo-style loop builds pattern recognition for encounter templates that carry into later acts.
- Watch resource spawn rates. The rebalance retuned spawns per biome. If a region feels starved, it is by design. Route through it early with a full tank, not late with an empty one.
- The boat is your leash. The engine cannot be refueled everywhere. Every plan should end with "and then we return along the leyline."
- Read the color grading. The visual clarity patch rebalanced map colors specifically so battlefield information reads easier. If a fight looks chaotic, you are probably missing a destructible piece that changes the map.
Known Issues and Quirks
- Ultrawide support is rough. Players have reported the game being effectively unplayable on ultrawide monitors. If you play on one, check recent patch notes before buying.
- Settings navigation has rough edges. At least one demo build lacked a proper back button in settings. Expect polish fixes at launch, but do not be surprised by odd menu behavior.
- No voice acting. Dialogue is text only. If you were waiting on VO, it is not part of launch.
- Two-class demo habits die hard. Strategies built entirely around the demo's starting pair need rework once the full 15-class roster opens up.
FAQ
When does Dunebound Tactics release?
September 14, 2026 on Windows, published by indie.io.
Is there a demo?
Yes. It is free on Steam, includes about 30 minutes of tutorial, two classes, and ends at the first biome boss. It is replayable and open-ended within that first biome.
Is there a traditional cover system?
No. Pillars and terrain block movement and sight. They do not reduce incoming damage. The game's defense system is geometry: delete enemy cover, raise your own obstacles, and control where enemies can stand.
How does Elios extraction from crew work?
Wounded crewmates can be drained for Elios, which leaves them out of the roster permanently. It is the largest single fuel payout in the game and the decision the whole design hangs on.
How permanent is character death?
Permanent. Dead crew do not return. The roguelite loop softens this: failed runs leave wrecks with recoverable modules and survivors for the next caravan.
How many classes and enemies are there?
15 playable classes with 16 traits, 50+ modules, and 38 enemy classes split between the Imperial and Arcanist factions.
Does progression carry between runs?
Yes, in two forms. Wrecks persist in the world with loot and survivors, and your own knowledge of encounter patterns, enemy abilities, and routing is the real meta-progression.
What platforms does it support?
Windows is confirmed. No macOS or Linux listing exists on the store page.
Is controller support available?
Not confirmed. The demo plays mouse-first with keyboard shortcuts for camera and rotation. Full rebinding is planned for release.
What should I unlock first?
Classes first, healing access second, terrain synergy traits third, Elios economy modules fourth, raw damage last.
Can I run a no-death caravan?
Early acts, yes, with disciplined Elios management and infirmary use. Late acts are tuned to force hard choices. Most runs will lose someone. Plan rosters with redundancy so a loss hurts but does not end the run.
Last reviewed by Game How To Editorial. We play each game, verify against official sources, and update guides when mechanics change.
Screenshots