Official game
Play Ground Zero Hero
This game is hosted by Steam. Continue to the official page to play or download it.
Play the Demo on SteamOverview
Ground Zero Hero is a free-to-play bullet-hell horde survival roguelite from developer Rowan Edmondson, published by Acclaim, Inc. It launched August 20, 2026 on Windows, macOS, SteamOS, Xbox Series X|S, PlayStation 5, and Nintendo Switch 2. The tagline tells you everything: "Forget surviving the apocalypse. You're here to dominate it."
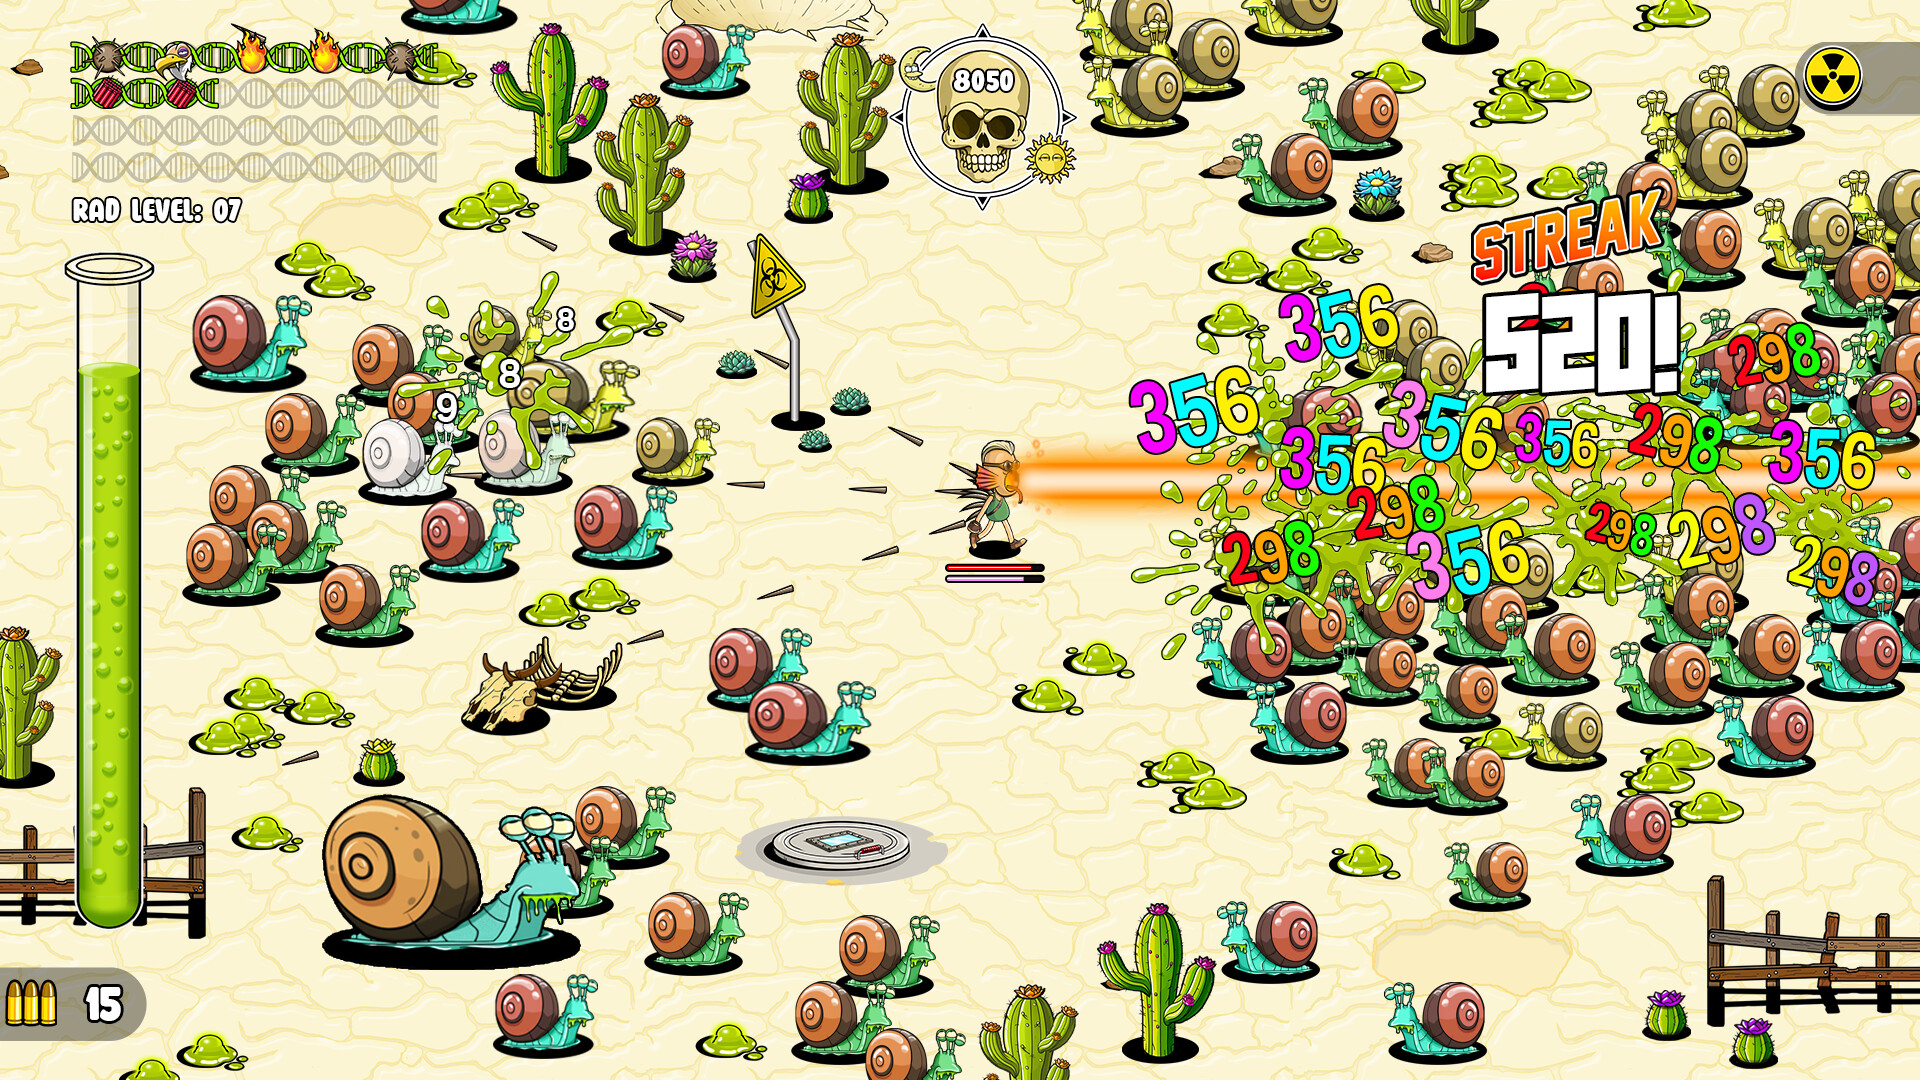
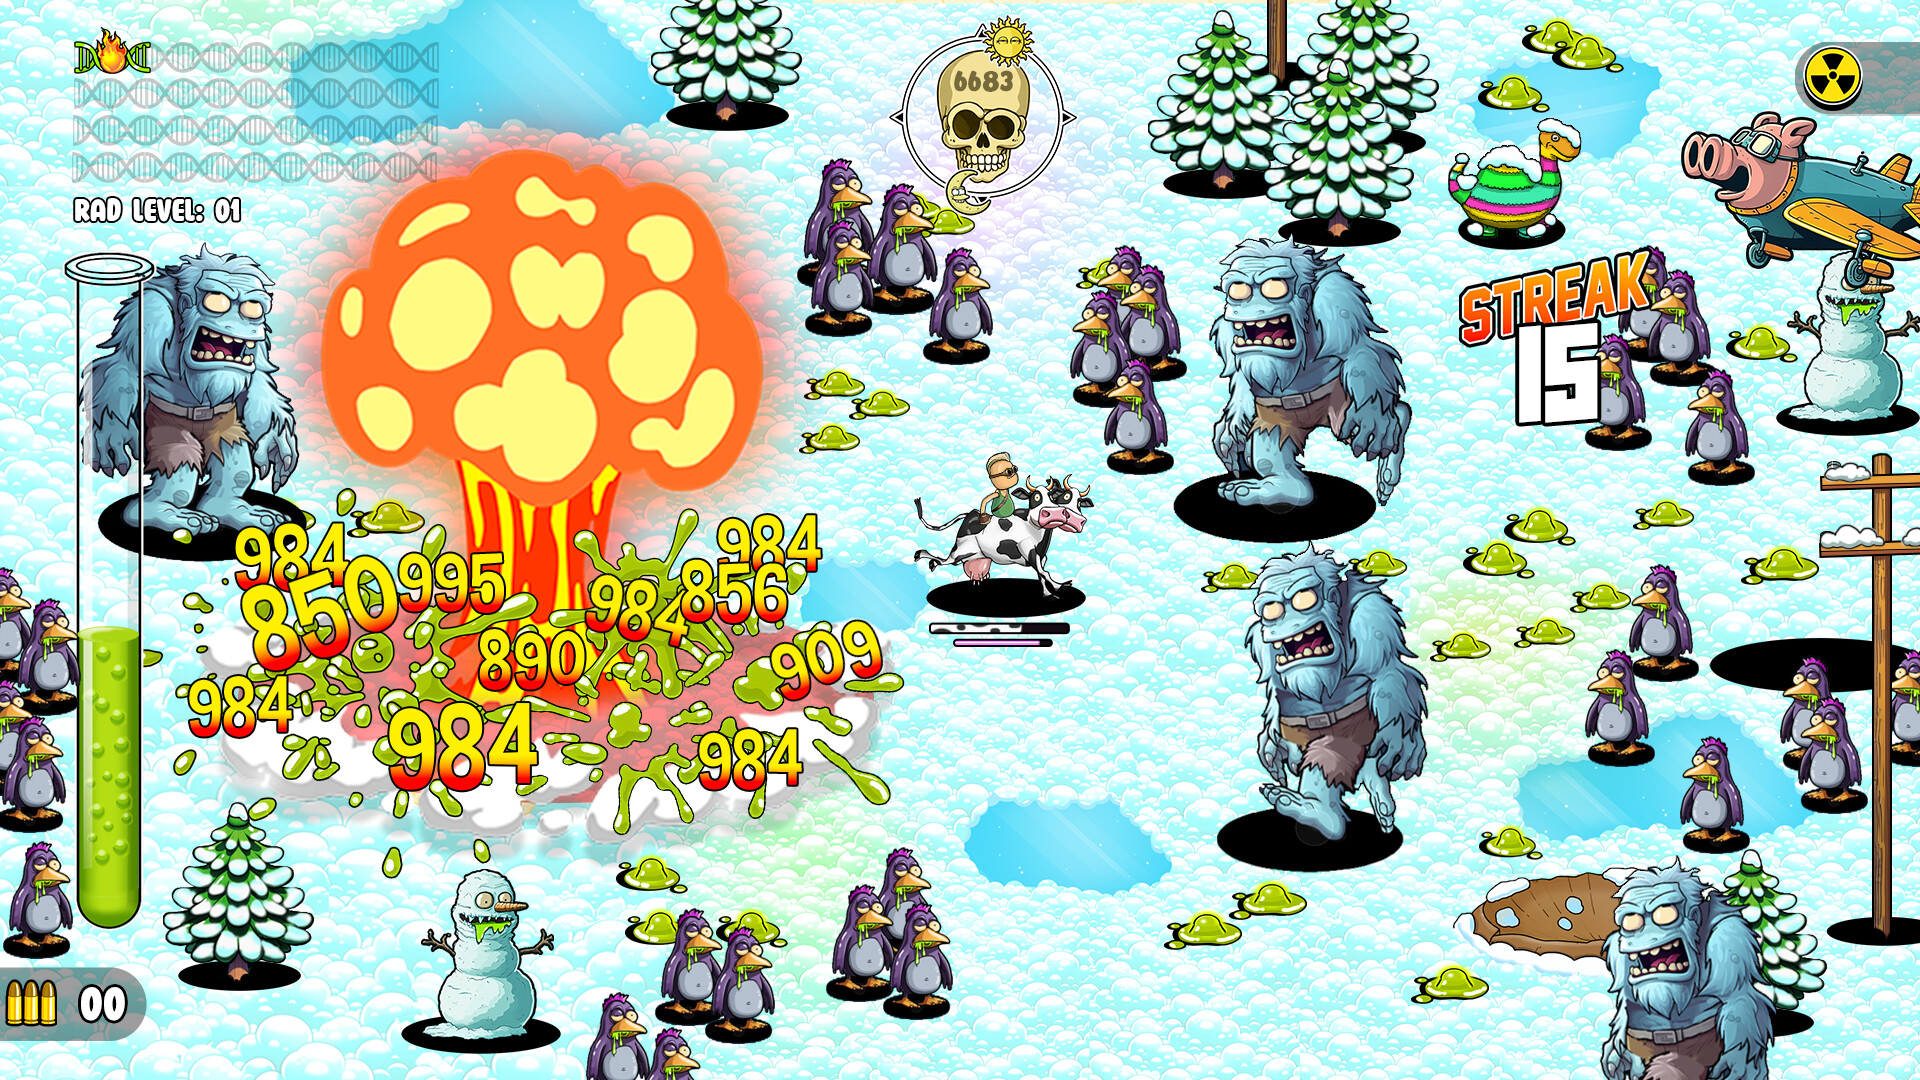
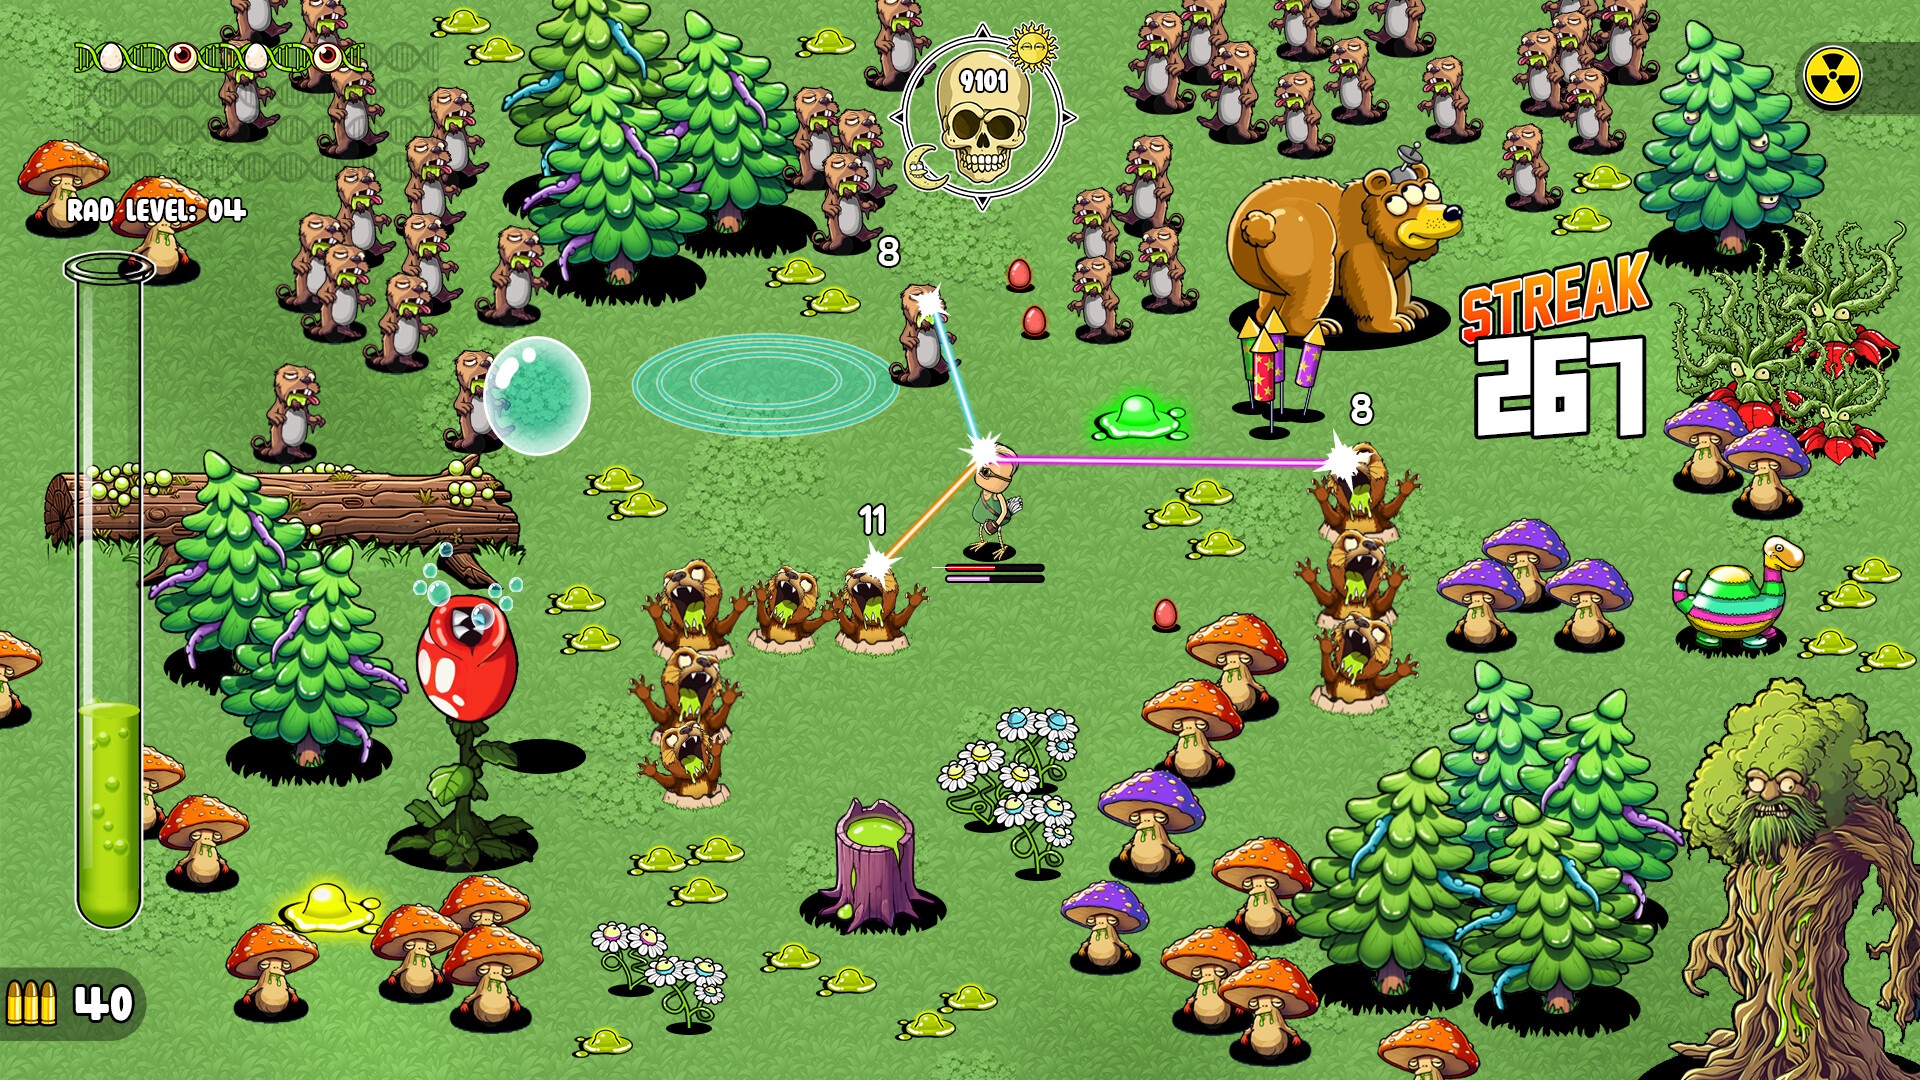
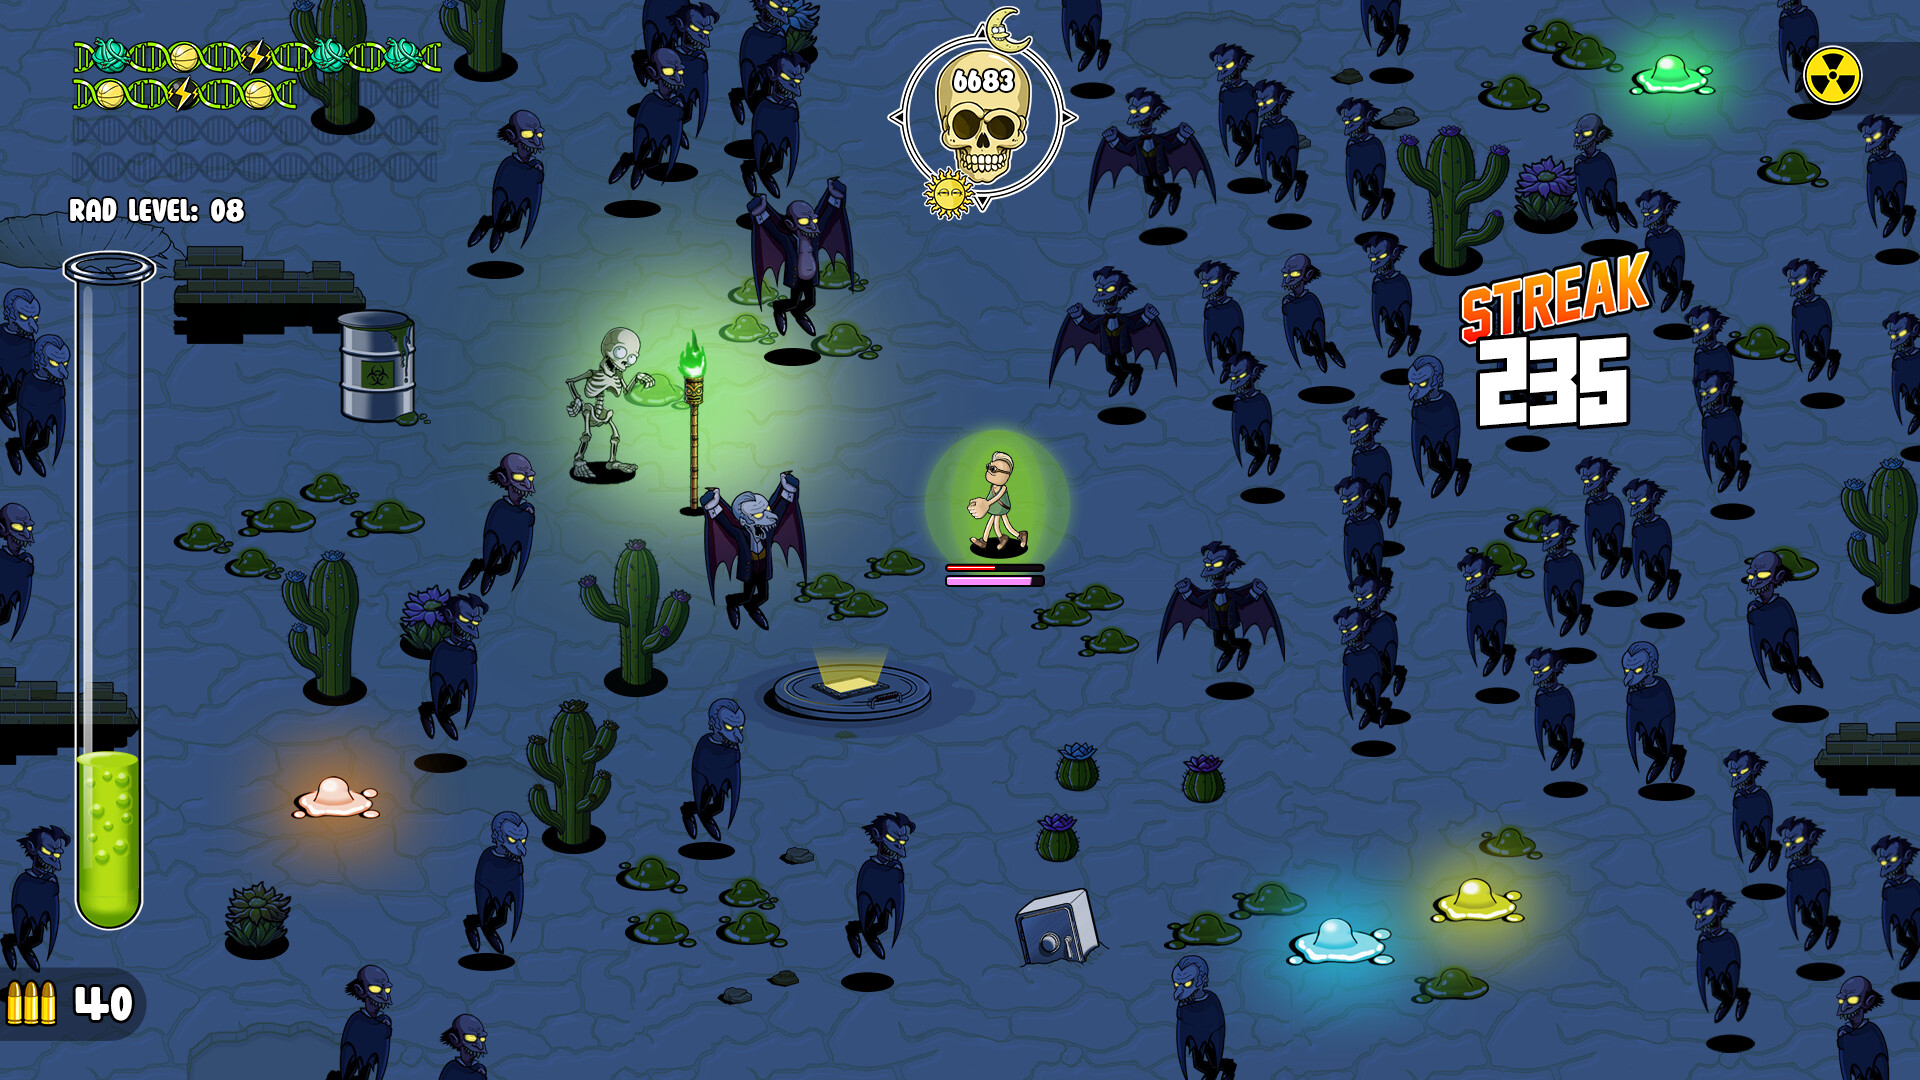
You play Radboy, a survivor in a radioactive wasteland overrun with mutated creatures. Every enemy you destroy drops radioactive guts. Absorb them, stack mutations, and build increasingly absurd combinations until you outgrow the horde itself. It is Vampire Survivors structure with Bullet Heaven density, a Nuclear Throne sense of humor, and an art style that pulls from The Simpsons and Rick and Morty. Runs are short, loud, and built to be replayed hundreds of times.
Who it is for: players who want a free, fast, endlessly replayable power fantasy. If you enjoy watching a build go from flimsy to unstoppable in twenty minutes, this is your game. It asks for your attention, not your patience.
Who it is not for: players who need a story campaign, deep tactical combat, or careful resource strategy. This is an arcade power trip with a smirk. The difficulty curve is real, but the point is chaos, not discipline.
| Field | Detail |
|---|---|
| Developer | Rowan Edmondson |
| Publisher | Acclaim, Inc. |
| Genre | Action roguelite / bullet-hell horde survival |
| Platforms | PC, macOS, SteamOS, Xbox Series X|S, PS5, Switch 2 |
| Price | Free to play |
| Release | August 20, 2026 |
| Protagonist | Radboy |
| Core loop | Absorb, Mutate, Evolve |
| Total mutations | 19 (14 in the original demo) |
| Upgrades | 80+ across multiple progression paths |
| Enemies | 60+ unique mutants |
| Endgame | Endless Mode plus 60 challenges |
| Steam link | store.steampowered.com/app/2570580 |
Getting Started: Your First Runs
The First 30 Minutes
Your first run exists to teach you three reflexes, not to win. Ignore the death screen and focus on the loop.
- Kill whatever touches you first. The early horde is slow. Let it cluster, then kite it in a circle while you chip at the edges. Standing still is the only real mistake.
- Absorb everything. Guts are the currency of evolution. Walk over remains, do not stop to admire them. The absorb radius is forgiving, so loop through the battlefield rather than picking a spot.
- Eat candy when you are hurt, not when you are full. Candy pickups are scattered across the large map and they are your only reliable healing. Hoarding them until a crisis is the correct instinct; grabbing them at full HP wastes the safety they provide.
- Crack your first safe. Safes appear under pressure and pay out resources or upgrades. In early waves, while the horde is weak, they are nearly free money. Learn the timing window by failing once; it is generous.
- Take one wild mutation. The first runs should include at least one mutation you do not understand. The game explains itself through play, and the "bonkers" forms only appear when you experiment.
Beginner Mistakes That End Runs
| Mistake | Why It Kills You | Fix |
|---|---|---|
| Standing to aim | Hordes surround stationary players faster than you think | Fire on the move; strafing is aim |
| Ignoring candy until full HP | You waste pickups you will need five seconds later | Heal when below half; leave full pickups alone |
| Tunnel vision on one mutation line | Synergy beats single-stat stacking in this game | Read each offered mutation before choosing |
| Skipping safes | Safes are the best early economy in the game | Crack every safe you can in waves 1 to 3 |
| Not using the bunker | You can lose a run's progress by quitting mid-run | Always exit from the bunker to save |
| Buying everything | Permanent upgrades spread thin make every run weaker | Prioritize one or two progression paths first |
| Treating every night the same | Waves escalate sharply between nights | Build between nights, do not fight during them |
The Bunker, Explained
The bunker is the run's save point, and its quirks matter. Quitting to desktop or the title screen now saves any caps collected during a run, thanks to the first post-launch patch. But mid-run mutation state and full progress still rely on the bunker. If you want a run's entire build preserved, walk into the bunker and exit from there. Treat the bunker like a checkpoint you control. Early patch history shows players losing runs to the old saving bug, so make the bunker a habit now, before the muscle memory of rage-quitting forms.
Core Mechanics Under the Hood
The Absorb Economy
Every enemy drops remains that fuel mutations. The economy is deliberately simple: kill, collect, spend. What makes it deep is that the absorb radius and pickup priority are shared with candy and caps, so positioning during a kill streak decides what you collect. Sweep kills in a line and you vacuum everything; stand still and the horde's corpses carpet the ground out of reach. Treat every engagement as a collection route, not a fight.
Caps and Candy
Caps are the run currency. They buy upgrades and unlock rolling momentum between runs. Candy is healing. The two never compete for a slot, but they do compete for your pathing. A pickup cluster of three candies behind a pack of elites is a trap: going for it costs HP, which the candies then restore. The math rarely favors the detour. Read pickup placement as the map's commentary on what is safe.
The Mutation System
Nineteen mutations exist in the full game, each with a standard form and a hidden "bonkers" powered-up variant. You start with a small selection and unlock more through progression. Mutations stack, and this is where the real game lives. The design allows "countless build combinations," which is marketing language for "we built the synergy math so you break it yourself."
The key rule: mutations that multiply each other outrank mutations that add to each other. Attack speed plus on-hit proc is a multiplier pair; plain damage plus more plain damage is an adder pair. When the level-up screen offers two adders and one multiplier, take the multiplier almost every time.
Night Escalation and Wave Structure
Waves escalate within a night, and each new night is deadlier. The game pushes you to build between nights, not during them. That means the decision that matters is not how you fight but what you do in the 15 seconds between waves: absorb, crack the safe, grab candy, open the upgrade path. The best players treat downtime as uptime.
Progression Paths
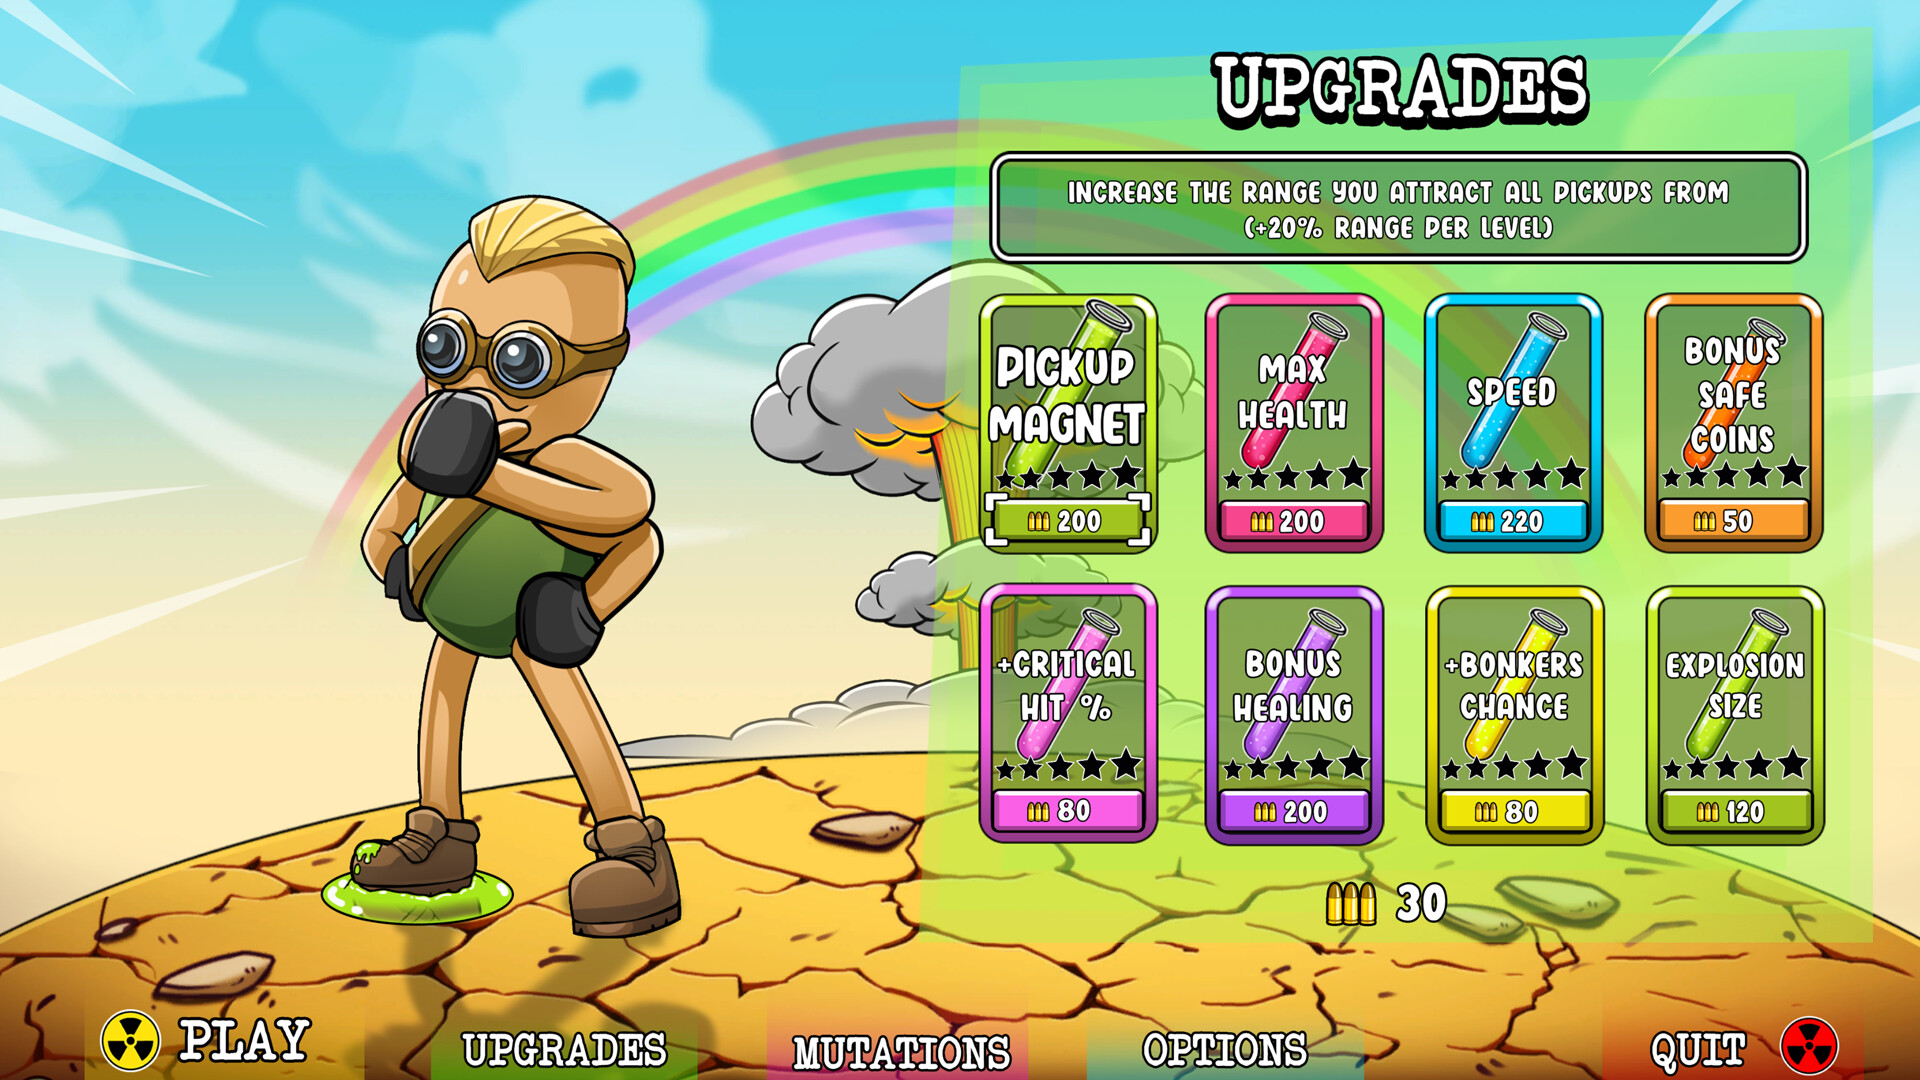
Eighty-plus upgrades sit across multiple paths, and they are permanent. The mistake is spreading early investment across all of them. A character with two upgraded paths and three empty ones outperforms a character with a point in everything. Respec feelings aside, the game wants you to commit.
Progression Strategy
What to Unlock First
The permanent upgrade paths reward specialization, and the demo's carryover means your choices in the first week still shape your account. Recommended priority order:
| Priority | Path | Why |
|---|---|---|
| 1 | Absorb radius / pickup range | Your economy is collection; widen the net first |
| 2 | Starting damage | Shorter TTK in waves 1 to 3 = more guts per minute |
| 3 | Move speed | Positioning is survival; the whole genre is a dodge game |
| 4 | Dash / dodge cooldown | The panic button that gets you out of surrounds |
| 5 | Max HP | A cushion, not a build; buy after the above |
This order reasons from the loop: economy feeds speed feeds survivability. Buffer HP last because it does not compound. Damage and range compound.
The 14-Mutation Demo Roster
The demo shipped 14 of 19 mutations, starting you with five and unlocking nine more as you progress. The full release adds the remaining five, but the demo roster defines the strategy baseline. For the core builds below, the mutation groups to watch are:
- On-hit procs (anything that triggers a secondary effect per hit)
- Lifesteal (heal on kill or on hit)
- Projectile count / spread (more bullets, not bigger bullets)
- Mobility (speed or dash upgrades)
- AOE on kill (chain reactions)
Group synergy surpasses individual power. A single proc mutation is a curiosity; a proc plus attack speed plus projectile count is a lawnmower.
Builds: The Core Archetypes
1. Doomsday Tank
Focus: defense plus lifesteal. Fantasy: stand in the horde and outlast it.
Pick lifesteal early and stack HP regeneration with absorb-on-hit effects. Your damage per second does not need to be elite because your uptime is. Walk through crowds, let them pile up, and collect candy purely as insurance.
| Priority | Mutation type | Why |
|---|---|---|
| 1 | Lifesteal | Converts the horde into a healing source |
| 2 | Max HP / armor | Gives lifesteal a buffer to work from |
| 3 | Damage falloff resistance | So point-blank play still clears |
| 4 | AOE on kill | Turns your body into a blast zone |
Playstyle notes: tank builds lose when they stand still. Even with lifesteal, moving in slow circles keeps the horde from concentrating DPS on one side. The bunker matters double for tanks: a tank run is an investment, and losing it to a save bug stings more.
2. Speed Demon
Focus: mobility plus dash upgrades. Fantasy: never be touched.
Kite everything. The build wins on positioning: hordes cluster, you sweep the edge, and the dash becomes a weapon when the gap closes. Speed also makes you the best safe-cracker in the game, since you can reach, crack, and retreat before the pressure builds.
| Priority | Mutation type | Why |
|---|---|---|
| 1 | Move speed | The entire build |
| 2 | Dash / dodge upgrades | The get-out-of-surround tool |
| 3 | Projectile count | Lets you damage while moving |
| 4 | On-hit procs | Punishes the horde as it chases |
Playstyle notes: Speed Demon is the hardest archetype to master and the best for Endless Mode. The dash is not just an escape, it is a repositioning tool: dash through a horde and you emerge behind it with a clear shooting lane.
3. Glass Cannon
Focus: pure damage stacking. Fantasy: end the run fast.
Max attack speed, damage, and projectile count. You kill everything before it reaches you, and the moment something does reach you, the run ends. Glass cannon is the speedrunner's choice: shortest time-to-kill, highest risk.
| Priority | Mutation type | Why |
|---|---|---|
| 1 | Attack speed | Multiplies every other damage stat |
| 2 | Damage | The raw number |
| 3 | Projectile count / spread | Screen coverage beats accuracy |
| 4 | Crit / proc | The multiplier that breaks the game |
Playstyle notes: glass cannon punishes greedy candy grabs. Your HP is a suggestion; treat every pickup as a calculated risk. If a run offers you lifesteal after wave 5, take it, even in a pure damage build. One healing source converts a doomed run into a clear.
4. Safecracker
Focus: loot and resource mutations. Fantasy: out-economy the horde.
Prioritize safes and pickups, stack resource mutations, and buy your way to power. This build is the best first build for a new account: it feeds every other build you will play later.
| Priority | Mutation type | Why |
|---|---|---|
| 1 | Resource gain | More caps, more upgrades |
| 2 | Pickup radius | Vacuum the map clean |
| 3 | Safe-related bonuses | The risk-reward economy |
| 4 | Move speed | Reach the safes first |
5. The Bonkers Hunter
Focus: discovering and forcing "bonkers" forms.
Every mutation has a hidden powered-up variant. The bonkers forms appear through play, and they are the game's deepest progression secret. To find them: take a mutation repeatedly across runs, push it late into a night, and watch for the transformation trigger. Once discovered, a bonkers form becomes a build-defining centerpiece. The hunter archetype is really a discovery strategy, and it pays off in the long run because bonkers forms are the strongest tools in the game.
Tier List: What Wins Runs
Based on how the mutation families compound in the demo and full release:
| Tier | Mutation family | Verdict |
|---|---|---|
| S | On-hit procs + attack speed | The multiplier engine; wins every mode |
| S | Lifesteal | Turns any build into a tank build late |
| A | Projectile count / spread | Screen coverage is defense |
| A | AOE on kill | Chain reactions clear screens |
| B | Move speed | Strong, but requires skill to exploit |
| B | Max HP / armor | Reliable, never exciting |
| C | Damage-only adders | Fine early, dead weight late |
| C | Resource-only | Economic, not combat; pair with a combat line |
The S-tier insight: procs and attack speed multiply. Damage-only stats add. In a game where the horde scales multiplicatively, you must too.
Step-by-Step Strategy
Strategy 1: The First Night Clear
- Spawn and immediately circle the nearest cluster, firing while strafing.
- Collect every gut from the first kill wave before moving outward.
- At the first level-up, take the multiplier if offered (attack speed, projectile count, proc). Otherwise take the largest damage adder.
- When the wave thins, path to the nearest safe and crack it.
- Between nights, spend caps, grab candy only if below half HP, and re-route to the next pickup cluster.
- Repeat until the boss wave, then save the dash for its telegraph, do not spam it.
Strategy 2: Building Between Nights
- End every night with a mental count of uncollected pickups.
- Use the inter-night window to sweep the map edge, where pickups cluster.
- Crack one safe per inter-night window, never more, to keep the pressure window manageable.
- Spend caps in the upgrade screen only after sweeping, so you know what you still lack.
- If a boss spawns in the next night, bank one heal pickup instead of spending it.
Strategy 3: The Dash Reset
- Learn the dash's cooldown by feel in the first night.
- In a surround, dash toward the thinnest side, not away from the center.
- Immediately absorb the guts you crossed; the vacuum converts escape into economy.
- Fire one spread shot behind you while re-positioning.
- Do not dash into corners; dash through crowds.
Strategy 4: Bunker Discipline
- Enter the bunker at the end of every third night, minimum.
- Before quitting, always exit through the bunker door, never Alt-F4.
- Use the bunker lobby to review your mutation stack and plan the next build step.
- If you die outside the bunker, accept the lesson; the run was a mutation experiment anyway.
- After the post-launch patch, caps survive a quit, but your mid-run build may not. Still bunker.
Strategy 5: Endless Mode Preparation
- Build for sustainability first: lifesteal or regen is mandatory by wave 20.
- Stack multiplicative pairs (procs + attack speed) rather than additive damage.
- Take every move-speed offer after the core is online; positioning is the only stat that scales forever.
- Keep one dash charge in reserve at all times.
- When the screen fills, stop aiming and start pathing: your build does the damage, your pathing keeps you alive.
Strategy 6: Challenge Hunting
- Read each challenge's condition before the run and build against it.
- Some challenges forbid picking up candy, so lifesteal becomes the survival answer.
- Challenge runs are the best teachers for the bonkers forms, since they force unusual mutation choices.
- Sequence: do resource challenges first to fund permanent upgrades, then do no-pickup challenges with a tank build.
Advanced Tips
- Kill lines, not clusters. Sweeping straight lines of enemies vacuums more guts per second than fighting one cluster. The absorb radius rewards straight-line pathing.
- Candy is a resource to bank, not a meter to fill. Full-HP candy should be left alone to respawn pressure-free later.
- The map is bigger than the fight. Exploration yields pickups, safes, and environmental interactions. The first clear of a biome should be mostly scouting.
- Safes under pressure pay out bigger. The game literally prices risk into the safe economy. Late-wave safes are worth the detour if you have a dash charge.
- Music tells you what is coming. The dynamic soundtrack shifts with gameplay intensity. When it swells, a boss or elite wave is inbound; bank your dash.
- Do not ignore defense in a damage build. One lifesteal mutation in a glass cannon run converts a probable death into a strong clear.
- The bunker is a checkpoint you control. In a great run, bunker early and often. In a bad run, skip it and embrace the death tax.
- Performance settings matter more than you think. Early reviews flagged frame drops on high-end cards in mid-to-late game, when the horde fills the screen. The launch patch added performance optimizations. If your FPS tanks at wave 15, lower shadow and particle quality; this genre is a math game on your GPU.
- Unlock order compounds. A focused two-path account beats a jack-of-all-trades account every run. Commit to economy and damage first.
Performance and Settings
The minimum spec targets 30 FPS at 1080p: a 4-core CPU, 8 GB RAM, and a GTX 750 Ti or Radeon R7 260X. The recommended spec targets 60 FPS: 6-core CPU, 16 GB RAM, GTX 1060 or RX 570. The game also runs on macOS (10.13+) and SteamOS 3.8.16.
The known weak point is dense late-game hordes. Community reports describe frame stutter on even RTX 4090-class hardware once the screen fills, and the day-one patch added "additional performance optimizations." If you hit stutter:
- Drop particle effects first; they are the densest cost.
- Lower shadow quality; the wasteland has many light sources.
- Keep resolution native, the art style does not downscale gracefully.
- Test a run on Endless to find your personal safe settings.
FAQ
Is Ground Zero Hero actually free? Yes. Free to play on Steam, with a 10 percent console launch discount (August 20 to 27) and a 15 percent Steam discount through September 3, 2026. Optional paid content exists on consoles at launch; the core game is free.
How many mutations are there? Nineteen in the full release. The demo included 14, starting with five unlocked and nine earned through progression. Each mutation also has a hidden "bonkers" form.
Does demo progress carry over? Yes. All demo progress carries into the full release, which is why starting now is a head start, not a chore.
How do I save my run? Use the bunker. Quitting to desktop or the title screen now saves collected caps, but full build state relies on the bunker. Old saves can lose mid-run mutations if you quit outside it.
Is there Endless Mode? Yes, plus 60 challenges. Endless is the high-skill mode; challenges are the meta-game.
What platforms is it on? PC, macOS, SteamOS, Xbox Series X|S, PlayStation 5, and Nintendo Switch 2.
Does it support controllers? Full controller support, plus keyboard-only and mouse-only options.
How long is a run? Deliberately short, in the twenty-minute range for a full clear, with Endless stretching much longer. The game is designed for repeat play, not sessions.
I feel weak late game. What am I doing wrong? Probably buying additive damage instead of multiplicative pairs. Attack speed plus procs scale; damage-only stats do not. Also check your progression paths: a spread account feels weak because it has no compounding line.
Final Verdict
Ground Zero Hero is free, funny, and mechanically honest. It does not reinvent the horde survivor, but it does the genre's math better than most: the mutation synergy is deep enough to reward planning, the bunker adds a real decision layer, and the bonkers forms give discovery a long tail. The performance caveats and late-game balance notes are real, and the first patch addressed both. Four thumbs up for a free game that respects your FPS as much as your sense of humor.
Play it if you want a power fantasy that costs nothing. Skip it if you need a narrative or a tactical challenge. For everyone else, the wasteland is free, the candy is everywhere, and Radboy is waiting.
Last reviewed by Game How To Editorial. We play each game, verify controls against official sources, and update guides when game mechanics change.
Screenshots