Official game
Play Ballad of the Magic Wand
This game is hosted by Steam. Continue to the official page to play or download it.
View on SteamOverview
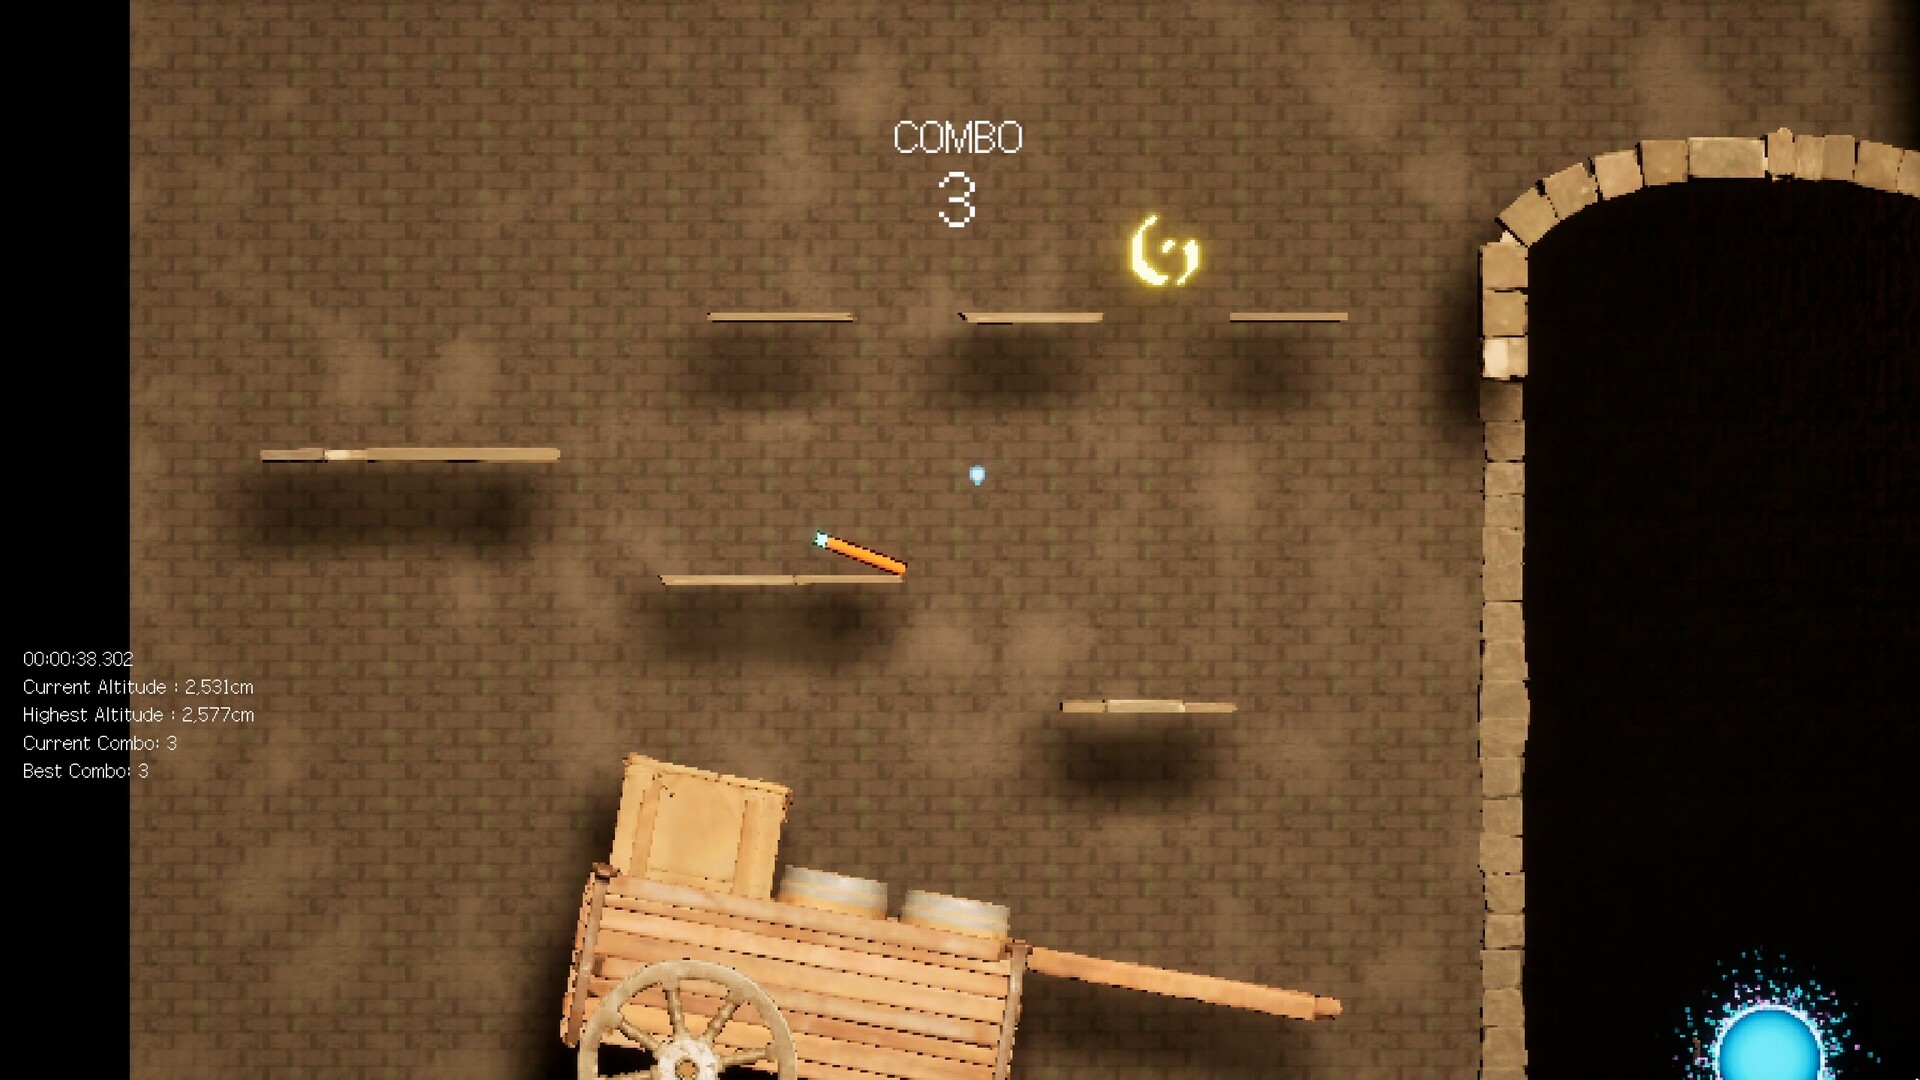
Ballad of the Magic Wand (Korean: 마법 지팡이의 전설) is a physics-based action platformer from solo Korean developer COTAKJI GAMES, released June 18, 2026 on Steam for $8.99 USD. You play as a sentient magic wand on a vertical climb to find your master. The comparison to Getting Over It with Bennett Foddy and Jump King is inevitable — this is a game where falling resets significant progress, where patience is the real stat you level up, and where your best enemy is your own frustration.
But the wand adds a twist. Unlike those games, you have a skill system. As you climb, you unlock abilities that give you new movement options — dashes, shields, wall interactions. These skills are the difference between brute-forcing a section and solving it elegantly. The bosses at the end of each stage function as skill checks, forcing you to apply everything you learned in the climb.
The game is precise, punishing, and intentionally unfair at times. 26 achievements, many with unlock rates below 1%, hint at hidden endings, speedrun challenges, and secrets that the community is still discovering.
| Detail | Value |
|---|---|
| Developer | COTAKJI GAMES |
| Price | $8.99 USD / S$9.99 SGD |
| Platform | Windows (Steam) |
| Genre | Physics-based action platformer |
| Players | 1 (Single-player) |
| Achievements | 26 |
| Languages | 13 (EN, FR, IT, DE, ES, JP, KO, PT, RU, ZH-CN, ZH-TW, PT-BR, ES-LA) |
| File Size | ~2 GB |
| Release | June 18, 2026 |
Getting Started
First 30 Minutes
The game opens at the bottom of the first tower. You have two actions: spin and jump. The tutorial area is short and does not hold your hand — it teaches you one thing and then expects you to execute.
- Learn the spin. Hold the spin button and feel how momentum builds. The wand rotates faster the longer you spin. Release and jump to convert rotational speed into height.
- Short jumps vs long jumps. A quick spin + early jump = short hop. A long spin + late jump = big arc. Almost every platforming challenge is about choosing the right arc.
- Fall gracefully. You will fall. A lot. Accept it. The game lets you control your descent slightly — you can adjust your angle during a fall to land on a platform below.
- First portal is around 30 seconds in. Do not skip it. Portals are the only checkpoints.
Beginner Mistakes
- Spinning too much. Maximum rotation speed does not mean maximum height. There is a sweet spot in the spin-up. Over-spinning throws off your timing.
- Holding forward while jumping. The wand's trajectory is influenced by your input. If you hold toward the wall, you will hit the wall. Let go of directional input during jumps unless you need to steer.
- Rushing. This is not a speed game. Looking at the platform above for an extra two seconds saves ten falls. Patience is a mechanic.
- Ignoring the portal behind you. Portals are rare. If you see one, use it. The game does not autosave everywhere.
- Getting greedy on bosses. Bosses have punish windows. One attack, then reposition. Trying to fit two attacks in one window is how you get knocked down.
Core Mechanics
Spin Momentum
The wand is a physics object with rotational inertia. The spin mechanic converts angular velocity into vertical lift. Think of it like this:
- Rotation speed = potential energy. Faster spin = higher jump.
- Jump timing = release efficiency. Jump at the peak of rotation for max height.
- Surface angle matters. Jumping from a flat surface is predictable. Jumping from a slope changes your trajectory.
The skill ceiling is high. Players who understand the physics can hit pixel-perfect landings that skip entire platform sections.
Skills
As you climb, you unlock skills that expand your movement toolkit. The unlock order is tied to stage progression:
| Skill | Stage Unlocked | Function | Best Use |
|---|---|---|---|
| Dash | Stage 1 mid-point | Quick horizontal burst | Crossing gaps too wide for a normal jump |
| Wall Bounce | Stage 2 | Bounce off vertical surfaces | Escaping pits, reaching high ledges |
| Shield | Stage 2 boss area | Temporary invulnerability | Passing through hazard zones |
| Air Stall | Stage 3 | Brief hover in mid-air | Correcting trajectory mid-jump |
| Ground Pound | Stage 3 late | Fast downward strike | Breaking fragile platforms, hitting switches |
| Double Jump | Stage 4 | Second jump in air | The most versatile skill — enables sequence breaks |
Each skill has a cooldown (except Double Jump, which resets on landing). Learning which skill to use and when is the difference between a clean run and a frustrating one.
Portals and Checkpoints
Portals are the only checkpoints. When you pass through a portal, your progress is saved. If you fall past a portal, you respawn at the last one you activated.
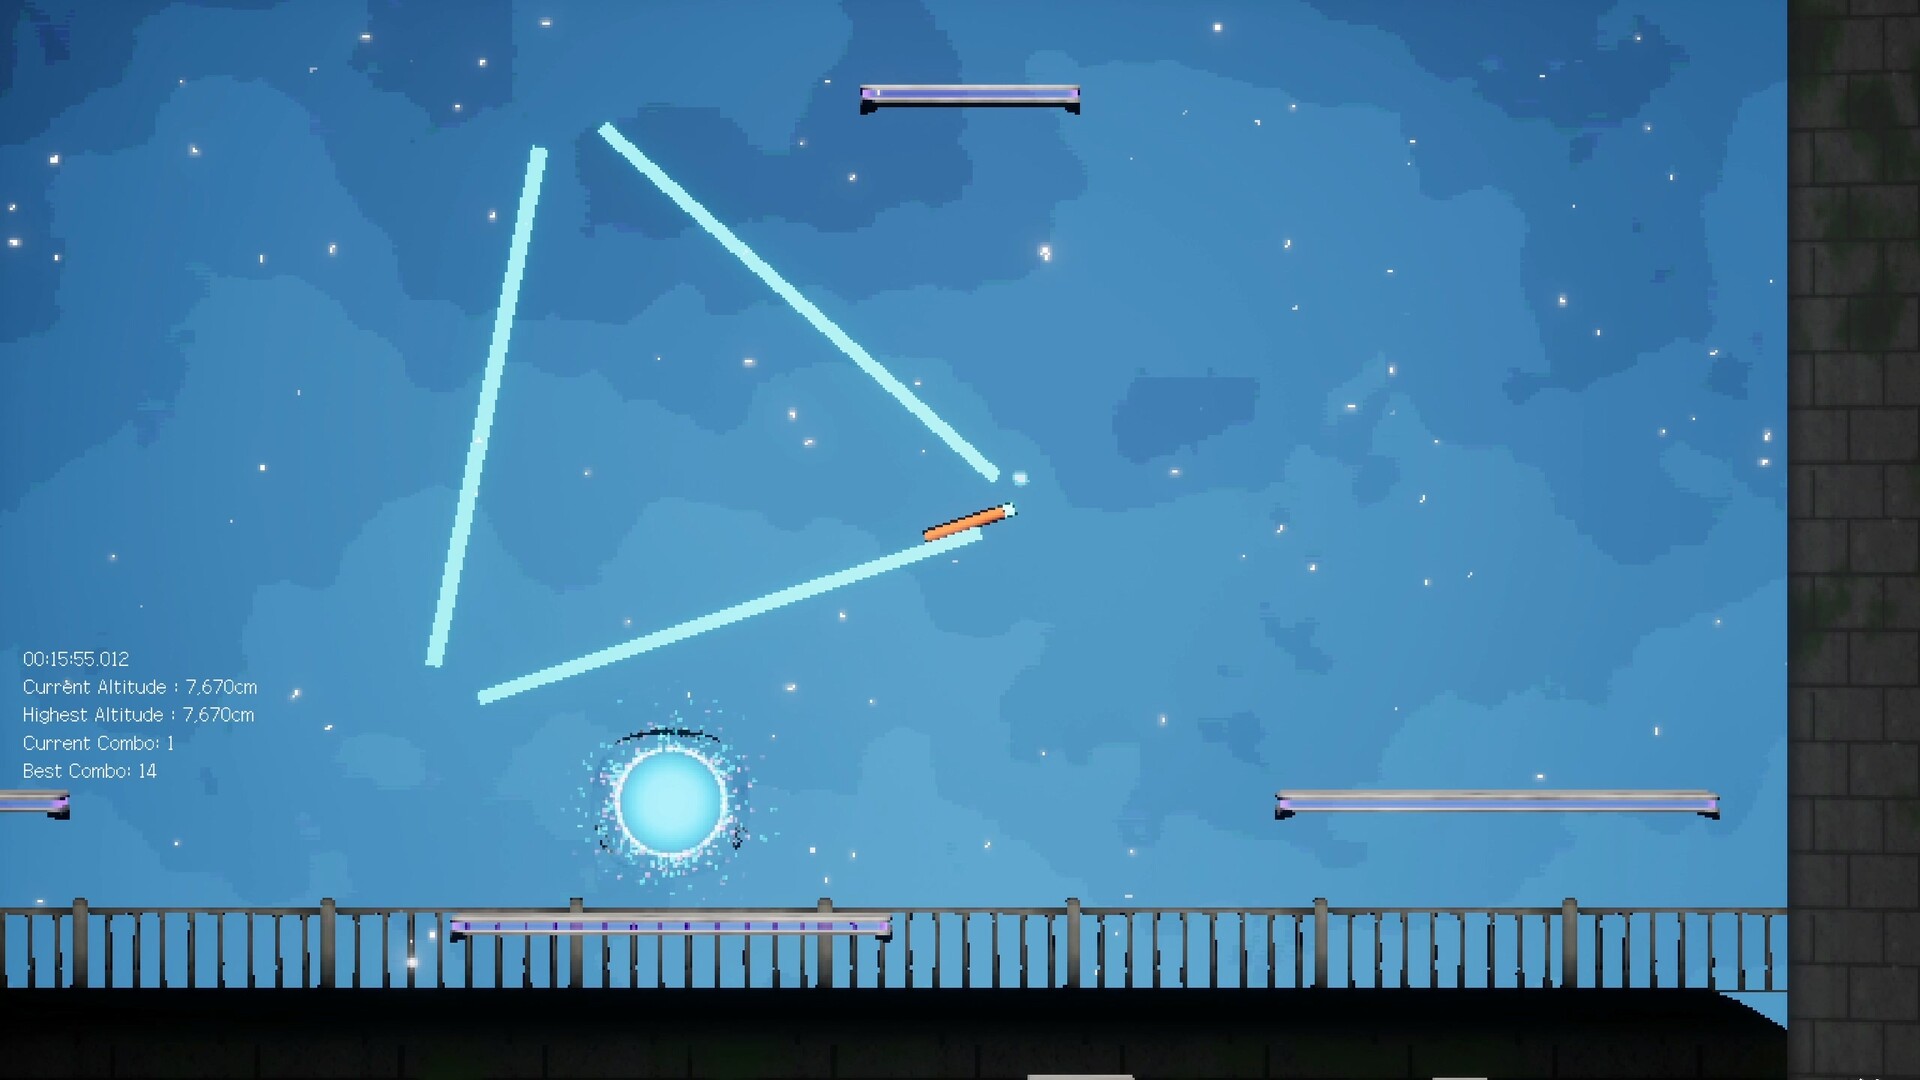
- Portals are marked by a glowing blue ring.
- Some are hidden behind breakable walls or in optional paths.
- The achievement "Used 25 Portals, Really" (0.1% unlock rate) suggests there are more portals than the main path requires. Finding them all is an endgame goal.
- There is a "Save Anytime" accessibility option, but this works differently from portals — it saves your state at that exact position, not at a checkpoint.
Boss Fights
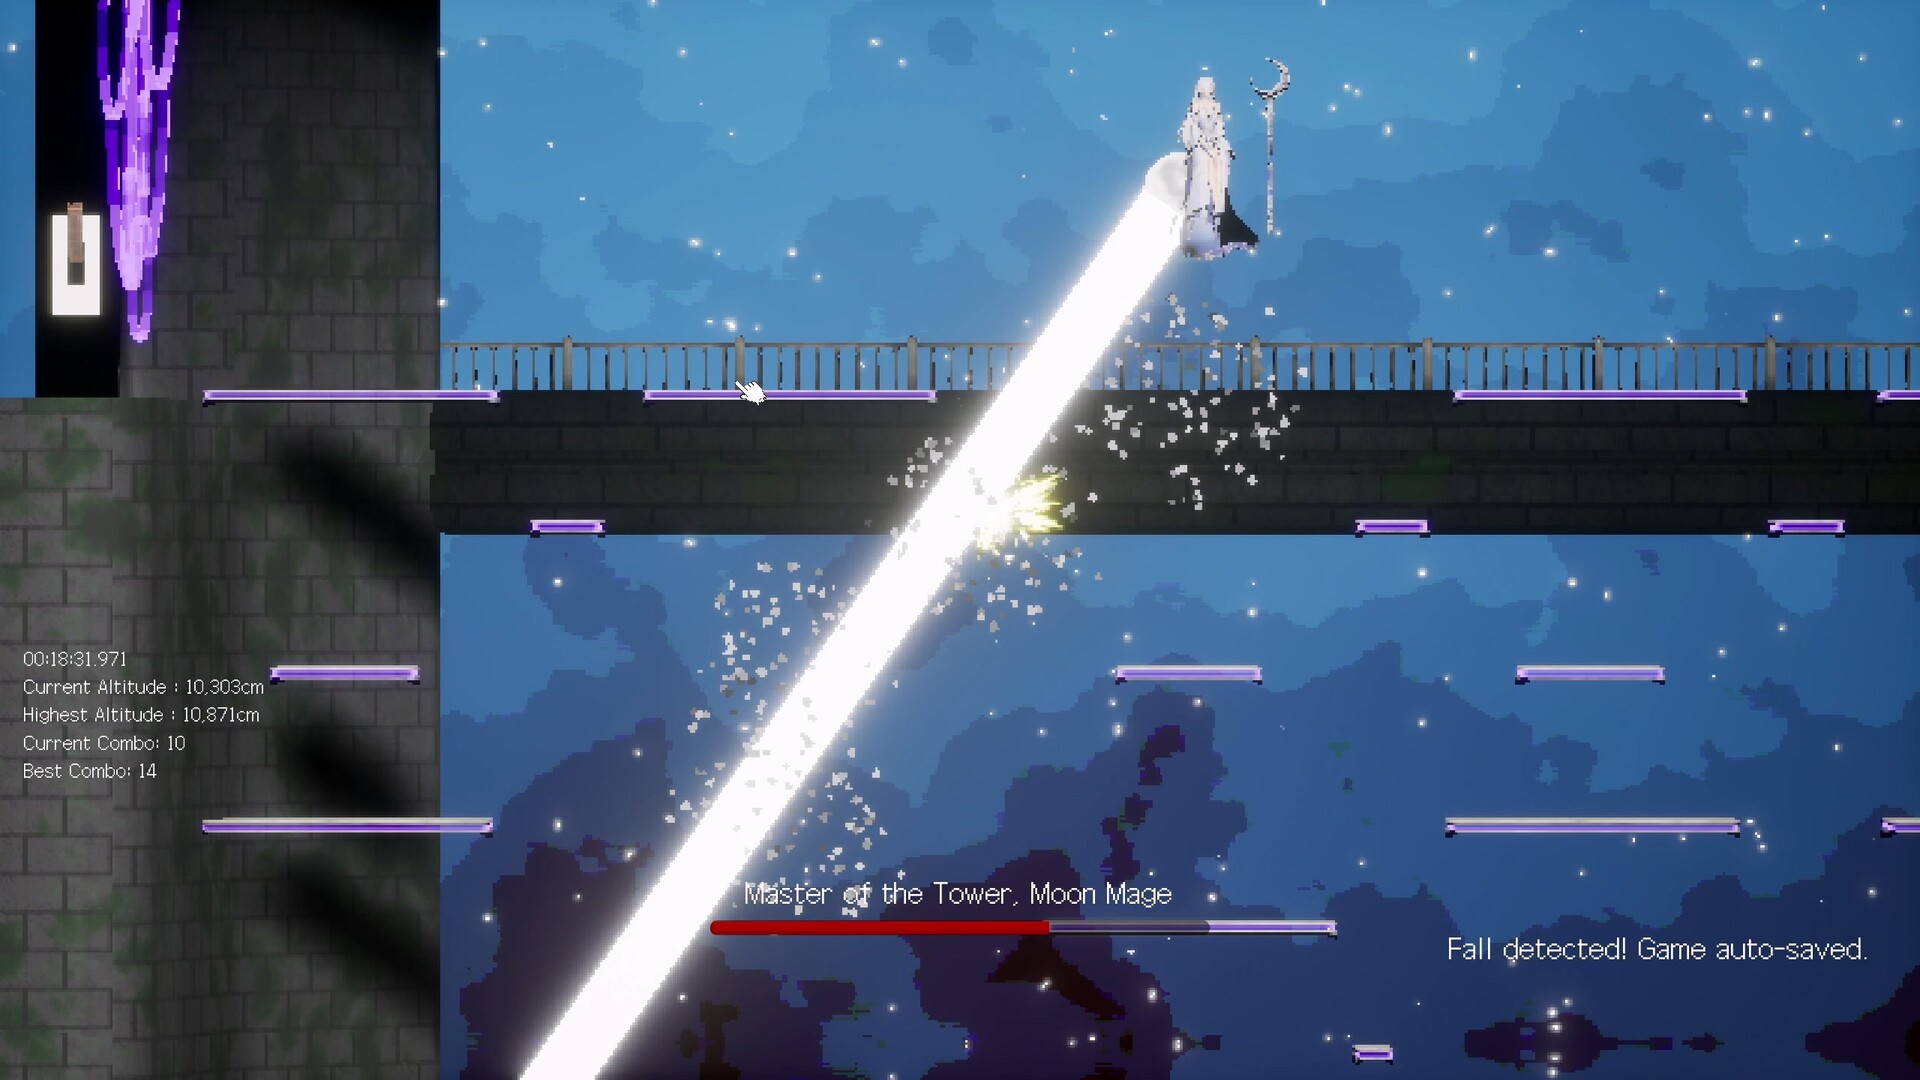
Each stage ends with a boss. Bosses have telegraphed attack patterns with recovery windows. The general flow:
- Boss telegraphs an attack (visual flash, sound cue, pause in movement).
- You dodge or block the attack.
- Boss enters a brief recovery window.
- You deal damage during recovery.
- Repeat until the boss's health bar is empty.
Boss difficulty ramps sharply. Stage 1 boss is a tutorial check. Stage 3 boss introduces environmental hazards. Stage 5 boss (Demon King) is a multi-phase endurance test.
Progression Strategy
Stage 1: The Awakening Tower
Goal: Learn spin mechanics, unlock Dash.
- The first stage is a vertical climb through a ruined tower. Platforms are wide and forgiving.
- Focus on building muscle memory for spin → jump → land.
- The boss is a stone golem with two attacks: a slow overhead slam (dodge sideways) and a ground sweep (jump over).
- Dash unlocks mid-stage. Use it to cross the broken bridge section.
Stage 2: The Crystal Caverns
Goal: Master Wall Bounce and Shield.
- Vertical climb through ice and crystal formations. Surfaces are slippery.
- The Wall Bounce is essential here. Many platforms are too far apart for a normal jump + dash.
- Shield is unlocked before the boss. It blocks one hit.
- The boss is an ice elemental. Phase 1: icicle rain (use shield or dodge). Phase 2: arena-wide freeze (keep moving).
- Tip: The boss's freeze attack has a 3-second windup. Count it out loud.
Stage 3: The Sky Gardens
Goal: Learn Air Stall and Ground Pound.
- Floating platforms in open sky. Visibility is excellent but fall distance is lethal.
- Air Stall lets you pause mid-air for about 1 second. Use it to adjust your landing.
- Ground Pound breaks flower platforms that block certain paths.
- The boss is a giant bird. It swoops in patterns. The Air Stall is crucial for dodging its dive bomb.
- This stage is where most players hit their first major wall. Take breaks.
Stage 4: The Abyss
Goal: Master Double Jump, learn sequence breaks.
- Dark, vertical descent into an underground chasm. Limited visibility.
- Double Jump changes everything. With it, many earlier sections become trivial. The game expects you to have developed the muscle memory by now.
- Hidden portals are everywhere in this stage. Explore off the main path.
- The boss is a shadow wraith that teleports. Double Jump helps you chase it between phases.
Stage 5: The Demon King's Tower
Goal: Everything you have learned, combined.
- A punishing gauntlet of every hazard type in the game. No new mechanics — just execution.
- The Demon King boss has 4 phases. Phase 3 introduces adds. Phase 4 is a bullet-hell pattern.
- This is where 0.1% achievement rates come from. The "Happy Ending," "Bad Ending," and "Skip" ending are all here, determined by choices you make during the fight.
Skill Usage Guide
| Situation | Use |
|---|---|
| Gap too wide for a normal jump | Dash + Jump |
| Wall on right, platform on left | Wall Bounce off the wall |
| Enemy projectile incoming | Shield (tap, don't hold) |
| Overshot a landing | Air Stall to correct |
| Fragile floor below | Ground Pound to break through |
| Need extra height mid-combo | Double Jump (always save it for emergencies) |
Step-by-Step Strategy
1. The Spin-to-Jump Sequence
- Start spinning immediately after landing. Do not wait.
- Count 3 rotations for a standard jump, 5 for max height.
- Release jump at the peak of rotation. The wand should snap upward.
- Let go of all directional input during the jump. Only steer after you are airborne.
- If you are falling short, you released the jump too early. If you are overshooting, you released too late.
2. Surviving a Long Fall
- Do not panic. You have more control during a fall than you think.
- Hold toward the nearest visible platform. The wand tilts slightly in your input direction.
- If you have Air Stall or Double Jump available, use them to break your fall momentum.
- If you have Shield, activate it right before impact. It does not negate fall damage, but it reduces knockback.
- If none of the above, aim for sloped surfaces. Slopes reduce fall distance.
3. Boss Pattern Learning Method
- First attempt: Do not attack. Just dodge. Learn the timing of every telegraph.
- Second attempt: Attack only during the first recovery window after each attack.
- Third attempt: Identify which attacks leave the longest recovery window. That is your damage window.
- Fourth attempt: Execute. If you die, you at least understand the full pattern.
4. Portal Optimization Route
- Activate every portal you see. Even if you do not need it now, you might fall back to it.
- After activating a portal, look around — there is often a second portal or hidden path nearby.
- If you fall past a portal and the climb back is long, consider restarting from the beginning. Sometimes the mental reset is faster.
- The "Used 25 Portals, Really" achievement requires exploring every corner of every stage. Go off the main path.
5. Multiple Endings Walkthrough
- Happy Ending: During the Demon King fight, choose to save your master instead of taking power. The game gives you a dialogue choice in phase 4.
- Bad Ending: Take the Demon King's power when offered. You become the new tyrant.
- Skip Ending: At the final portal before the Demon King, jump past it instead of entering. The game interprets this as skipping the final confrontation. This is the rarest ending (0.1%).
- All endings give achievements. Save before the final area and reload to see all three.
Advanced Tips
- Wall Bounce can chain. Bounce off one wall, then immediately Wall Bounce off the opposite wall. This lets you climb narrow vertical shafts without platforms.
- The spin momentum carries through a Dash. If you spin, then dash, then jump, you keep the rotational speed. This is a sequence-break technique for skipping large sections.
- Ground Pound cancels fall damage. If you Ground Pound into a safe surface (dirt, not spikes), you take no fall damage from any height. This is the most important survival trick in the game.
- Air Stall resets your double jump. In Stage 4 and beyond: jump → Air Stall → double jump. This gives you triple the air time.
- Shield parries exist. If you activate Shield exactly when an attack lands (not before), the attack reflects and deals damage back. The timing window is about 6 frames at 60 FPS.
- Music is a clue. The soundtrack changes tempo before major hazards. If you notice the music slowing, expect a difficult platforming section. If it speeds up, a boss is near.
- Fall to secret areas. Some hidden portals are below the main path. If you see a ledge below you that is not part of the climb, it might be a secret area. Deliberately fall to reach it.
- The "Ouch" achievement (0.1%) requires taking a fall of a specific extreme distance. There is a spot in Stage 3 Sky Gardens where a deliberate fall from the top platform to the bottom triggers it.
FAQ / Common Mistakes
Q: I keep dying at the same jump. What am I doing wrong? A: You are rushing. Stop. Watch the platform above for a full cycle before jumping. Many platforms in this game move, crumble, or have enemy spawns. The game punishes reactive jumping. It rewards patient observation.
Q: How do I unlock Double Jump? A: It is found in Stage 4 (The Abyss). You cannot miss it — it is on the main path. But you can sequence-break to reach it early if you know the route.
Q: Is the game harder than Getting Over It? A: Different kind of hard. Getting Over It is pure physics. Ballad of the Magic Wand adds skills and bosses. The skills make the game easier once you learn them, but the bosses introduce a combat difficulty that Getting Over It does not have.
Q: Can I rebind controls? A: Yes. The in-game settings menu allows full key rebinding. Keyboard-only mode is supported.
Q: How many endings are there? A: Three confirmed: Happy Ending, Bad Ending, and Skip Ending. Each gives an achievement.
Q: Why are some achievements 0.1% unlock rate? A: The game is very new and very hard. Most players have not completed it yet. As more people beat the game, these rates will rise.
Q: What does "Antifragile" mean as an achievement? A: It is a reference to Nassim Taleb's concept — something that grows stronger from stress. The achievement likely requires completing a difficult section without using any checkpoints.
Q: My game crashed. Will I lose progress? A: The game has a "Save Anytime" feature (accessibility option). Enable it. It saves your exact position on manual save, separate from portal saves.
Screenshots