Official game
Play Well Dweller
This game is hosted by Steam. Continue to the official page to play or download it.
Play on SteamOverview
Well Dweller is a dark fairy-tale metroidvania by Kyle Thompson, the solo developer behind Islets and Crypt Custodian, launched September 22, 2026 on Steam. You play Glimmer, a tiny bird armed with a matchstick, on a mission to burn the wicked queen who snatched your siblings. The kingdom under the well is rotting, charming, and full of characters who would rather camp with you than fight you. Polygon already called it one of 2026's best Silksong stops, and the launch-week Steam reviews sit at Very Positive with 98% approval from over 140 reviews.
Thompson's formula is recognizable from Islets: tight platforming, grubs-to-upgrades progression, and a map that rewards every detour. The twist here is the matchstick. It lights dark rooms, ignites thrown vessels, and burns down at the worst times, making light management a resource mechanic instead of a visual flourish. Boss design leans on fair patterns with readable tells. One launch-day reviewer wrote that every death "is from my own fault, not in a cheap hard-for-the-sake-of-being-hard way," which is the exact feel Thompson has been tuning across three games.
Target audience: Hollow Knight fans who want something warmer than Hallownest, Silksong players waiting for their next fix, and anyone who loved Islets' ability-gated map but wants a moodier coat of paint.
Difficulty: adjustable, with explicit settings for difficulty and playable-without-timed-input. Combat is gentler than Hollow Knight, exploration is the real meat, and 87% of players already collected the first story page.
| Fact | Detail |
|---|---|
| Developer | Kyle Thompson |
| Publishers | Kyle Thompson, Top Hat Studios, Doyoyo Games |
| Genre | Metroidvania |
| Platforms | Windows (PC) |
| Release | September 22, 2026 |
| Price | $16.99 USD |
| Achievements | 41 |
| Modes | Single-player |
| Session length | 8-12 hours to credits, 15+ to 100% |
| Hardware | Runs on almost anything (Pentium-era minimum) |
Getting Started: The First Two Hours
- Collect the first story page before anything else. "Once Upon a Time..." (87% unlock) is nearly automatic and the pages double as collectible lore.
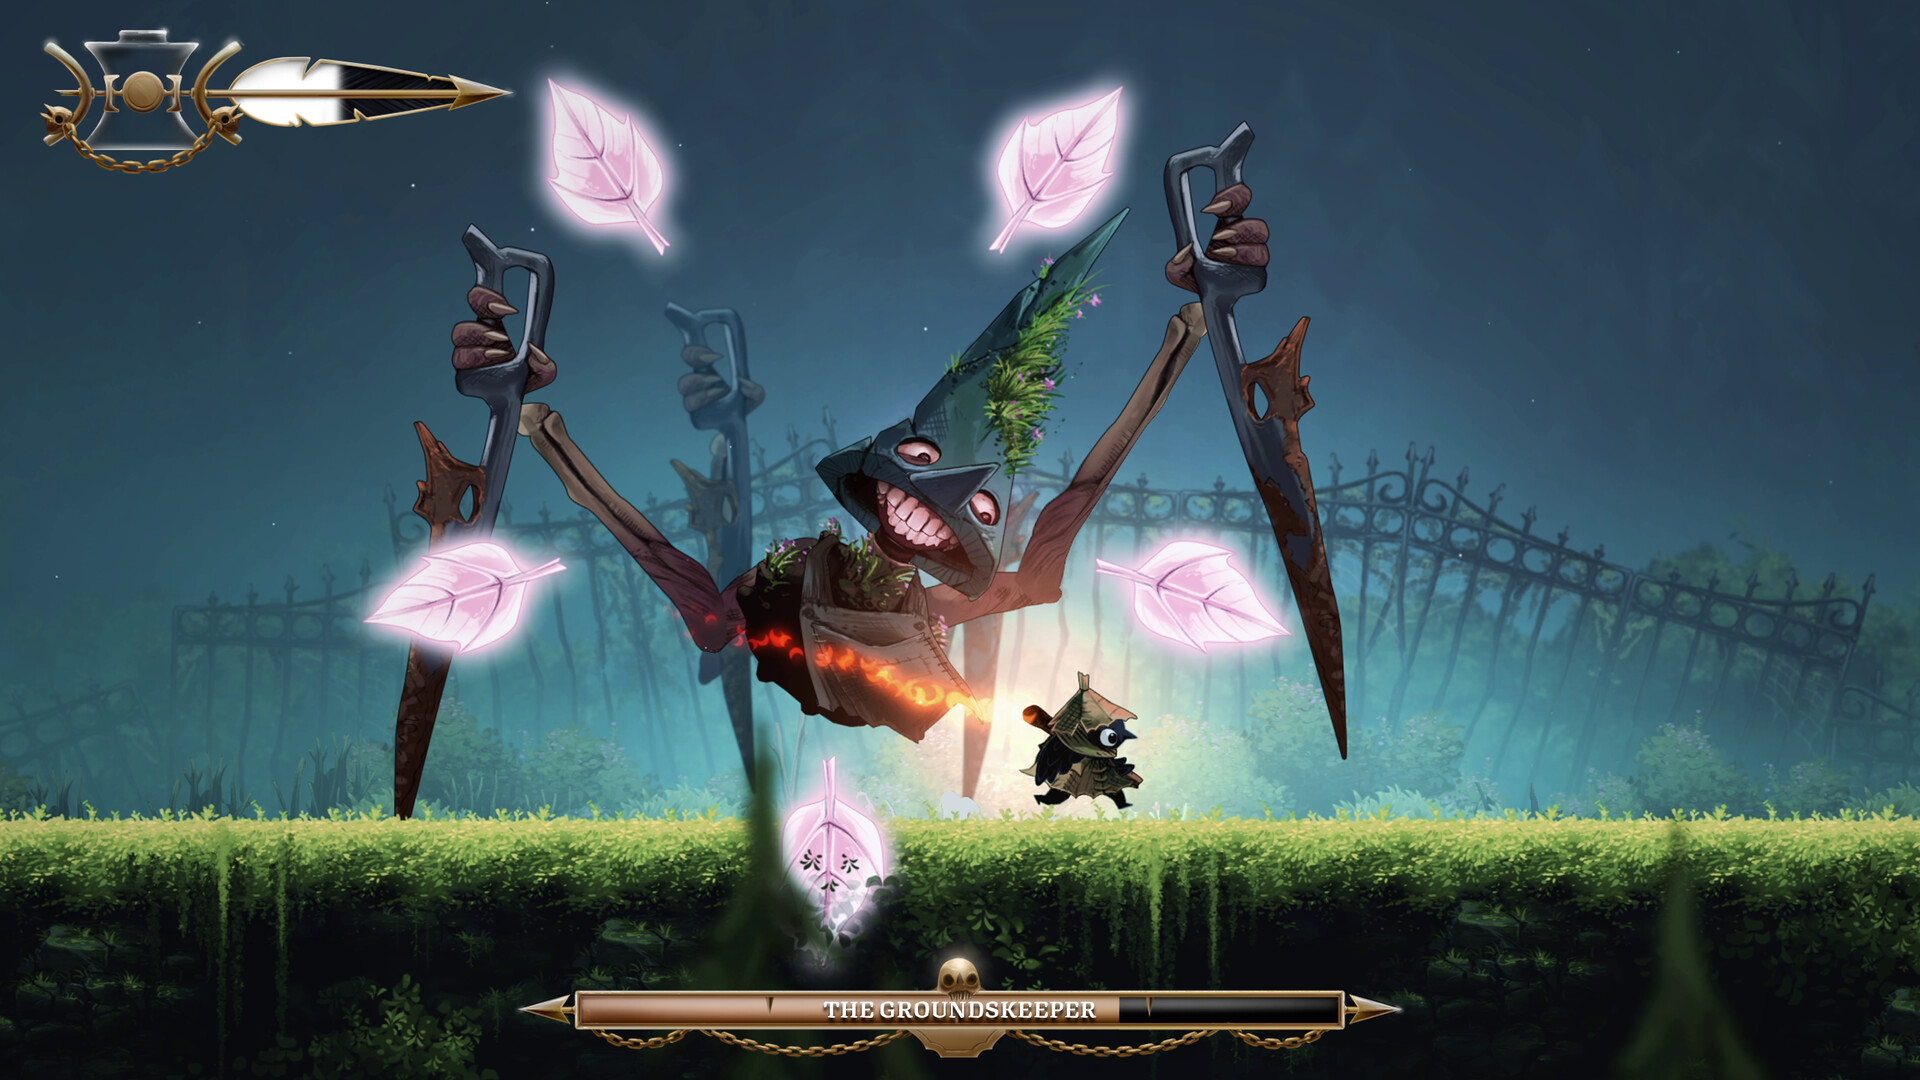
- Beat the Groundskeeper early. "Dark Garden" (80%) is the first boss. His patterns teach the game's core rhythm: dodge on the second beat, punish on the third.
- Return every spirit you see. "Solo Spirit" (75%) requires one, and spirits are the fast-travel-adjacent collectible that later achievements multiply.
- Buy from Looter before you hoard. "First Purchase" (62%) and Looter's shop chain into trinket slots. Money spent on slots early pays for the whole run.
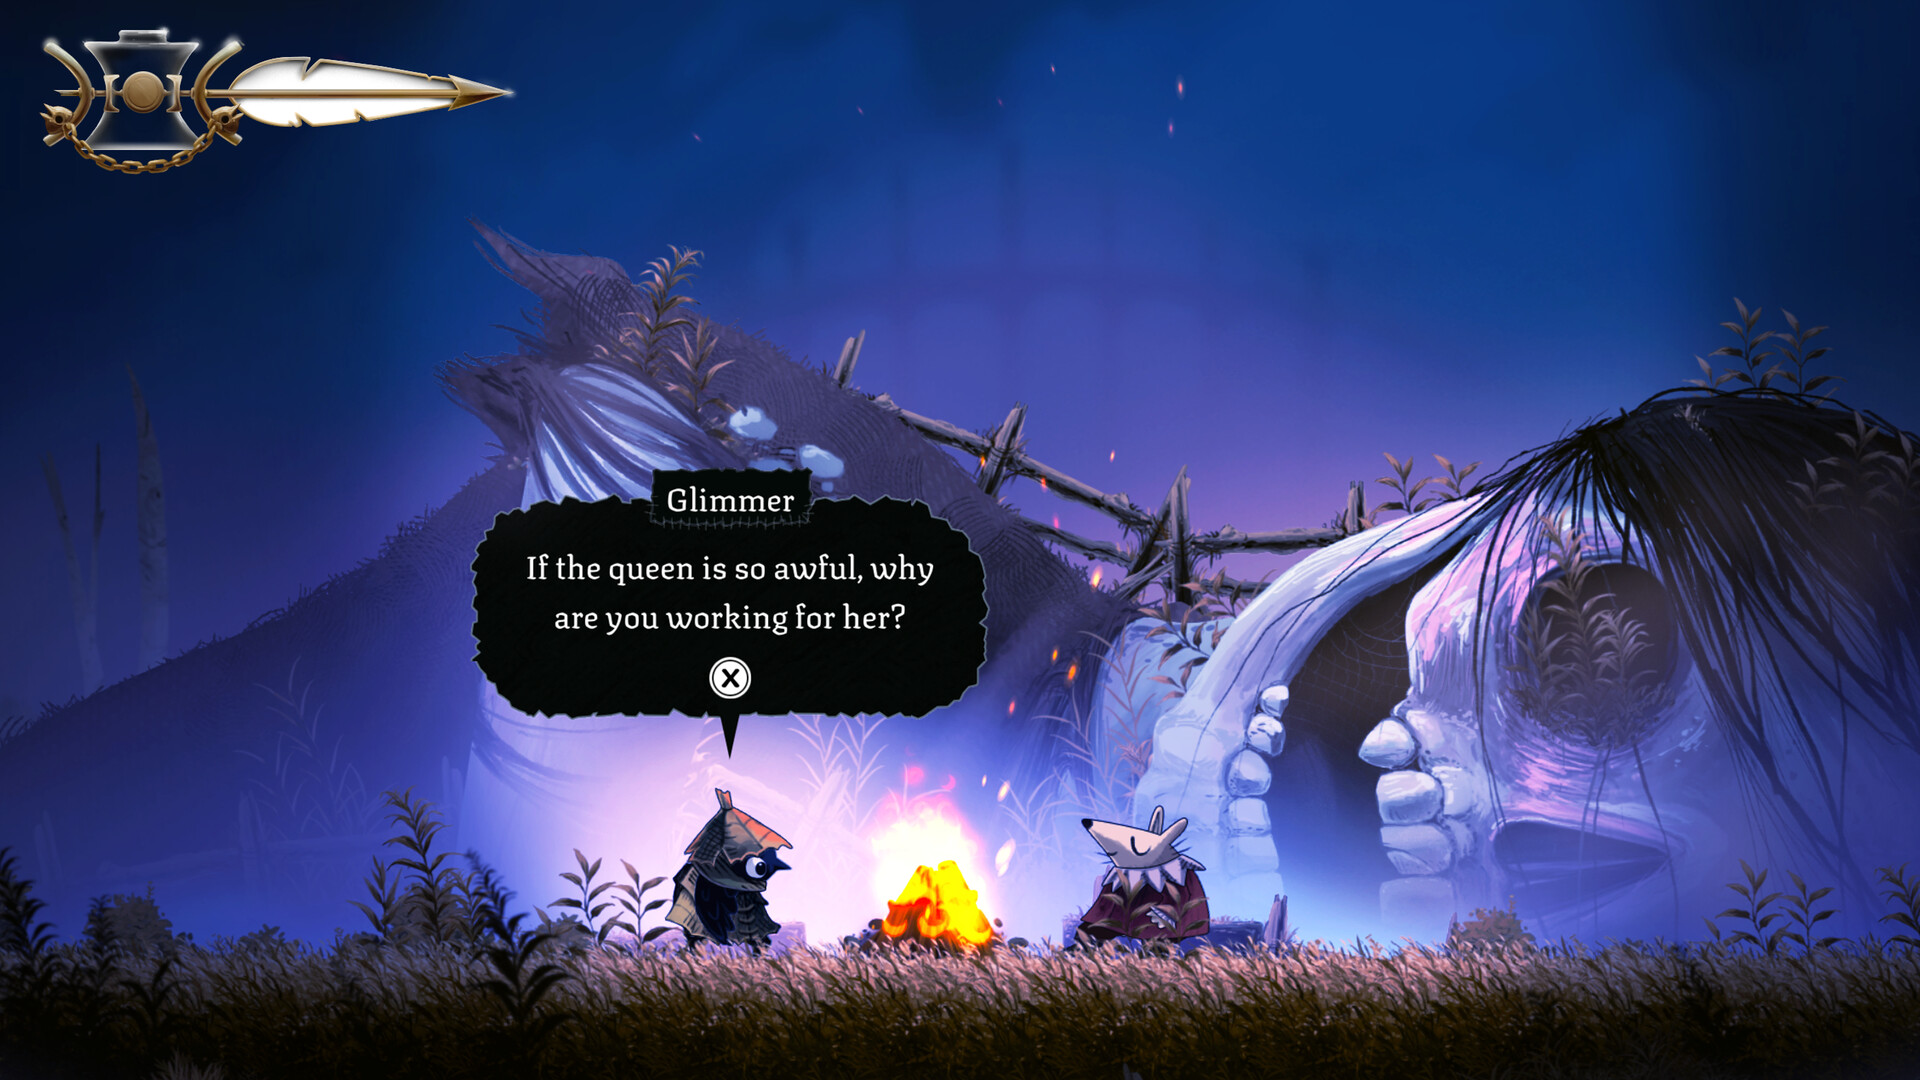
- Go camping the first time Ilda offers. "A Warm Fire" (60%) unlocks the camp mechanic, and camps are your save-adjacent rest points with dialogue you should not skip.
- Chase the Hunter only after ten slots. "Snatched Up" (69%) introduces the Hunter, who snatched Glimmer's siblings. His chase sequences are much fairer with ten trinket slots ("Ten Slots," 54%).
Early Priorities
| Priority | Why |
|---|---|
| Ten trinket slots by mid-game | Slot economy beats every other upgrade |
| Kill 100 enemies on the way | "Warming Up" (31%) stacks passively |
| Find the spa | "Taking a Break" (11%) is easy to miss and pure charm |
| Learn to throw flaming vessels early | "Pyromaniac" (16%) teaches the throw economy |
| Reunite siblings as you find them | "Full Flock" (3%) requires 20, and they hide in optional rooms |
Core Mechanics Explained
The Matchstick Economy
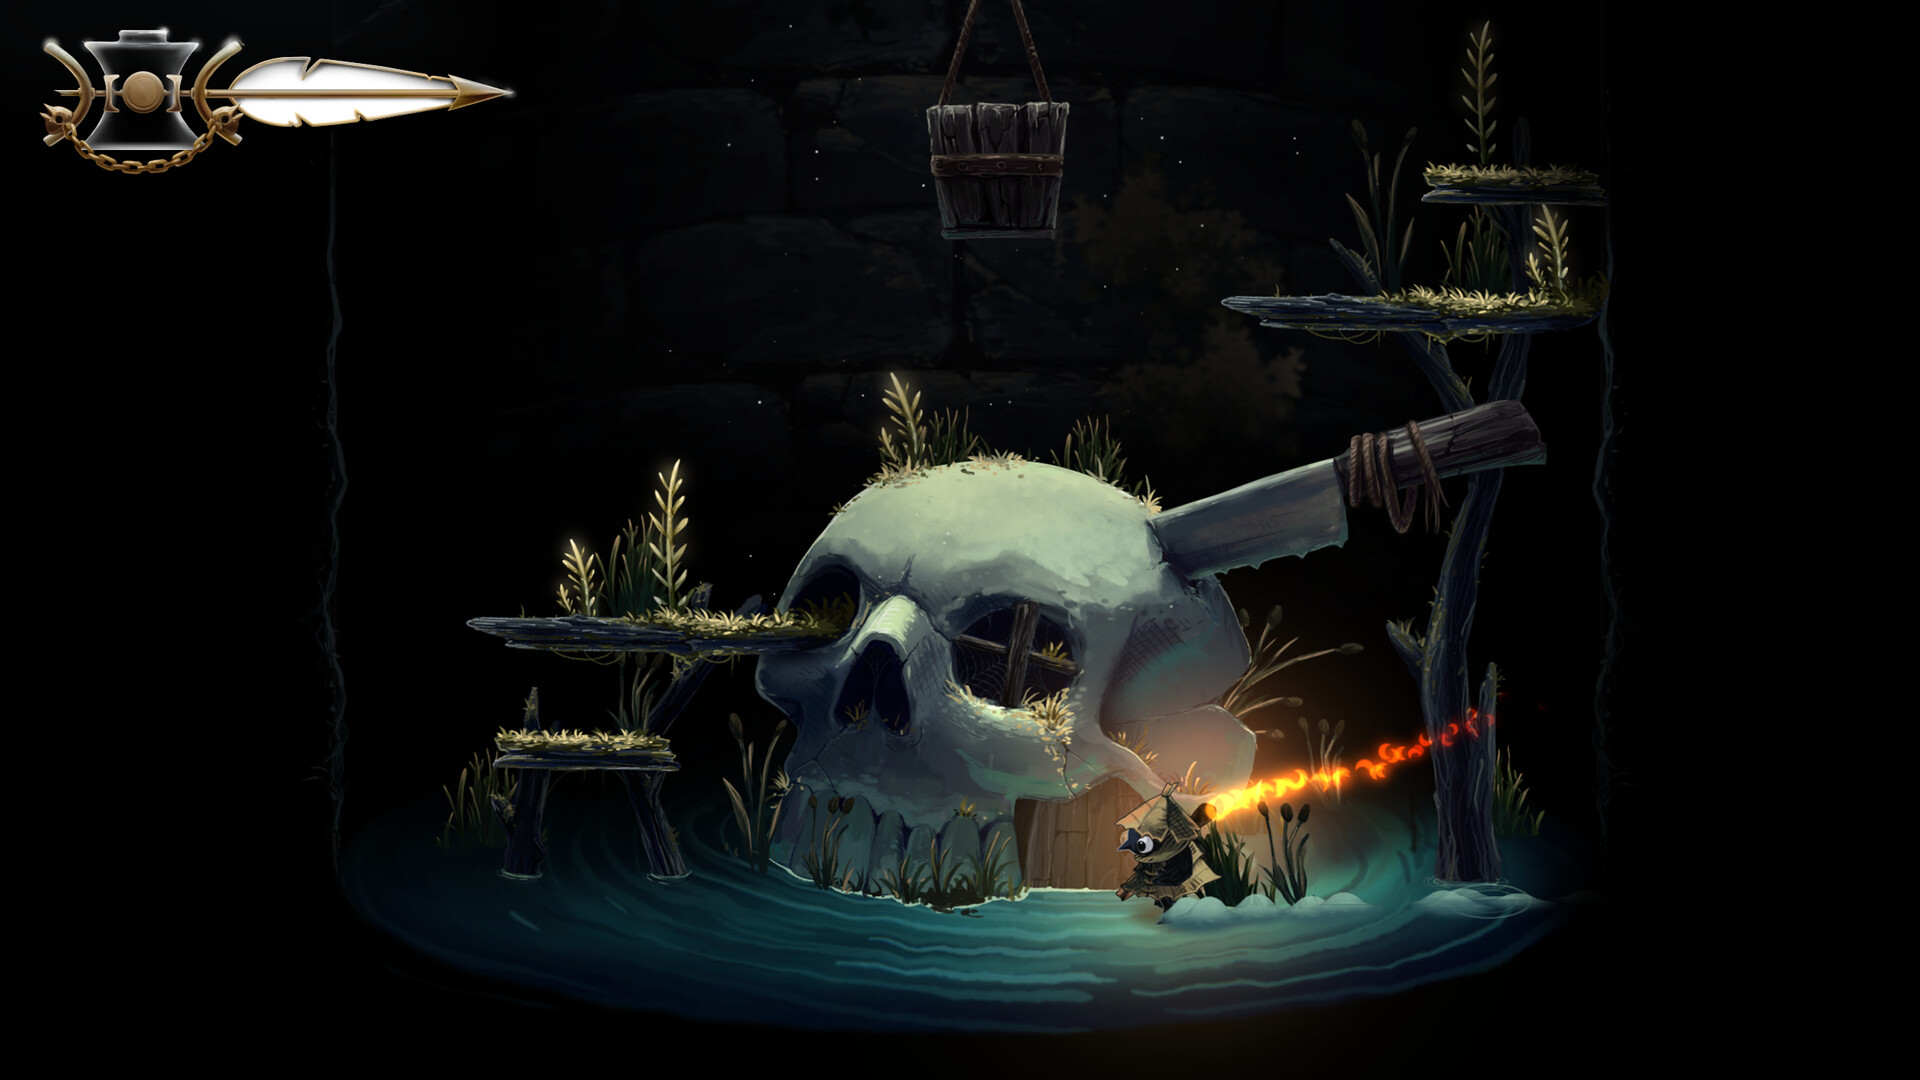
Glimmer's weapon is also his flashlight. The match burns down while lit and relights at rest points, so dark routes become routing puzzles: do you burn light to see a shortcut now, or walk the long safe way? Thrown vessels carry flame too. "Bouncing Bottles" (2%), juggling a flaming vessel ten times without breaking it, is the hardest achievement in the game because it weaponizes the throw physics against the break conditions.
Trinkets and Slots
Trinkets are passive modifiers with real build depth: mixing and matching changes movement, damage, and defense. Slots cap how many you carry, "Ten Slots" (54%) at the first milestone, "50 Slots" (7%) at the late one, and "Expert Collector" (3%) for all 32 trinkets. The launch consensus is that slot upgrades from Looter's shop beat raw damage trinkets until the late game.
The Grub-and-Spirit Loop
Thompson's signature loop from Islets returns. Spirits you return restore parts of the kingdom and unlock routes, siblings rescue into the "Full Flock" chain, and story pages ("Above the Kingdom" and "The Tattered Doll" and "The First-Born Daughter," each 3%) complete the three book sets. Backtracking is generous: ability gates rarely send you more than two zones back.
Camping with Ilda
Camps are the rest mechanic. Besides healing, Ilda's camp dialogues change based on your progress and sibling count, and the spa ("Taking a Break," 11%) is a one-room detour with a hidden dialogue trigger. Camps are also where the game does its quiet storytelling, so the 11% unlock rate means most players are speedrunning past the soul of the game.
The Queen and the Kingdom
The queen is the end boss ("The End," 3%) and the rot on the kingdom is her doing. The "Hide and Seek" achievement (18%) tracks the mid-game chase where you evade her directly, and "Fancy Feast" (7%) requires winning over the Forest King first. The map funnels you through her domain three times, each with a new ability gate.
The Boss Gauntlet and What Each One Teaches
Bosses are the achievements' signposts, and unlock rates show exactly how far launch-week players got.
| Boss | Achievement | Unlock % | The Lesson |
|---|---|---|---|
| Groundskeeper | Dark Garden | 80% | Dodge on beat two, punish on three |
| The swarm | Buggy Business | 44% | AoE trinkets before this fight |
| Lady of the Drains | Down the Drain | 31% | Vertical spacing; the ceiling is a weapon |
| Shrine of the Seven Sons | Stormy Night | 11% | Multi-phase stamina management |
| Starsinger | Song of the Stars | 8% | Audio cues matter more than visuals |
| Forest King | Fancy Feast | 7% | Social fight; no combat, all choices |
| Gravedigger | Dig Deep | 5% | Patience beats aggression |
| Silver Doll | Sharp and Shiny | 3% | Parry-timing graduation exam |
| The Queen | The End | 3% | Everything combined, plus fire |
Where Players Stop
Half the player base cleared the first two bosses on launch day. The Lady of the Drains at 31% is the current wall, and the mid-game chase ("Hide and Seek," 18%) is where single-sitting sessions end. Plan your session around those two points.
Advanced Tips and Strategies
The Vessel Juggle Route
Flaming vessels break on the second bounce, but the "Bouncing Bottles" achievement (2%) asks for ten juggles. The trick is the shallow arc: throw upward at the apex of a jump so the vessel returns to your hitbox instead of the floor. Attack upward to reset the arc. Ten consecutive resets without a floor touch completes it. Practice near a camp, because the relight timer is forgiving there.
Slot Rush Build
Skip damage trinkets entirely for the first three zones. Every coin into Looter's slot upgrades. By the Lady of the Drains you run six slots while other players run two, and the Queen fight becomes a question of which six synergies you chose rather than whether your reflexes hold.
The Spirit Fast Loop
Returned spirits unlock kingdom repairs that open new shortcuts. Routing spirits in a loop (return, repair, new route, next spirit) beats linear collection by about 40% of map travel. The "Full Flock" siblings chain (20 siblings, 3%) is the long pole: mark every optional room on your map, because three siblings are behind water gates that only open after the Starsinger.
Camping Economy
Ilda's camp dialogues advance on visit count, not time. Three visits per camp unlocks her full chain, which ties into "Together at Last" (2%) for reuniting the flock. Plan camp visits in threes and the social achievements complete themselves alongside normal progression.
Fire Management for the Queen
The Queen fight has a dark phase where the matchstick is your only light source. Enter with a fresh match and at least one vessel in reserve. Players who burn their light on the approach route fight the last phase half-blind, which is why "The End" sits at 3% while "Sharp and Shiny" (the fight before it) is also 3%: they fail as a pair.
Beginner Mistakes to Avoid
| Mistake | Why It Hurts | Fix |
|---|---|---|
| Ignoring Looter until late | Slot upgrades compound across the whole run | Visit Looter every new zone |
| Hoarding vessels | Unthrown vessels do nothing; the throw economy is free damage | Throw early, throw often |
| Skipping camps | Ilda's dialogues gate the best achievements and the healing | Camp three times per stop |
| Fighting the swarm without AoE | Single-target matchstick pokes drag the fight to ten minutes | Bring AoE trinkets to Buggy Business |
| Rushing past the spa | One room, one achievement, pure charm | Take the detour |
| Selling trinkets you find "useless" | Late synergies need early pieces | Keep one of everything |
| Missing the Starsinger's audio tells | The fight punishes visual-only play | Play a session with sound on |
FAQ
How long is Well Dweller? 8-12 hours to credits, 15+ for 100% with all 41 achievements. "The End" sits at 3%, so most players have not finished yet.
Is Well Dweller related to Hollow Knight or Islets? Same developer as Islets and Crypt Custodian (Kyle Thompson). No connection to Hollow Knight or Team Cherry, though Polygon pitched it as a "Silksong replacement."
Does Well Dweller have difficulty settings? Yes, adjustable difficulty plus a playable-without-timed-input option and camera comfort settings.
What are trinkets? Passive modifiers you mix and match in Looter's-bought slots. 32 exist, and "Expert Collector" (3%) requires all of them.
Who is Ilda? A tiny mouse on the run from the queen. Camping with her is the rest mechanic and the game's emotional core.
What are the system requirements? Very low: Pentium E2180, 4 GB RAM, GeForce GT 220, 1 GB storage. Almost any PC from the last fifteen years runs it.
Is there a demo? Yes, Well Dweller participated in Steam Next Fest with a demo (v1.031 was the final pre-launch version). Demo progress does not carry over.
How many siblings are there to rescue? Twenty, tracked through "Full Flock" (3%). Three hide behind water gates that open after the Starsinger boss.
Is Well Dweller on consoles or Mac? Windows only at launch. The PS5 version was announced for a later date; there is no Mac or Linux version.
What is the hardest achievement? "Bouncing Bottles" at 2%: juggle a flaming vessel ten times without letting it break. The shallow-arc throw technique above is the only reliable method found so far.
Does the matchstick run out permanently? No. It relights at camps and rest points. Managing the burn is a routing puzzle, not a fail state.
Verdict
Well Dweller is Kyle Thompson's best-looking game and his moodiest, a dark fairy tale that never mistakes cruelty for depth. The trinket system gives it real build variety, the bosses teach fairly, and Ilda's camps give it a heart that Hollow Knight never attempted. Buy it if you want a metroidvania that respects your weekend; skip it if you need combat depth above all else, because exploration is the main event here.
The tip worth the price of admission: every coin into slots before damage. Looter's shop is the real difficulty slider.
Last reviewed by Game How To Editorial. We play each game, verify controls against official sources, and update guides when game mechanics change.
Screenshots