Official game
Play Slice the Crops!
This game is hosted by Steam. Continue to the official page to play or download it.
Buy on SteamOverview
Slice the Crops! is a non-idle incremental action RPG from Wobblers Games where your mouse is a blade and enemy crops are the target. Released June 12, 2026 on Steam, it takes the satisfying drag-to-slice mechanic of arcade fruit-slicing games and wraps it in a progression system with a talent tree, research lab, tool upgrades, and 50 waves of escalating chaos across 5 zones, plus an endless endgame mode.
The premise is simple: mutant crops overran the farm. Sentient apples, explosive pineapples, teleporting grapes, armored watermelons, and worse. One slice per crop, coins and XP pop out, and you spend them on upgrades to slice faster and harder. The loop is tight, tactile, and immediately rewarding.
Target audience: Incremental game fans who want active play with meaningful build decisions. Achievement hunters. Players who enjoyed Fruit Ninja but wished it had a skill tree. Not for players seeking deep narratives or long-form progression (campaign is 60–90 minutes).
Difficulty: Low to learn, moderate to master. The skill ceiling comes from combo optimization, build planning, and knowing which tools counter which crop types.
Getting Started — First 15 Minutes
The first wave
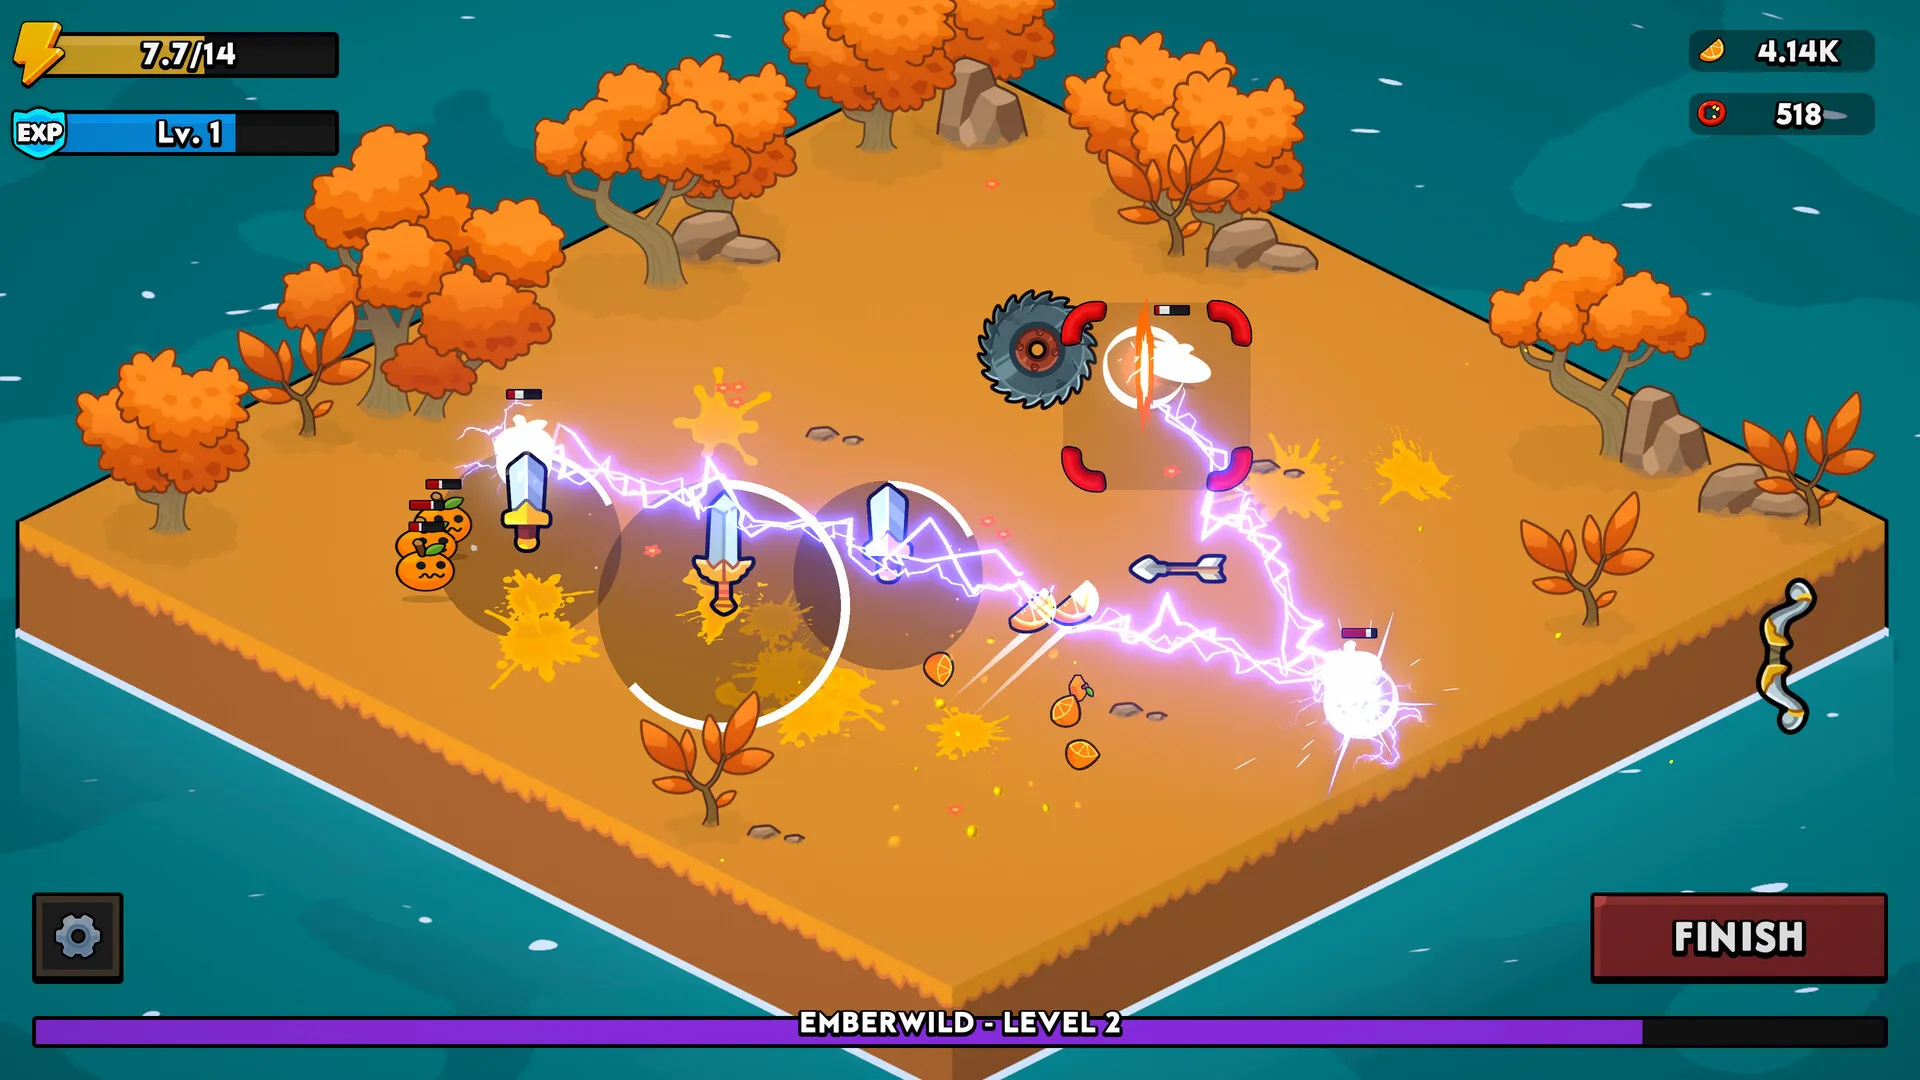
You start facing basic Apples and Oranges. Click and drag your mouse across them to slice. Each crop bursts into coins and a purple XP orb. Coins auto-collect at wave end if missed.
Beginner mistakes to avoid
Ignoring the Economy branch. The very first node you should buy is the 20% coin bonus in the Economy tree. It pays for itself within two waves and accelerates everything after.
Single-slicing instead of comboing. Slicing multiple crops in one continuous drag triggers a combo. A 3-crop combo gives ~1.5x coins, a 5-crop combo yields ~3x. Always sweep through the densest cluster, not the edges.
Hoarding the starting tool. You can switch tools between zones. The Classic Blade is fine for zones 1–2, but by zone 3 you should switch to something specialized. Do not get attached.
Ignoring the Research Lab. Unlocked after zone 1, the lab gives permanent upgrades. Auto-Slicer is the most important — it generates free slices while you focus on movement and combos.
Spending all coins immediately. After wave 10, intermission events sometimes offer permanent stat boosts for coins. Keep ~500 coins in reserve.
Core Mechanics Explained
The Slice System
The entire game revolves around one action: click + drag. The cursor is your blade. Any crop whose hitbox touches your drag path gets sliced.
- Slice speed: How fast your drag registers hits. Modified by the Rapid Slicer tool and Slicing tree nodes.
- Slice damage: Base damage per slice. Modified by the Heavy Cleaver, Slicing tree, and critical hits.
- Combo chain: Each crop hit within 0.5 seconds of the last adds to the combo multiplier. The counter appears above your cursor.
- Critical slices: Percentage chance to deal 2x damage. Unlockable in the Slicing tree.
The Talent Tree
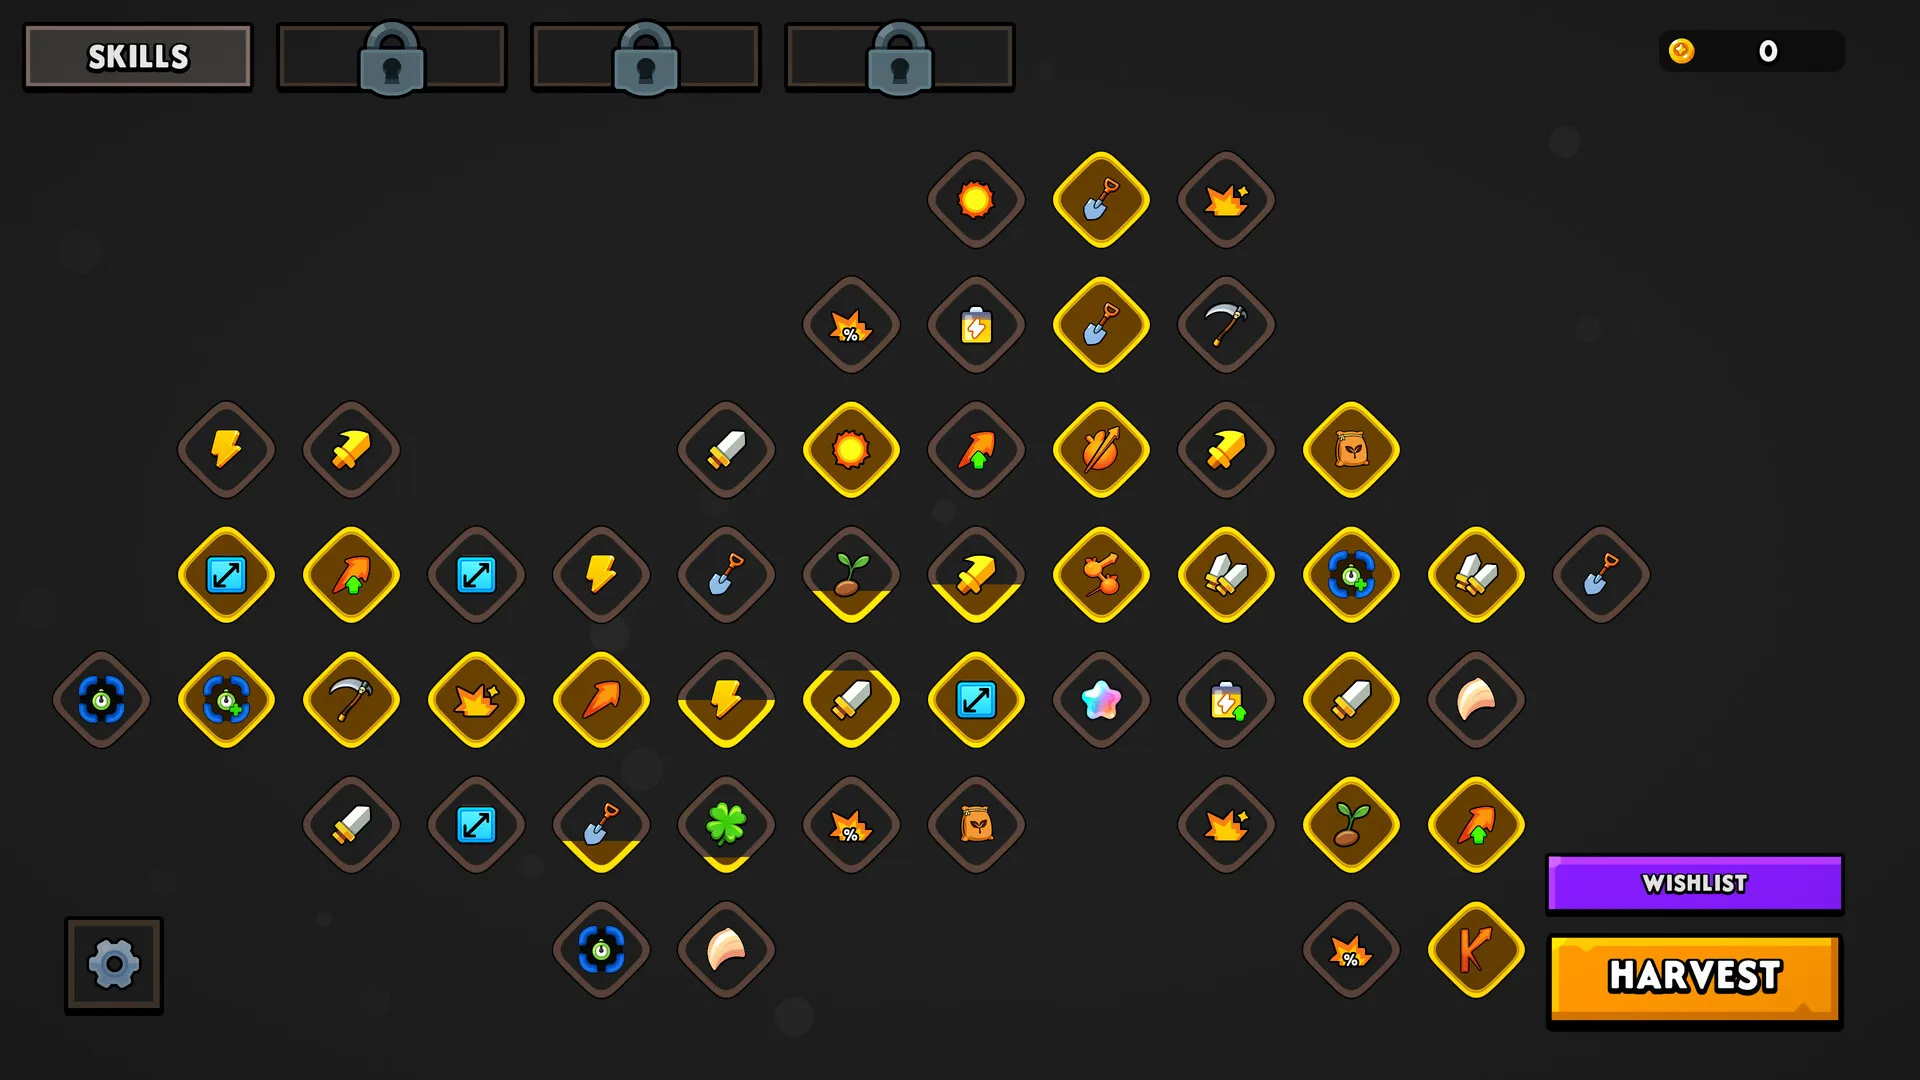
~30 nodes across three branches:
| Branch | Focus | Key Nodes |
|---|---|---|
| Slicing (orange) | Damage, crits, area | Sharpened Blade, Precise Strikes, Whirlwind, Sawblade Mastery |
| Defense (blue) | Survivability, knockback, shields | Tough Skin, Knockback Wave, Shield Generator, Anti-Armor |
| Economy (green) | Coins, combos, passive income | Lucky Coins, Combo King, Magnet, Interest |
Cost range: 50 to 5,000+ coins per node. The last 3 nodes in each branch cost 5,000+ coins each and gate the "Unlock All Talents" achievement.
The Research Lab
Unlocked after zone 1. Provides permanent upgrades researched between waves:
- Auto-Slicer Mk I–III: Automated blade that fires every 3/2/1 seconds. Priority #1.
- Elemental Infusion: Adds fire (DoT), ice (slow), or shock (chain lightning) to your slices. One active at a time.
- Multi-Target: Each slice hits 1/2/3 additional random crops within range.
- Research Speed: Reduces research time (cosmetic — all research is instant in current version).
The Tool System
Five tools, each with a distinct playstyle. You can switch between zones:
| Tool | Effect | Best For |
|---|---|---|
| Classic Blade | Balanced damage + speed | Beginners, zones 1–2 |
| Heavy Cleaver | +50% damage, −30% swing speed | Armored crops, boss waves |
| Rapid Slicer | −40% damage, +100% swing speed | Combo stacking, economy rushing |
| Serrated Sawblade | Bleed DoT on hit | Endgame, endless mode |
| Arcane Slicer | +elemental proc chance | Elemental synergy builds |
The Forge
Unlocked after zone 3. Upgrade your equipped tool for coins (max level 3):
| Tool | Level 3 Bonus |
|---|---|
| Classic Blade | +30% combo multiplier |
| Heavy Cleaver | +100% damage (total +175% from base) |
| Rapid Slicer | Slices count as double for combo |
| Serrated Sawblade | Bleed stacks up to 5× |
| Arcane Slicer | 100% elemental proc chance |
Crop Encyclopedia — What You Are Fighting
| Crop | Zone | HP | Special Behavior | Counter |
|---|---|---|---|---|
| Apple | 1 | Low | None | Slice freely |
| Orange | 1 | Low | Moves left–right | Easy combo filler |
| Lemon | 2 | Low | Leaves slowing puddle on death | Slice from range |
| Pineapple | 2 | Medium | Explodes on slice, damages nearby crops | Use to chain-clear clusters |
| Chili Pepper | 3 | Medium | Leaves fire zone on death (DoT area) | Slice and move away |
| Watermelon | 3 | High (×2) | Armored — needs 2 slices | First slice cracks armor, second kills |
| Grape Cluster | 4 | Low (×6) | Splits into 6 smaller grapes | Sweep the resulting spread |
| Teleporting Grape | 4 | Medium | Randomly teleports every 2s | Wait for it near others |
| Boss Apple | 5 | Very High | Charges, spawns mini-apples on death | Keep moving, use knockback |
| Boss Pineapple | 5 | Very High | Explodes in stages, leaves fire everywhere | Stay at arena edge |
Builds — Tier List
S-Tier: Sawblade Bleed Stack
Tool: Serrated Sawblade (forge level 3) Tree priority: Slicing (Whirlwind → Precise Strikes → Sawblade Mastery), Defense (Knockback Wave ×3), Economy (Interest, Lucky Coins) Research: Auto-Slicer Mk III, Elemental Infusion: Shock
Stack bleed on everything and kite. At forge level 3, bleed stacks up to 5 times, dealing ~15% max HP per second. This is the consensus strongest build for zone 5 and endless mode. The knockback keeps crowds at range while DoT melts them.
Why it works: Bleed damage bypasses armor layers. Against armored watermelons (zone 3+), bleed ticks the full 15% while your direct slices only hit the outer shell.
S-Tier: Knockback Pusher
Tool: Heavy Cleaver (forge level 3) Tree priority: Defense (Knockback Wave ×3, Shield Generator, Anti-Armor), Economy (sustain), Slicing (last) Research: Auto-Slicer Mk I, Multi-Target
Zone 5 crops have so much HP that killing them is sometimes slower than pushing them off the arena edge. Each edge kill counts. Stack knockback nodes and use the Heavy Cleaver's hidden knockback multiplier. The arena edges are your best friend.
Why it works: Some zone-5 bosses have HP pools that would take 3+ minutes of sustained DPS to drain. Pushing them off the edge ends the fight in 15 seconds.
A-Tier: Economy Rush
Tool: Rapid Slicer Tree priority: Economy (Lucky Coins → Combo King → Magnet → Interest → all nodes), then dump into Slicing Research: Auto-Slicer Mk I
Ignore combat upgrades for zones 1–3. Farm combos with the Rapid Slicer (faster swings = more combo opportunities). The coin multiplier snowballs so hard that by zone 4 you can afford max-level Slicing nodes instantly.
Risk: You will struggle in zones 3–4 until the economy kicks in. Requires discipline to not buy Slicing nodes early.
A-Tier: Elemental Synergy
Tool: Arcane Slicer (forge level 3) Tree priority: Slicing (Whirlwind), Economy (some), Research (Multi-Target, Elemental Infusion: Shock) Research: Elemental Infusion: Shock, Multi-Target Mk II–III
At forge level 3, Arcane Slicer gives 100% elemental proc chance. Shock chain lightning hits up to 5 crops per proc, each of which can proc its own chain. In dense waves, two slices clear the screen.
Why it works: The chain lightning is the only area-clear mechanic that scales with enemy density. More crops = more chains = more damage.
B-Tier: Classic Balanced
Tool: Classic Blade (forge level 3) Tree priority: Balanced across all three branches
The safe option. Works for a casual playthrough but lacks the specialized power to handle zone 5 efficiently. The level-3 bonus (+30% combo multiplier) is solid but not build-defining.
Step-by-Step Strategy Sequences
Sequence 1: Zone 1 Speedrun (Waves 1–10)
- Buy the first Economy node (20% coin bonus) immediately after wave 1.
- Spend waves 2–5 focusing on combos. Sweep diagonally through clusters.
- After wave 5, buy Sharpened Blade (Slicing T1) and Lucky Coins (Economy T2).
- After wave 10 (zone clear), unlock the Research Lab and start Auto-Slicer Mk I.
- Total coins earned by zone 2: ~1,200 with consistent 5-stack combos vs. ~300 without.
Sequence 2: Mid-Game Transition (Zone 3, Waves 21–30)
- Switch from Classic Blade to Serrated Sawblade or Heavy Cleaver.
- Invest 3 points in Knockback Wave (Defense tree). Watermelons and Chili Peppers start stacking up — knockback gives you breathing room.
- Research Elemental Infusion: Shock in the lab. The chain lightning helps with Grape Clusters.
- Visit the Forge for the first time. Upgrade your tool once.
- Keep a 500-coin reserve for intermission events.
Sequence 3: Zone 5 Boss Strategy (Waves 41–50)
- Boss Apple charges. Do not stand still. Drag slices across its path as it charges.
- When Boss Apple dies, it spawns 6 mini-apples. Sweep them immediately with a wide arc.
- Boss Pineapple explodes in stages. Watch for the flash animation — that is your cue to move to the arena edge.
- Use knockback to keep Boss Pineapple at range. Its fire zones persist for 15 seconds.
- If using Sawblade build, stack 5 bleeds and kite. If using Knockback Pusher, push both bosses toward the edge.
Sequence 4: Endless Mode Survival (Wave 50+)
- Your build must be finalized before entering Endless Mode — you cannot change tools after wave 50.
- The difficulty curve steepens every 10 waves. Wave 60 is the first major wall.
- Movement is everything. Static slicing gets you killed. Use the full arena.
- Auto-Slicer Mk III is mandatory. It handles stragglers while you focus on threats.
- Sawblade Bleed Stack is the consensus strongest for endless. Knockback Pusher is second best.
- Boss Pineapple's fire zones can trap you against the invisible arena edges. Always leave yourself an escape route.
Sequence 5: Achievement Hunting — "Unlock All Talents"
- Use the Economy Rush build (Rapid Slicer, all Economy nodes first).
- Replay earlier zones after finishing the campaign. Coin rewards scale with your level.
- The last 3 nodes (one per branch) cost 5,000+ coins each. That is ~15,000 total for the achievement.
- With max Interest and Lucky Coins, you generate ~200 coins per wave passively.
- Run zone 1 repeatedly. Each clear takes ~2 minutes and yields ~1,500 coins with a maxed economy build.
- Total grind time for the achievement: ~45 minutes after completing the campaign.
Advanced Tips
Combo optimization
- The combo window is 0.5 seconds between slices. A diagonal sweep across a dense cluster hits 5–8 crops in 0.3 seconds.
- Practice the "Z-sweep": drag in a zigzag pattern across the screen to catch crops at multiple depths.
- The Rapid Slicer's faster swing speed gives a wider combo window. If you struggle with combos, use it.
- Combo counter resets if you miss for 0.5 seconds. Stay in motion.
Economy snowball math
- Base coin per slice: 1.
- With Lucky Coins (T2 Economy): +50% = 1.5 coins per slice.
- With a 5-stack combo (3x multiplier): 1.5 × 3 = 4.5 coins per slice.
- With Interest (T4 Economy): +20% passive income per wave = ~100 coins per wave for free.
- At max Economy, you earn ~10x more per wave than at base. The tree pays for itself in full within 10 waves.
Tool switching strategy
| Zone | Recommended Tool | Why |
|---|---|---|
| 1 | Classic Blade | Balanced, learn the game |
| 2 | Classic or Rapid Slicer | More crops, more combo opportunities |
| 3 | Serrated Sawblade | Armored watermelons appear — bleed bypasses armor |
| 4 | Serrated Sawblade or Arcane Slicer | Grape clusters need AoE or DoT |
| 5 | Depends on build | Sawblade (bleed) or Heavy Cleaver (knockback) |
Elemental infusion selection
- Fire: Best against single high-HP targets. The DoT stacks with Sawblade bleed.
- Ice: Best for crowd control in dense waves. Slows crop movement by 40%.
- Shock: Best overall. Chain lightning scales with density and procs other effects.
Switch between infusions between zones depending on the crop composition.
Dealing with Pineapple explosions
Pineapples explode when sliced, damaging all nearby crops (and you). Use explosions to chain-clear clusters. When a Pineapple explodes, it damages everything within about 1.5 body-lengths. Drop a Pineapple in the middle of an Orange crowd and watch the chain reaction.
The 500-coin reserve rule
After wave 10, intermission events offer permanent stat boosts for coins. Common offers:
- +5% base damage (300 coins)
- +10% coin drop (400 coins)
- Permanent +1 health (500 coins)
If your balance is zero, you miss them. Always keep 500 coins liquid.
FAQ / Common Mistakes
Q: I am stuck on zone 4. The Grape Clusters overwhelm me. A: Switch to Arcane Slicer with Shock infusion. The chain lightning clears Grape Clusters instantly. Also invest in Whirlwind (area slice) in the Slicing tree.
Q: How do I get the "Flames of the Forge" achievement? A: Visit the forge between zones 3 and 4. Upgrade your tool once. Costs ~200 coins. You must do this before wave 50.
Q: The talent tree feels too expensive. Am I doing something wrong? A: You are probably not comboing enough. A player who consistently 5-stack combos earns 3x more per wave than one who single-slices. Practice sweeping through clusters.
Q: What is the best tool for a first playthrough? A: Classic Blade for zones 1–2, switch to Serrated Sawblade for zones 3–5. The Sawblade's bleed is significantly stronger against armored and high-HP crops.
Q: The game crashed in zone 5. Is this a known issue? A: Yes. Particle overload in late zones can cause crashes. Lower graphical settings if available. The developer has acknowledged the issue.
Q: Is controller supported? A: No. Mouse and keyboard only.
Q: How long is the game? A: Main campaign (5 zones × 10 waves) takes 60–90 minutes. Full achievement completion adds 1–2 hours. Endless mode is, well, endless.
Q: What is the best build for endless mode? A: Sawblade Bleed Stack with Serrated Sawblade at forge level 3, Auto-Slicer Mk III, Shock infusion, and all Knockback Wave nodes in Defense. This build has reached wave 120+ in community testing.
Q: Can I rebind keys? A: Not in the current version. Fixed: U = upgrades, R = research, Tab = stats, Esc = pause.
Q: Some players say the game uses AI assets. Is this true? A: The developer stated that "minor assets" may use AI assistance. The art style is consistent, but the controversy has generated mixed community sentiment.
Verdict
| Aspect | Rating | Notes |
|---|---|---|
| Core loop satisfaction | 5/5 | Slicing feels great, coin feedback is instant |
| Build depth | 4/5 | 5 tools × 3 branches × elements = real variety |
| Campaign length | 3/5 | 60–90 minutes is short for the genre |
| Replayability | 3/5 | Endless mode helps, but builds are figured out fast |
| Performance | 3/5 | Crashes in late zones, needs patching |
| Value for money | 4/5 | ~$5 for a fun afternoon with achievement hunting |
| Music | 2/5 | Single track loop gets old fast |
Slice the Crops! executes its hybrid concept well enough to earn its Very Positive rating. The core loop is satisfying, the builds have real variety, and the campaign is just long enough to not overstay its welcome. The single music track, zone-5 crashes, and short campaign keep it from greatness, but as a cheap, quick dopamine hit for incremental fans, it delivers.
Grade: 7/10 — A fun afternoon. Best for achievement hunters and buildcraft tinkerers.
Screenshots