Official game
Play Oleander-X
This game is hosted by Steam. Continue to the official page to play or download it.
Buy on SteamOverview
Oleander-X is a 2D pixel-art stealth action game from solo developer Jason Nguyen. Released June 20, 2026, it blends the tactical stealth of classic Metal Gear (MSX era) with the tight level design of Mark of the Ninja and the hacking puzzles of Gunpoint. The result is a 12-mission campaign where information is ammunition and patience beats reflexes.
You play as Ethan, a special agent assigned to investigate OmniCorp, a biotech corporation running classified experiments under the codename Oleander-X. Each mission follows a three-phase loop: infiltrate the facility, collect evidence, plant explosives, and escape before the timer hits zero. The deeper you go, the more you realize your own agency might be part of the conspiracy.
Target audience: Stealth purists who enjoyed Hotline Miami's tension, Mark of the Ninja's methodology, and the moral weight of Spec Ops: The Line. Not for players who want run-and-gun action — combat is punishing and almost always a failure state.
Difficulty: High. The game rewards observation and planning. A single mistake can cascade into a full alarm state. Save often.
Getting Started — First 60 Minutes
What to expect
Mission 1 (Warehouse 7) is a tutorial in disguise. You have a pistol with 12 rounds, a stun prod with 5 charges, a flashlight, and a lockpick with 3 uses. The warehouse has 4–5 standard guards on fixed patrol routes, one security camera, and 3 evidence items.
Your goal: get in, find the evidence, reach the extraction point. If you get spotted, the mission becomes a firefight you are not equipped to win.
Beginner mistakes to avoid
Moving before observing. Watch one full patrol cycle before crossing any room. Guards have patterns. Learn them.
Walking on metal grating while sprinting. Metal amplifies footstep sound to 100% when sprinting. You will alert every guard on the floor. Always creep (hold Shift) on metal surfaces.
Ignoring the light level. Standing under a lit fluorescent panel doubles your visibility range. Shoot out lights when safe, or hack power conduits to darken corridors.
Leaving bodies in the open. A stunned guard wakes in ~3 minutes. If another guard finds them, the facility goes into Search mode (60–90 seconds of reinforcements and heightened alert). Hide bodies in lockers, vents, or dark corners.
Planting the charge before collecting all evidence. Once the charge is planted, the 90-second extraction timer starts. All guards converge on your position. New guards can spawn. Collect everything first, then plant.
The HUD layout
- Top-left: Health bar and armor indicator.
- Bottom-center: Gadget quick-slots (1–4).
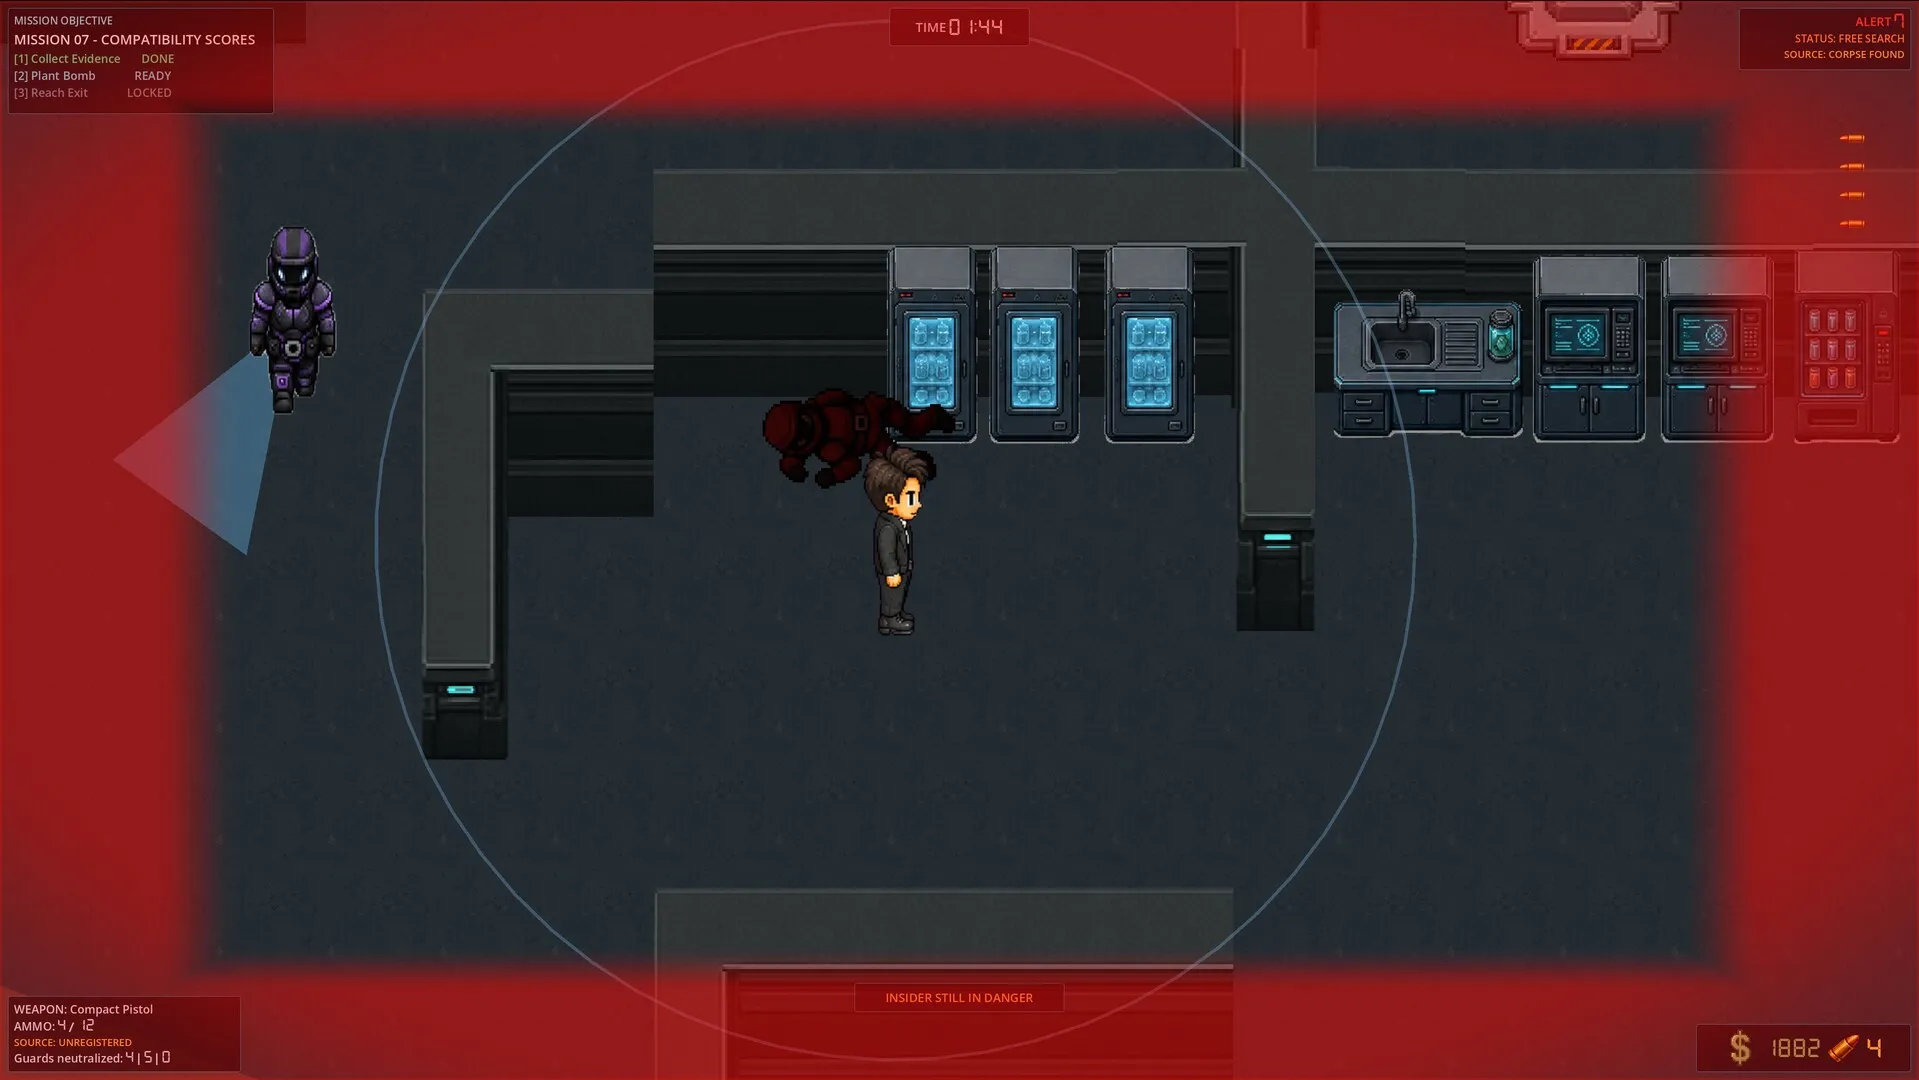
- Bottom-right: Sound profile meter — a circle that expands with noise. Bigger circle = more detectable.
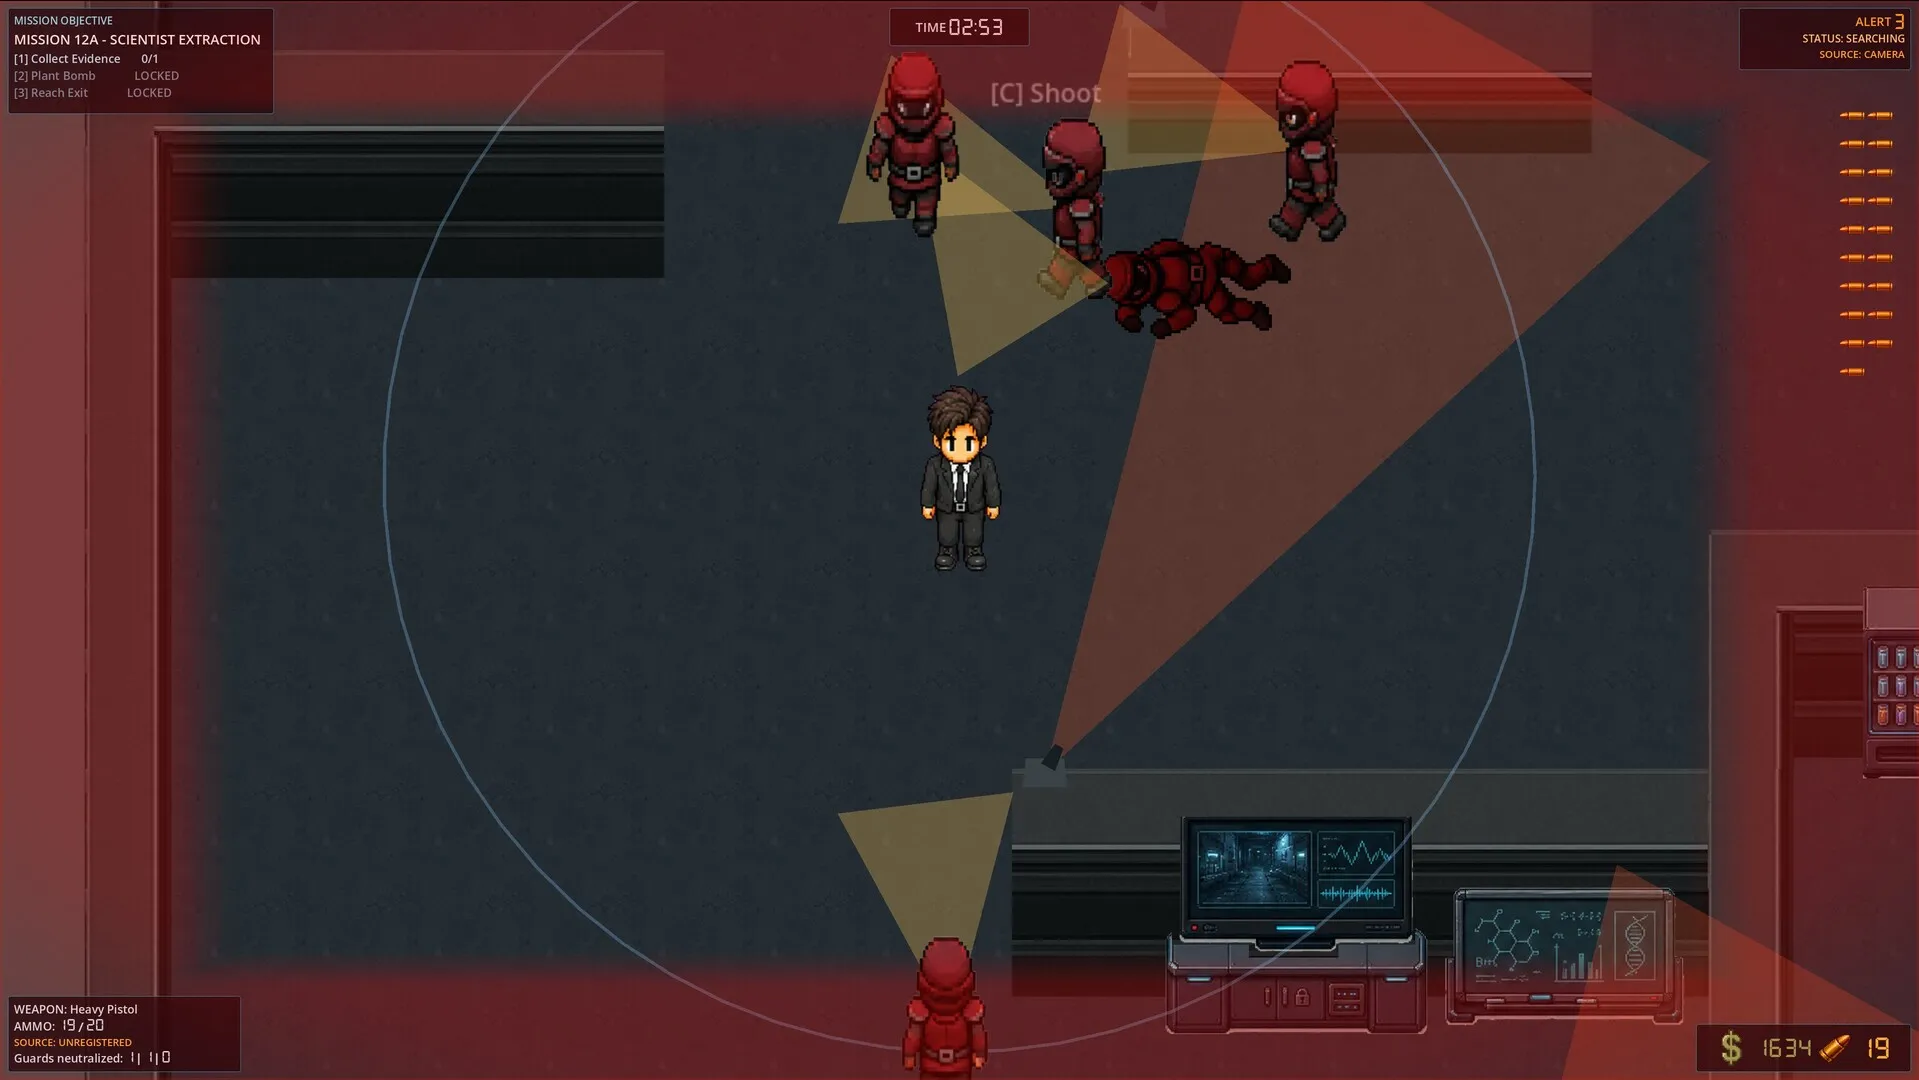
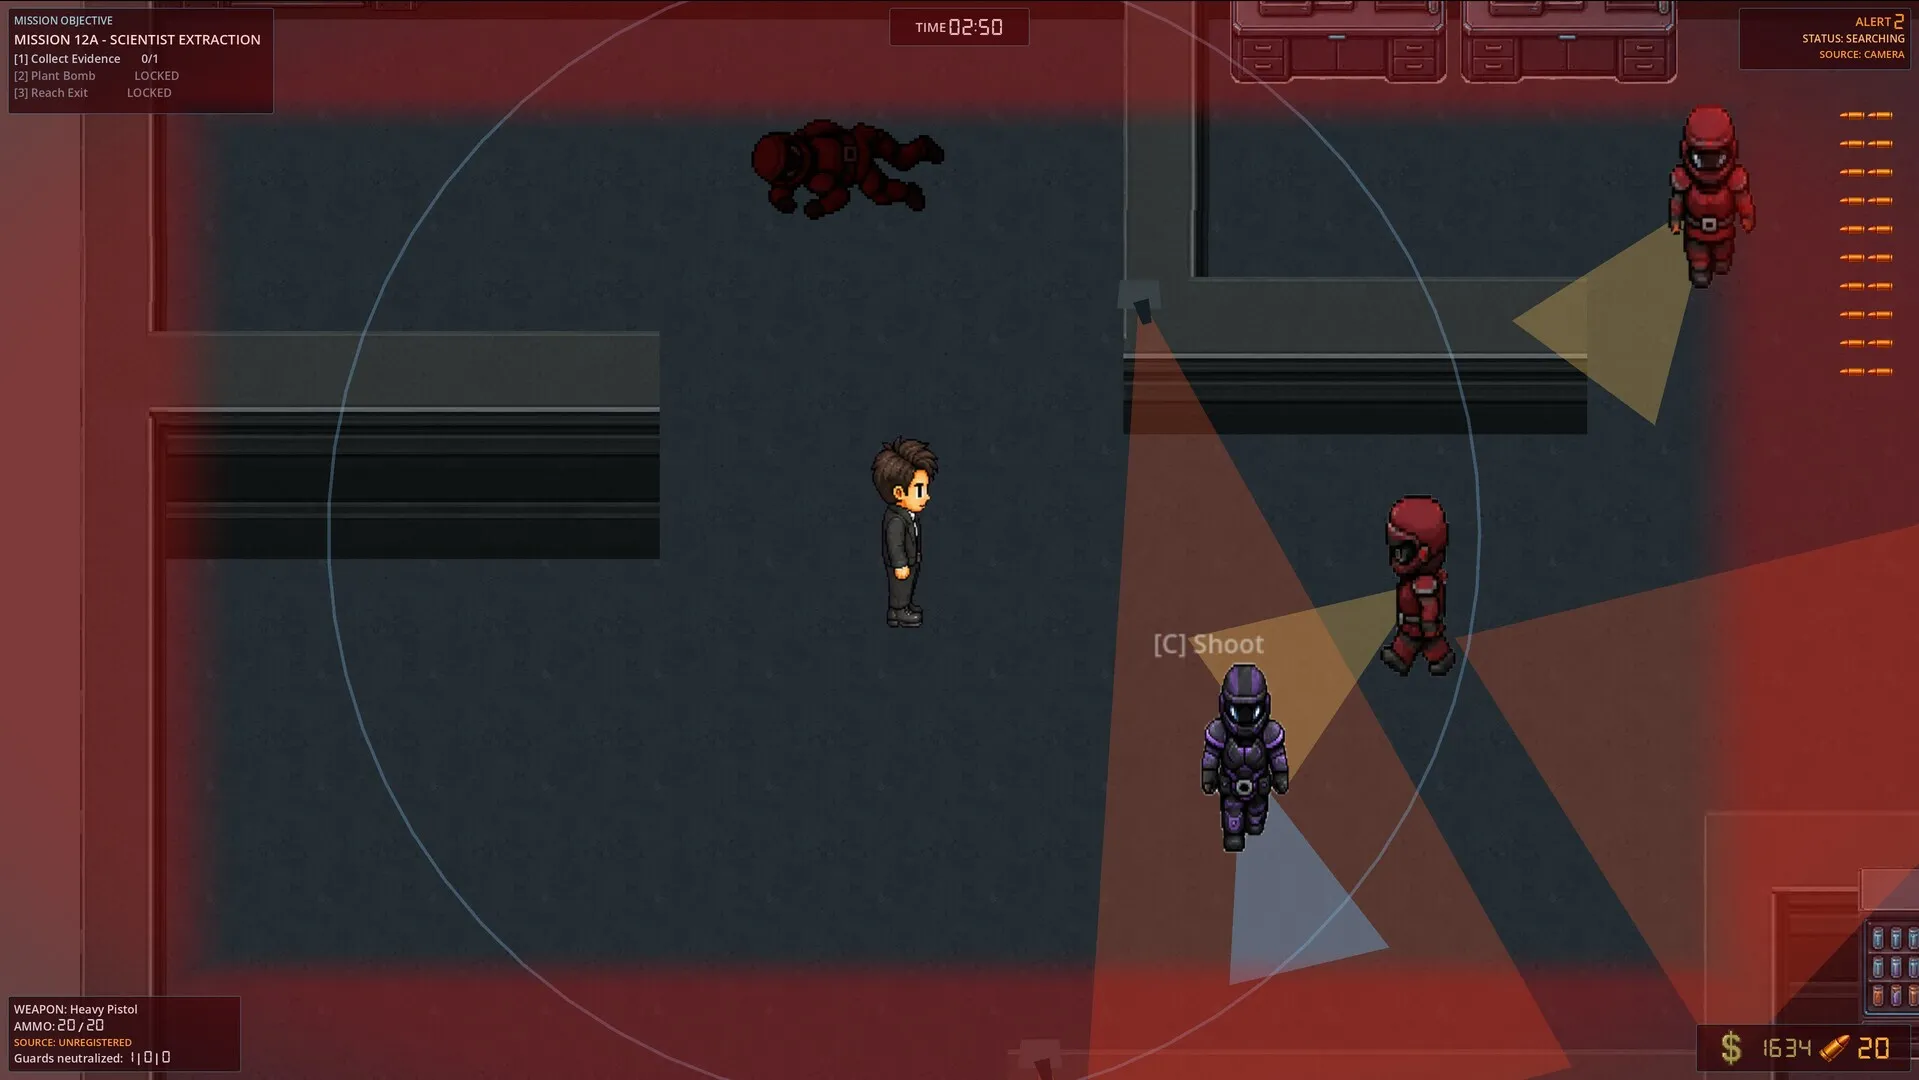
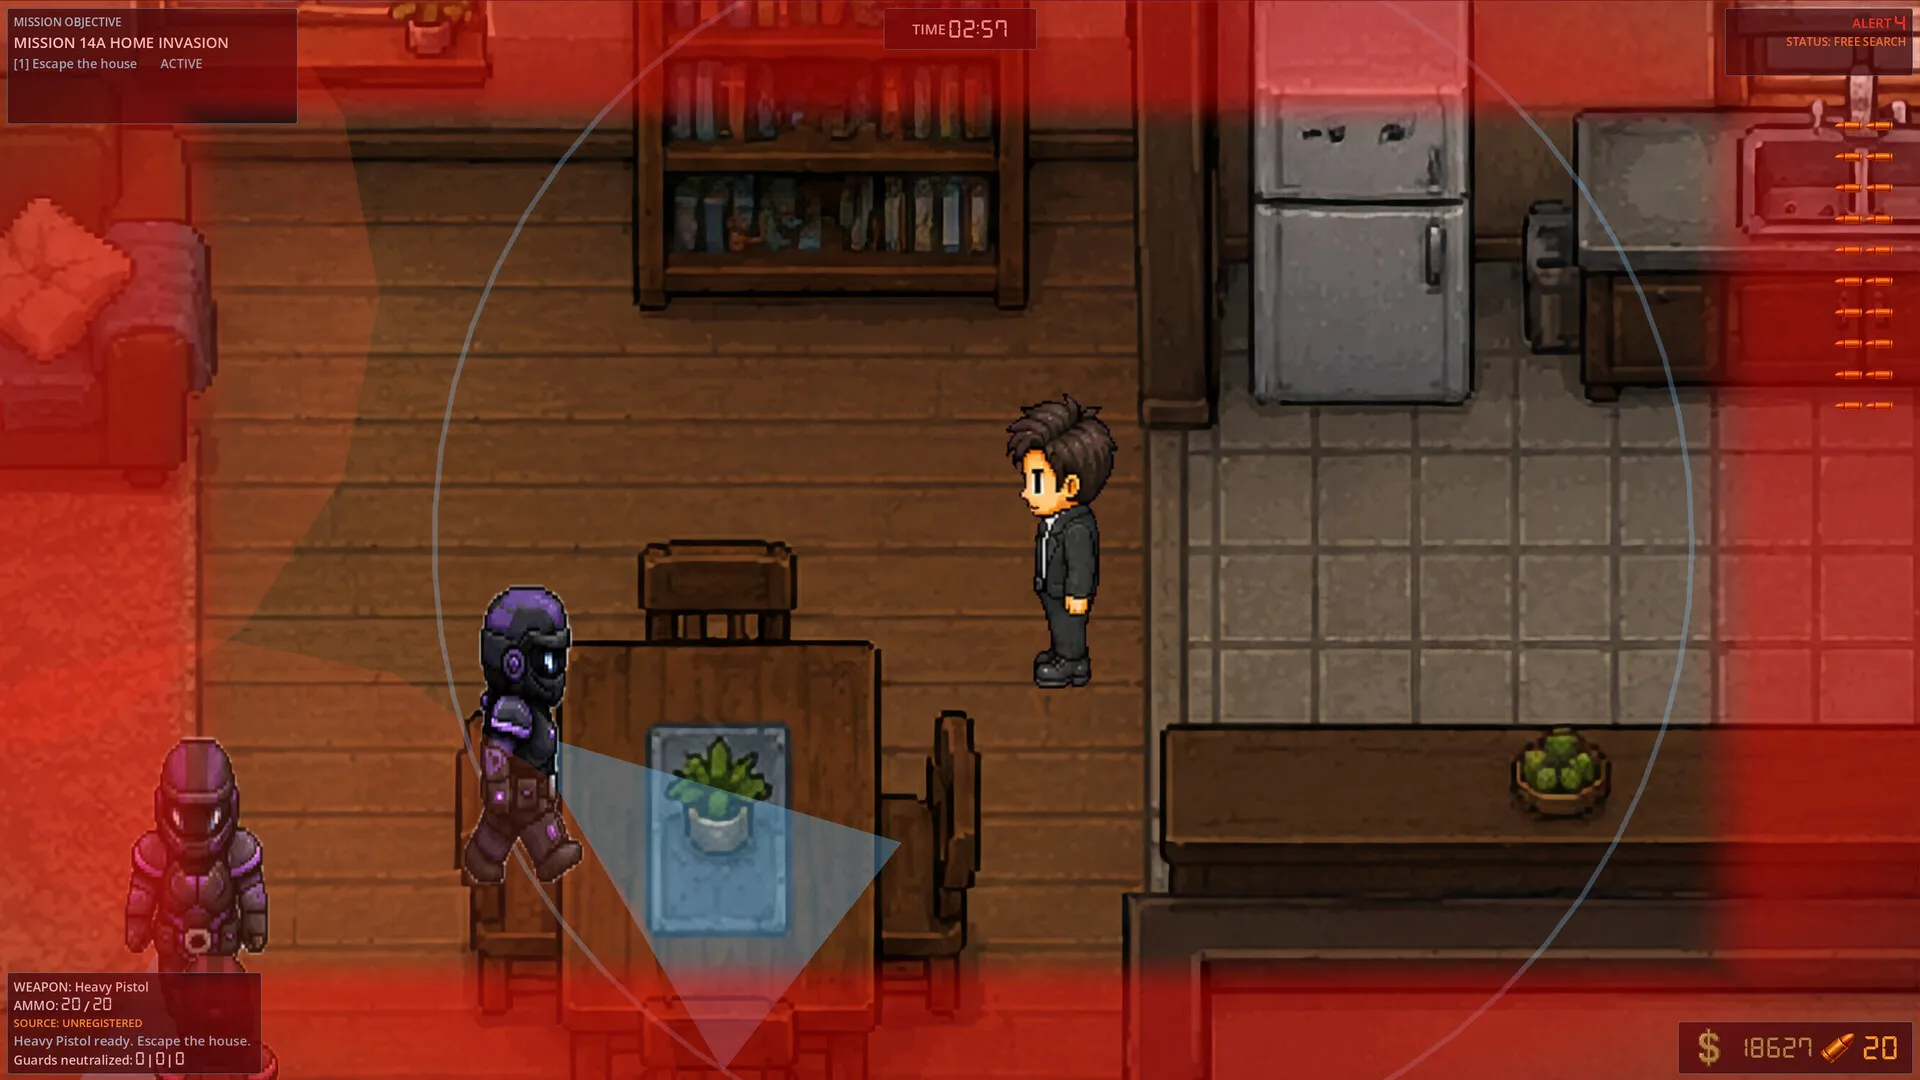
- Center: Stealth indicator — Green (hidden), Yellow (exposed but not spotted), Red (detected).
- Tab overlay: Full map with patrol routes, camera cones, evidence markers, and light levels.
Core Mechanics Explained
The Acuity System
Every enemy in Oleander-X uses a dynamic sensory model that processes sight, sound, and suspicion. It is not a simple vision cone. It is a three-state awareness system.
| State | Name | What Triggers It | Behavior |
|---|---|---|---|
| White | Passive | Default patrol | Narrow vision cone, predictable route, ignores distant sounds |
| Yellow | Suspicious | Loud noise, fleeting glimpse, disabled camera | Widened cone, breaks route to investigate last known position, lasts ~15 seconds |
| Red | Hostile | Clear visual of player, finding a body, alarm | 360-degree awareness, opens fire, alerts all enemies in zone |
White state is where you want every enemy to stay. A guard in White follows their route with a narrow forward cone. They ignore minor sounds from a distance but will investigate anything loud in their immediate area.
Yellow state is your window to move. When a guard goes Yellow, their cone widens and they move toward the disturbance source. If you triggered it with a distraction (bottle throw, noise maker), you have roughly 15 seconds before they return to White. Reposition during this window.
Red state is failure in most missions. Full combat. The guard has 360-degree awareness, fires on sight, and radios every other guard on the map. If you trigger Red, your only option is to break line of sight immediately and hide until the alert de-escalates (60+ seconds).
The Sound Profile
Your HUD shows a Sound Profile meter — a circle that expands with every action. The bigger the circle, the farther your noise travels.
Movement speed + surface type = noise level:
| Surface | Creep (Shift) | Walk | Sprint |
|---|---|---|---|
| Carpet / Soft | 0% | 10% | 40% |
| Concrete / Tile | 5% | 25% | 70% |
| Metal Grating | 15% | 50% | 100% |
| Water Puddle | 20% | 60% | 95% |
Sprinting on metal grating at 100% sound will alert guards in adjacent rooms. Creeping on carpet at 0% is virtually silent even at close range.
The Sonic Dampener gadget creates a 10-meter white-noise field for 15 seconds, reducing your sound profile by 80%. Use it when you need to sprint through a risky area or perform a loud takedown.
Light and Shadow
Light level directly affects enemy vision cone range and width.
- Bright light (under a fluorescent panel): Vision cone range doubled. You are visible from across the room.
- Dim light (corner, shadow): Vision cone shortened by 30%. You can crouch-walk within 5 meters of a guard.
- Darkness (lights shot out, power conduits hacked): Vision cone reduced by 60%. Most guards cannot see you beyond 3 meters.
You can disable lights by shooting them (loud, permanent) or hacking the power conduit for that zone (silent, togglable). Guards notice missing bulbs and will investigate.
Security Cameras and Cerberus Units
Security cameras have a 150-degree cone. They do not enter Suspicious state — they go straight to triggering a zone-wide Yellow alert for all guards if they spot you.
Cerberus Units are robotic guards with 360-degree awareness and thermal vision. They cannot be stunned. They must be hacked or avoided.
Tools for optical systems:
- Data Spike: Loops a camera feed for 20 seconds or disables a Cerberus Unit for 10 seconds. Silent, your go-to option.
- Optic-Jammer Dart: Creates a blind spot on any sensor for 8 seconds. Faster to deploy but shorter duration.
Builds and Loadout Tier List
Stealth Loadout (S-Tier — Recommended for First Playthrough)
- Data Spike — Essential for cameras and Cerberus Units.
- Sonic Dampener — Enables loud actions in risky areas.
- Bottle (environmental) — Infinite, silent, reusable distraction.
- Stun Prod — Non-lethal takedown, no evidence.
Upgrades priority: Silent Steps → Shadow Adaptation → Swift Climb → Deep Shadows → Scanner → Hushed Takedown → Extended Timer → Ghost.
Ghost Loadout (S-Tier — For Pacifist Runs)
- Data Spike ×2 (carry capacity upgrade)
- Optic-Jammer Dart — Backup for multiple cameras.
- Sonic Dampener — For crossing open areas.
- No weapons — Zero-kill requirement.
Upgrades priority: Same as Stealth but take Ghost earlier and skip the Combat tree entirely.
Hybrid Loadout (A-Tier — For When Things Go Wrong)
- Custom Pistol (Black Market, 15 Credits) — Suppressed, 15-round mag.
- EMP Grenade — Disables electronics in an area.
- Noise Maker — Long-range distraction.
- Medkit — Because you will get hit.
Upgrades priority: Silent Steps → Steady Aim → Suppressor → Quick Draw → Kevlar Vest → Scanner.
Combat Loadout (B-Tier — Last Resort)
- Armor-Piercing Rounds (Black Market, 10 Credits)
- Custom Pistol
- Adrenaline Shot (T3 upgrade) — Second chance.
- EMP Grenade
This loadout assumes you plan to fight. Only viable on Easy or for specific combat challenges.
Black Market Purchases Ranked
| Item | Cost | Worth It? | Why |
|---|---|---|---|
| Master Key | 30 | Essential | Opens any locked door permanently. Saves lockpicks. |
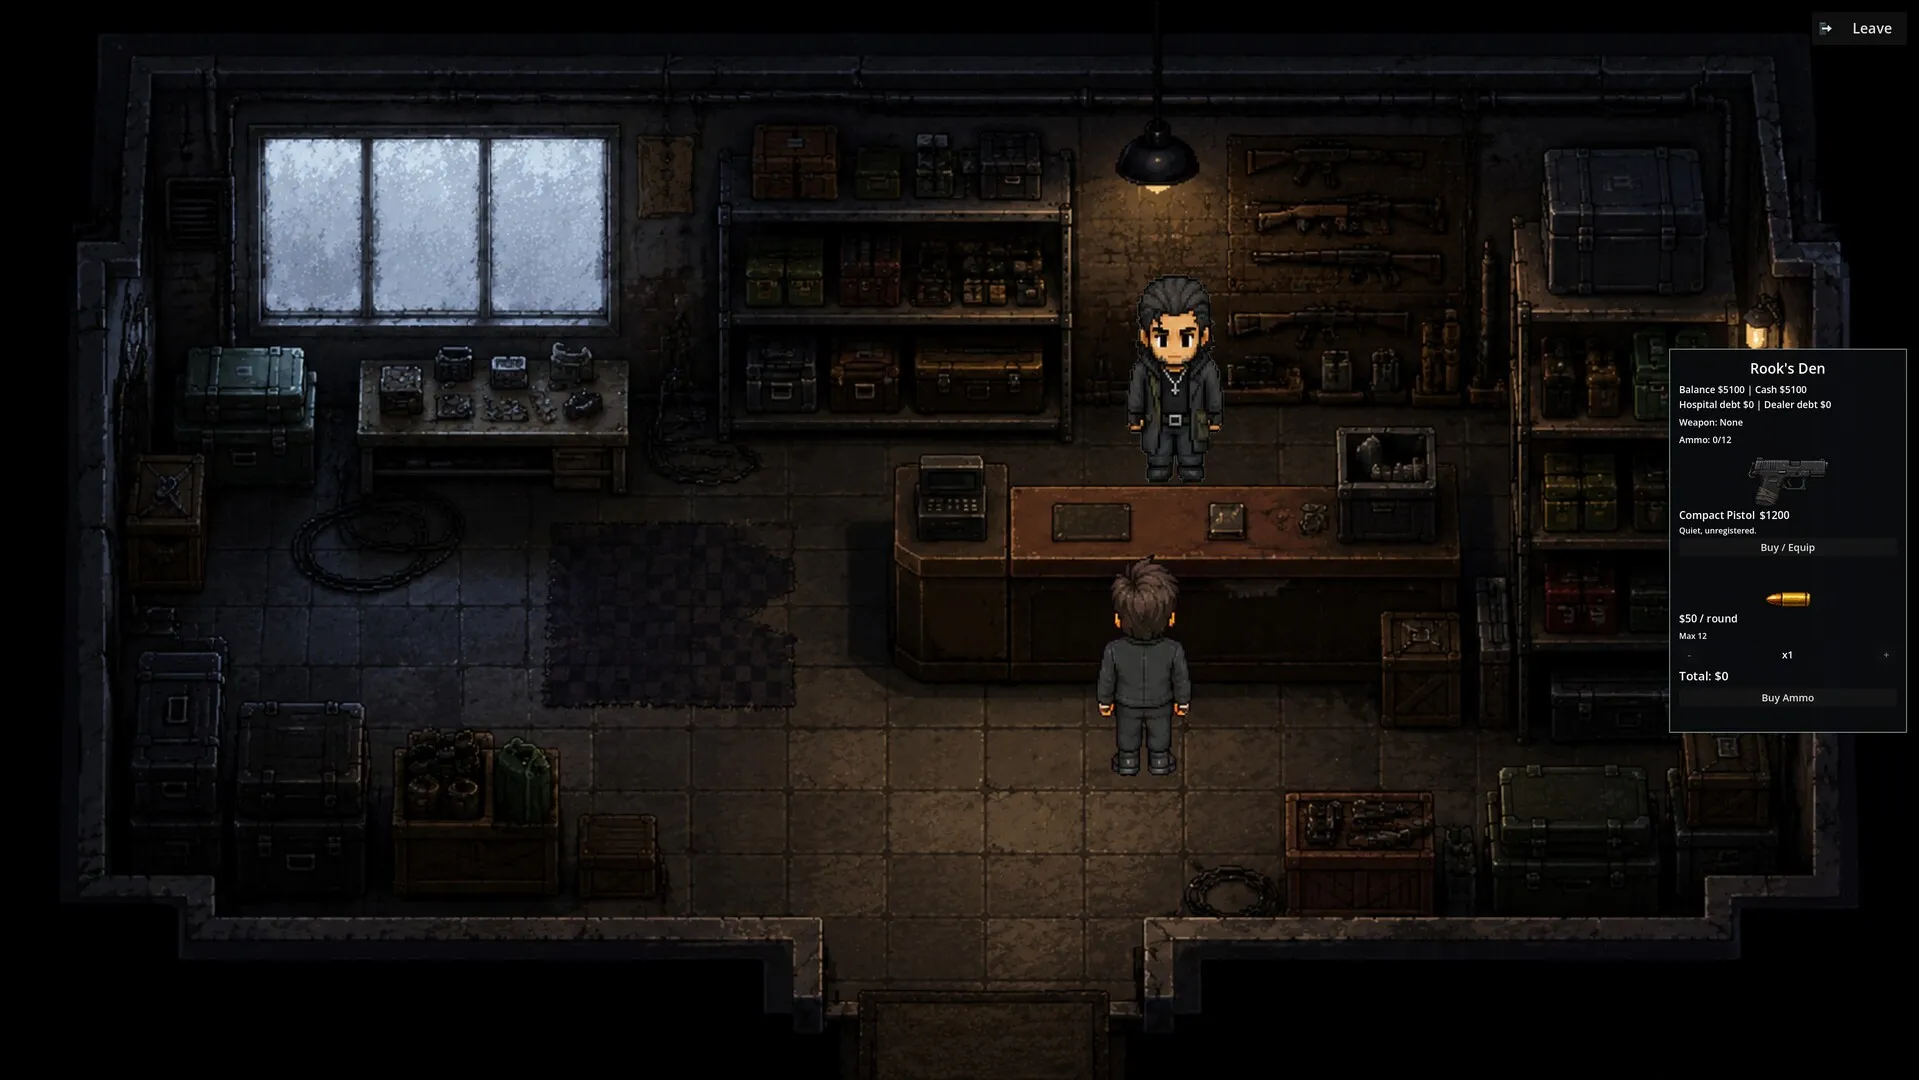
| Custom Pistol | 15 | High | Faster fire, 15-round mag, pairs with Suppressor upgrade |
| Armor-Piercing Rounds | 10 | Medium | Necessary for Elites in late missions |
| Decoy Drone | 25 | Medium | Mimics patrol sounds for 30 seconds. Creates clean windows. |
| Experimental Cloak | 35 | Low | 8s invisibility but expensive. Phase Cloak (unlockable) is better. |
| Toxin Injector | 20 | Low | Silent lethal but kills. Ruins pacifist runs. |
Step-by-Step Strategy Sequences
Sequence 1: Room Clearing (Any Mission)
- Stop at the doorway. Do not enter. Press Tab to check the map.
- Identify all guards, cameras, and light sources in the room.
- Watch one full patrol cycle (30–60 seconds). Note blind spots and timing gaps.
- Identify your target (evidence, terminal, exit) and route.
- If cameras are present, use Data Spike or time your movement to their sweep cycle.
- Move during a guard's blind spot. Creep on loud surfaces, walk on quiet ones.
- If you must cross a guard's cone, do it while they are facing away and their footsteps are receding.
- Reach cover. Pause. Check if any guard changed state. Repeat.
Sequence 2: The OmniCorp Lobby (Mission 5 Reference)
- The lobby is wide, bright, and covered by two Wardens and one camera.
- Do not cross the center. Hug the left wall using potted plants as soft cover.
- Fire an Optic-Jammer Dart at the ceiling camera (8-second blind spot).
- Creep behind the reception desk (hard cover). Wait for Warden A to pass.
- Cross to the hallway entrance while Warden B's back is turned.
- Total time: ~45 seconds if executed cleanly.
Sequence 3: The Server Farm Gauntlet (Mission 9)
- The server farm has raised metal grating (50% sound on walk) and two patrolling Cerberus Units.
- Do not walk on the grating. Immediately climb the ladder on your right to the overhead maintenance catwalk.
- From the catwalk, you bypass the entire floor. Time your movement to cross above the Cerberus Units when they are at the far ends of their patrol.
- Drop down at the exit door — not before.
- If forced onto the grating, use Sonic Dampener and walk (not sprint).
Sequence 4: The Extraction Sprint
- Before planting the charge, confirm your exit route is clear of patrols and cameras.
- Plant the charge. 90-second timer starts (120s with Extended Timer upgrade).
- Do not take the same route back. Guards converge on the plant location.
- Use the confusion: toss a Noise Maker in the opposite direction of your exit.
- Sprint through cleared areas. Use Sonic Dampener if available.
- If a guard spots you, do not stop. You just need to reach the extraction point before they down you.
Sequence 5: Ghost Run (Zero Detection, Any Mission)
- No combat. No stuns. No bodies to hide. Just movement and timing.
- Stay in Green stealth state at all times. If the indicator flickers Yellow, stop and wait.
- Use environmental distractions (throwing bottles, shooting distant lights) to create gaps.
- Never cross a guard's cone. Wait for the next cycle.
- Save after every successful room clear. Reload if spotted.
- The true ending requires zero kills across the entire campaign. Ghost runs make this achievable.
Advanced Tips
Guard manipulation
- The two-tap distraction: Throw a bottle to one side of a room. Guards investigate. While they are looking at the impact point, sprint across the opposite side. The sound of the bottle masks your footsteps.
- The radio check: Guards periodically radio their command. If a guard misses a check-in (because you stunned them), command sends another guard to investigate. Use this to pull guards out of position.
- The phantom alarm: Use Data Spike on a power conduit to create a loud explosion on the other side of the map. Guards will redirect there, leaving your path clear.
Elite enemy tactics
Veteran Guards (appear from Mission 4):
- 110-degree vision cone (vs. standard 90).
- Check hiding spots (lockers, vents, under desks).
- Hear nearby footsteps. Creep within 8 meters of them.
- Two headshots to kill or one stun prod charge.
Elite Guards (appear from Mission 8):
- 120-degree cone with flashlight.
- Body armor requires 2 headshots or AP rounds.
- Overlapping patrols — they always work in pairs.
- They cover each other's blind spots. You cannot wait for both to look away simultaneously. Use a distraction.
Phantoms (appear from Mission 11):
- Thermal vision. They see through soft cover.
- Can detect Phase Cloak within 10 meters.
- 360-degree awareness at all times.
- Cannot be stunned. Must be avoided entirely. Use vents and catwalks to bypass them.
Environmental mastery
- Vents: Maintenance tunnels connect most rooms. Learn the vent map for each level. A single vent can bypass an entire floor.
- Elevator shafts: Fast but noisy. Use only when the extraction timer is counting down.
- Breakable walls: Marked on the map with a cracked icon. Hide evidence, shortcuts, and Black Market caches behind them.
- Water pipes: Shooting a pipe creates a steam cloud that blocks vision and masks movement. Also creates a puddle (20% sound when walked through).
The Phase Cloak
Unlocked in Mission 7 (Sector 7G). Renders you completely invisible for 5 seconds. High energy cost.
When to use it: Crossing brightly lit open spaces. Breaking line of sight after being spotted. Never activate within 10 meters of an enemy — the audio-visual shimmer draws their attention, turning your escape into a trap.
Evidence strategy
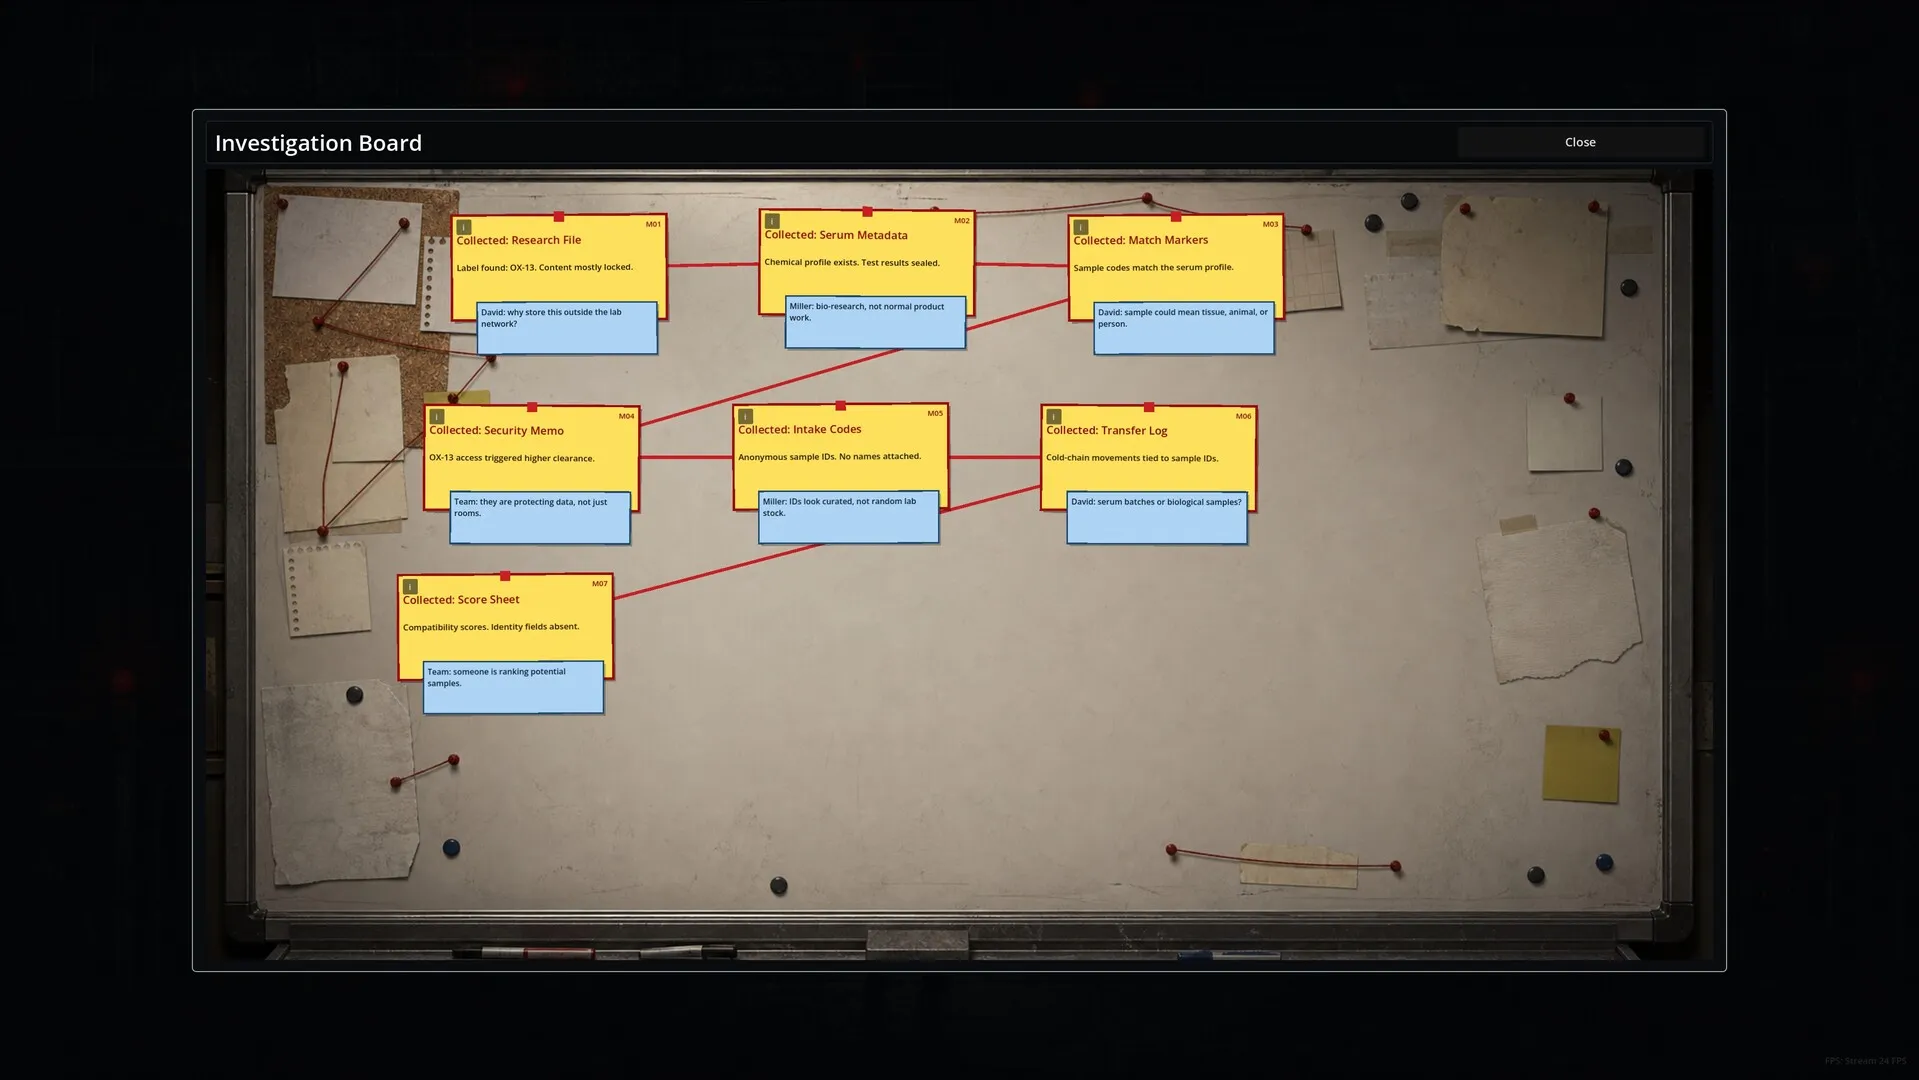
- Collect all evidence in a mission for maximum Intel Points (spent on upgrades).
- Some evidence requires backtracking. Use the Scanner upgrade (T1 Utility) to reveal nearby evidence on the minimap.
- Encrypted Files (5 Intel Points each) need a decoder, found in Mission 6.
- The true ending requires completing evidence chains across multiple missions. Specifically: all patient records (Missions 3, 5, 7, 10) and all experiment logs (Missions 4, 6, 8, 9, 12).
FAQ / Common Mistakes
Q: I keep getting spotted through walls. How? A: You are not being spotted through walls. You are being heard. Check your Sound Profile meter. If the circle is large, guards in adjacent rooms can hear you. Creep on loud surfaces.
Q: The extraction timer is too short. How do I survive? A: Do not plant the charge until you have cleared your exit route. Use the Extended Timer upgrade (+30 seconds). Plant near the extraction point, not near the objective.
Q: I am stuck on Mission 6 (Security Hub). Any tips? A: Save your EMP grenade for the final room's turrets. There is a security terminal on floor 2 that disables ground-floor defenses. Hack it before engaging.
Q: Should I use the Black Market? A: Yes, but sparingly. The Master Key and Custom Pistol are the only essential purchases. Black Market usage shifts the narrative — some endings require minimal usage.
Q: How do I get the best ending? A: Collect all evidence across all 12 missions. Minimize Black Market usage. Complete the campaign without lethal kills. This requires at least two playthroughs.
Q: The game is too hard. What do I do? A: Play on Easy. It reduces guard cone width to 75 degrees, gives you a 3-second reaction window, reduces damage by 30%, and extends the extraction timer to 120 seconds. There is no shame in learning patterns on Easy.
Q: Can I save anywhere? A: On Easy and Normal, yes — unlimited saves. On Hard, you are limited to 3 manual saves per mission. Save before locked rooms, before risky crossings, and before the final plant.
Q: What upgrades should I get first? A: Silent Steps (T1 Stealth) is the single best upgrade in the game. It reduces footstep noise by 40%. After that, Shadow Adaptation (T1 Stealth) and Swift Climb (T1 Mobility).
Q: The game crashed. Did I lose progress?
A: The developer recommends backing up your save file after completing the story. Save files are in the game's installation folder under /saves/.
Verdict
| Aspect | Rating | Notes |
|---|---|---|
| Stealth mechanics depth | 5/5 | Acuity + Sound + Light = best-in-class systems |
| Level design | 4/5 | 12 missions with multiple routes, some filler |
| Story | 4/5 | Strong moral themes, slow start |
| Replayability | 4/5 | Ghost runs, speedruns, difficulty escalations |
| Combat | 2/5 | Punishing and unsatisfying — avoid |
| Value for money | 4/5 | 8–15 hours for $11 |
| Difficulty balance | 3/5 | Steep learning curve, saves mitigate frustration |
Oleander-X is a stealth game for people who miss when the genre demanded patience. It is not forgiving, not fast, and not kind. But when you ghost through a 12-mission campaign without a single detection, it is one of the most satisfying experiences in modern indie gaming.
Screenshots