Official game
Play Leyla In Veil
This game is hosted by Steam. Continue to the official page to play or download it.
Wishlist on SteamOverview
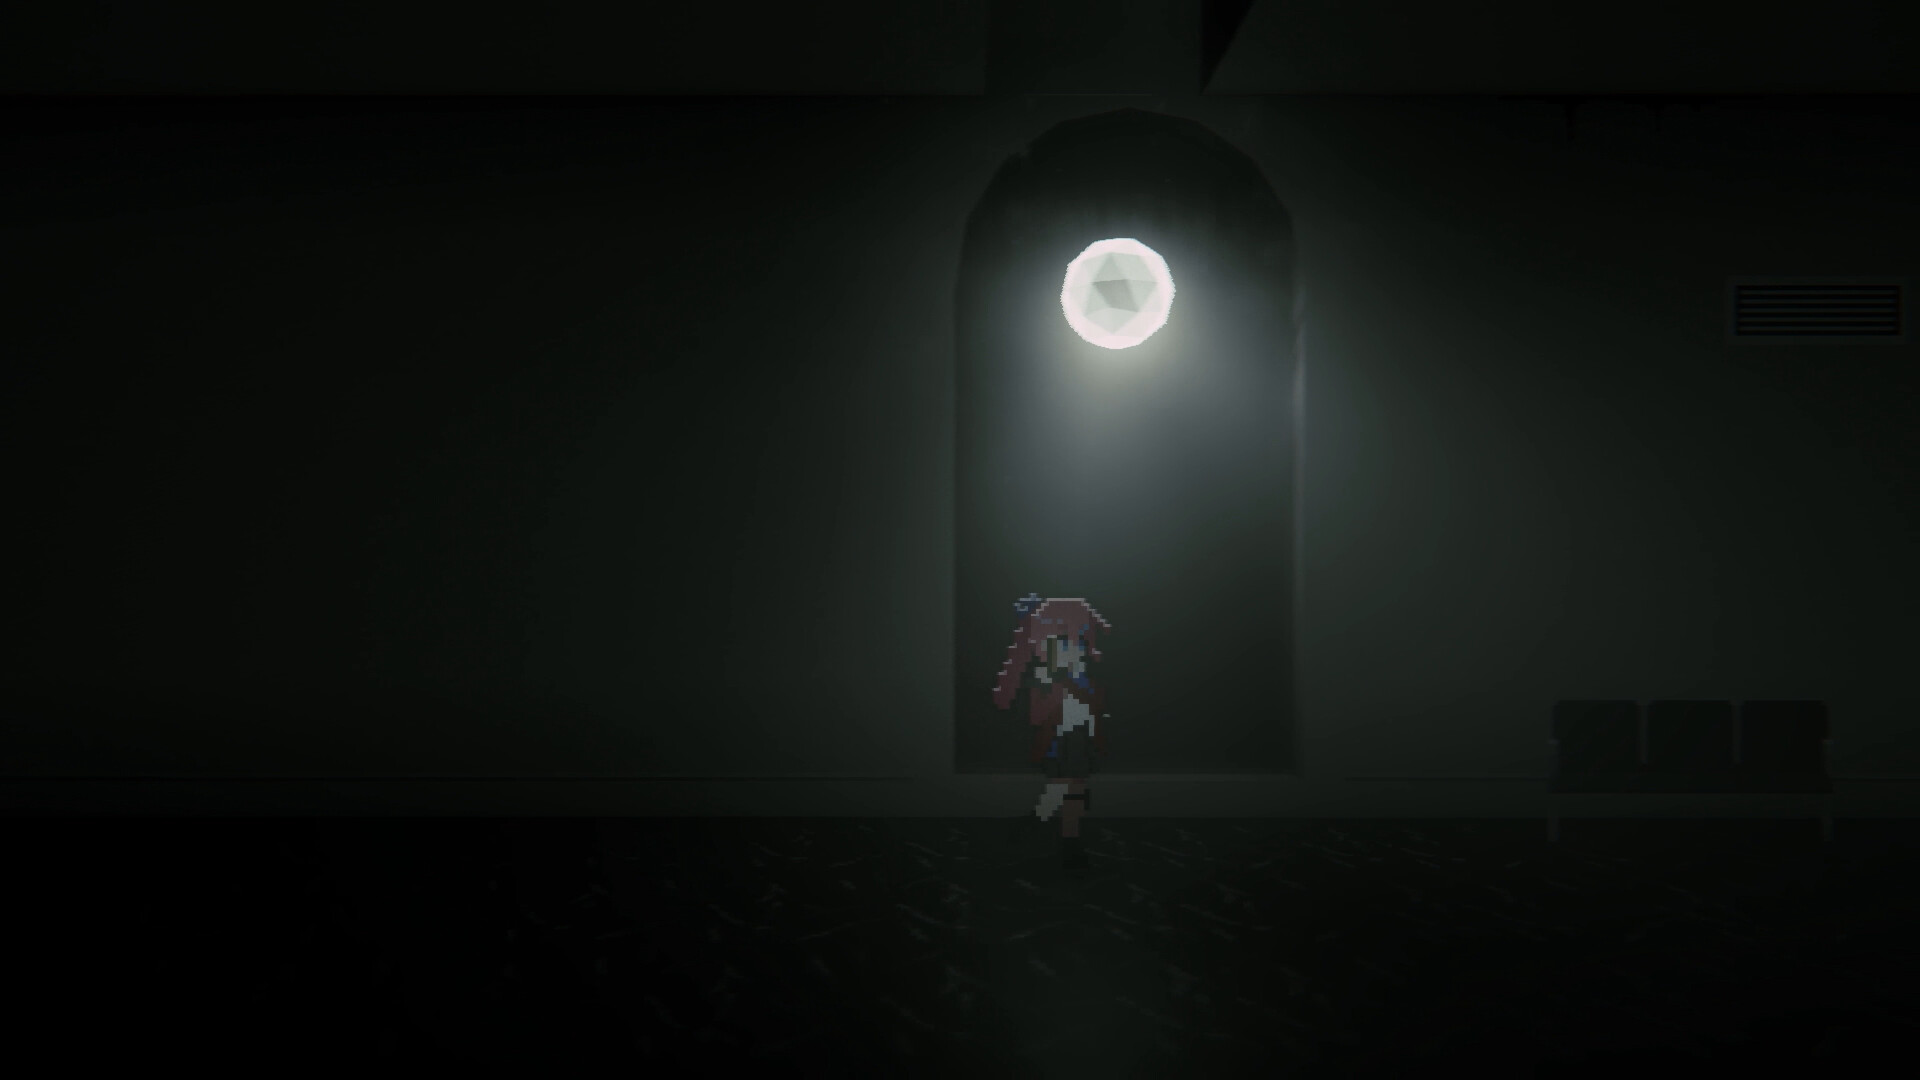
Leyla In Veil is an HD-2D pixel side-scrolling action shooter survival horror from solo developer cloud_li, coming to Steam. You play Laila, a senior agent from a mysterious organization, investigating the Istvi Art Gallery with her companion Flora. The setup is classic horror: two years ago the gallery was built to honor an entrepreneur's late artist wife, and half a month before the game begins, everyone inside vanished overnight. Police sent in an investigation team; two hours later the captain dragged two corpses out the back door, and the survivors broke mentally and remembered nothing.
The gameplay is a deliberate hybrid. Side-scrolling shooter combat sits on top of survival horror resource management and RPG progression. You shoot, parry, and melee through grotesque monsters, upgrade weapons into hidden effects, manage a weight-based backpack, and solve small environment puzzles between firefights. It sits in the gap between Signalis's atmosphere and Blasphemous's action, with faster, more aggressive combat than either.
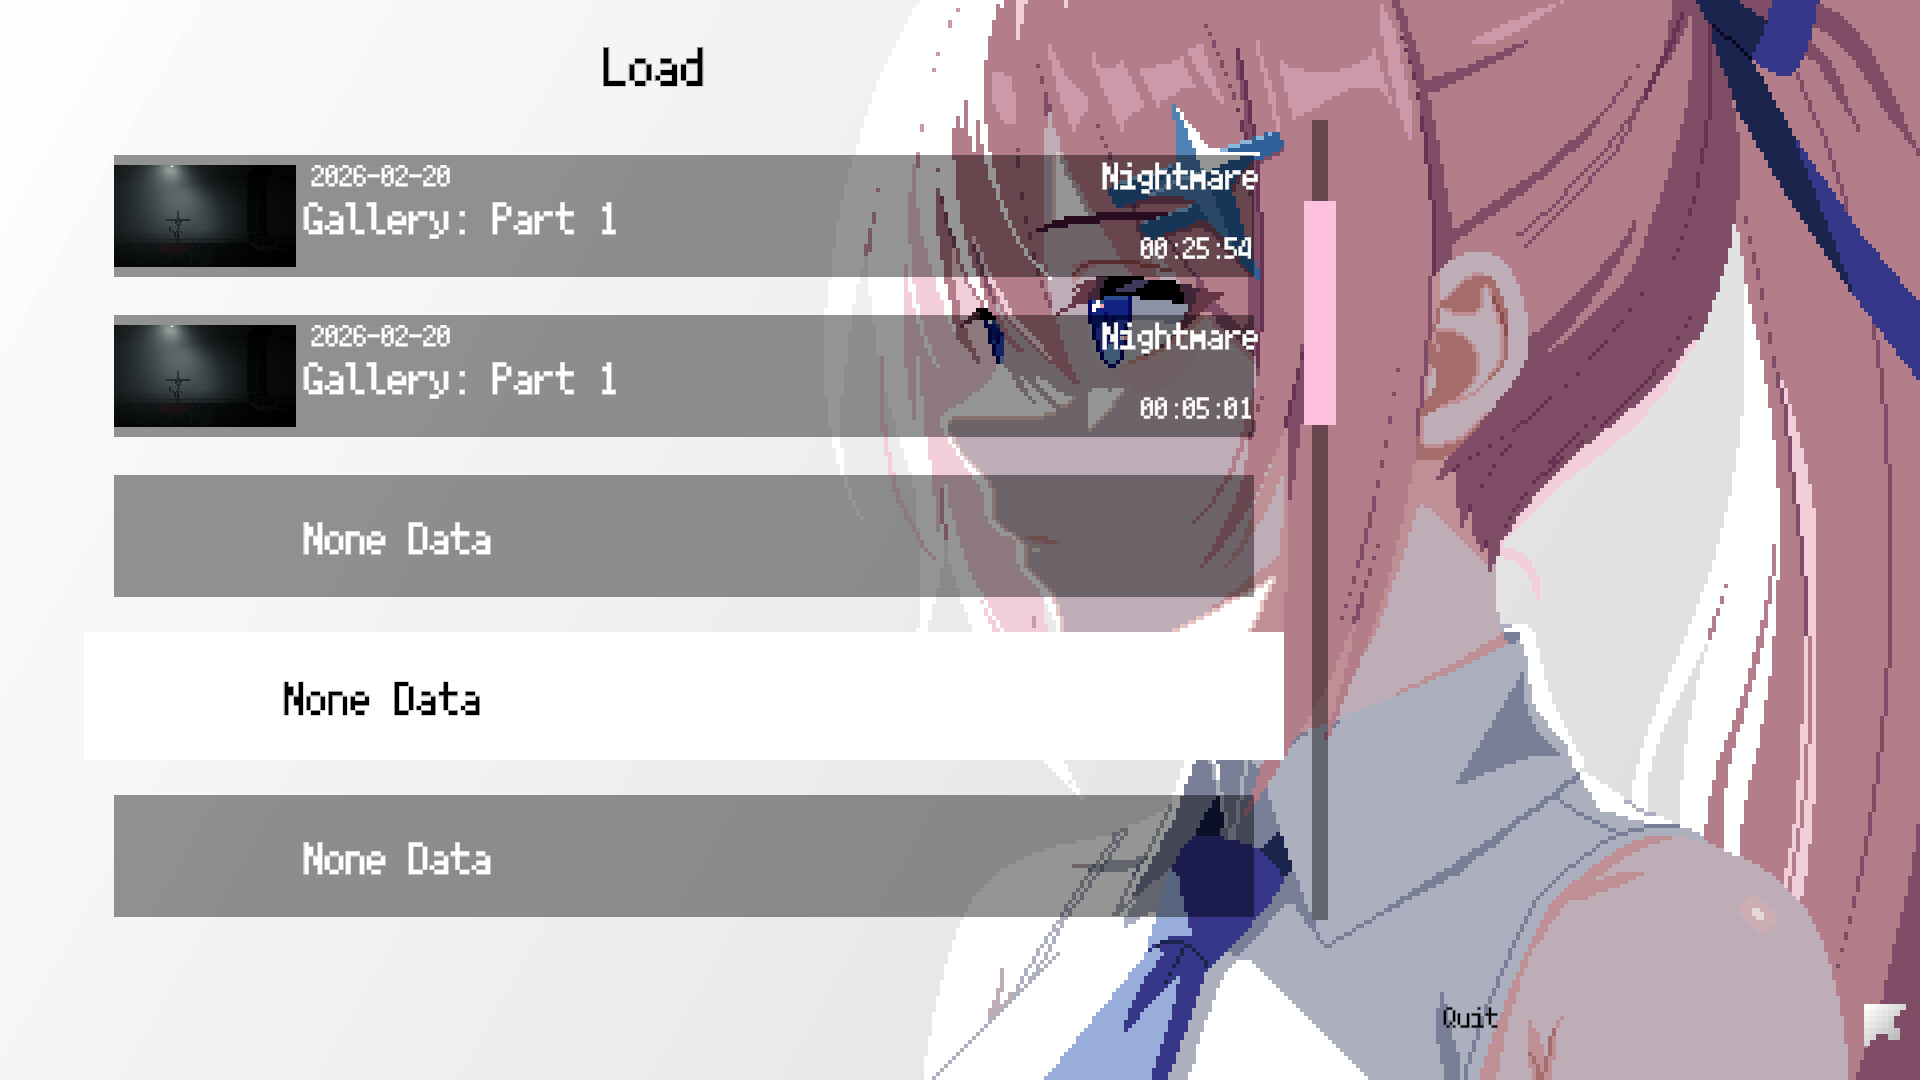
A free demo has been in active development all through 2026: roguelike elements were removed in the Gamma update in favor of linear progression with save and load, and the Delta update added Survival Game mode, accessories, item transmutation, and the clothing system. The game is playable now, in miniaturized form, and very learnable before launch.
Who it is for: players who like Resident Evil-style resource tension with faster combat, side-scrolling action fans, and anyone who loves HD-2D pixel horror atmospherics.
Who it is not for: players who want fully manual hardcore survival horror, or a purely shooty run-and-gun. Ammo discipline and parry timing are mandatory.
| Detail | Info |
|---|---|
| Genre | HD-2D side-scrolling action shooter survival horror |
| Developer / Publisher | cloud_li |
| Platform | Windows (Steam) |
| Players | Single-player |
| Release | Upcoming (wishlist on Steam) |
| Demo | Free on Steam (app 3920800), updated through 2026 |
| Main boss | Parasitic Angel (Exhibition Hall) |
| Core resources | Ammo, herbs, specimens, backpack weight |
| Languages | English, Japanese, Simplified Chinese |
| Headphones | Recommended by the developer, seriously |
Getting Started: The First 30 Minutes
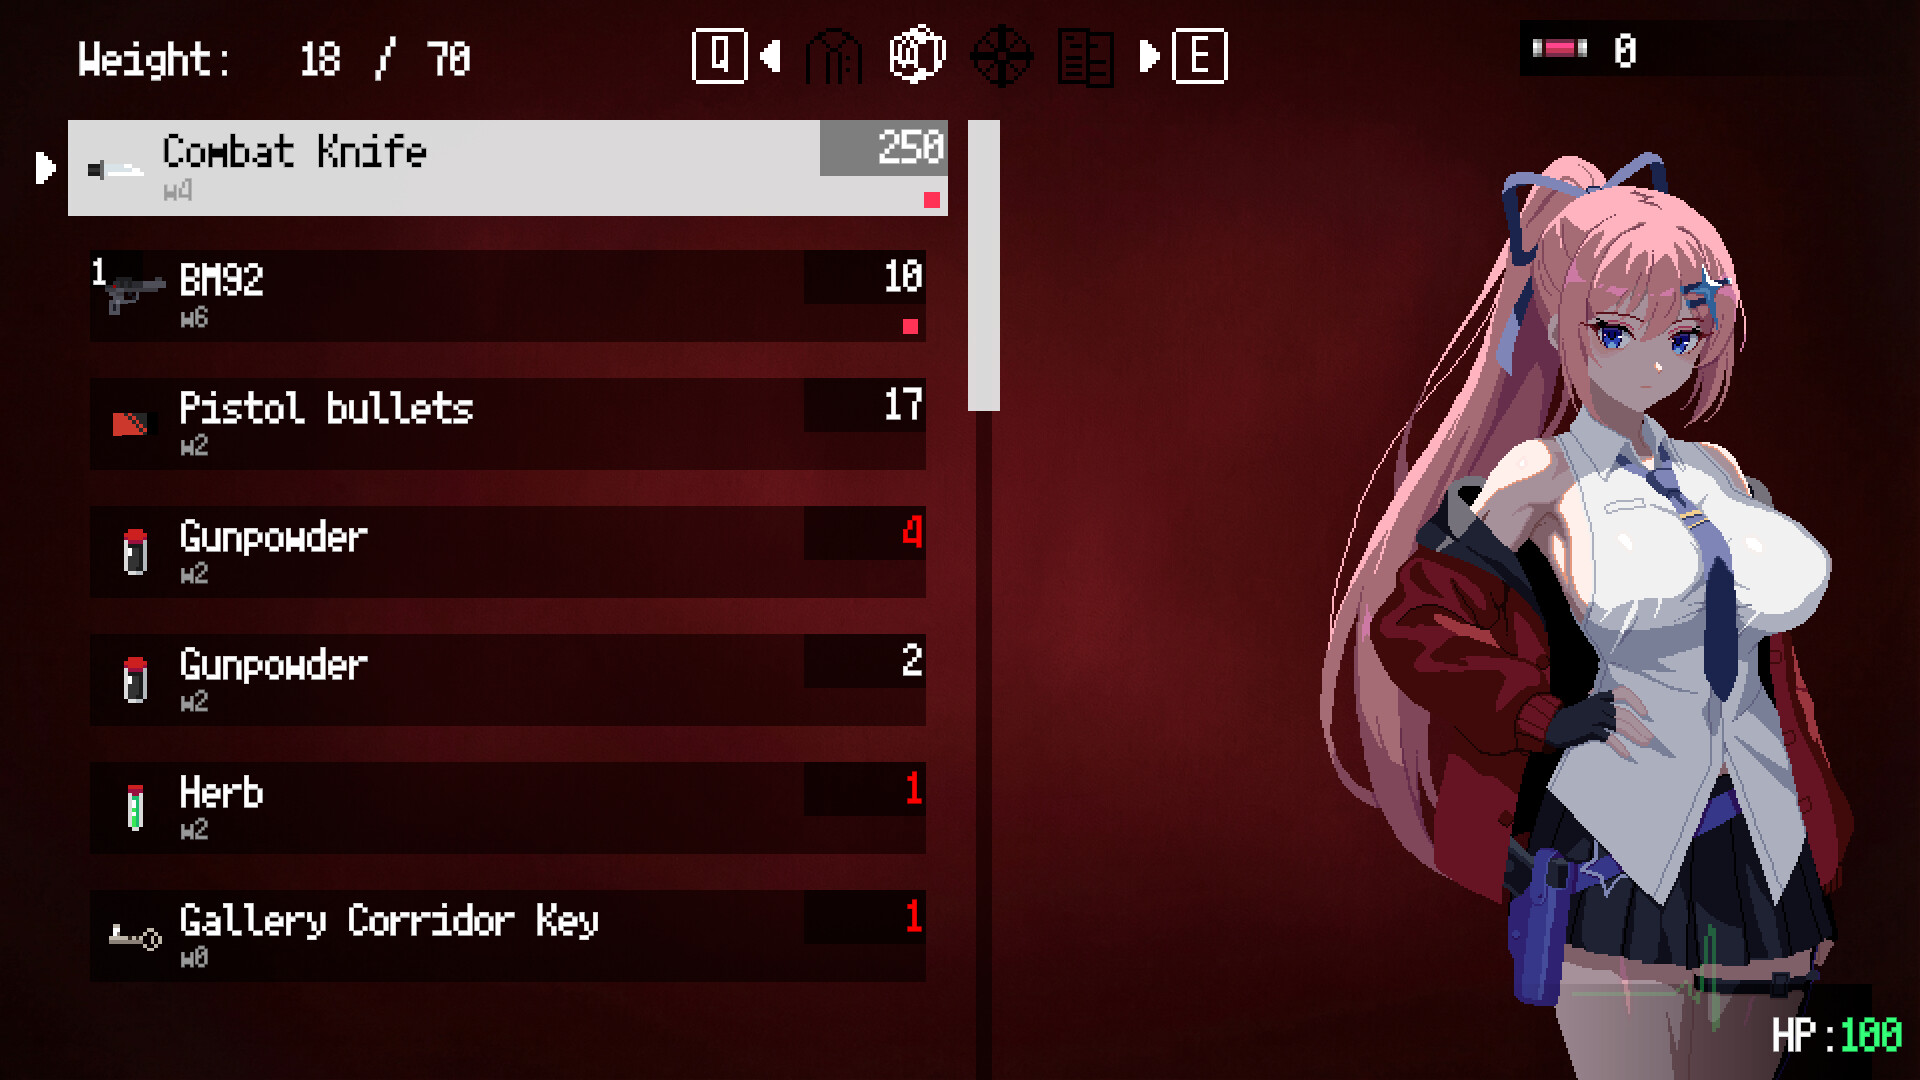
The demo opens with the overhauled Chapter 1 and a tutorial that teaches shooting, melee, and parry timing. Early fights are against basic zombies, with a red-eyed elite called the Blader waiting deeper in.
- Master the parry before anything else. Melee enemies close distance fast, and shooting alone burns ammo. A clean parry opens an enemy for a follow-up, and executions and melee finishers exist for exactly this moment. The whole game gets easier once the parry is a reflex.
- Shoot in bursts, not sprays. Ammo is scarce and the backpack is weight-limited. Controlled shots aimed at heads and weak points clear rooms for a fraction of the cost of spraying.
- Scavenge everything, carry little. Ammo, medicine, and crafting materials are the carry priorities. Raw materials compete for weight with everything else, so discard duplicates early and craft when you can stack.
- Meet Flora and learn the economy. Flora is your companion, vendor, and upgrade station. She exchanges specimens for goods, transmutes items, and handles weapon upgrades. Every specimen you collect is spendable, so hoarding is a choice, not a strategy.
- Pick a main weapon and a backup. Weapons auto-add to shortcuts on pickup in the current demo build. Invest your resources in one main and one backup, and max them before branching out. A fully upgraded weapon outperforms a new find almost every time.
- Expect the gallery to teach you the map. Complex routes exist, and the map is the difference between lost and dead. Consult it for complex routes, and treat exploration as deliberate, not accidental.
Beginner Mistakes to Avoid
| Mistake | Why It Hurts | Fix |
|---|---|---|
| Holding the trigger down | Ammo is scarce; spraying leaves you empty for the next room | Shoot in controlled bursts, aim for heads and weak points |
| Ignoring the parry | Melee enemies close fast, and guns alone burn ammo | Parry to open enemies, then melee or point-blank shot |
| Carrying everything | The weight backpack fills fast, forcing bad drops and slow movement | Prioritize ammo, medicine, crafting materials; discard duplicates |
| Never upgrading | Weapons plateau quickly, and hidden effects are locked behind full upgrades | Spend at Flora early; a maxed weapon beats a new find |
| Rushing into swarms | Hordes overwhelm you, and the game punishes greed | Pull enemies into doorways and corridors, fight one or two at a time |
| Ignoring traps and throwables | The gallery hands you tools: Eerie Paintings, Starlight Crystals, Auto Turrets | Use them. A Starlight Crystal cuts defense; a turret fights for you |
| Skipping the map | Complex routes mean lost, and lost means dead | Consult the map, explore deliberately |
Core Mechanics Explained
Action Shooting
The core loop is side-scrolling shooting. Laila moves through the gallery, aiming and firing at monsters, with weapons that handle differently: pistols, submachine guns, the knife, and more. Reloading, aiming, and quick-swapping are part of the combat rhythm, and the reload progress bar is now visible and unobscured. Weapons auto-add to shortcuts on pickup, so mid-fight swaps are fast.
Melee, Parry, Executions
Guns are not the only answer. Melee techniques and parries work up close, and parrying opens enemies for follow-ups. The demo update made melee attacks prioritize enemies over scene objects, so you can reliably parry in a crowd. Executions and melee finishers exist, and launching an enemy damages other enemies it contacts. The tactical loop: parry, open, execute, and let the launched body do bonus damage on the way out.
Weapon Upgrades and Hidden Effects
Weapons upgrade at Flora with unique affixes per weapon, and fully upgrading one unlocks a special upgrade:
- BM92 (pistol): Red Dot Sight at max
- VP68 (SMG): Burst Fire Mode at max
- APM: reduced energy consumption at max
- Tommy Gun: fastest fire rate and largest magazine in the demo; received a damage buff
- Knife: melee, cheaper repairs, and Refined Steel enhances repairs
The upgrade path is a core progression driver, and the special upgrades change how each weapon fights.
Weight-Based Backpack
Capacity is measured by weight, not grid slots. Every item carries weight, applied per item, and crafted items stack in large quantities while raw materials still compete for space. You are always deciding what to carry, and the decision is the survival horror: ammo against medicine against crafting materials.
The Blessing System
Blessings are the run-level power layer, bought at Flora. The current demo drops three random options per visit, and the system replaced the original upgrade tree:
| Blessing | Source | Effect |
|---|---|---|
| Recoil Control | Flora | Reduces weapon recoil, speeds crosshair recovery |
| Austerity | Alice | Increases max magazine, chance not to consume ammo |
| Charged Shot | — | Damage bonus scaled by Specimens held |
| Flower Shield | — | Protective floral shield while crouching |
| Last Stand | — | Damage reduction (nerfed 5% in beta) |
| Magic Counter | — | Counter-focused defensive passive |
| Agility | — | Movement and evasion passive |
Blessings are the build layer. Two runs with the same weapons play differently with different blessing sets.
Traps, Tools, and Secrets
The environment and inventory give you combat options:
- Eerie Painting: a trap that can be turned against enemies
- Starlight Crystal: throwable that reduces enemy defense
- Auto Turret, Spirit Tower, Stasis Field Emitter: automatic enemy-targeting traps
- Strange Paintings: interactive paintings that reward gazing at them
Enemies and the Boss
The demo bestiary is small but nasty:
- Basic zombies: slow, numerous, teach the parry
- Female zombie: added in a minor update, new attack layer
- Blader: red-eyed elite with a defensive ability, the demo's skill check
- Ovary: latches onto ceilings and spawns Parasitic Eggs; kill it early or get buried
- Parasitic Angel: the Exhibition Hall's final boss, the demo's set-piece fight
Also watch for areas with magical winds: they lift Laila and flying enemies into the air, changing the geometry of fights.
Survival Game Mode
The Delta update added Survival Game, a wave-based mode where enemies spawn in increasing numbers. The demo fixed wave-scaling bugs after Waves 15 and 25 (enemy HP and spawn rates), so the mode is stable. It is the best practice ground for parry timing and weapon rotation without the resource pressure of story mode.
Progression Strategy
- Max one weapon before buying a second. The special upgrade at full rank changes how the weapon fights, and a fully upgraded BM92 with Red Dot Sight outperforms a bare VP68. Pick a main for range and a backup for crowds, and max the main first.
- Buy blessings that match your discipline. If you spray, Austerity and Recoil Control compound. If you aim, Charged Shot scales with collected Specimens. If you parry, Magic Counter and Flower Shield make the front line safe. Read the three offered choices against how you actually fight.
- Collect Specimens deliberately. Specimens are currency at Flora, and Charged Shot scales with the number you hold. That creates a real tension: spend specimens on upgrades now, or hold them for a damage bonus. The answer changes per boss.
- Craft to reduce weight. Crafted items stack in large quantities, so crafting raw materials into stacks is a way to buy backpack space back. Transmute at Flora whenever the exchange is favorable.
- Use Survival Game as an economy lab. Story mode punishes wasted ammo with empty rooms; Survival Game punishes nothing but death. Practice weapon rotation, reload discipline, and parry timing there, then carry the habits into the campaign.
- Branch routes deliberately. Each stage ends with branching paths that are randomly generated, so different routes reach the same destination. Choose routes based on what you need: more specimens, more crafting, or the short way out.
Builds and Tier Lists
Weapon Tier List
| Tier | Weapon | Why |
|---|---|---|
| S | Tommy Gun | Fastest fire rate and largest magazine in the demo, plus a damage buff. The crowd-control king when the crowd is small and the weight is affordable. |
| A | BM92 | The reliable main. Accurate, ammo-efficient, and the Red Dot Sight at max makes headshots routine. The best first weapon to fully upgrade. |
| A | VP68 | The balanced SMG. Burst Fire Mode at max turns it into a precision tool, but it needs the upgrade to shine. |
| B | APM | Energy-efficient option with reduced energy consumption at max. Situational, depends on the energy economy of the full game. |
| B | Knife | Melee is mandatory, not optional, and the knife is your parry follow-up. Cheap repairs plus Refined Steel mean it stays relevant. |
Blessing Tier List
| Tier | Blessing | Why |
|---|---|---|
| S | Austerity | More ammo per magazine and a chance to fire for free. In an ammo-scarce game, ammo generation is the strongest blessing. |
| S | Charged Shot | Damage scales with Specimens held. If you collect deliberately, this is a permanent, stacking damage buff. |
| A | Recoil Control | Tighter groups and faster crosshair recovery mean fewer wasted shots, which is ammo economy in disguise. |
| A | Magic Counter | Converts enemy attacks into counter damage. Pairs with the parry-first playstyle. |
| B | Flower Shield | A free shield while crouching. Great against bullets and ranged monsters, useless if you never crouch. |
| B | Last Stand | Damage reduction, recently nerfed. Fine as a safety net, not a build centerpiece. |
| C | Agility | Movement and evasion. Nice to have, hard to feel at the margins. |
Beginner Build: "Ammo Economy"
Main weapon: BM92, maxed for Red Dot Sight. Backup: VP68. Blessings: Austerity, Recoil Control, Charged Shot. Playstyle: headshot zombies at range with the BM92, swap to the VP68 only when the crowd closes, parry the Blader instead of trading shots, and hold Specimens for the Charged Shot damage. This build teaches every core system and wastes the least ammo.
Survival Horror Build: "The Fort"
Weapons: Tommy Gun for crowd bursts, Knife for parry follow-ups. Blessings: Flower Shield, Magic Counter, Last Stand. Traps: Auto Turret and Stasis Field Emitter at choke points, Eerie Painting as a panic button. Playstyle: bait the swarm into the trap lane, crouch behind the Flower Shield, let turrets and counters do the work, then execute survivors with the knife. The resource-light build for players who hate wasting bullets.
Step-by-Step Strategy
-
The Parry-Opening Kill (any melee enemy): let the zombie wind up, parry its swing, follow with a knife execution, and launch the body into the rest of the crowd for contact damage. One parry deletes one enemy and damages everyone near the launch. Repeat until the room is clean.
-
The Doorway Funnel: never fight a swarm in open gallery floor. Back into a doorway or corridor, and the horde funnels into a line. Spray the funnel with the Tommy Gun, or parry the first arrival and execute into the line. The game punishes greed, and the funnel is the discipline move.
-
The Blader Respect Routine: the Blader has a defensive ability, so raw aggression fails. Bait the attack, parry it, and punish the recovery, then back off before the defense re-engages. Do not trade bullets with an elite that can block. Headshots work, parries work better, and Specimens spent on security are Specimens wasted.
-
The Ovary First Rule: in any room with an Ovary, kill it before the adds. Spawned Parasitic Eggs turn a manageable room into a flood. Rush the ceiling latcher, break it, then clean the eggs before the zombies close. This is the demo's most punishing positioning check.
-
The Parasitic Angel Phase Plan: the Exhibition Hall boss is the demo's set piece. Save Charged Shot Specimens before the fight, and enter with full ammo and a full trap loadout. Phase one: keep distance, punish with the BM92 headshots, dodge through the patterns. Phase two: when adds spawn, drop the Auto Turret as a distraction, focus the boss, and save the executions for the adds. The fight is a resource auction: spend ammo on the boss, let the turret spend itself on the adds.
-
The Survival Game Rotation Drill: use Survival Game to practice the full loop under pressure. Run 1: parry only, no shooting, learn enemy windups. Run 2: perfect weapon rotation, never empty a magazine. Run 3: trap placement, learn where choke points hold. By run 3, the campaign feels slow by comparison.
Advanced Tips
- Executions are area damage. Launching an enemy damages everything it contacts on the way out. In a crowd, execute toward the densest cluster, not away from it.
- Crouch is a defensive posture. The Flower Shield makes crouching a real blocking stance, and crouching changes your silhouette against ranged enemies. Use it, don't forget it exists.
- Starlight Crystal is a boss opener. Reducing enemy defense before the burst phase is free damage on every shot that follows. Open the Parasitic Angel fight with one, not mid-fight.
- Transmutation beats hoarding. Flora exchanges specimens and items for goods, including sold weapons and Dimensional Backpacks. A backpack upgrade is a permanent carry boost; a stack of unused specimens is dead weight.
- The reload bar is your rhythm. Reloading no longer plays a long locked animation in current builds. Reload in cover during lulls, and treat the visible progress bar as a sync point for re-entering the fight.
- Magical winds change geometry. In wind areas you and flying enemies get lifted, which changes which attacks reach you and which shots land. Learn the wind lanes before a fight, not during it.
- Gaze at the Strange Paintings. The interactive paintings reward attention, and the demo signals that they are not just decoration. The story is in the art.
FAQ / Common Mistakes
Q: When does Leyla In Veil release? The Steam page lists the game as upcoming. No exact date announced.
Q: Is it a roguelike? The current version is not. The Gamma demo removed roguelike elements for linear progression with save and load. A separate roguelike-feel mode is planned.
Q: Is there a demo? Yes, free on Steam (app 3920800). It includes Chapter 1, Survival Game mode, weapon upgrades, accessories, item transmutation, and the Parasitic Angel boss.
Q: What languages are supported? English, Japanese, and Simplified Chinese interface and subtitles. Full audio is English.
Q: How does the backpack work? Weight-based capacity, applied per item. Ammo, medicine, and crafting materials are the priorities; crafted items stack in large quantities.
Q: What weapons are available? Pistols (BM92), SMGs (VP68, Tommy Gun), the APM, and the knife, plus throwables and traps. Each weapon has unique affixes and a special upgrade when fully maxed.
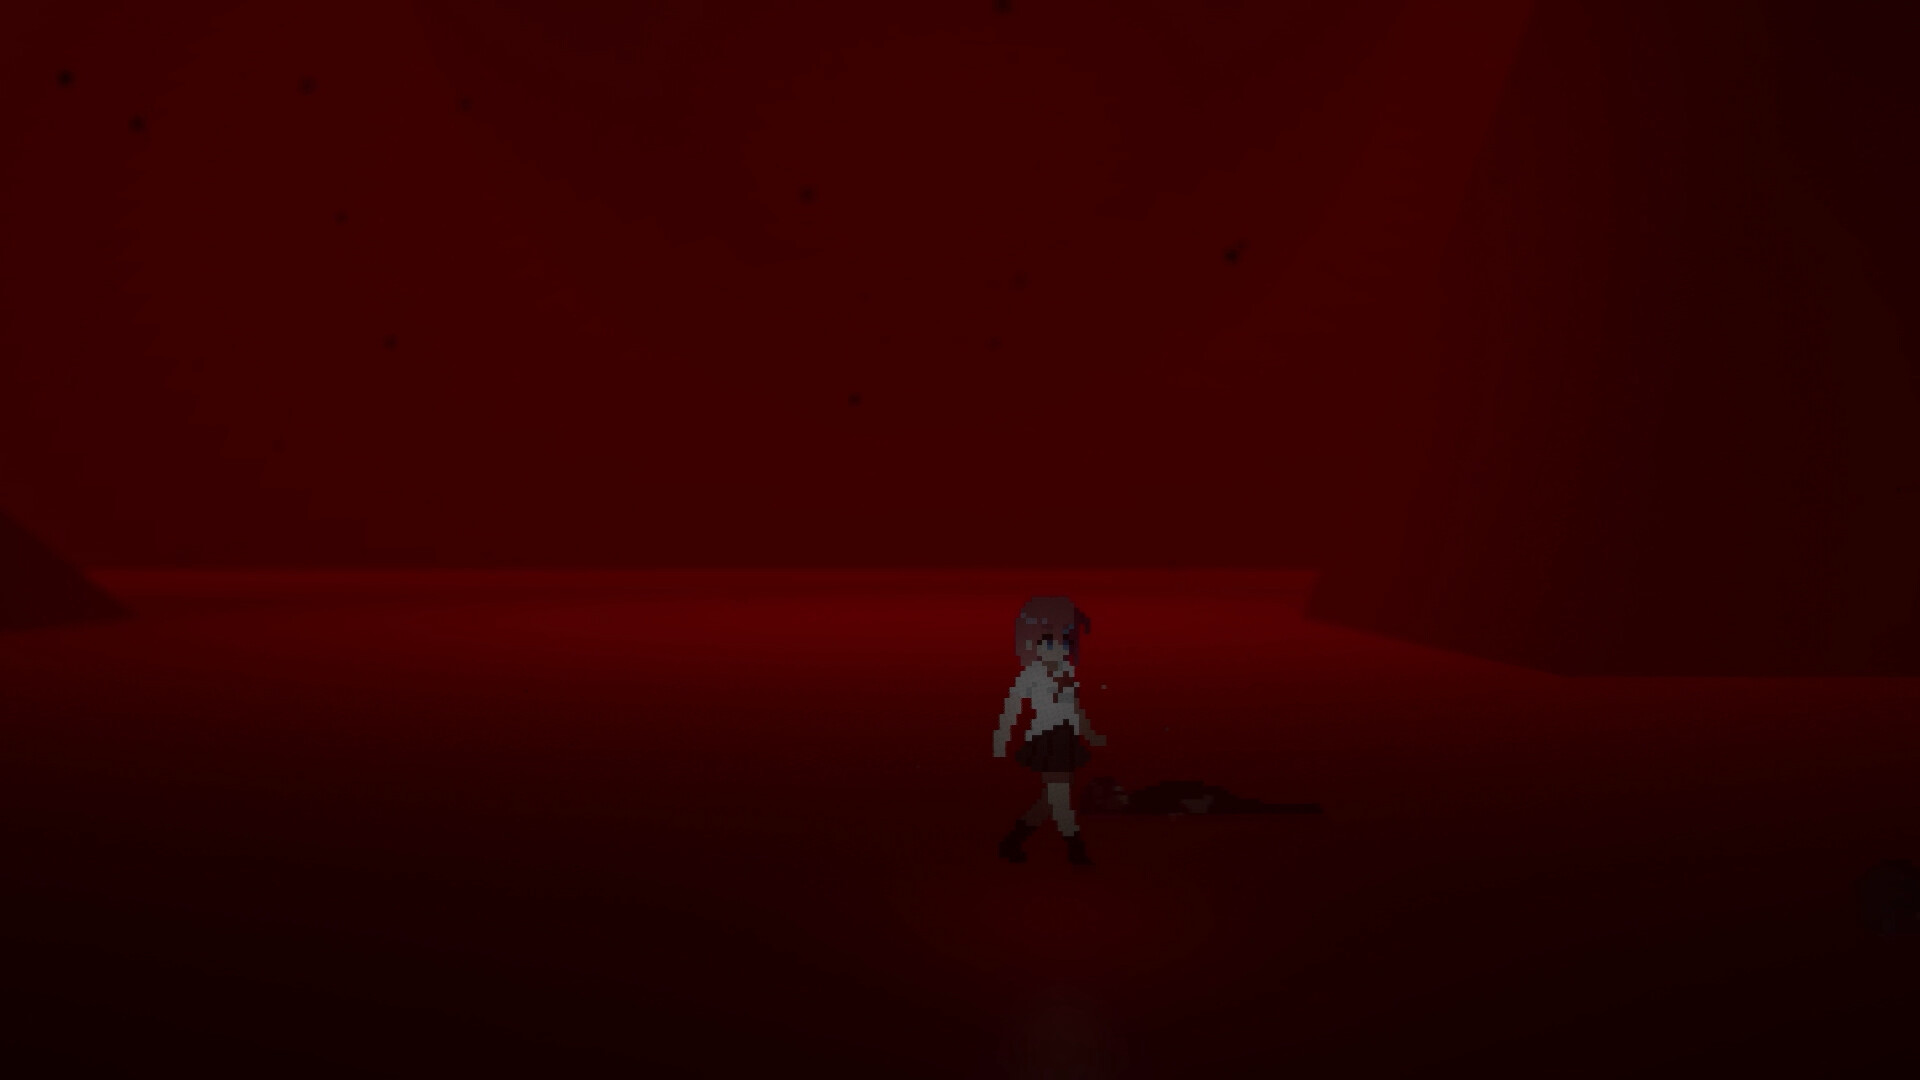
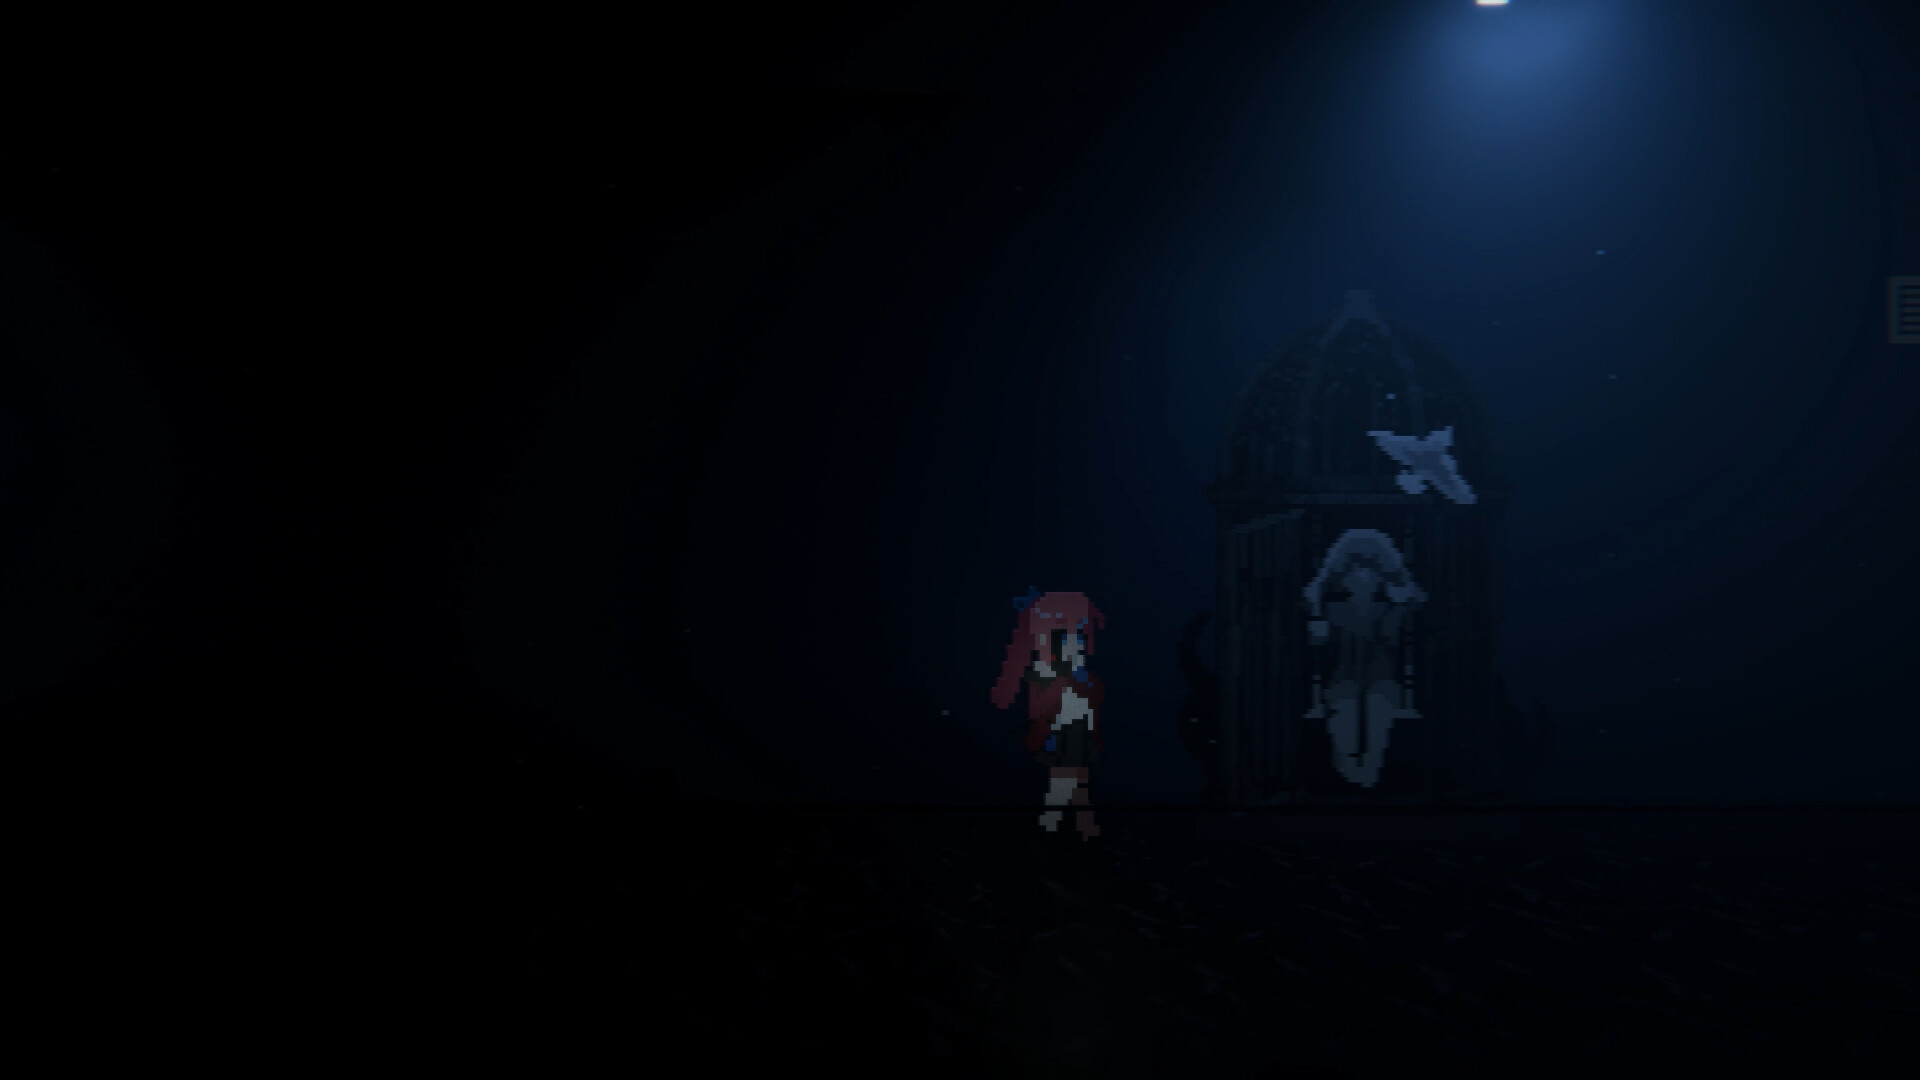
Q: How scary is it? It is survival horror, and the developer explicitly recommends headphones. The gallery is built on atmosphere, sudden encounters, and resource tension.
Q: Is there a boss? Yes, the Parasitic Angel in the Exhibition Hall, added in the beta along with the storyline.
Common mistake: treating the knife as a panic button. The knife is the parry follow-up, not the emergency weapon. Players who knife-spam without parrying waste durability and take chip damage. Parry first, knife second.
Common mistake: spending every Specimen. Charged Shot scales with Specimens held, and the transmutation shop always has something tempting. The best runs hold a reserve for the boss and spend the surplus.
Common mistake: ignoring the map. The gallery's branching routes are randomly generated per stage. Players who skip the map wander into swarms they could have walked around. The map is not a crutch, it is a survival tool.
Final Verdict
Leyla In Veil blends the resource tension of survival horror with the pace of a side-scrolling action shooter, and the demo shows the blend works. The parry-execution loop is satisfying, the weapon and blessing systems give real build choice, and the Istvi Gallery is an atmospheric, genuinely creepy space. The weight-based backpack and ammo discipline keep every room tense, and the developer's update cadence through 2026 shows a game that is actively improving. If you want a fast, pixel-art horror shooter with build depth, this is one to wishlist. If you want pure run-and-gun or pure slow-burn horror, look elsewhere.
Rating: 4/5 for its genre.
Screenshots