Official game
Play Dungeonbound
This game is hosted by Steam. Continue to the official page to play or download it.
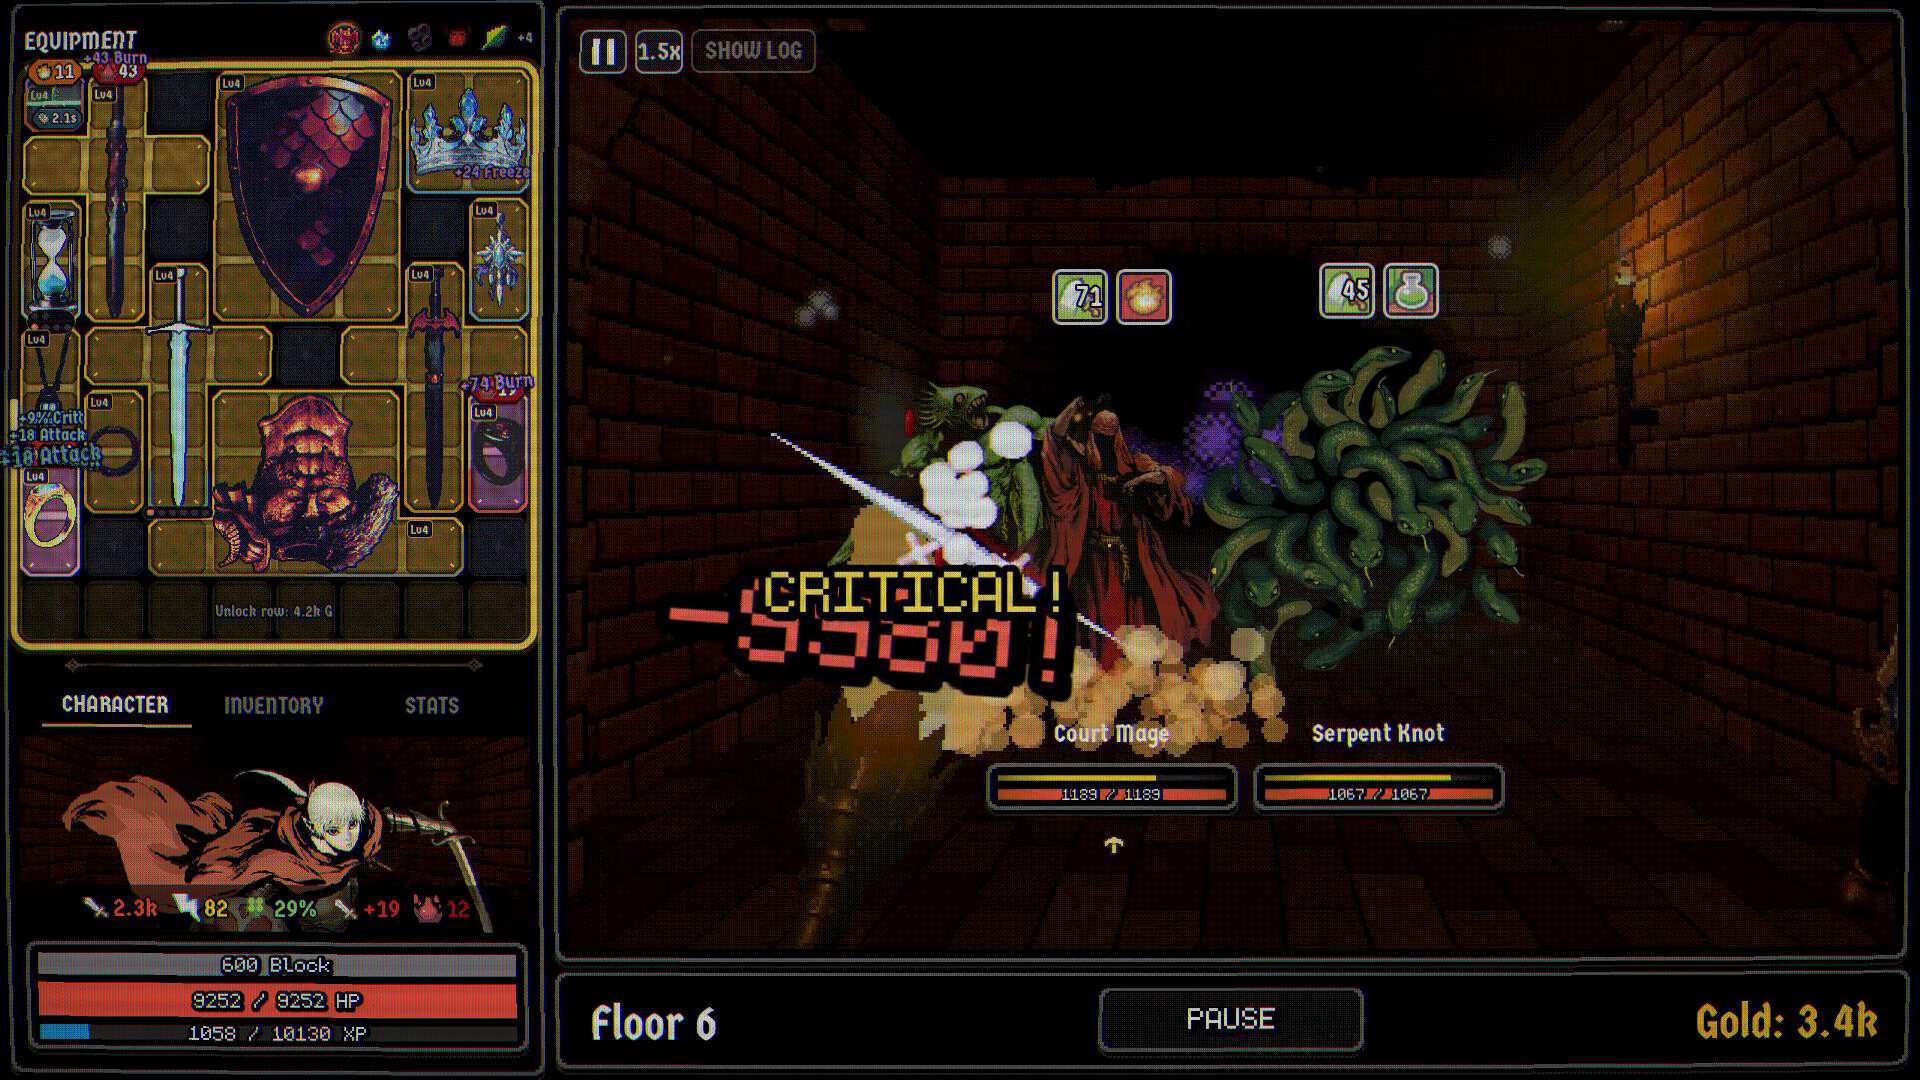
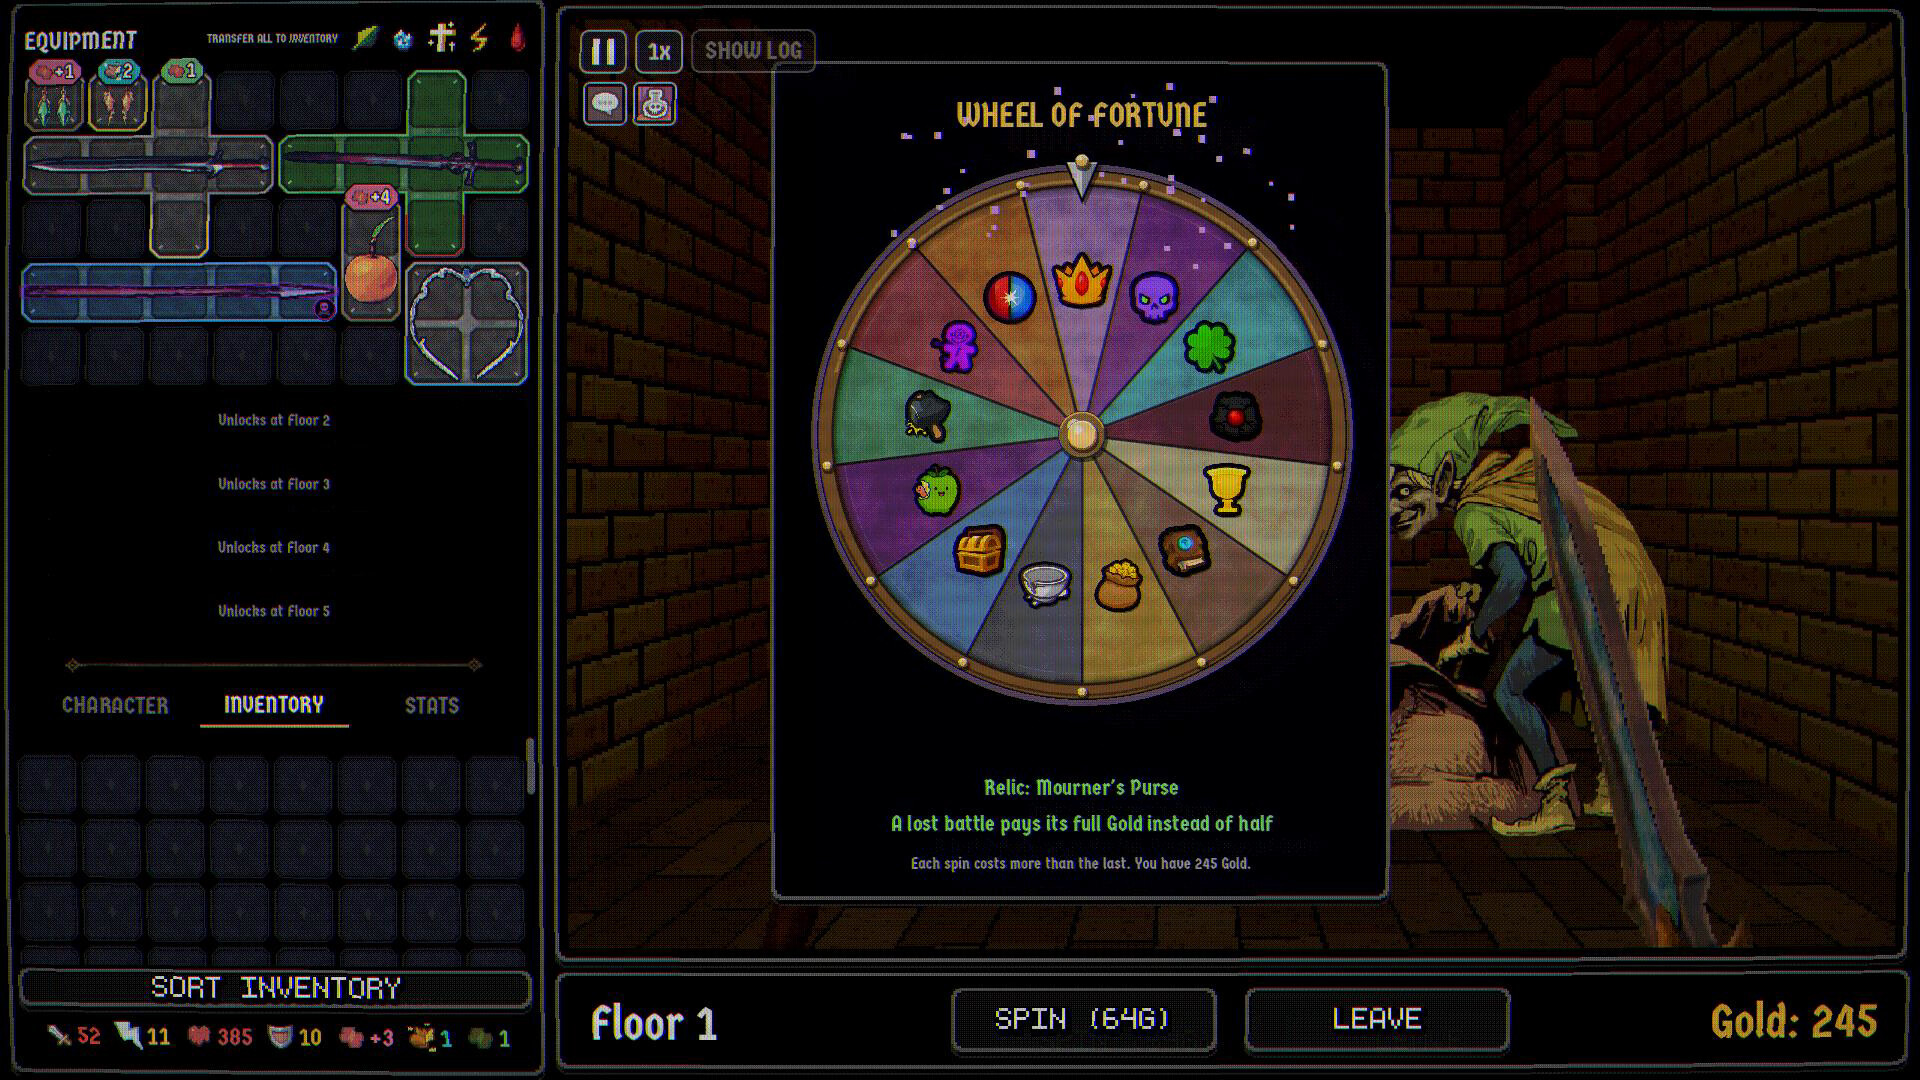
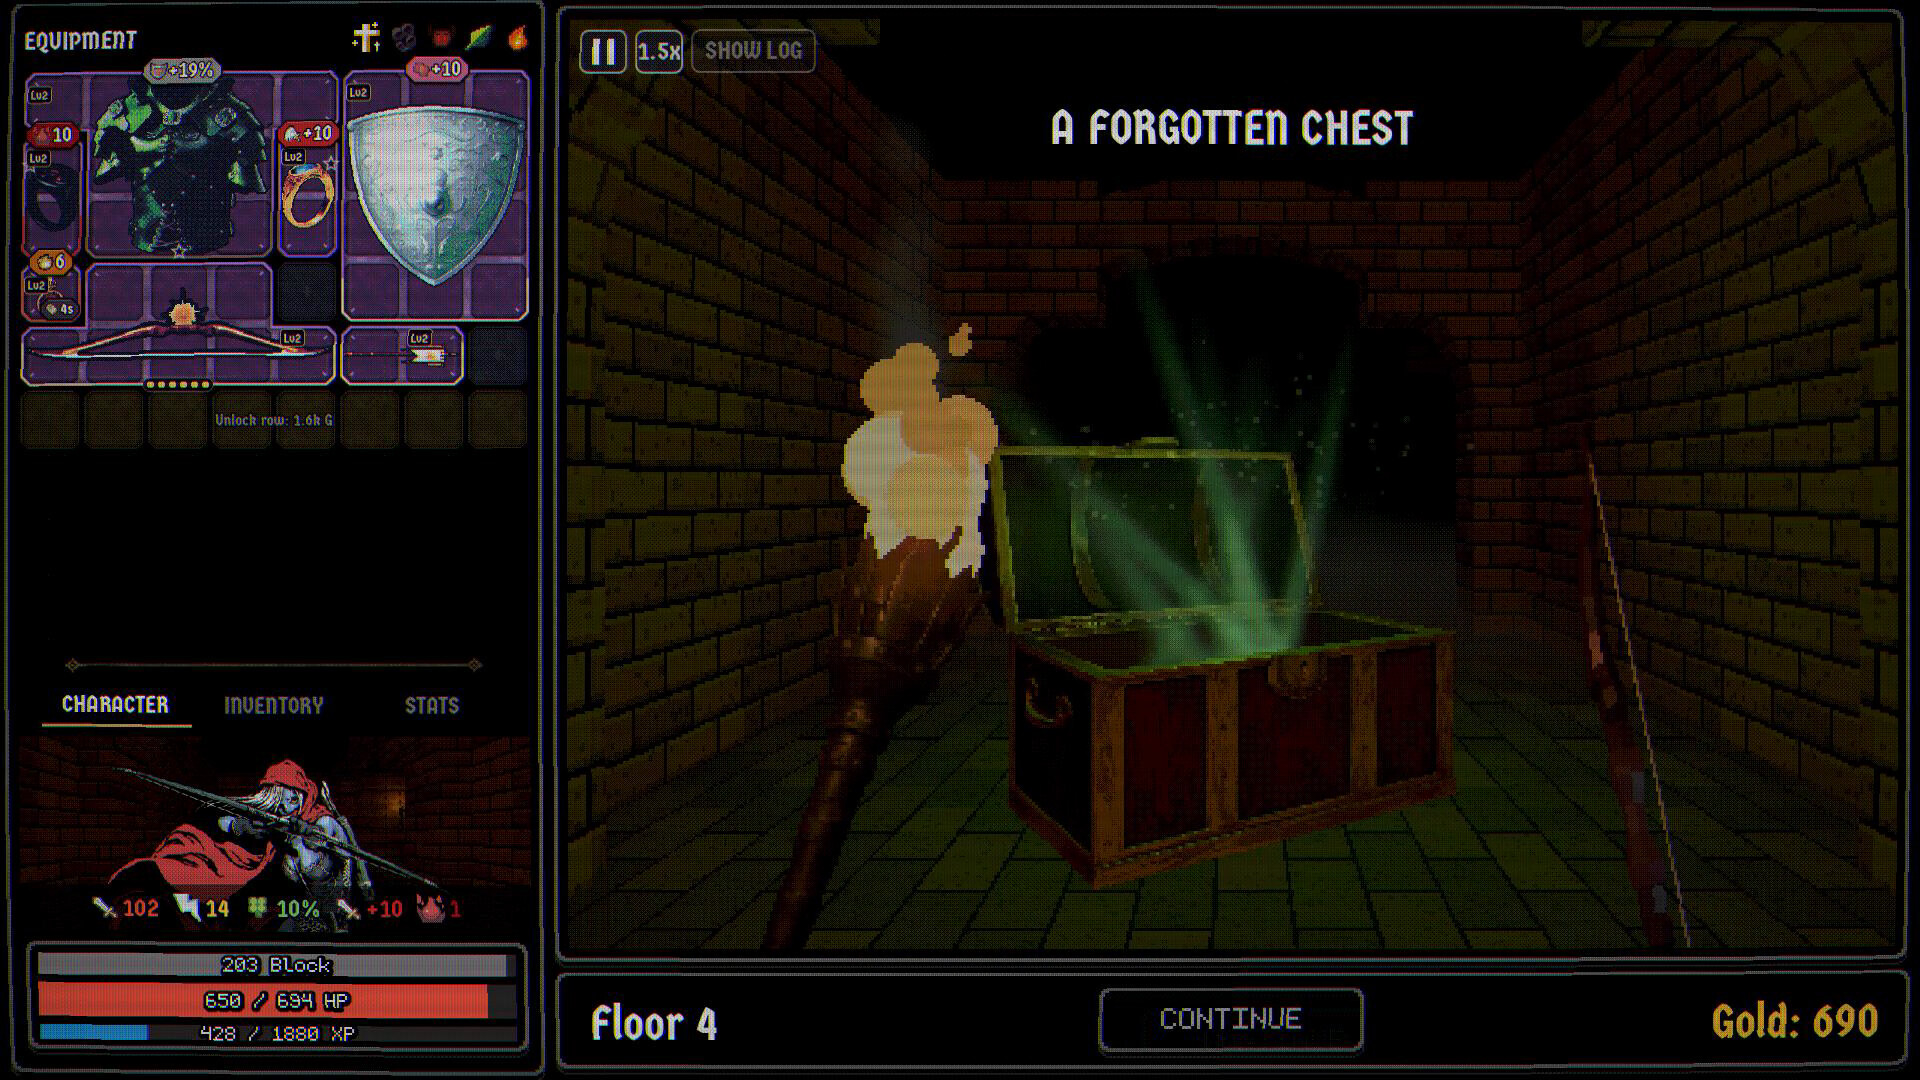
Buy on SteamDungeonbound is a first-person auto-battler dungeon crawler by solo developer louidev where preparation beats reflexes. You pack gear onto a backpack-style grid, descend into monster-packed floors, and watch attacks, dodges, crits, counters and status ticks resolve themselves in speed-driven turns through a PS1-era CRT filter. It launches November 15, 2026 on Steam, with a playable demo already live, and it packs four modes: a long incremental campaign, a ranked roguelike climb against other players' boards, a 2-4 player co-op climb, and a once-a-day Daily.
This guide goes deeper than the overview: the math behind the auto-battle system, grid layout theory, build paths for each hero archetype, and step-by-step sequences for every mode. Nothing here requires fast fingers. Your decisions happen between fights, and this is how to make them well.
Quick Facts
| Developer / Publisher | louidev (solo dev) |
| Release | November 15, 2026 (Windows, demo on Windows and Mac) |
| Genre | Auto-battler, dungeon crawler, RPG, strategy, roguelike |
| Modes | The Long Haul (incremental), The Climb (roguelike), Co-op Climb (2-4), The Daily |
| Heroes | 7 campaign heroes, 32 unlockable Climb specialists |
| Content | 240+ enemies, 49 elites, 17 bosses, 540+ items, 90 relics |
| Steam features | Achievements, level editor, leaderboards, Steam Cloud, save anytime |
What Is This Kind of Game?
Dungeonbound sits at the intersection of three genres. The first-person corridors come from classic dungeon crawlers. The combat engine comes from auto-battlers: once a fight starts, your only input is clicking which enemy to target. The buildcraft comes from inventory games, because your power lives in the geometric arrangement of items on your board, not in a skill bar.
The result plays like a puzzle you solve between fights. A battle is a replay of decisions you already made in the shop and on the grid. Wrong setup, no clicking saves you. Right setup, the fight ends before you finish reading the enemy list.
Difficulty is medium and the loop is friendly to mistakes. Dying in the campaign costs floors, not hours. The main skill floor is spatial: you need to think about item shapes, adjacency directions and grid edges the way you think about lanes in a strategy game.
If you liked Backpack Battles or Super Auto Pets, this is that loop with a dungeon crawl wrapper. If you want progress that never resets, The Long Haul is built for you. If you want stakes, The Climb deletes your build when the hearts run out.
Getting Started: Your First Hour
Pick Your Mode First
Defeat is handled completely differently in each mode, so choose before you optimize anything.
| Mode | Roster | Death penalty | Progression |
|---|---|---|---|
| The Long Haul (incremental) | 7 heroes: Warrior, Mage, Rogue, Monk, Archer, Alchemist, Paladin | None. You return to the hub with all loot, gold and levels | Per-hero levels, gold, 400+ permanent upgrades across 5 skill trees |
| The Climb (roguelike) | 32 unlockable specialists | Losing all 5 shared hearts destroys the build | Relics on floors 1-5, a rank that carries between climbs |
| The Co-op Climb | 2-4 players, shared pool of 5 hearts | Team wipe ends the run | Separate purses and shops, dice-settled shared drops |
| The Daily | 1 hero, one shared seed | One attempt per morning | Leaderboard depth, 3 rotating modifiers |
Run The Climb once and die on purpose around floor three just to see The Grave, the headstone screen that shows the exact build that killed you. Then take the campaign Warrior deep and feel the difference permanent upgrades make. Death costs nothing in either mode, so spend the first hour experimenting.
Opening Minutes Checklist
- Pick Warrior for your first campaign run. Highest base health, forgiving block scaling, no resource management. Mage hits harder but stalls on mana early, and Monk needs specific gear to function at all.
- Buy one sustain item in the first shop: life steal, battle-start regeneration, or a heal-on-hit trinket. Nothing prevents early deaths as reliably.
- Buy a grid row expansion with your second purchase. More board space means more adjacency pairs and room for bulky shields.
- Rotate items with R before placing them. Most boards fail not from bad items but from items placed in the wrong orientation.
- Click the fastest enemy during fights. Auto-battle still lets you redirect targets, and killing a goblin thief before its fourth hit protects your gold.
Beginner Mistakes to Avoid
- Stacking block against poison enemies. Poison bypasses block pools entirely and ticks straight onto health. Bring cleansing gear instead.
- Equipping weapons on the Monk. The Monk can hold one, but it deactivates barehanded passives like Iron Fist and loses more than it gains.
- Hoarding gold for late floors. Shops between floors are your real power spikes, and unspent gold is a thief's payday.
- Fusing too early. Fusion resets items to level 1. Merge duplicates on both parents before fusing them.
- Ignoring item tags. Two to four pieces sharing a tag activate set bonuses that beat most individual stats early on.
- Skipping shrines. Every Climb floor has one, and skipping a shrine is never correct.
Core Mechanics Explained
Speed and Turn Order
Combat runs on automated ticks. Speed sets how often your board sweeps, and each sweep fires every active item it passes.
The baseline speed is 10. Every point above or below 10 counts at half weight, so going from 10 to 14 is a meaningful cadence gain while 20 to 24 barely moves the needle. Small investments produce incremental shifts instead of runaway loops, which makes speed a strategy rather than an exploit. Faster heroes also act first and can gain extra swings against slow enemies, so speed is action economy, not just a stat.
Faster boards mean more procs of on-attack effects, which is why speed multiplies with multi-trigger and per-swing scaling rather than just adding raw damage.
The Stat Block, With Caps
Every stat has a hidden ceiling. Knowing them stops you from wasting gold:
| Stat | Behavior | Effective cap |
|---|---|---|
| Speed | Baseline 10, half-weight per point above/below | Soft, cadence-based |
| Block pool | Soaks physical hits | ~30% of max HP by default |
| Dodge | Full value to 35%, then heavy diminishing returns | Never reaches 60% |
| Crit | Full value to 50%, diminishing after | Below 85% |
| Multi-trigger | Chance an item fires again; each repeat at half the previous chance | Full to 35%, never 75% |
| Luck | Rerolls loot for higher rarity; half its value adds to dodge, crit, multi-trigger and activation rates | Also raises cursed-gear risk |
The luck tradeoff matters: half of it feeds back into your proc stats, but it also raises the chance loot arrives with self-curse mechanics. Past the early game, treat luck as a combat stat first and a loot stat second. Note also that some gear grows directly with your luck stat, and weapons exist that scale off your missing health or your gold pile, so a greedy low-health build is a real archetype, not a joke.
Status Effects, Decoded
Statuses are where Dungeonbound hides most of its depth. All of them stack and tick on their own clocks.
- Poison ticks every second per stack and loses one stack every other tick. It ignores block completely. Against you it is the deadliest debuff; for you it underperforms early unless you invest in dedicated scaling.
- Bleed deals physical damage over time based on stacks and pairs with fast multi-hit weapons.
- Burn ticks per stack, and specific gear detonates the entire remaining burn pool at once. Burn-detonate combos are among the highest burst lines in the game.
- Freeze disables one piece of the target's equipment, stats and triggers included. Against a target with no items left, freeze forces a skipped attack.
- Stun and stagger stack up: every stun application adds a stagger stack, the third stack stuns for 1 second, and the target then gains 2 seconds of immunity.
- Hindered adds a 5% miss chance per stack, up to 50%.
- Terror forces the target to spend a stack per swing, with a 30-33% chance to hit itself for half its attack.
- Unhealing cuts all healing on the bearer by 10% per stack, up to 80%, expiring one stack every 2 seconds. It hard-counters lifesteal builds, so carry an answer if your sustain depends on healing.
Enemy design weaponizes these against you. Thorns punish every hit you land, berserkers grow stronger the longer a fight drags, bloodthirsty creatures heal off the wounds they give you, and thieves flee with your gold. Against berserkers, long fights are not bad luck, they are the enemy's design: finish fast or disengage.
Grid Layout: The Real Battler
There are no fixed equipment slots. Every item is a shaped piece on a backpack-style grid, and what it touches changes what it does. Adjacency is an affix.
- Adjacency stars: directional indicators buff neighbors. Twin Fang gains flat attack per adjacent blade, and Grinding Stone buffs every adjacent weapon.
- Trigger doubling: the Echo Stone makes directly adjacent items fire an extra time per sweep. One Echo Stone in the center of a weapon cluster effectively multiplies the cluster.
- Edge and corner requirements: defensive pieces need spatial borders. Corner Guard grants +30 block only in an actual corner cell.
- Tag sets: 2-4 items of the same tag (Earth, Vampiric, Arcane, Frost, Holy, Metal) grant passive set bonuses: max health, block percentage, life steal.
- Runes: dungeon pedestals place runes permanently on board cells, and every cleared floor blesses whatever sits on them, stacking attack, burn application or block scaling. Rune cells are premium real estate.
- Overkill spill: a killing blow's excess damage spills into the next enemy in the rank. Against grouped packs, building for overkill is effectively free area damage.
A practical layout rule: weapons in a tight cluster around an Echo Stone, defensive pieces pinned to corners and edges, utility trinkets filling interior cells where their shape fits, and your best scaling item parked on a rune.
Scaling Your Gear
Three systems compound during a run:
- Duplicate merging: two identical items at the same level combine, up to level 10, boosting base stats and trigger scaling without consuming extra tiles. Duplicates are never dead weight.
- Fusion Forge: any two different items fuse into one hybrid. The item type follows the base parent, the hybrid inherits stats, procs and status chances from both, and secondary stats like life steal or speed penalties may be reduced slightly. Fusion resets the result to level 1, but saves grid space by concentrating two tiles into one.
- Upgrade altars and dismantling: altars push an item to its next level or boost trigger power. A Dismantling Bench permanently destroys an item and absorbs its core attributes into your hero's baseline stats for that run.
Order matters. Merge duplicates first, then fuse the leveled parents, then re-merge duplicates of the new hybrid if the drop pool allows.
Progression Strategy
The Long Haul Path
The campaign has five descents: The Mudking Warrens, Bonevault Crypts, Chittering Deep, Infernal Court, and Wyrmroost. Each hero carries separate gold, levels and upgrades, so progress on one never bleeds into another.
Spend skill points in this order:
1. Grid expansions (2-3 rows before descent 2)
2. Hero-specific mechanics (Mage element affinities, Rogue weapon slots)
3. Base attributes: health first, then your damage stat
4. Off-hand / dual-wield passives
5. Situational utility nodes last
Progress one hero to descent 3, then split time. A second hero at descents 1-2 funds cheap early upgrades fast, and a second kit teaches you item interactions you will need in The Climb.
The Climb Path
Climb specialists each center on tag affinities and a personal passive. Every floor offers a shop, monsters, a shrine and rivals. You pick a relic from three options on each of the first five floors, from a pool of 90. Clearing floor 8 secures a rank promotion; losing all five hearts before that demotes you.
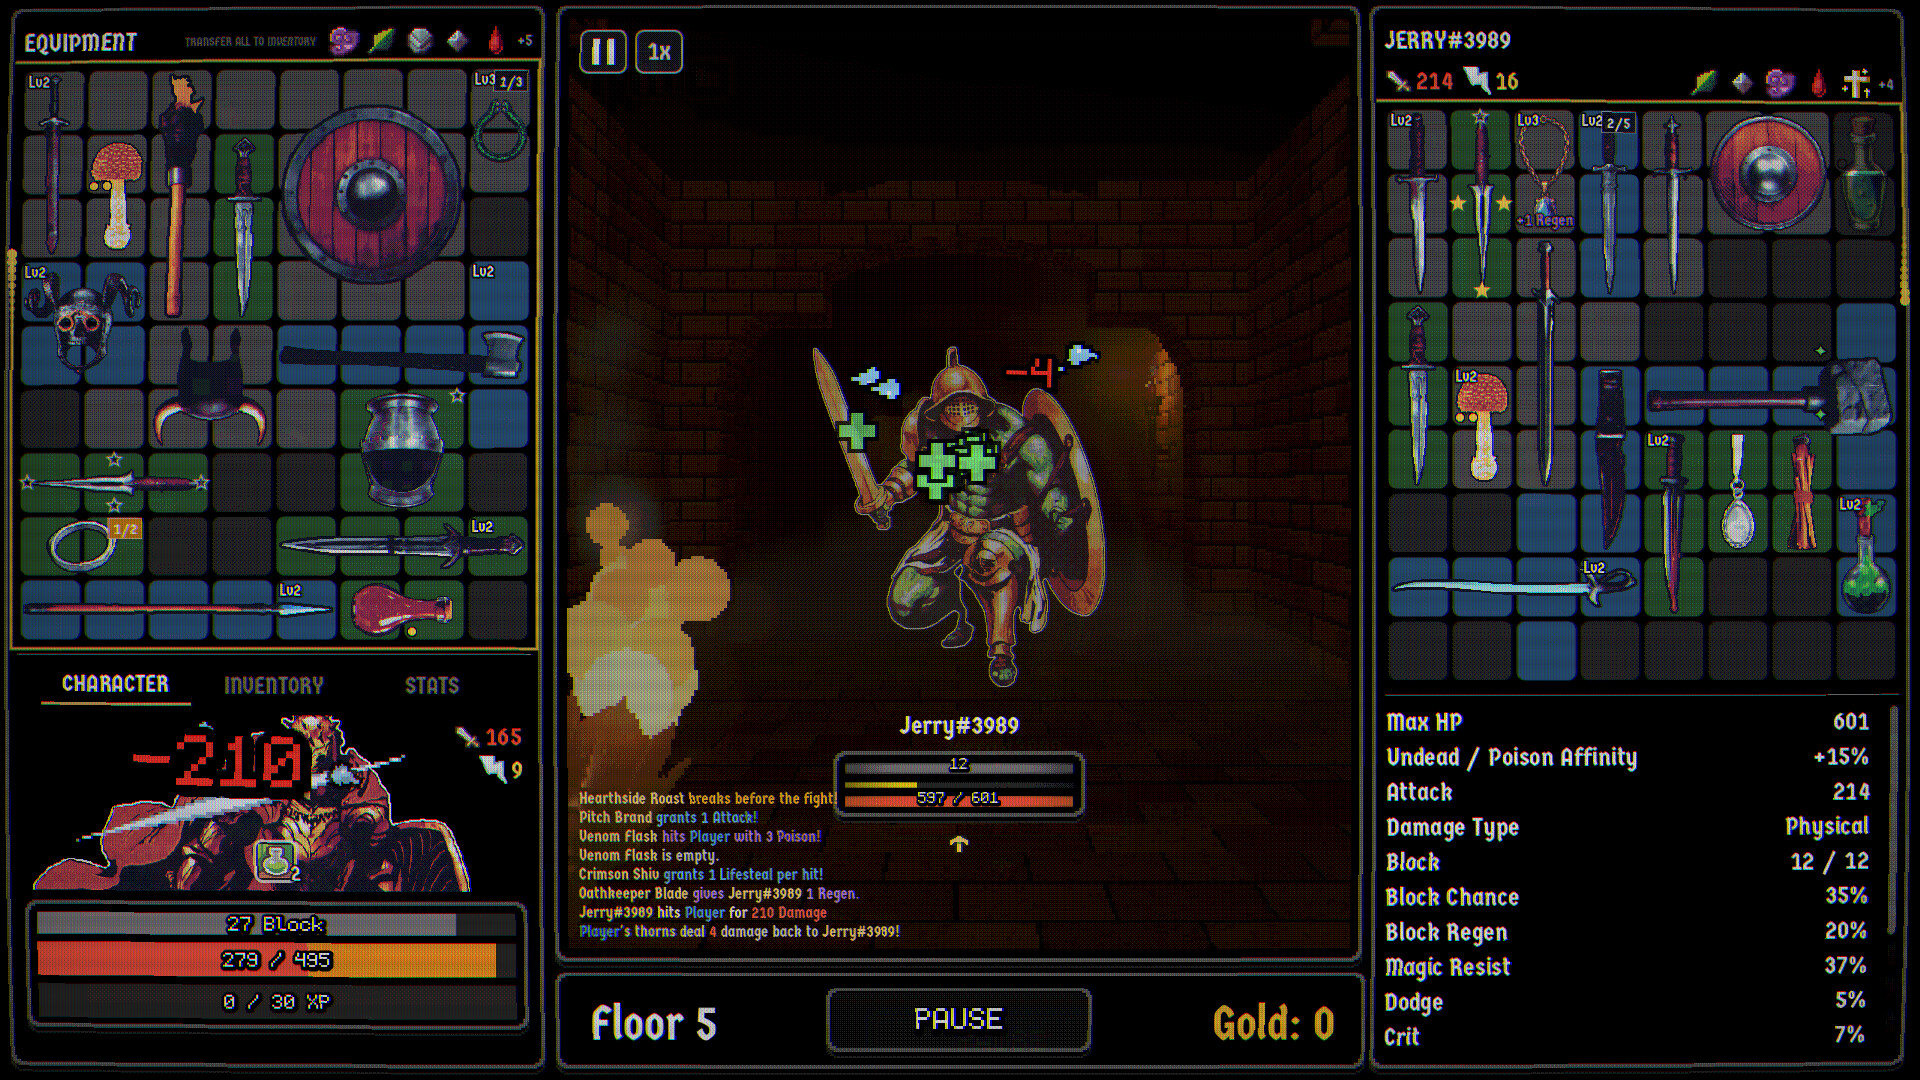
The rivals are asynchronous snapshots of real player boards, uploaded when other players clear floors. Every rival plays by your rules, so every trick on their board is one you can steal. When you lose, The Grave shows your final board, your run totals, the build that beat you, and a replay of your own death. Losing to a clever board is a tutorial: read the headstone, watch the fight, copy the idea.
Relic priority: sustain relics before damage relics on floors 1-2, tempo (speed, multi-trigger) on floors 3-4, and whatever detonates your primary status on floor 5. Rival boards scale faster than monster boards, so tempo wins the mid-climb.
The Daily Path
One seed, one hero choice, one purse, identical rooms for everyone, three fresh modifiers each morning. The run scales past survivability; the question is how far you got.
Read the modifiers before locking a hero. A healing-cut modifier kills lifesteal plans, while a speed-doubling modifier turns tempo builds into leaderboard machines. Take the hero whose kit is untouched by the worst modifier rather than the one boosted by the best.
Builds and Archetypes
Speed Multi-Trigger Rogue (The Benchmark)
The Rogue unlocks through campaign progression after the Mage. Baseline: neutral daggers, 3 base attack, 15% block chance. The build loops fast attacks into repeated procs until the enemy never gets to act.
Core pieces:
| Slot | Target | Why |
|---|---|---|
| Weapon | Needle Knife, Knight Fang Daggers, late-game Death Crow (45 attack, built-in lifesteal) | Fast cadence feeds every proc |
| Tempo | Echo items, Storm Elixir (speed/charge on attack) | Attacks generate the resource that generates attacks |
| Multi-trigger | Double Strike effects with triple-strike rolls | Each weapon lap can swing two or three times |
| Amplifier | Sharpening stone (+2 attack), Enrage accessory (+attack every two swings) | Scales per swing, so speed multiplies it |
| Runes | Bleed runes under weapons | Bleed stacks on every activation |
Stat priority: speed to a comfortable cadence, then multi-trigger toward its 35% full-value ceiling, then crit. Skip heavy armor; fused blue or purple trinkets with native block chance (40%+ total) plus dodge trinkets in the +3 to +8 range cover defense. Items that counterattack or heal on a successful dodge convert defense into extra attacks.
Status choice: bleed over poison. Early poison does not tick fast enough to save you on deep floors without dedicated meta-upgrades, while bleed pairs directly with multi-hit daggers. Hybridize with burn and freeze to lock targets while the daggers shred.
Survivability comes from volume: dozens of fast attacks with +1 to +5 lifesteal per hit refill the health bar between enemy swings.
Barehanded Monk
The Monk wants fists, not weapons. Equipping one deactivates Iron Fist and the rest of the unarmed kit. Build around multi-trigger scaling on unarmed procs, stat fusion to concentrate power into few items, and a compact defensive shell. The Monk's value is a tiny board footprint: fewer items means fewer targets for enemy freeze and less grid pressure.
Elemental Mage
Mage runs on mana, and early runs stall when spells cost more than regen covers. Fix mana before scaling damage. Pick one element affinity (Fire, Frost, Lightning) in the upgrade tree and commit; the affinity tiers feed the matching tag sets on your board. Arcane-tagged gear that refunds or loops resources pairs with the Fusion Forge to build a self-sustaining spell engine. Frost adds crowd control through freeze, which buys whole turns against item-heavy rivals.
Tag Set Tank (Warrior / Paladin)
Warrior and Paladin convert grid real estate into survivability. Stack one tag to 4 pieces for the top set bonus, pin corner and edge defensive items properly, and let block pool plus stagger-immunity windows carry fights. Add one burn-detonate weapon so the build has a kill button instead of winning only by attrition.
The Greedy Variants
Two item archetypes enable off-meta boards worth knowing: weapons that scale off your missing health, and gear that scales off your gold pile or luck. A deliberate low-health glass board with a missing-HP weapon swings absurdly hard, and a gold-hoarder board turns unspent money into damage. Both punish greed mistakes, so learn the standard builds first.
Step-by-Step Strategy Sequences
Sequence 1: First Campaign Descent (Mudking Warrens)
- Draft Warrior, spend nothing at the hub yet.
- Floors 1-2: fight, loot, skip the floor 1 shop unless a sustain item appears.
- First shop: buy lifesteal or regen, then a weapon upgrade.
- Floor 3: buy your first grid row expansion.
- On boss floors, clear adds before clicking the boss; adds out-damage it early.
- Return to hub, dump all gold into grid expansion and health tiers.
Sequence 2: A Shop Visit That Never Wastes Gold
- Check sustain gaps first: no healing source, no purchase beyond it.
- Check duplicate merges second: two identical items at the same level beat one new item.
- Check tag completion third: a piece completing a 2- or 4-set beats raw stats.
- Only then buy damage.
Sequence 3: Mid-Run Board Rebuild
- Count your active adjacency bonuses and mark pure stat sticks that fire nothing.
- At the Fusion Forge, fuse stat sticks into your primary weapon or best hybrid parent.
- Re-merge duplicates of the hybrid if the pool offers them.
- Move the Echo Stone to the center of the weapon cluster and re-check every adjacency star direction after the rebuild.
- Reserve corners for Corner Guard-class items before spending them on anything else.
Sequence 4: Ranked Climb to Floor 8
- Pick a specialist whose passive matches the first relic offer, not the reverse.
- Floors 1-2: sustain and tempo relics; avoid rival fights where an alternative route exists.
- Floors 3-4: take multi-trigger and speed; your board should complete two attack laps for every rival lap.
- Floor 5: take the status detonator matching your primary status.
- Floors 6-7: scout rival boards before engaging; skip any board with visible Echo Stone clusters or freeze gear unless your sustain out-scales it.
- Floor 8: clear for promotion and stop pushing on low hearts. The rank is the only thing that survives.
Sequence 5: Co-op Climb Division of Labor
- Assign roles before descending: one tank board, one damage board, one support/sustain board.
- Keep purses independent but coordinate tag sets; four different tags across the team beats four copies of the same set.
- Dice settle shared boss drops; give weapons to whoever's board sweeps fastest.
- Trade gear directly onto teammates' boards between floors. A fusion-forged hybrid on the carry outperforms an extra item on anyone else, and co-op-only items reward giving gear away.
- Treat the 5 shared hearts as a team resource: the player at 1 heart routes around all rivals.
Sequence 6: The Daily Attempt
- Read all three modifiers before locking a hero.
- Exclude any hero whose core mechanic a modifier disables.
- Pick the hero with the least-modified kit and build its standard pattern.
- Push only as deep as your hearts comfortably allow; the leaderboard rewards depth but a run ends with the attempt.
Advanced Tips
- Half-weight speed means 10 to 14 costs little for a large cadence gain, while 20 to 24 barely matters. Buy speed near the baseline, stop when you are not.
- Multi-trigger chains halve per repeat: a 35% proc followed by 17.5% has real value, a third 8.75% link is nearly dead. Two trigger sources beat one doubled source.
- Block pool caps at 30% of max HP, so on a tank, max-health upgrades indirectly raise effective block. Health is a defensive stat twice over.
- Luck's reroll keeps the higher-rarity option, making it the best early gold sink in the campaign and a risk later when cursed gear starts appearing.
- Freeze on an enemy with no items left forces a skipped attack. Strip a rival's board with dismantle effects, then freeze for free turns.
- Stun immunity after recovery lasts 2 seconds; time burst windows to land just after an enemy recovers, not before.
- Terror's self-hit checks per swing, so it is strongest against fast enemies. Terror on a speed build converts enemy tempo into self-damage.
- Rune cells persist across floors and each clear blesses the item above them. Moving an item onto a rune often beats any shop purchase.
- Unhealing counters lifesteal at up to 80% reduction. Carry a cleanse or a block-based fallback on deep floors.
- Goblin thieves flee after 4 hits with your gold. Click them first, every fight, no exceptions.
- Against packed ranks, chase overkill so damage spills into the next monster.
- Read The Grave after every loss. The headstone shows the build that killed you, the replay shows how, and copying it is legal.
FAQ
When does Dungeonbound release? November 15, 2026 on Steam, with a free demo on Windows and Mac available now.
Does poison hit shields? No. Poison ignores block pools entirely and ticks health directly. Only cleansing gear and flat healing answer it.
What happens when I die? In The Long Haul, nothing permanent: the run ends and you keep all loot, gold, levels and perks. In The Climb, losing your fifth heart destroys the build; only your rank comes home.
Can I equip more than one weapon? One primary by default. Additional weapon slots come from hero upgrade trees, and dual-wield passives like dual claws or daggers unlock separately.
Who is Jerry? The placeholder name on asynchronous rival boards in The Climb. Jerry plus an ID number means you are fighting a recorded snapshot of a real player's build.
How high can items level? Duplicate merging reaches level 10. Fusion resets to level 1 but concentrates two items into one tile, and merged levels stack on top afterward.
Is it multiplayer? Online co-op for 2 to 4, asynchronous rivals built from other players' boards, shared leaderboards, and a level editor for building your own floors. There is no live PvP combat.
Do I need fast reflexes? No. Battles resolve automatically in speed-driven turns. Your decisions happen between fights, not during them.
Quick Reference Card
SPEED     baseline 10, half-weight per point
DODGE     full to 35%, never 60%
CRIT      full to 50%, cap below 85%
MULTI     full to 35%, each chain link halves, never 75%
BLOCK     pool = 30% max HP, poison ignores it
MERGE     duplicates -> lvl 10
FUSE      any two items, type follows parent, resets to lvl 1
CLIMB     floor 8 = promotion, 5 hearts = build gone
POISON    bypasses block | BLEED pairs with fast weapons
BURN      detonate for burst | FREEZE disables one item
Last reviewed by Game How To Editorial. We play each game, verify against official sources, and update guides when game mechanics change.
Screenshots