Official game
Play Bugscraper
This game is hosted by Steam. Continue to the official page to play or download it.
Buy on SteamOverview
Bugscraper is a solo or local co-op roguelike shooter developed by Yolwoocle (Léo Bernard), OLX, Verbaudet, and published by Ninesliced. Released on June 30, 2026, it puts you in the exoskeleton of Mio (and up to three friends) — office workers trapped in a skyscraper that has become infested with monstrous bugs. The premise is workplace revenge by way of insect genocide: fight your way up floor by floor, through 80 waves of enemies across four distinct zones, and confront the tyrannical boss in the penthouse suite.
The game wears its influences on its sleeve — reviewers consistently compare it to Exit the Gungeon, Nitrome Must Die, and Castle Crashers — but carves its own identity through tight movement, a chunky pixel-art aesthetic, a genuinely excellent soundtrack, and a focus on pure arcade action over systems bloat. With a total playtime of roughly 2–3 hours per full clear and 15 all-positive Steam reviews at launch, Bugscraper is a compact, polished, and immensely replayable burst of couch-friendly chaos.
Current Steam Rating: Positive (15 positive / 0 negative)
Price: ~$8.49 USD (varies by region; SGD S$9.56 with 15% launch discount)
2. Details Table
| Attribute | Value |
|---|---|
| Title | Bugscraper |
| Steam App ID | 2957130 |
| Developer | Yolwoocle, OLX, Verbaudet |
| Publisher | Ninesliced |
| Release Date | June 30, 2026 |
| Genre | Action, Indie, Roguelike Shooter |
| Player Modes | Single-player; Local co-op (2–4 players) |
| Platforms | Windows 10+ (x64), macOS 10.11+, Ubuntu 20.04+ |
| Controller Support | Full (including DualShock) |
| Remote Play Together | Yes |
| Steam Achievements | 13 |
| Demo | Available (Steam App ID: 3232740) |
| File Size | ~100 MB |
| Languages | English, French, Japanese, Spanish (Spain & Latin America), Polish, Portuguese (Brazil) |
| Website | bugscraper.net |
| Press / Business Contact | [email protected] |
| Legal | © Léo Bernard. All rights reserved. |
3. Target Audience
Bugscraper is designed for:
- Arcade-shooter fans who want a pick-up-and-play experience with no tutorial fluff.
- Roguelike enthusiasts looking for a tight, sub-3-hour loop that respects your time.
- Local co-op groups — the game shines brightest with 2–4 players on the same couch, with Steam Remote Play Together enabling online sessions.
- Pixel-art lovers — the chunky, bright spritework and vivid palette keep the chaos readable.
- Players who bounce off bloated roguelikes — Bugscraper has no crafting, no skill trees, no resource management. You shoot bugs, grab upgrades, and climb.
Not recommended for: players seeking deep build-crafting, post-game challenge modes, or a 100-hour grind. Bugscraper is a short, polished burst — "the price of a decent cheeseburger," as one reviewer put it — and its main criticism is that it leaves you wanting more.
Getting Started
Step 1: Choose Your Mode
Start a new run in Solo or invite up to 3 friends for Local Co-op. Options for up to 4 players are available — the Steam page and press previews confirm 4-player co-op. If playing online, the host uses Steam Remote Play Together to share their screen; guests do not need to own the game.
Step 2: Learn the Controls
| Action | Keyboard | Controller |
|---|---|---|
| Move | WASD | Left stick |
| Aim & Shoot | Mouse | Right stick / right trigger |
| Reload | R | X / Square |
| Switch weapon | Q / Scroll wheel | LB / RB (bumpers) |
| Use item | E | Y / Triangle |
| Dodge roll | Space | A / Cross (face button) |
| Map | Tab | Select / View button |
| Pause / Menu | Esc | Start / Menu button |
Crucial: The dodge roll (Space / A) has invincibility frames (i-frames). This is your most important survival tool — more on this below.
Step 3: Understand the Floor Loop
Each floor is a fixed-screen arena. Enemies spawn in waves. Clear all enemies on the floor to unlock the exit (elevator or door) to the next floor. Between floors, you may find:
- Weapon pickups (random, replaces current weapon)
- Upgrade stations where you spend currency
- Health refills
- Armor pickups
Step 4: Know the Four Zones
The 80 waves are divided into 4 themed zones, each with unique enemies, a distinct visual palette, and a boss at the end:
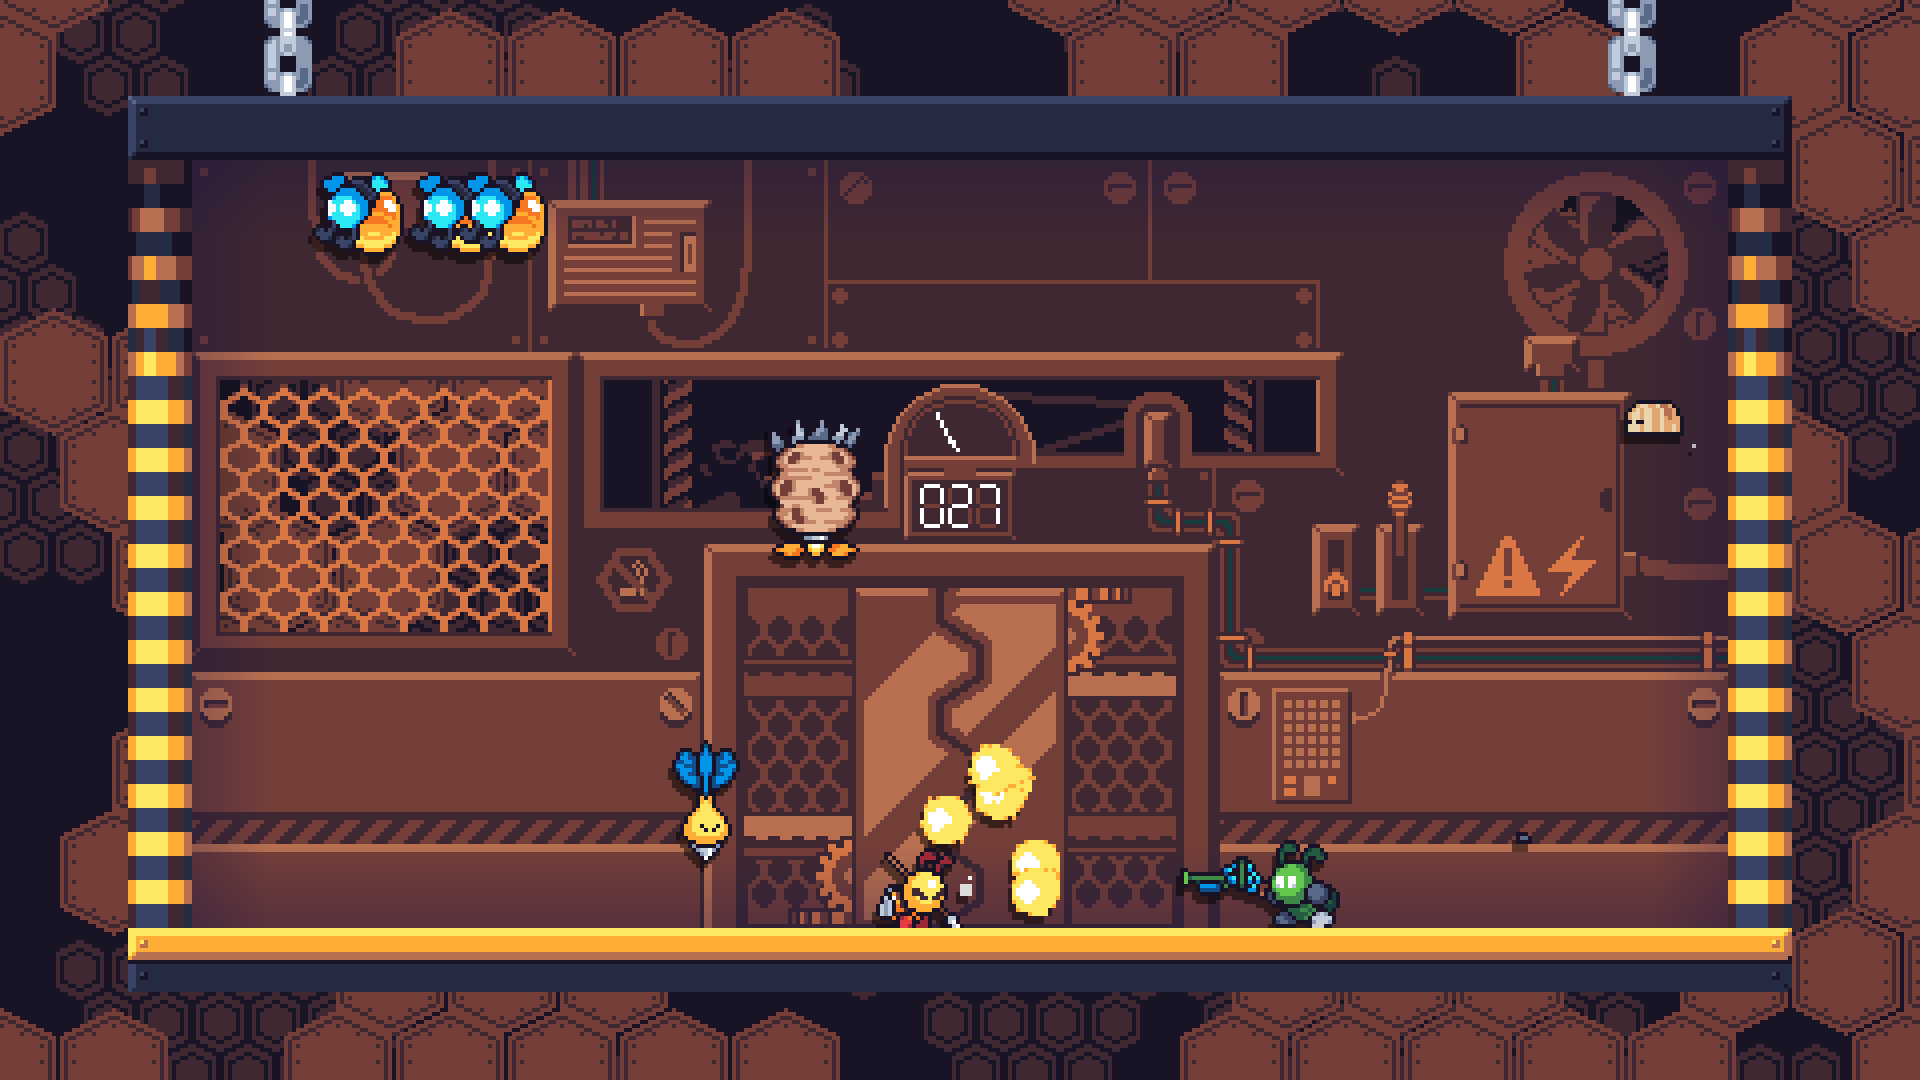
- Factory — Industrial machinery, early-game enemies. First boss.
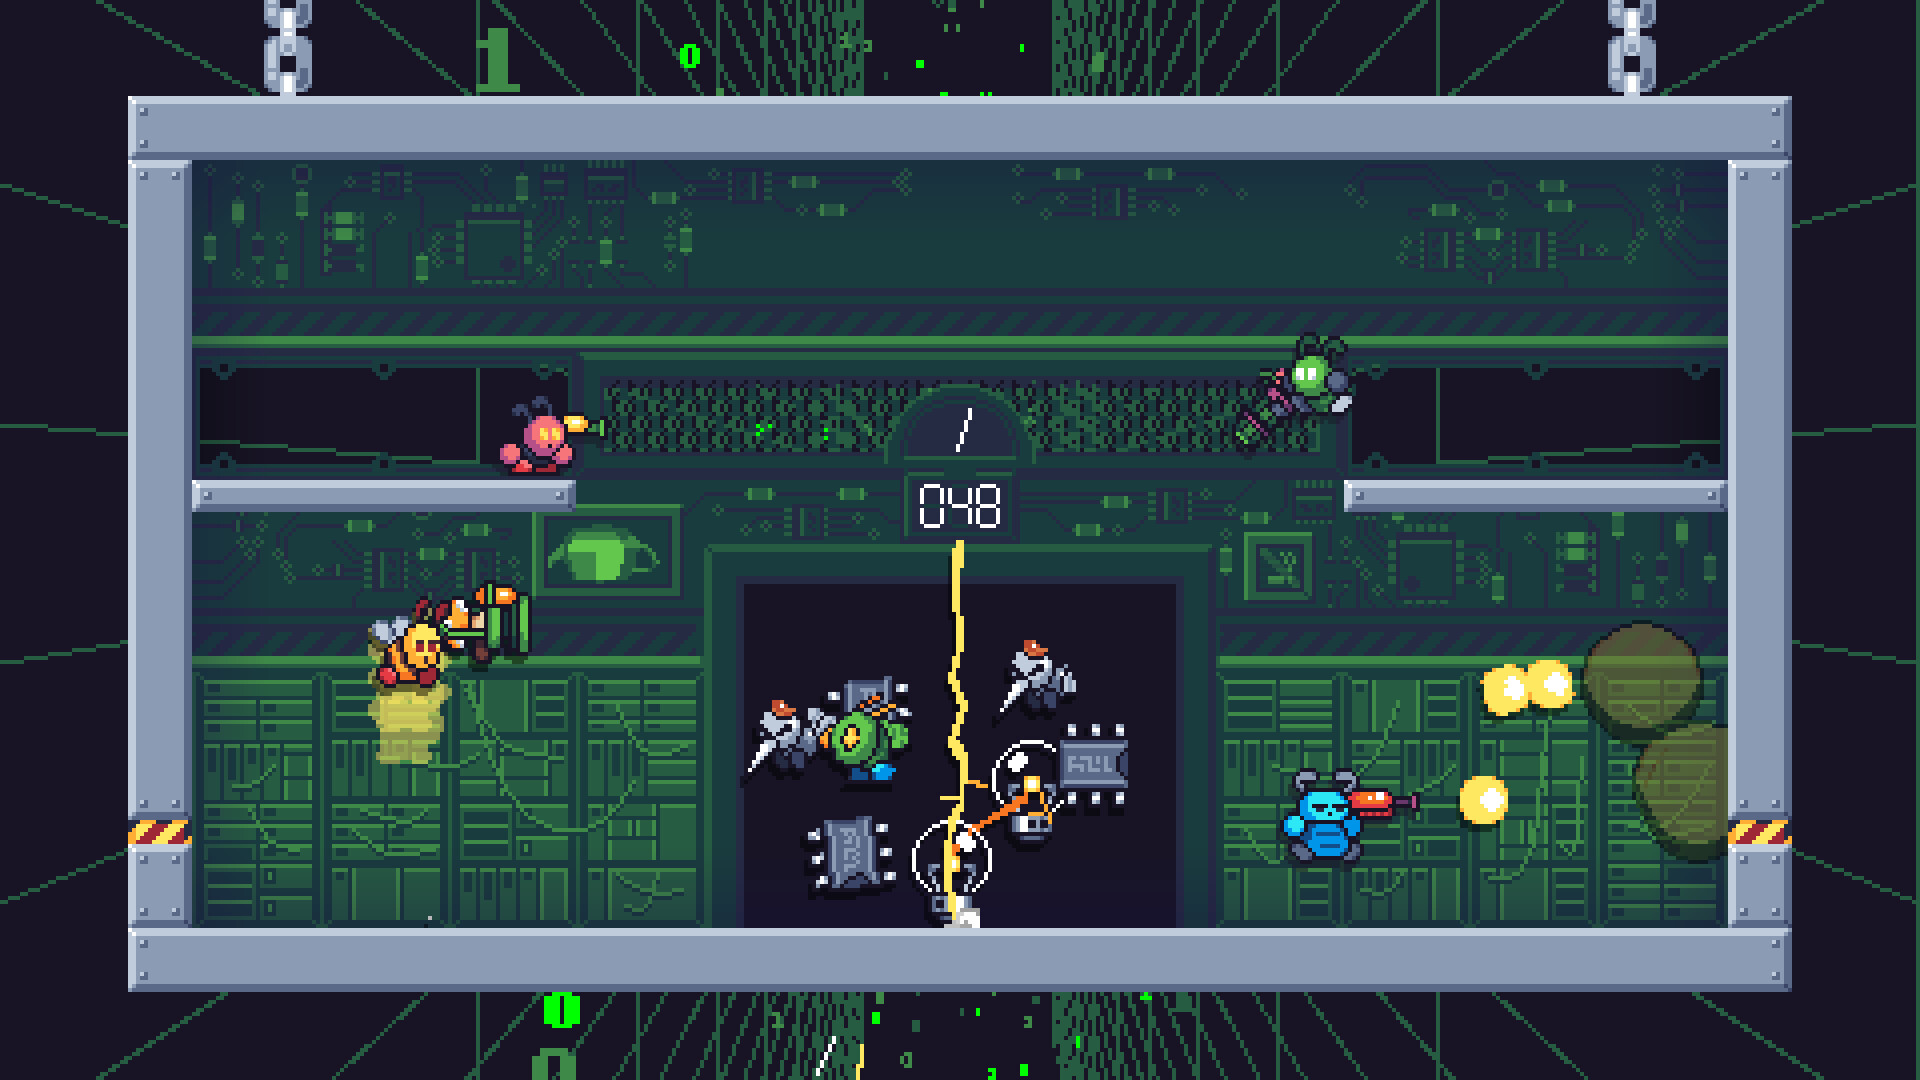
- Server Room — Tech-themed enemies, more Gunners and tighter corridors.
- Gardens — Organic/plant-infested floors. Introduces Fliers in greater numbers.
- Vacations — The top-floor resort area. Final boss confrontation.
Zone names are confirmed by the Steam achievements, which include "Bug Resources," "Factory," "Server Room," "Gardens," and "Vacations."
Step 5: Weapon Fundamentals
You carry two weapons at a time and can swap freely. Weapon types:
| Type | Best Use | Ammo |
|---|---|---|
| Pistol | Crowd control at mid-range, backup weapon | Infinite |
| Shotgun | Close-range burst, anti-Flier | Limited |
| Assault Rifle | All-purpose, sustained DPS | Limited |
| Energy Weapon | Piercing through lines, bouncing off walls | Limited |
| Explosive | Crowd clearing, boss burst damage | Very limited |
Tip: Always keep one weapon with infinite ammo (Pistol) as your fallback. Energy Weapons and Explosives are rarer — save them for Elites and bosses.
Step 6: Prioritize Upgrades
Currency drops from enemies and floor clears. Between floors, spend on:
- Armor → Highest priority. Reduces all incoming damage. Health packs are more common; armor is the bottleneck.
- Passive upgrades → Fire rate, magazine size, reload speed, movement speed. Stack multiplicatively.
- Active items → Shields, airstrikes, deployable turrets. One-time-use per floor.
- Health packs → Buy only if you are critically low (below 30%).
Step 7: Aim for Weak Points
Every enemy has a glowing weak point that deals double damage:
| Enemy | Weak Point | Strategy |
|---|---|---|
| Scuttler | Underbelly | Let them leap, dodge roll under them, shoot up. |
| Gunner | Backpack / core | Flank while they are firing. |
| Tank | Exposed back panel | Bait the charge, roll through, shoot the back. |
| Flier | Propeller / thruster | Shotgun blast while airborne; dodge the dive. |
| Elite (mini-boss) | Varies by type | Observe the pattern for 1–2 cycles, then attack. |
Step 8: Survive the Final Boss
The final boss has multiple phases (confirmed by multiple reviews). Each phase introduces new attack patterns. Save your best weapons (Energy Weapons and Explosives) and active items for the last phase. The boss arena is large — use the space to kite. Dodge roll through projectile patterns rather than trying to outrun them.
Advanced Tips
| Mistake | Why It Hurts | Better Approach |
|---|---|---|
| Standing still while shooting | You become a stationary target; enemy projectiles converge on your position. | Always strafe. Fire while moving. Use the dodge roll proactively, not reactively. |
| Ignoring the dodge roll | The invincibility frames are generous. Forgetting to use them leads to unnecessary damage. | Roll through enemy attacks, not away from them. The i-frames cover the whole animation. |
| Holding two limited-ammo weapons | When both guns run dry, you have no fallback. | Always keep the Pistol (infinite ammo) in one slot. |
| Spending currency on health packs | Health is plentiful from floor drops. Armor is the real scarcity. | Buy armor first, health only below 30% HP. |
| Rushing into the center of a floor | Triggers all enemy spawns at once; you get surrounded. | Clear the perimeter first. Let enemies funnel toward you. |
| Ignoring the combo meter | Higher combos increase score. Letting the meter reset wastes potential. May affect currency drops. | Maintain pressure. Switch weapons to keep the combo alive while reloading. |
| Not using vertical space | Elevated platforms exist for a reason. Staying on the ground floor limits your tactical options. | Take high ground against melee enemies; drop down on Gunners. |
| Hoarding too many actives | Active items (shields, airstrikes) are single-use per floor. Carrying them past a tough floor helps nobody. | Use them liberally on Elites and dense spawns. They refresh. |
| Playing co-op without communication | Shared loot means someone always grabs the best pickup. | Designate roles (close-range / long-range) before the run. Announce upgrades. |
| Giving up after a death | Roguelike = you start fresh. Early deaths teach enemy patterns. | Each run is < 3 hours total. Accept the reset and learn one new thing per attempt. |
6. Core Mechanics
6.1 Movement & Dodge Rolling
Bugscraper's movement is its strongest mechanical pillar. The response is instantaneous — no acceleration curves, no momentum penalties. You can change direction mid-air. This snappy handling makes the game feel fast even when the screen is calm.
The dodge roll is not just an evasion tool — it is a positioning tool. Key properties:
- I-frames last roughly one-third of a second, covering the entire roll animation.
- Rolling through an enemy or projectile is safer than rolling away.
- You can roll off elevated platforms and maintain the invincibility window.
- There is a short recovery animation at the end; chaining rolls leaves you vulnerable for a frame or two. Time them carefully.
Advanced roll technique: Roll toward Gunners as they fire — their projectiles are slow enough that you will emerge behind them before they can turn around, giving you a free window to shoot their weak point.
6.2 Weapon Synergy & Loadout Balance
You can hold two weapons simultaneously. The ideal loadout pairs one infinite-ammo weapon (Pistol) with one limited-ammo powerhouse (Shotgun for close-range burst, Assault Rifle for sustained DPS, or an Energy Weapon for special effects).
Loadout archetypes:
- The Standard — Pistol + Assault Rifle. Covers all ranges. Safe and reliable.
- The Brawler — Shotgun + Explosive. Max burst damage. High risk, high reward. Best with a co-op partner covering range.
- The Technician — Pistol + Energy Weapon. Focus on piercing/bouncing shots. Excellent on tight Server Room floors.
- The Madman — Two limited-ammo weapons. Do not do this until you know every enemy spawn point and can speed-run.
Switching weapons has no cooldown. Reload canceling is possible by dodging or switching — if you see the ammo counter tick up mid-animation, you can cut the tail end of the reload with an action.
6.3 Floor Economy & Meta-Progression
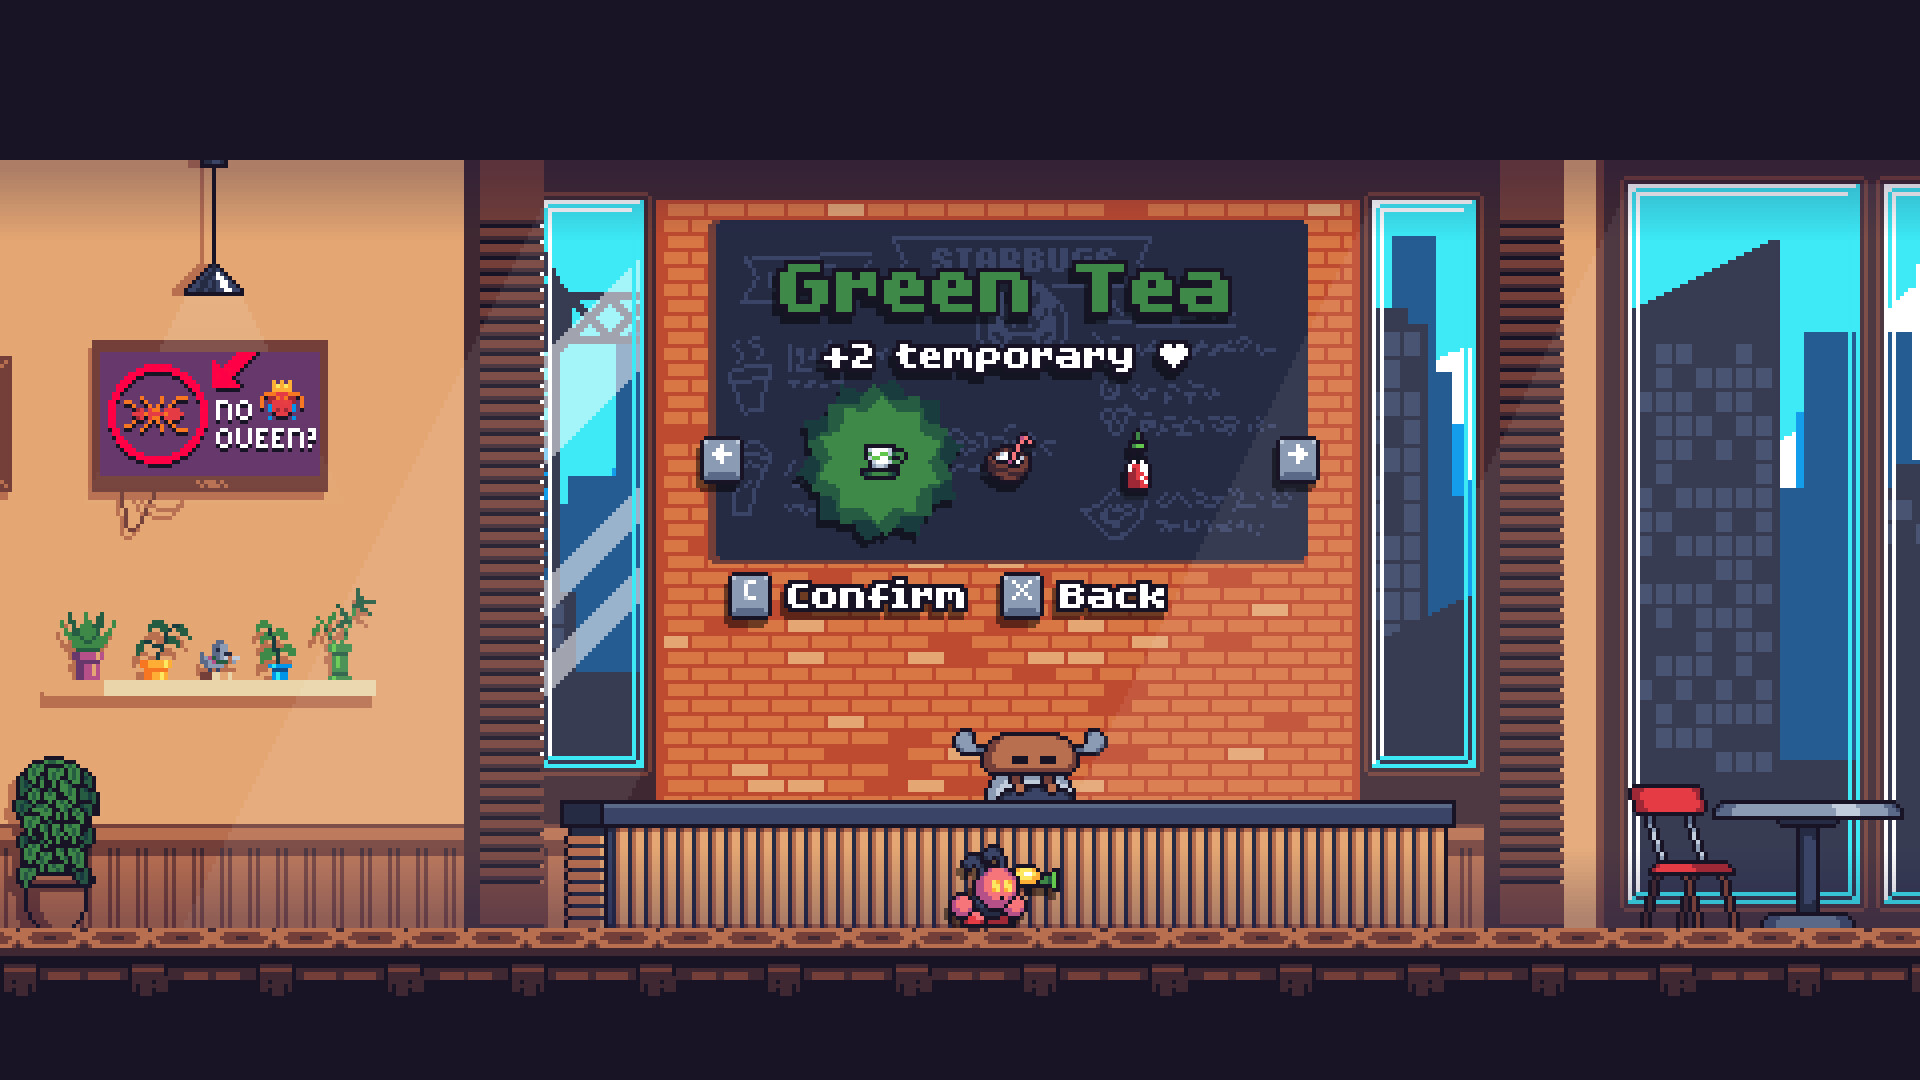
Each floor awards currency based on enemies killed. Between floors, a shop offers:
| Item | Cost Priority | Notes |
|---|---|---|
| Armor shard | 1st | +1 permanent armor point (absorbs one hit). |
| Armor plate | 1st | +3 armor points. Rare. |
| Passive upgrade | 2nd | Fire rate > reload speed > magazine size > move speed. |
| Health pack | 3rd | Only if below 30% HP. |
| Active item | 4th | Situational. Shield is best. |
Meta-progression: Currency earned across runs unlocks permanent upgrades. The achievement names ("Perseverance," "Iron Bug," "Team Leader") hint at unlockable perks — likely starting health, starting weapon tier, or character-specific bonuses. Spend liberally; meta-progression is the key to surviving deeper runs.
6.4 Combo System
Killing enemies in quick succession builds a combo meter. The combo multiplier increases the score you earn per kill. Whether it directly affects currency drops or unlocks bonus content is not definitively documented, but maintaining a high combo consistently yields better loot drops. The combo resets if you go too long without a kill or take damage.
Combo tips:
- On floors with Scuttlers, let a few spawn before killing them. Chain kills for a quick combo.
- Switch weapons to avoid downtime during reload.
- If the combo is about to reset and no enemies are visible, use an explosive or energy weapon to scan for hidden stragglers.
7. Advanced Strategies
7.1 "The Perimeter Sweep"
Most floors have a predictable enemy-spawn sequence: a few enemies activate when you enter, then waves trigger based on proximity. Instead of running to the center and triggering everything:
- Hug the outer wall and circle the floor.
- Kill the first wave of Scuttlers as they approach from the edges.
- Move inward in a spiral pattern.
- By the time you reach the center, you have thinned the pack and have space to dodge Elites.
Best for: Factory and Gardens zones, where spawns are spread out across open arenas.
7.2 "Shotgun Bait & Switch"
The Shotgun has devastating close-range damage but a slow reload. Use this two-step:
- Fire one shot into a pack.
- Immediately dodge roll forward through the pack — the i-frames protect you.
- You are now behind the enemies; their weak points face you.
- Fire the second shot into their exposed backs.
- While reloading, switch to Pistol to maintain pressure.
Best for: Tanks and Elites with exposed back weak points.
7.3 "Elevator Gambit"
Elevator doors (floor transitions) can be exploited:
- Clear a floor but do not enter the elevator immediately.
- Back away from the elevator. Sometimes residual enemies or ambush triggers activate.
- Enter the elevator, then immediately dodge roll out as the door opens on the next floor.
- You have i-frames covering the first moment of the new floor — enough to spot threats before they hit you.
Best for: Server Room, where enemies can camp the entrance.
7.4 "Combo Preservation via Weapon Swap"
Reloading kills your combo because you cannot fire. The workaround:
- Fire your primary weapon until empty.
- Switch to the secondary (Pistol, infinite ammo) and fire 2–3 shots.
- Switch back to the primary — it has reloaded while the other gun was active.
- You never stopped firing, the combo never reset.
Best for: High-density floors where maintaining score and currency drops matter.
7.5 "Co-op Role Separation"
In co-op, coordination beats chaos. Assign roles before the elevator opens:
- Point (close-range): Shotgun + Explosives. Jumps into packs, draws aggro, flanks Tanks.
- Cover (mid-to-long range): Assault Rifle + Energy Weapon. Provides sustained DPS from a distance, picks off Fliers, covers Point's reloads.
- Flex (3rd/4th player): Flexible loadout. Picks up loose loot, revives downed teammates, handles out-of-position Elites.
Revive priority: The revive timer is generous but not unlimited. If Cover goes down, Point clears space first, then revives. If Point goes down, Cover suppresses approaching enemies while Flex revives.
FAQ
Q1: Can I play Bugscraper online with friends?
A: Bugscraper features local co-op only, but Steam Remote Play Together allows online sessions. The host owns the game; guests connect via Steam. No cross-play or dedicated servers.
Q2: How many players does co-op support?
A: Up to 4 players locally. The Steam page and press previews confirm full 4-player mayhem, not just 2.
Q3: How long is a full run?
A: Approximately 1.5–3 hours depending on skill and co-op chaos. The game has 80 waves across 4 zones.
Q4: Is there permanent progression between runs?
A: Yes. Currency earned during runs unlocks permanent meta-upgrades. Achievement names like "Perseverance" and "Iron Bug" suggest health and defense upgrades.
Q5: Is there an infinite mode or New Game+?
A: Not at launch. Reviews cite the lack of post-game content (infinite mode, challenge modes) as the main downside. The developer may add these in future updates.
Q6: What are the system requirements?
A: Very modest. Windows 10+ x64, Intel Core i3 / AMD, 6 GB RAM, OpenGL 2.1+ GPU, 100 MB storage. Also runs on Mac (Intel or Apple Silicon) and Linux (Ubuntu 20.04+).
Q7: Does Bugscraper have controller support?
A: Full controller support, including DualShock (PS4/PS5). The game also supports Keyboard Only and Mouse Only modes for accessibility.
Q8: Is there a demo?
A: Yes, a free demo is available on Steam (App ID: 3232740).
Q9: How does the dodge roll work?
A: Space (keyboard) or A (controller). Grants invincibility frames (i-frames) for the entire animation. Can be chained but with a brief recovery at the end. Roll through attacks, not away from them.
Q10: Can I refund the game if I do not like it?
A: Steam's standard 2-hour / 14-day refund policy applies. Note that a full run is about 2 hours — you can comfortably complete it within the refund window if you play efficiently.
Q11: What accessibility options are available?
A: Camera Comfort (reduce screen shake), Color Alternatives (colorblind modes), Custom Volume Controls (master/SFX/music sliders), Keyboard Only, Mouse Only, and Playable without Timed Input. Also supports Stereo Sound and DualShock controllers.
Q12: Who developed Bugscraper?
A: Lead developer is Léo Bernard (Yolwoocle), with contributions from OLX, Verbaudet, and published by Ninesliced. The game was first prototyped for the Play Sorbonne Festival 2025.
9. Final Tip & Verdict
Final Tip: The single most impactful technique you can learn is the offensive dodge roll. In most shooters, rolling is purely defensive. In Bugscraper, rolling through an enemy places you behind their weak point, sets up a shotgun blast, and resets the engagement in your favor. Practice rolling toward danger, not away from it. Once that clicks, the game opens up.
Verdict: Bugscraper is a rare thing — a game that knows exactly what it is, does it well, and stops before overstaying its welcome. The movement is buttery, the pixel art is gorgeous, the soundtrack is genuinely excellent (multiple reviews single it out), and the co-op chaos is unforgettable. Its main flaw is wanting more after the credits roll, but at ~$8.50 for 2–3 hours of pristine arcade action, the value proposition is sound. If you have ever wished Exit the Gungeon was tighter, shorter, and more couch-co-op-friendly, this is your game.
Recommended for: Arcade shooter fans, local co-op groups, pixel-art enthusiasts, anyone who wants a roguelike they can finish in an evening.
Skip if: You need endless replayability, deep build systems, or a 50-hour campaign.
Guide compiled from Steam store data (store.steampowered.com/api/appdetails?appids=2957130), official website (bugscraper.net), Steam reviews (15 all-positive), press previews (GenerationAmiga, Dystopeek), and community discussion. Last updated: July 2026.
Screenshots