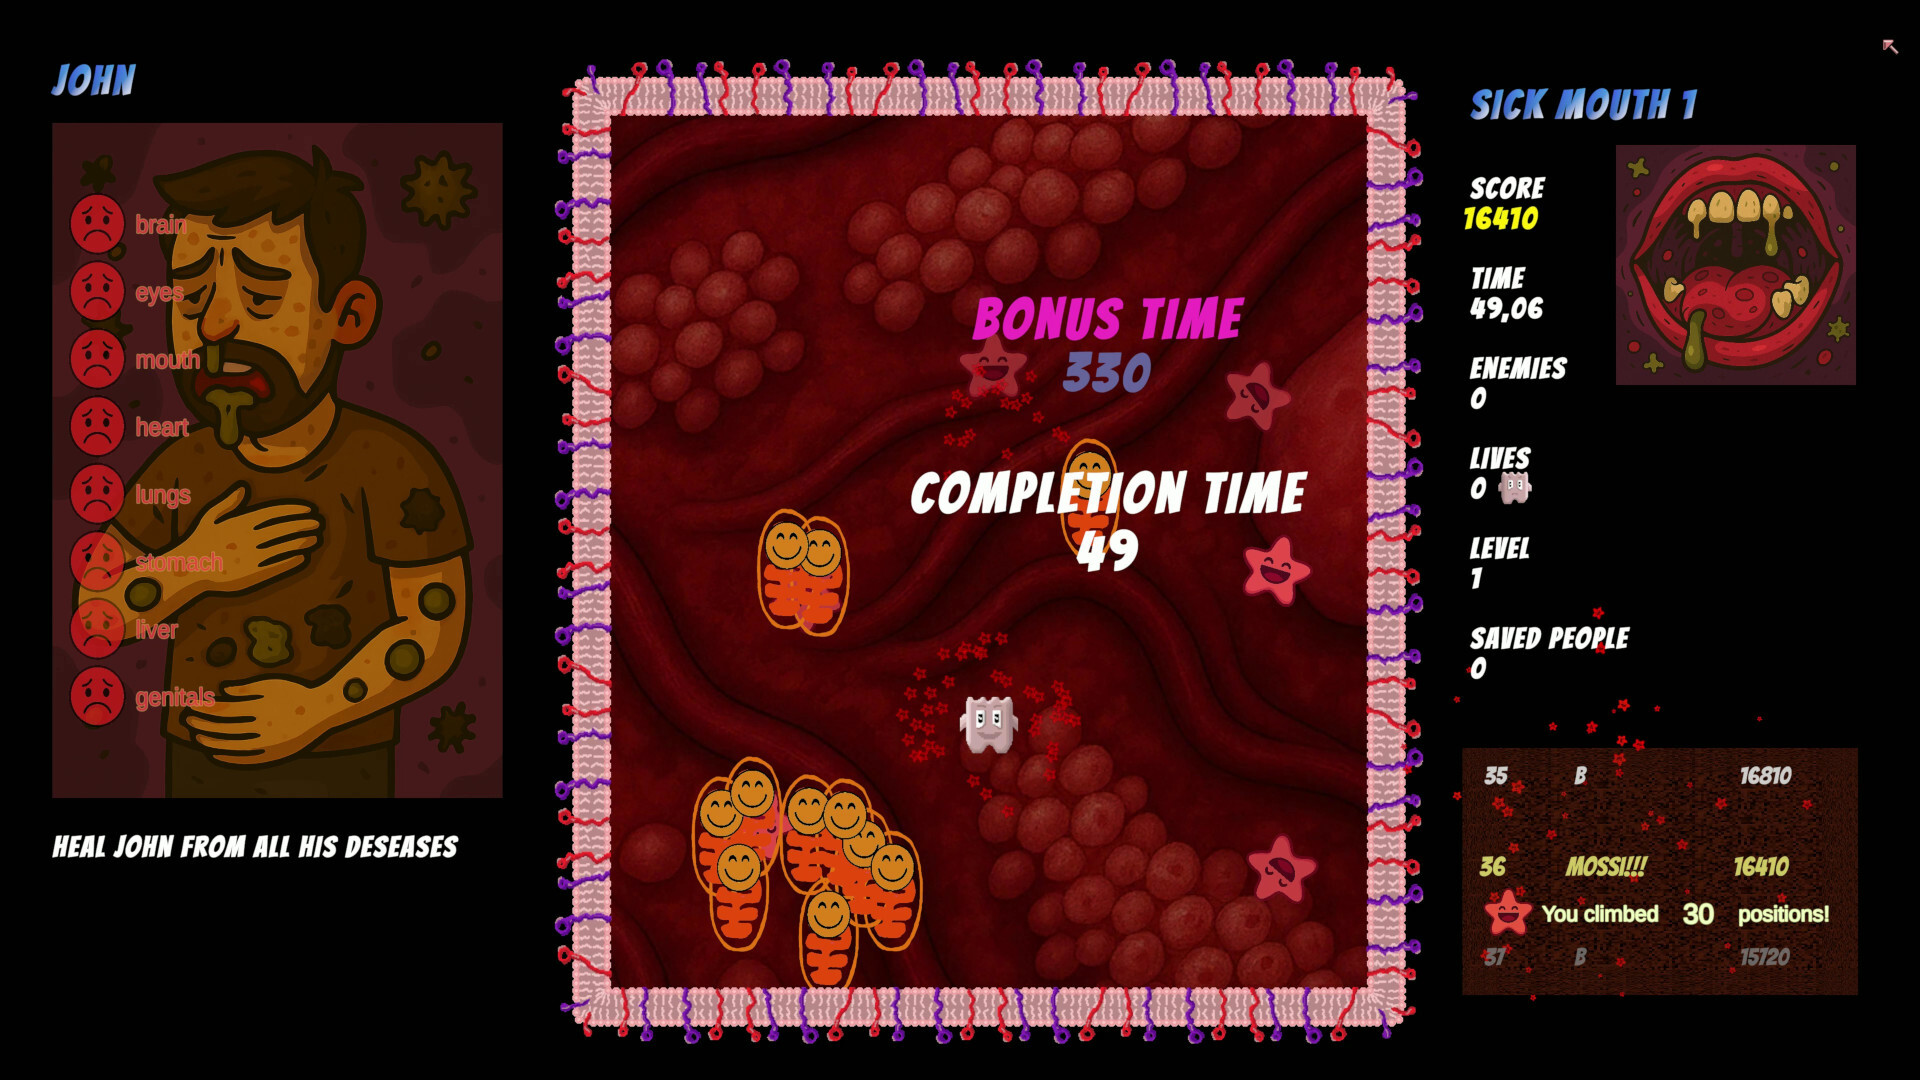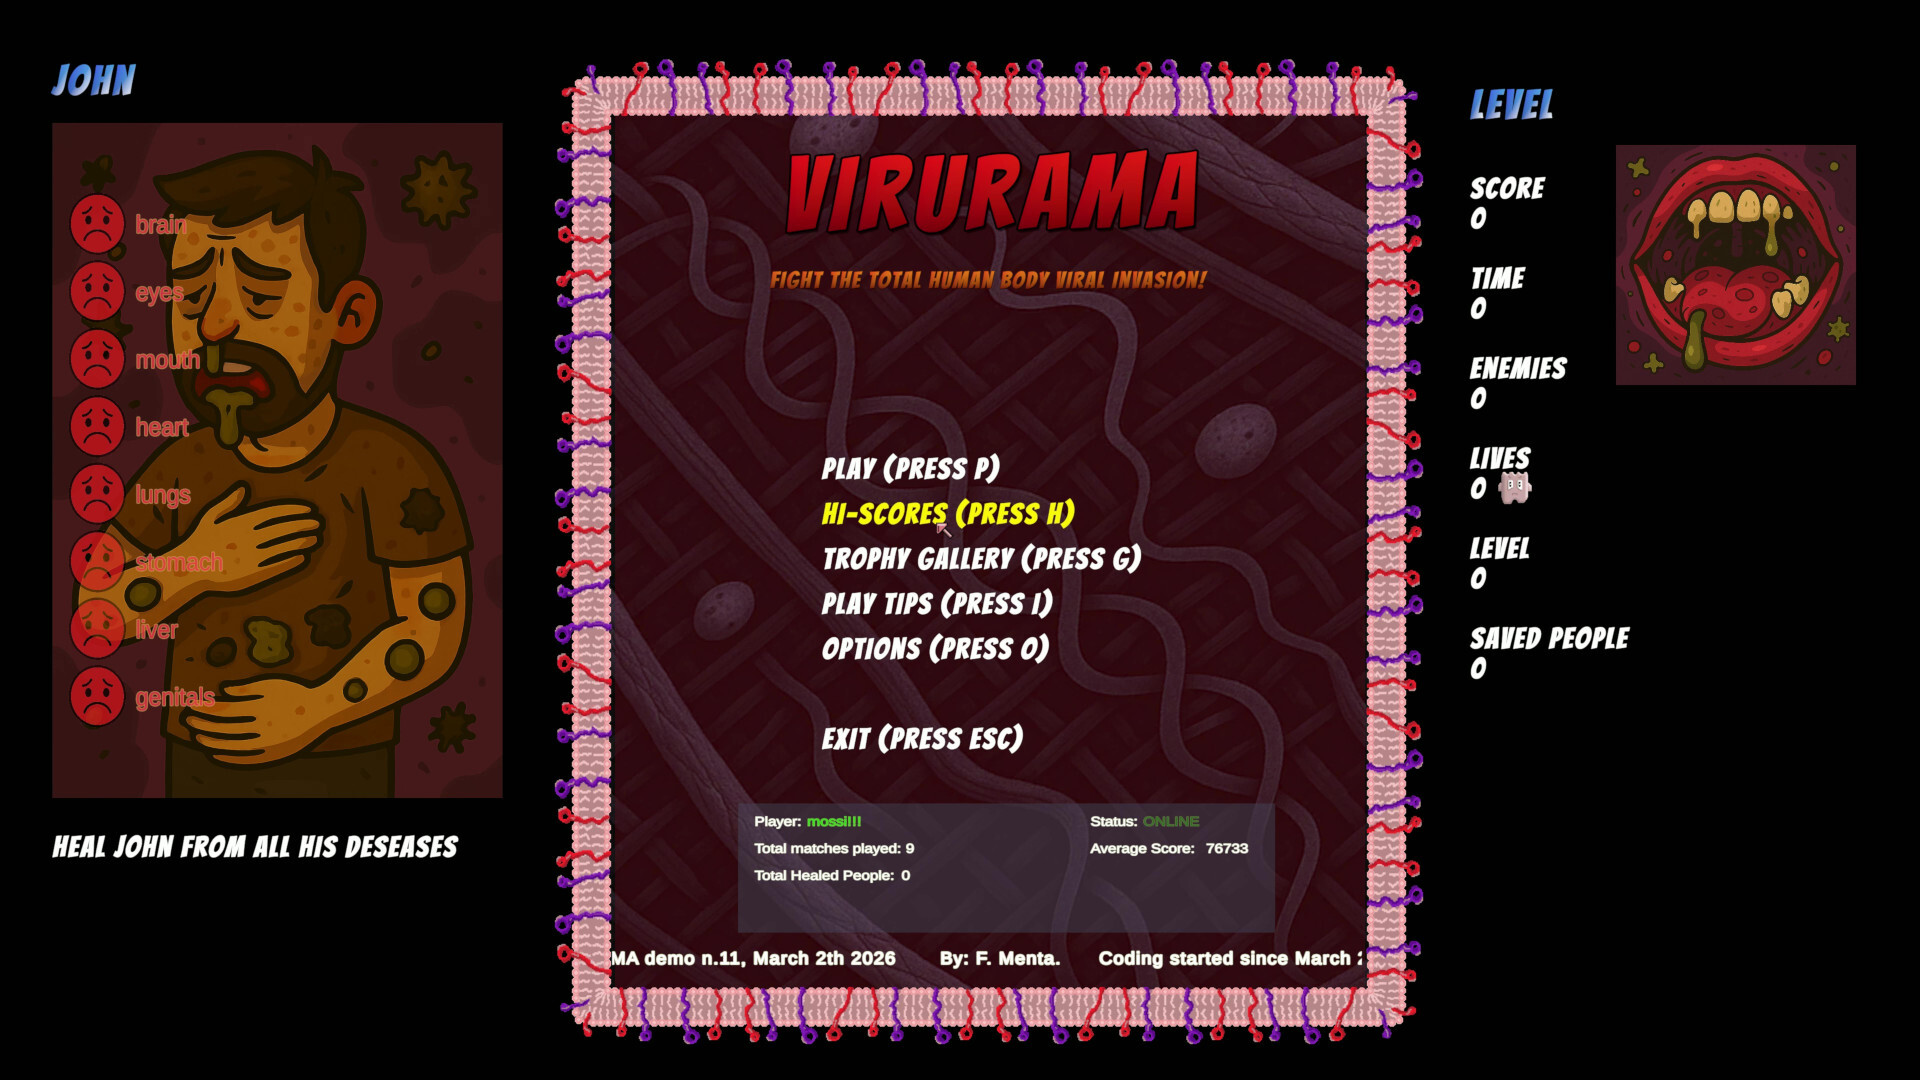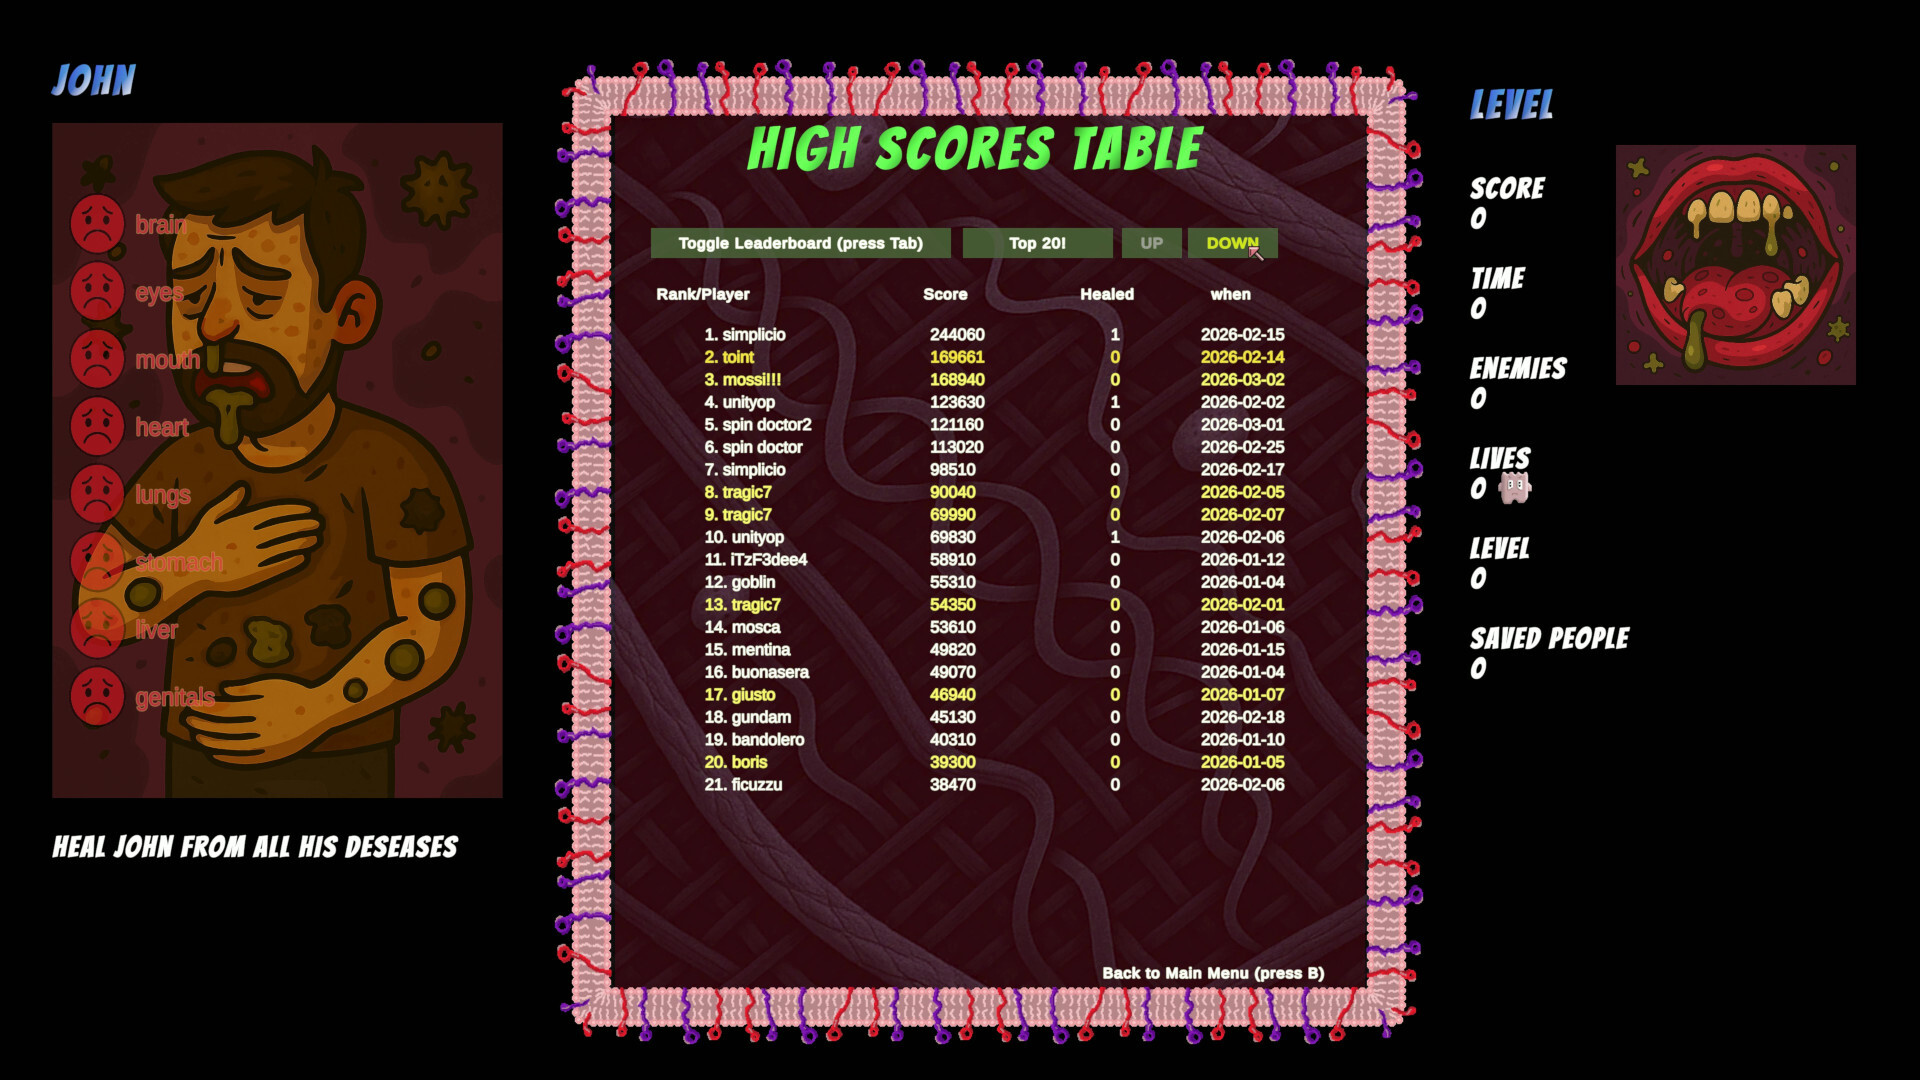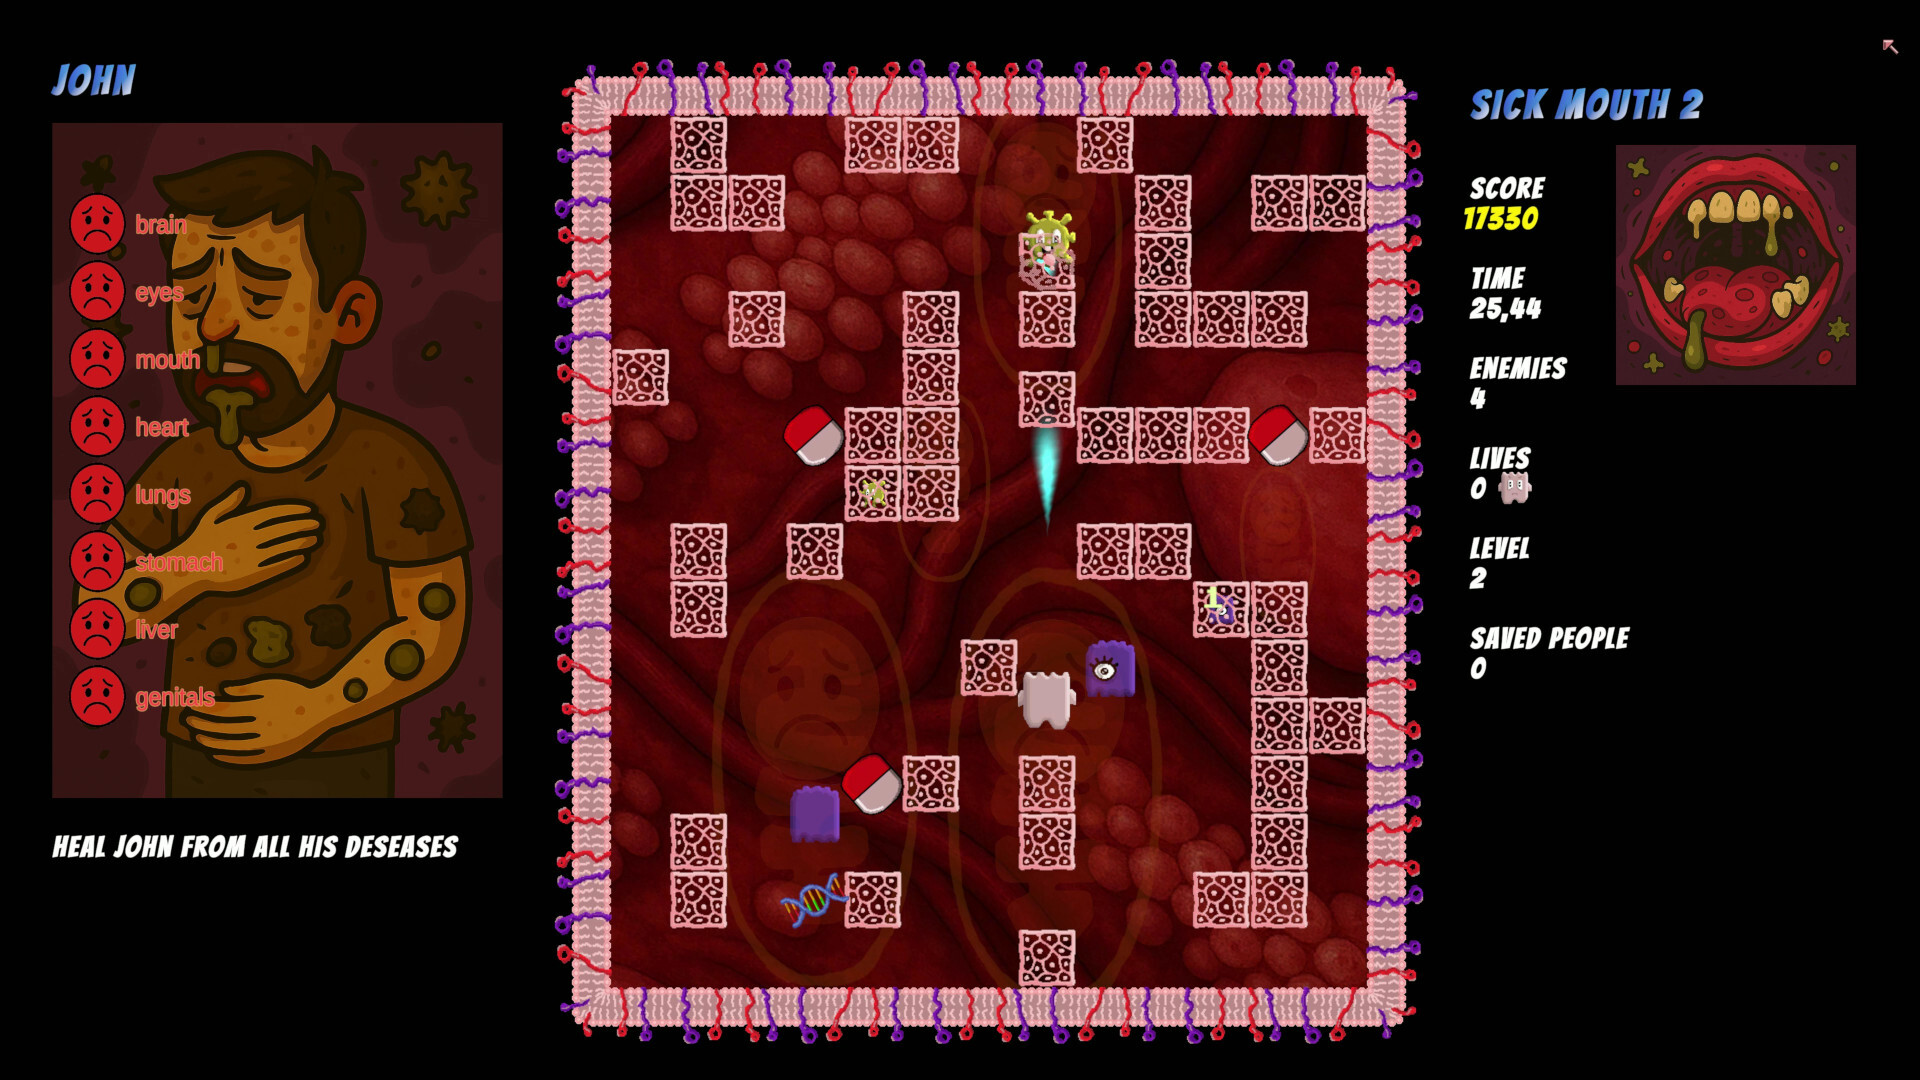
Official game
Play Virurama
This game is hosted by Steam. Continue to the official page to play or download it.
View on SteamOverview
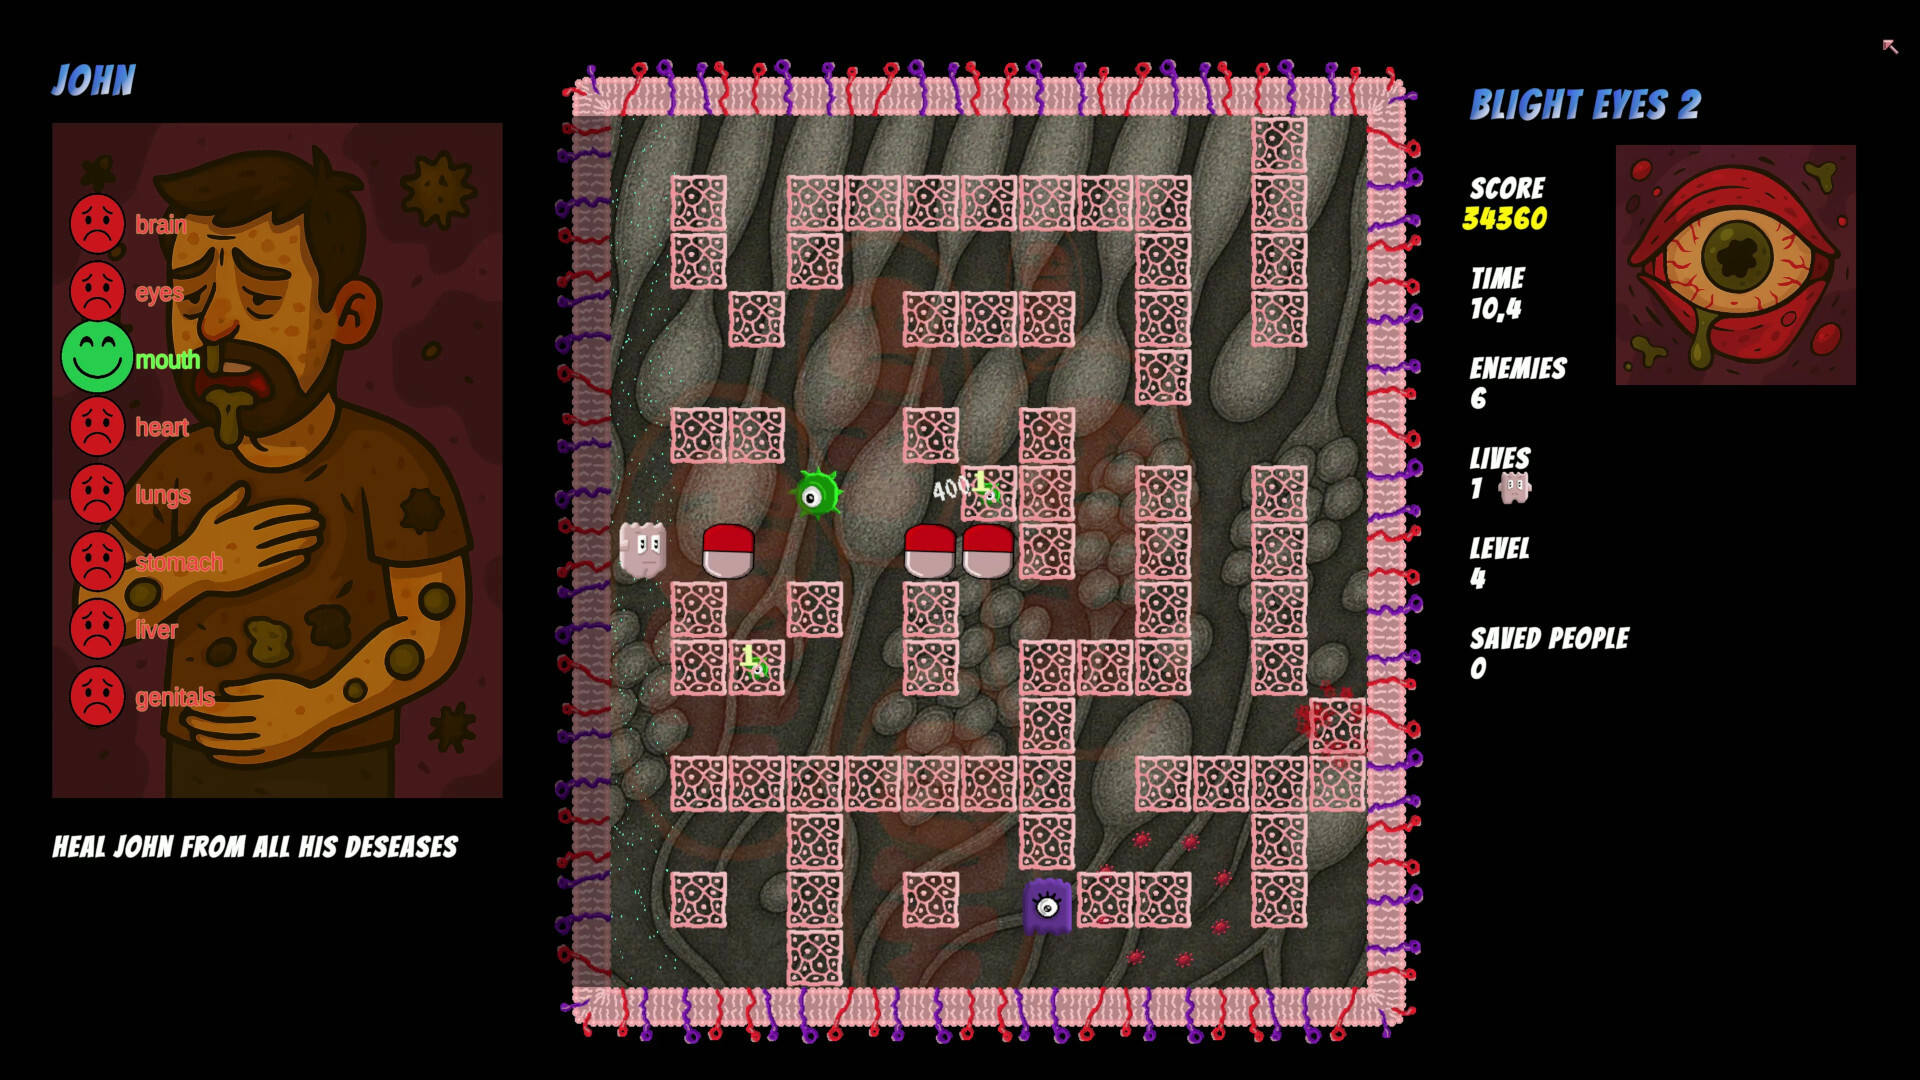
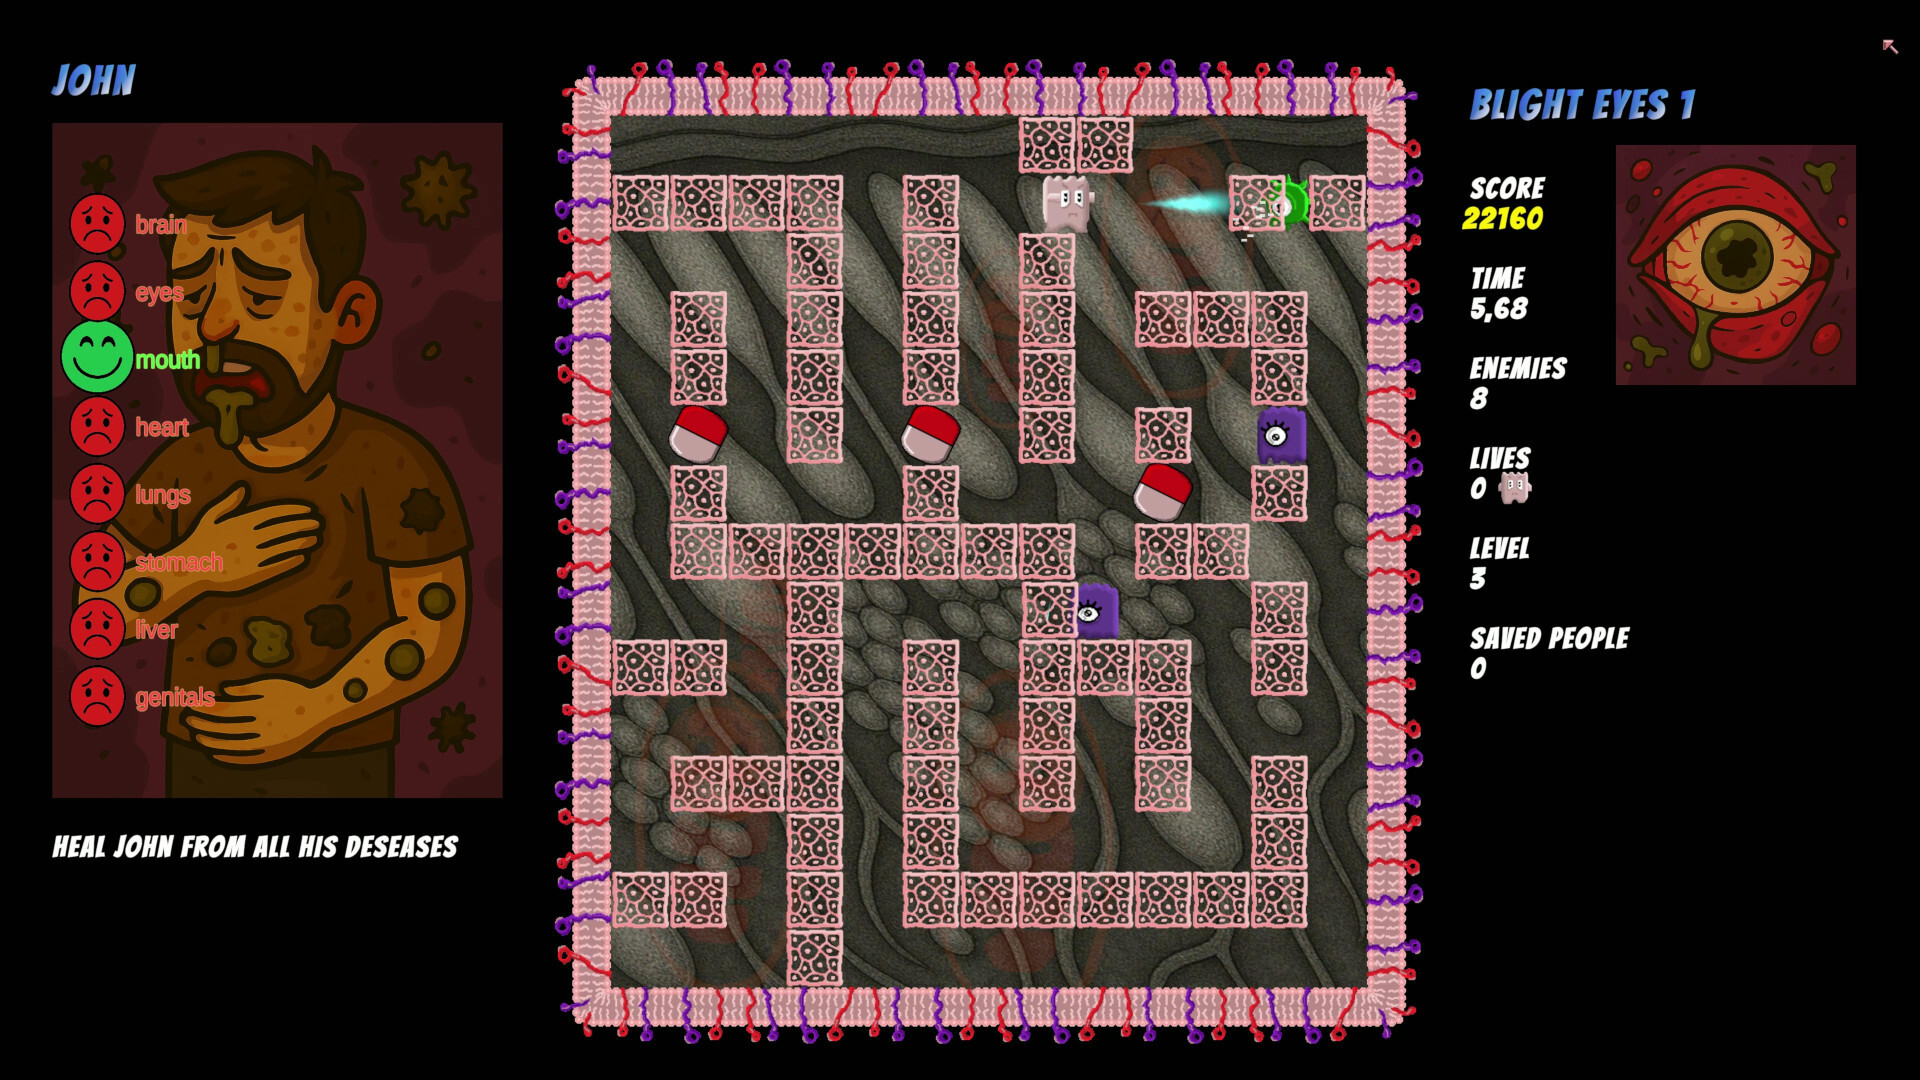
Virurama is a tactical arcade game set inside the human body. You control an antibody moving on a grid, pushing bio-blocks into viruses to eliminate them across 16 procedural stages. Think of it as a puzzle game where you have to clear the board, but the board fights back — viruses wander, chase, split, and break blocks while you manage your resources.
Developed by Fernando Menta and published by Enjoyrama, it launched on Steam and itch.io in June 2026 at $5.00 SGD (~$3.70 USD). It features 16 stages with randomized layouts, 29 Steam achievements, online leaderboards, and a cast of characters you heal through playthroughs.
Target audience: Fans of puzzle-arcade hybrids like Puzzle Bobble, Chip's Challenge, or Sokoban who want a reactive enemy AI layer added to the formula. Players who enjoy score-chasing and achievement hunting.
Difficulty: The first 8 stages are approachable for anyone. Stages 9–16 demand precise planning, resource conservation, and quick reactions. The jump at stage 13 (Master tier) is steep — expect to retry stages multiple times.
Getting Started — First Run
Installation and Launch
Available on Steam ($5.00 SGD) and itch.io. Download, install, launch. The game presents a main menu with:
- Start — Begin a new healing trip. You're assigned a random character to heal. Complete all 16 stages to save them and unlock the next character.
- Continue — Resume your current trip (progress auto-saves after each stage).
- Hi-Scores — Online leaderboard.
- Trophies — Achievement tracking.
First Stage Walkthrough
Stage 1 places you on a small grid with 6 basic stationary viruses and 3–4 bio-blocks. The goal: push blocks into viruses.
Step-by-step:
- Survey the grid. Identify which viruses are against walls (easiest to crush) and which are in open space.
- Walk to a bio-block. Push it by walking into it. The block slides in the direction you push until it hits something.
- A block hitting a virus destroys the virus. A block hitting a wall stops. A block hitting another block stops.
- Clear all 6 viruses. If you push a block and it hits nothing useful, you've wasted it — some stages have only enough blocks for each virus.
The key insight at stage 1: You don't need to walk to each virus. You need to position blocks so they hit viruses. It's a game of angles and ricochets off walls.
The Stages System
Each run is a "healing trip" — you're assigned a random character and must clear 16 stages. After completing all 16, you unlock that character for future selection and start a new trip with a different character. Difficulty escalates every 2 stages, and the virus count grows from 6 to 14 per stage.
Stage structure:
| Stage Range | Virus Count | New Mechanics |
|---|---|---|
| 1–2 | 6 | Stationary basic viruses only |
| 3–4 | 7 | Wanderer viruses appear |
| 5–6 | 8 | Fragile blocks introduced |
| 7–8 | 9 | Antibiotics appear |
| 9–10 | 10 | Shielded viruses |
| 11–12 | 11 | Splitter viruses |
| 13–14 | 12 | Boss viruses |
| 15–16 | 13–14 | All types combined, aggressive AI |
Core Mechanics — How It Works Under the Hood
Bio-Blocks
Bio-blocks are your primary tool. They're solid objects you push by walking into them. They slide in the direction you push until they hit:
- A wall (stop)
- Another block (stop)
- A virus (destroy the virus, block stops)
Critical rule: If a bio-block can't move (blocked behind and in front), pushing it destroys it (crunches down). Destroyed blocks are gone permanently for that stage. Each stage has a limited supply of blocks. Wasting blocks means you can't clear all viruses.
Block states:
- Normal (solid gray) — fresh block
- Used (shows a number) — has crushed N viruses. Breaking used blocks gives bonus points equal to 200 × N.
- Occupied (blinking) — contains a dormant virus inside. Breaking it releases the virus back onto the grid. Avoid touching these unless you're prepared.
- Fragile (cracked) — breaks after one push whether it hits something or not.
Antibiotics
Antibiotics behave like bio-blocks (you can push them, they crush viruses) but have a unique property: alignment bonus. Align three antibiotics in a row (horizontally or vertically), and you trigger:
| Alignment Type | Points | Effect |
|---|---|---|
| Big alignment (only one touches a wall) | 10,000 | Stuns ALL viruses for ~5 seconds |
| Low alignment (all three touch a wall) | 5,000 | Stuns ALL viruses for ~3 seconds |
During the stun period, viruses can't move. You can trample stunned viruses by walking over them (100 points each). More importantly, crushing viruses during the stun period gives increasing multipliers:
| Virus Killed During Stun | Point Multiplier |
|---|---|
| 1st crush | ×2 |
| 2nd crush | ×4 |
| 3rd crush | ×8 |
| 4th+ crush | ×16 |
This is the highest-scoring mechanic in the game. A well-timed antibiotic alignment followed by a multi-virus block crush can earn 10,000+ points in seconds.
Barriers
The four sides of the grid are responsive barriers. Push into a barrier to activate it:
- Releases a special enzyme that slows all viruses for ~3 seconds
- Stuns viruses touching the barrier
- Has a 7-second cooldown before it can be used again
- Randomly generates new bio-blocks nearby at a slow rate
Use barriers when you're cornered or need temporary breathing room. Don't rely on them for block generation — the rate is too slow.
DNA Bonus
One random bio-block per stage contains a hidden DNA bonus (2,000 points). When you destroy that block (by pushing it into an immovable object), the DNA appears. It calms down all viruses that are currently chasing you.
Strategy: Don't go out of your way to find the DNA bonus. It's not worth destroying useful blocks. If a block happens to be in a position where you'd destroy it anyway, the bonus is a nice extra.
Virus Types
| Virus | Behavior | HP | Kill Strategy |
|---|---|---|---|
| Basic | Stationary. Never moves. | 1 | Any block works. Easiest target. |
| Wanderer | Moves randomly 1 cell per tick. No tracking. | 1 | Predict movement. Push blocks into high-traffic paths. |
| Seeker | Moves toward you when you're within 4 cells. Otherwise wanders. | 1 | Use antibodies to stun, then crush. Or lead it into a block path. |
| Shielded | Has a barrier. First hit breaks barrier, second kills. | 2 | Requires two blocks. Push one to break shield, another to kill. Or use an antibiotic (it counts as 2 hits). |
| Splitter | When hit, splits into 2 smaller viruses. | 1 (split phase) | Use explosive approach. Hit with a block near a wall so both halves get crushed by the rebound. Or use antibiotic alignment first to stun both halves. |
| Boss | Large, multiple HP, moves toward you slowly. | 3–5 | Requires chain pushes. Use multiple blocks in sequence. Antibiotics deal double damage to bosses. |
Progression Strategy — Stage by Stage
Early Game (Stages 1–4)
These stages teach fundamentals. You face 6–7 basic and wanderer viruses on small grids.
Key habits to form here:
- Always survey the full grid before your first move. Identify each virus's position relative to blocks.
- Push blocks in a planned sequence. Don't push randomly.
- Count available blocks vs. viruses. If you have fewer blocks than viruses, you need multi-kill pushes.
Stage 1–2 goal: Clear with 0 wasted blocks. If you finish with unused blocks, you're conserving well.
Stage 3–4: Wanderers appear. Don't chase them. Instead, identify 2–3 cells they pass through frequently and position blocks there.
Mid Game (Stages 5–10)
Difficulty climbs. Fragile blocks, antibiotics, shield viruses appear.
Stage 5–6 (Fragile blocks): A fragile block breaks after any push, whether it hits a virus or a wall. Always push fragile blocks toward a virus. Never push one "to see where it goes."
Stage 7–8 (Antibiotics introduced): Your first antibiotic appears. Don't use it as a regular block. Save it for alignment. Each stage with antibiotics has exactly 3 — enough for one alignment. Use it when 3+ viruses are clustered.
Stage 9–10 (Shielded viruses): Shielded viruses require two hits. Track damaged viruses — once you break a shield, that virus is vulnerable. A single hit from any block finishes it.
Late Game (Stages 11–14)
Splitters, seekers, and larger grids push your planning to the limit.
Splitters (stage 11–12): Never hit a splitter with a block that's moving fast from a chain push. The split creates two smaller viruses that fly in opposite directions. If you're near a wall, one half will be crushed immediately. Position yourself to handle both halves.
Stage 13–14 (Boss viruses): The boss has 3–5 HP. Don't waste single blocks on bosses — one block push does 1 damage. Instead:
- Set up a chain of 3+ blocks in a line.
- Push the chain so all 3 hit the boss in sequence.
- Follow up with an antibiotic if available (deals 2 damage).
Final Stretch (Stages 15–16)
Everything combined. Aggressive AI. 13–14 viruses on the largest grids.
Stage 15 strategy:
- First 30 seconds: Destroy any fragile blocks that are in your way. Clear space.
- Identify the boss and shield viruses. Those are your priority targets.
- Use the antibiotic alignment ONLY when the boss + 2 other viruses are in the stun zone.
- Trample stunned seekers during the stun for bonus points.
Stage 16 (final stage):
- The grid is at its largest. Viruses start aggressive.
- Use barriers early to slow the initial rush.
- Conserve at least 4 bio-blocks for the final 3 viruses. The last wave clusters around the boss.
- If you have an antibiotic, save it for the final cluster.
Scoring Strategies — Maximizing Your Run
The Antibiotic Alignment Combo
This is the highest-scoring maneuver in the game. Here's how to execute it:
- Push all 3 antibiotics into a single row or column. This takes 2–3 pushes each.
- Make sure only ONE of the three touches a wall (for the Big 10,000-point bonus).
- The alignment triggers a stun. During the stun:
- Push a bio-block through the stunned virus cluster. Each virus killed gets a multiplier.
- First virus killed: ×2. Second: ×4. Third: ×8. Fourth: ×16.
Scoring example: 4 viruses killed during stun with 1 bio-block push. Each virus is worth 400 base × multiplier = 400 + 800 + 1600 + 3200 = 6,000. Plus the alignment bonus of 10,000. Plus the bio-block's used-state bonus. Total from one combo: ~16,000+ points.
Speed Bonus Strategy
Each stage has a time bonus:
- 20 seconds or less: 5,000 points
- 21–59 seconds: 2,500 down to 100 (scales inversely)
- 60 seconds or more: 0
When to go for speed: Only on stages 1–8 where the layouts are simple and you've practiced them. On stages 9+, focus on survival and scoring through antibiotic combos instead. The time bonus is overshadowed by a single good antibiotic alignment.
Chain Reaction Achievement
One achievement requires you to "Trigger a Bio-Block + Antibiotic combo that destroys 5+ viruses at once."
Setup: Stage 7 or 8 (first stages with antibiotics + moderate virus count). Push all 3 antibiotics together but don't align them yet. Identify a line of 5+ viruses on the grid. Position a bio-block at one end of the line. Align the antibiotics to stun. Immediately push the bio-block through the line. If 5 viruses are in the path, the achievement unlocks.
Step-by-Step Strategy Sequences
Sequence 1: The Perfect Stage 1 Clear (Speed Run)
- As the stage loads, instantly scan: 6 viruses, 4 bio-blocks, small grid.
- Identify the two viruses against walls. Push the nearest block into the wall virus — one push kills it.
- The three central viruses form a rough triangle. Push a block from the top edge down through the top virus → it ricochets and hits the middle virus.
- Push a block from the left edge rightward through the remaining two.
- Last block + last virus: push directly. Done.
- Time: ~12 seconds. 5,000 time bonus. Perfect clear.
Sequence 2: Antibiotic Alignment on Stage 8
- Stage 8 has 9 viruses and 3 antibiotics. The grid is medium-sized.
- First, push all 3 antibiotics to the bottom row. This takes about 4–5 moves.
- While doing this, push any bio-blocks that are obstructing the antibiotics' path.
- Once all 3 are on the bottom row, align them horizontally with the center one NOT touching the wall.
- The alignment triggers. All 9 viruses are stunned for 5 seconds.
- Quickly push a bio-block left-to-right across the bottom of the grid. It should hit 3–4 stunned viruses.
- Follow up with a second block push for another 2–3 viruses.
- Trample the remaining stunned viruses by walking over them.
- Total score from this stage: ~15,000–18,000 points.
Sequence 3: Boss Virus Strategy (Stage 14)
- The boss has 4 HP. It moves toward you slowly.
- Identify 4 bio-blocks that can form a chain. Push them into a single line.
- Position yourself at one end of the line, the boss at the other.
- Push the entire chain. Each block hits the boss in sequence.
- The boss takes 4 damage and dies. That's one push for a 4-HP kill.
- After the boss dies, clear remaining viruses normally.
Builds / Achievement Hunting
For achievements, prioritize the toughest ones first since they require specific setups:
| Achievement | Requirement | Stage to Attempt |
|---|---|---|
| Chain Reaction | Destroy 5+ viruses with one Bio-Block + Antibiotic combo | Stage 7–8 |
| Speed Demon | Clear any stage in under 10 seconds | Stage 1 (can be done in 8s with practice) |
| No Damage Run | Clear a stage without any virus touching you | Stage 2 (wanderers are predictable) |
| Conservationist | Clear a stage without destroying any bio-blocks | Stage 3–4 |
| Perfect Trip | Complete all 16 stages without restarting | Requires full game knowledge — attempt after 3+ completed trips |
Advanced Tips
-
Block counting. As soon as a stage loads, mentally count: viruses vs. usable blocks. If virus count > block count, you MUST get multi-kill pushes. Identify lines where a single block push can eliminate 2+ viruses. If no such line exists, use antibiotics for alignment stun.
-
Wall bounces. Blocks ricochet off walls? No — blocks STOP at walls. But a virus on a wall cell is crushed the instant the block reaches it. Use this. A virus against the wall needs only a blocks-worth of push distance.
-
The 7-second barrier cooldown. When you're desperate, use a barrier to buy time. But track the cooldown — after ~7 seconds the barrier reactivates. Use it again when the next crisis hits.
-
Stun trampling. Stunned viruses can be killed by walking over them (100 points each). This is useful for clearing stragglers after an antibiotic alignment. But regular kills with blocks are worth more. Only trample if you're out of blocks or the stun is about to expire.
-
The patience strat. On stages with seekers, stand still. The seeker moves toward you. When it's 2 cells away, push a block perpendicular to its approach path. The seeker walks into the block's path just as you push. This works 80% of the time.
-
Character unlocks. Each character has slightly different properties. After unlocking 3+ characters, try them all. Some have faster movement speed, others generate blocks near barriers more frequently. Pick the one that matches your playstyle for high-score runs.
-
Restart discipline. If you waste a critical block in the first 10 seconds, restart immediately (press R). A fresh attempt costs 3 seconds. Pushing through a gimped run wastes 3+ minutes.
-
The 30,000-point extra life. You get one extra life at 30,000 total points. In a good run, this happens around stage 5 or 6. Push for score in stages 1–5 to secure the extra life before the difficulty spike at stage 9.
FAQ / Common Mistakes
| Mistake | Why It Hurts | Fix |
|---|---|---|
| Pushing blocks aimlessly | You waste blocks. By stage 10, wasted blocks mean unsalvageable stages. | Have a destination for every block before you push it. If you can't identify a target virus in that direction, don't push. |
| Treating antibiotics like bio-blocks | Using an antibiotic to kill one virus wastes its alignment potential. | Antibiotics should only be used for alignment bonuses. If you must break one for space, do it only when 6+ viruses remain. |
| Ignoring the time bonus | Clearing a stage in 60+ seconds costs you up to 5,000 points. Over 16 stages, that's 80,000 lost points. | Practice speed clears on stages 1–8. Use stopwatch mindset: each move should have a purpose. |
| Destroying blocks unnecessarily | Breaking a block you could have used costs you that block forever. | Only destroy a block if it's blocking your path to another block or a critical positioning. Otherwise, work around it. |
| Chasing wanderers | Wanderers move randomly. You can't predict them perfectly. Chasing burns moves. | Position blocks in the wanderer's likely path. The center of the grid is always high-traffic. |
| Panic-barrier use | Using a barrier when no virus is near wastes the cooldown. When real trouble comes, the barrier is on cooldown. | Only use barriers when 2+ viruses are within 3 cells of you or when you're setting up an antibiotic alignment. |
| Not learning the virus AI | Seekers have a 4-cell detection range. Bosses have unlimited range but move at half speed. | Knowing how viruses pathfind changes your movement strategy. Play observation rounds where you focus only on virus behavior. |
System Requirements
| Component | Minimum |
|---|---|
| OS | Windows 10 (64-bit) |
| CPU | Intel Core i3 (4th gen) / AMD Athlon |
| RAM | 1 GB |
| GPU | GeForce GT 710 / Radeon R5 240 |
| DirectX | Version 11 |
| Storage | 50 MB |
The game is lightweight. It runs on integrated graphics from the last decade.
Screenshots