Daily Pick
One deeply researched guide worth reading today.
A practical route through the systems that matter most, written to help new players make confident decisions quickly.
Overview
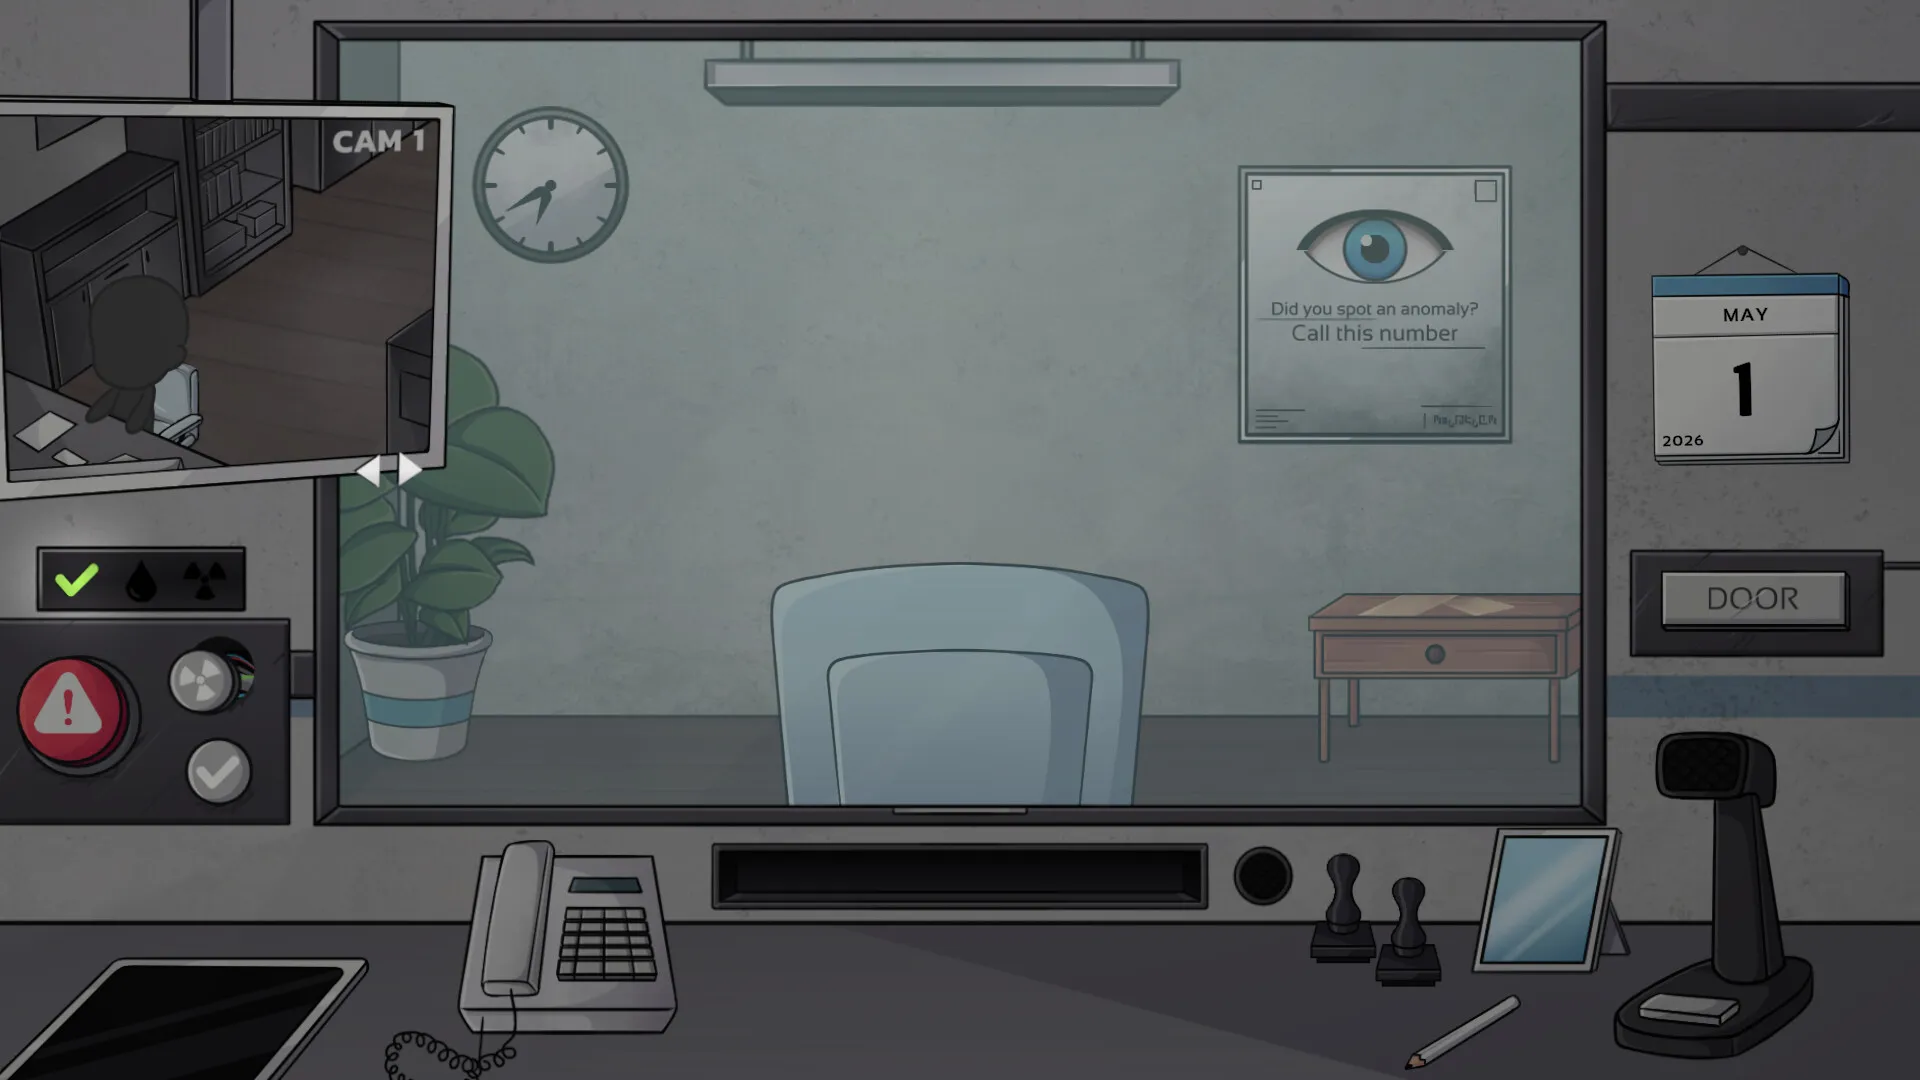
Reality Stability Office is a dystopian anomaly-detection simulator from solo developer Nyrel Design, released June 20, 2026 on Steam. You are a newly appointed inspector at the Reality Stability Office (RSO), the last checkpoint before the last stable city. Every day, arrivals line up at your window. Some are human. Some are anomalies wearing human shapes. Some are something far worse. Your job: decide who gets in, using tools and documents that are themselves corrupting in real time.
The game plays like a psychological horror take on Papers, Please. The core loop is the same — inspect documents, cross-reference data, interrogate, stamp — but every system you lean on is actively gaslighting you. The database contradicts itself. Photos change when you look away. Your own sanity meter drops as you work, and the lower it goes, the less you can trust what you see.
| Stat | Value |
|---|---|
| Developer / Publisher | Nyrel Design |
| Release date | June 20, 2026 |
| Price | $7.29 (S$7.29) |
| Platform | Windows, Steam |
| Genre | Adventure, Simulation, Strategy, Indie |
| Length | 4–6 hours per run, 7–10 in-game days |
| Achievements | 28 |
| Difficulty | Normal (no official hard mode) |
| Inspiration | Papers, Please / That's Not My Neighbor / Kafka |
| Update cadence | Bi-weekly content patches (current: v1.4.0) |
Each playthrough runs 7–10 in-game days and ends with one of seven endings. There is no fail state during the day unless your Reality Meter hits zero. The game wants you to doubt yourself more than it wants to kill you. Accuracy matters more than speed — the only time pressure is the day length, and update 1.3.3 made days longer on purpose.
Who this guide is for: Anyone past their first shift. The basics are easy to learn and brutal to master. This guide covers the mechanic math under the hood, every anomaly type with detection methods, a day-by-day progression plan, tool tier lists, all seven endings and their requirements, and the update-by-update changes that altered how the game plays.
Getting Started — First 30 Minutes
What to do before your first stamp
1. Read the daily briefing. Every shift starts with one. It names the day's threat level, known anomaly types in the area, special instructions, and format changes. Players who skip it miss the day's "gotcha" — a changed document format, a known mimic, a special event. It takes 30 seconds and costs 5% sanity if you skip it (a hidden penalty added in 1.3.3 style balance passes).
2. Set difficulty to Normal and don't look back. Easy mode makes anomalies so obvious you won't build detection skill. There is no hard mode toggle; the game's difficulty comes from your choices and your sanity state.
3. Save manually, every 3–4 arrivals. The game saves at the start of each day automatically (a "Game saved" toast appears — added in 1.3.1), but within a day there is no autosave. A sanity crash or a wrong verdict chain costs you the whole day if you don't have a manual save.
4. Use day 1 as a free tour. Since v1.4.0, the Reality Meter does not decrease until you click the door button on the first day. That means your first day is literally free — explore the office, open every tab on the tablet, click every tool, read your documents in detail. The clock only starts when you choose to open the door.
The daily loop
Complete arrival → collect documents → cross-reference terminal → visual scan → interrogation → decision → next arrival
Each arrival takes 60–120 seconds if done right. Speed is never rewarded; thoroughness is. There is no per-arrival time limit, and update 1.3.3 explicitly extended the day so you can process more people.
Beginner mistakes ranked by cost
| Mistake | Why it hurts | Fix |
|---|---|---|
| Rushing to stamp | Missing one anomaly lets a threat in AND costs sanity. No speed bonus exists. | Take 60–90 seconds per arrival |
| Trusting the terminal blindly | The database is corrupted. Some "verified" checks are wrong. | Treat terminal as one data point, not the verdict |
| Fixating on glitchy documents | Staring at corrupted text drains sanity at ~1% per second and never clarifies the info | Note what you can, move on, decide from other checks |
| Refusing everyone suspicious | Paranoid play denies real humans at −10% sanity each. You die faster than the permissive player. | Use evidence, not fear |
| Skipping the briefing | Loses the day's format changes and known-mimic warnings | Read it fully; 30 seconds |
| Using tools on every case | Tools cost 2% sanity each and are less reliable at low sanity | Reserve them for ambiguous cases |
Core Mechanics (Deep Dive)
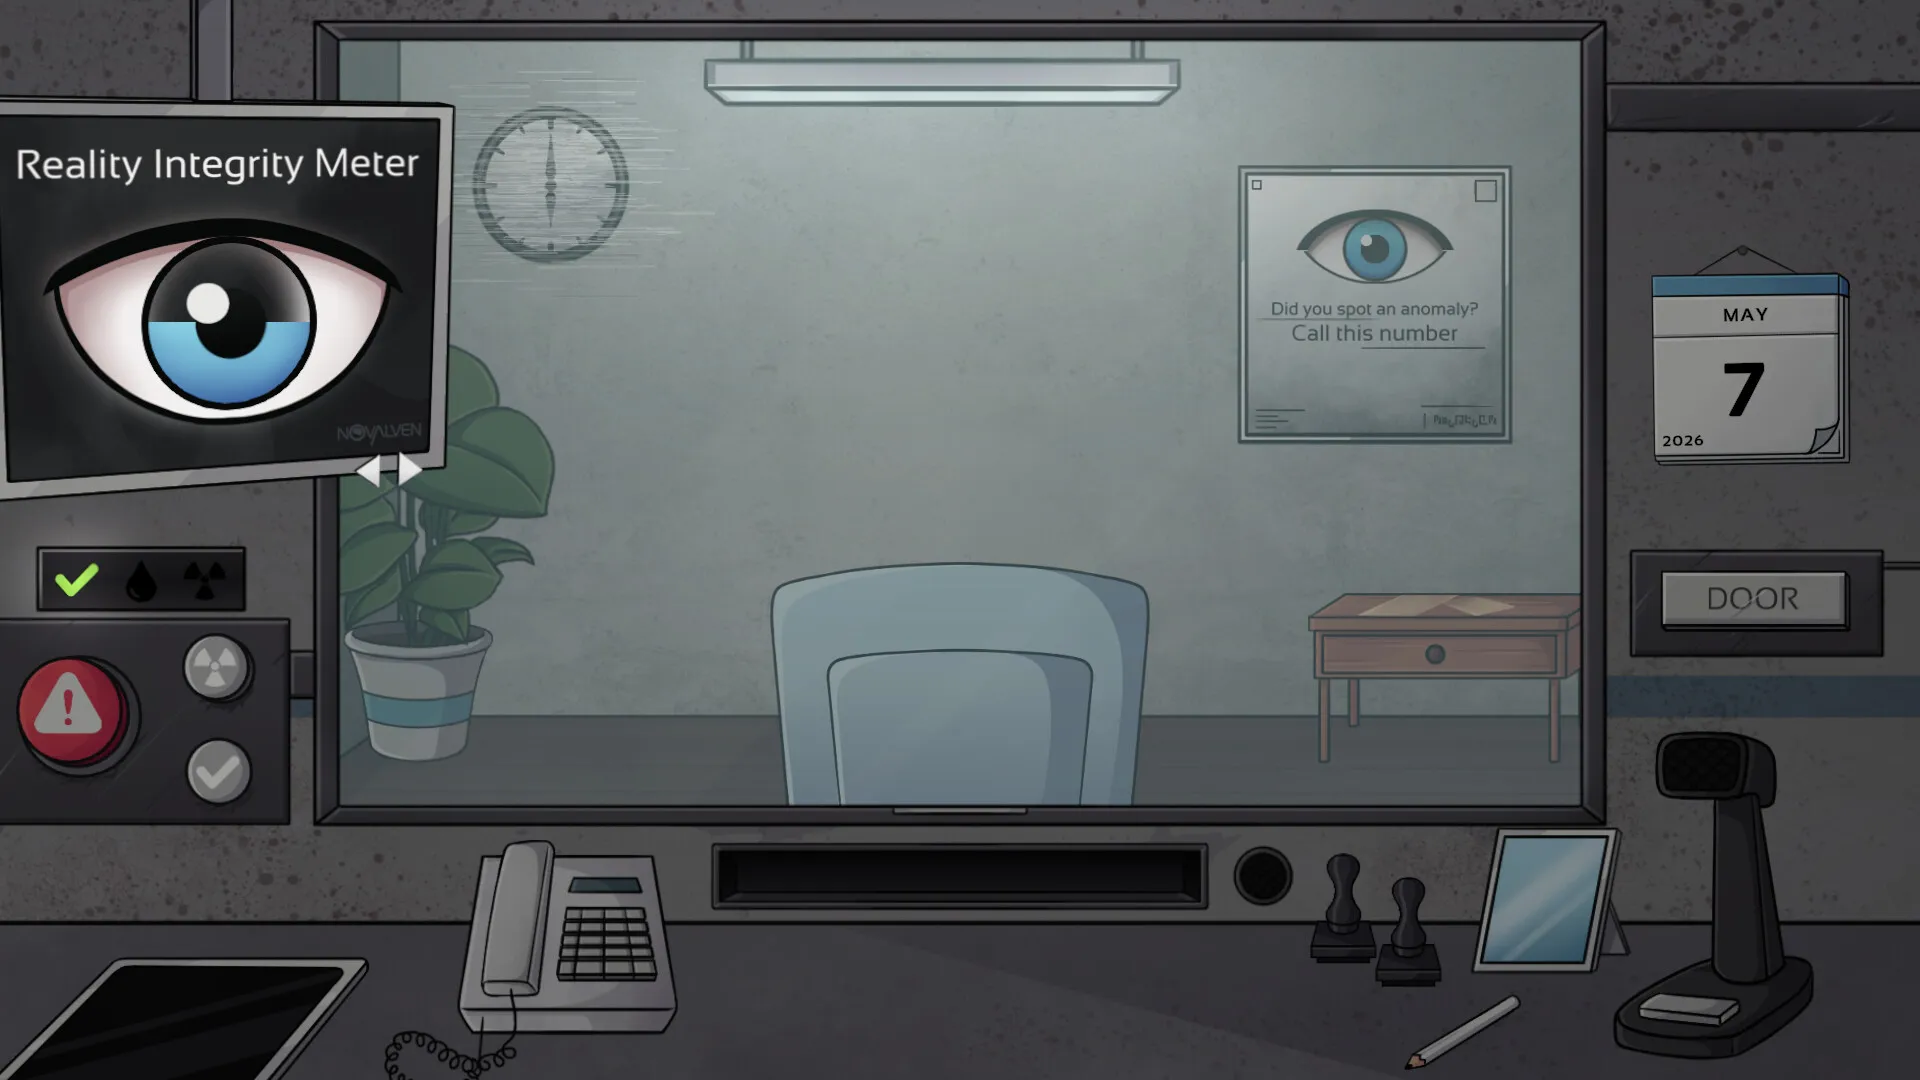
The Reality Meter (sanity system)
Sanity starts at 100% each day and measures how much you can trust your senses. It's the true health bar of the game.
| Action | Cost |
|---|---|
| Correctly admit a real human | +2% |
| Correctly deny an anomaly | +1% |
| Admit an anomaly (wrong) | −15% |
| Deny a real human (wrong) | −10% |
| Witness an anomaly (even correctly) | −3% |
| Stare at corrupted document >5s | −1% per second |
| Use a tool (X-ray / phone / behavior) | −2% per use |
| Skip daily briefing | −5% |
| Do nothing during the day (idle) | Penalty (added 1.3.3) |
| Phone-call choices (good vs bad) | Affects meter (fixed in 1.3.3 to only trigger on good-bad choices) |
Sanity thresholds and what breaks:
| Sanity % | State | What happens | Strategy |
|---|---|---|---|
| 100–70% | Stable | Systems work normally | Best window for hard arrivals |
| 69–40% | Wavering | Visual artifacts; terminal data may glitch; photos may shift | Cross-reference twice; trust physical docs over terminal |
| 39–10% | Unraveling | Hallucinations; you see anomalies that don't exist; false positives spike | Stop trusting your eyes; focus on objective data (stamps, ID numbers) |
| 9–1% | Critical | Involuntary decisions may trigger; game is ending soon | Rush remaining arrivals; save frequently |
| 0% | Collapse | Reality collapse; game over | Load save or new run |
Two things changed here across updates and matter for strategy:
- 1.3.3: The meter now drops in real time visibly, more slowly than at launch. The clock behaves abnormally (instead of running backward) when it drops. If you don't engage in any activity during a day, you take a penalty. Days last longer, so you can process more arrivals per day — which means more correct decisions per day, which means easier streak bonuses.
- 1.4.0: Day one is free (no meter drain until you click the door). A "Quarantine" section was added to the end-of-day screen with a warning message — this is the game's way of telling you some arrivals you cleared will be reviewed and may turn out to be anomalies.
The 3-correct-streak bonus: Three correct decisions in a row grant a hidden +5% sanity recovery. This is the single most important economy trick. Chain easy decisions early in the day to build a buffer before the ambiguous arrivals show up.
The Five Document Types
Every arrival presents a document stack. Cross-reference every field:
Identity Card — photo match (face shape, eye color, scars, hair), ID number against terminal, issuing authority seal (genuine seals have micro-text at the border), expiration date.
Travel Permit — origin city (does it exist? is it quarantined?), validity dates, route stamps (do they form a logical path?), special endorsement codes (cross-reference with briefing).
Health Declaration — vaccination status against recent outbreak zones, anomaly exposure history, signature compared with the ID card signature.
Employment Letter — employer exists in database? position realistic for age/background? salary proportional to position?
Family Registry — names and relationships consistent with other docs, address matches travel permit origin, recent changes flagged?
Tools and the Tool Tier List
| Tool | Cost | What it does | Reliability at 100–70% sanity | Reliability at 69–40% | Below 40% |
|---|---|---|---|---|---|
| X-Ray Scanner | −2% | Reveals hidden items, implants, empty body cavities; may trigger a facial-reactive response | ~90% | ~70% | Unreliable — can give false readings |
| Phone Verification | −2% | Calls the employer/family contact listed on docs | ~90% | ~70% | Unreliable |
| Behavioral Analysis | −2% | AI read of micro-expressions during interrogation | ~90% | ~70% | Unreliable |
Tier list (best use per situation):
- X-Ray — S tier for physical tells. The single strongest tool because it produces a definitive outcome: if the arrival's face changes after a scan, that's a confirmed anomaly. Update 1.4.0 added a third X-ray anomaly type, making the scanner even more valuable. Use it whenever you suspect physical inconsistency (unusual weight, odd shapes, suspicion of implants).
- Phone Verification — A tier for clean-doc cases. When documents look perfect but behavior feels off, the call resolves it. Costs the same as X-ray but needs a believable contact number — anomalies often fail at the phone check.
- Behavioral Analysis — B tier, sanity-gated. Genuinely useful micro-expression reads, but its accuracy scales with your sanity. Below 40% it's actively misleading. Only pull it out above 60%.
The tool-use rule: Combine a tool result with at least one other check. A positive scan alone is strong, but at low sanity even a "clean" scan can be a hallucination.
Documents vs Terminal — who wins?
- Green highlight means the terminal matched the document field. Green means the database agrees with the document — it does NOT mean the document is true. The database can be corrupted too.
- A database mismatch (terminal says this ID belongs to someone else) is definitive: the arrival is not who they claim to be. Deny.
- Document corruption (text changes between reads) is strong evidence but not absolute — some documents are just damaged. A corrupted doc means extra scrutiny, not an instant deny.
Anomaly Detection — Complete Field Guide
1. Photo Distortion (most common)
The photo changes when you look away and back. Variation types:
- Eye color shift (brown ↔ blue) — subtle, easy to miss
- Hair length/style change — medium
- Full face replacement — obvious but rare
- Static photo (no breathing animation) — the arrival isn't alive in the photo
Method: Look at photo → look at another document → look back. Changed? Anomaly.
False positive warning: Below 40% sanity a normal photo can appear to shift. At that point use the "Request Second Opinion" button (appears at low sanity; hover it for 2 seconds; colleague is ~70% accurate).
The Mirror Test: The mirror in your booth (updated across 1.3.2–1.4.0) reflects a stable image. If the photo shifts but your reflection doesn't, trust your reflection.
2. Document Corruption
Text flickers, changes fonts, or swaps between readings.
Method: Open → read → close → reopen. Changed text = corrupted.
Key tells: dates that change, names in different fonts, ID digits swapping positions, seals flickering between authentic and fake.
3. Behavioral Irregularity
Watch the arrival for 5 seconds before touching documents. Real people blink, shift weight, look around. Anomalies are static or loop the exact same movement cycle.
Audio tells: repeating the same phrase verbatim to different questions; voice slightly out of sync with the mouth; laughing/crying at wrong moments; answering before you finish the question.
4. Database Mismatch — the definitive one
Terminal shows contradictory info: person existing in two places, ID number belonging to a different name. Always an anomaly. No exceptions. This is your strongest evidence type in the whole game.
5. Memory Inconsistency
Ask all questions, then repeat one. Differing answers (destination, reason for travel, employment) = anomaly.
Best practice: ask "What is your destination?" last — it's the question most often contradicted.
6. Environmental Glitch
The booth flickers, the terminal shows garbled text, the arrival's shadow moves independently. These always accompany an anomaly — but they can also fire at low sanity without an anomaly present. Treat them as a "get extra careful" signal, not a verdict.
7. X-ray Reactive Anomaly (v1.4.0)
The new third X-ray anomaly type: the scan itself produces an abnormal response — a face change, a body-shape shift, a second silhouette. If you scan and the image reacts, deny. This is now one of the cleanest confirms in the game, because the reaction happens on screen regardless of your sanity state.
The decision matrix
| Documents | Photo | Behavior | Database | Verdict |
|---|---|---|---|---|
| Match | Match | Normal | Match | APPROVE |
| Match | Match | Off | Match | Interrogate deeper |
| Corrupted (mild) | Match | Normal | Match | APPROVE with caution |
| Corrupted (severe) | Match | Normal | Match | DENY |
| Match | Distorted | Normal | Match | DENY — confirmed anomaly |
| Match | Match | Normal | Mismatch | DENY — definitive |
| Corrupted | Distorted | Off | Mismatch | DENY immediately |
| All clean | All clean | All clean | Clean but gut says no | One more question; if still uneasy, DENY |
Golden rule: 2+ anomalous indicators = deny. 1 ambiguous indicator = interrogate more. 0 indicators = approve.
Progression Strategy
Day-by-day progression plan
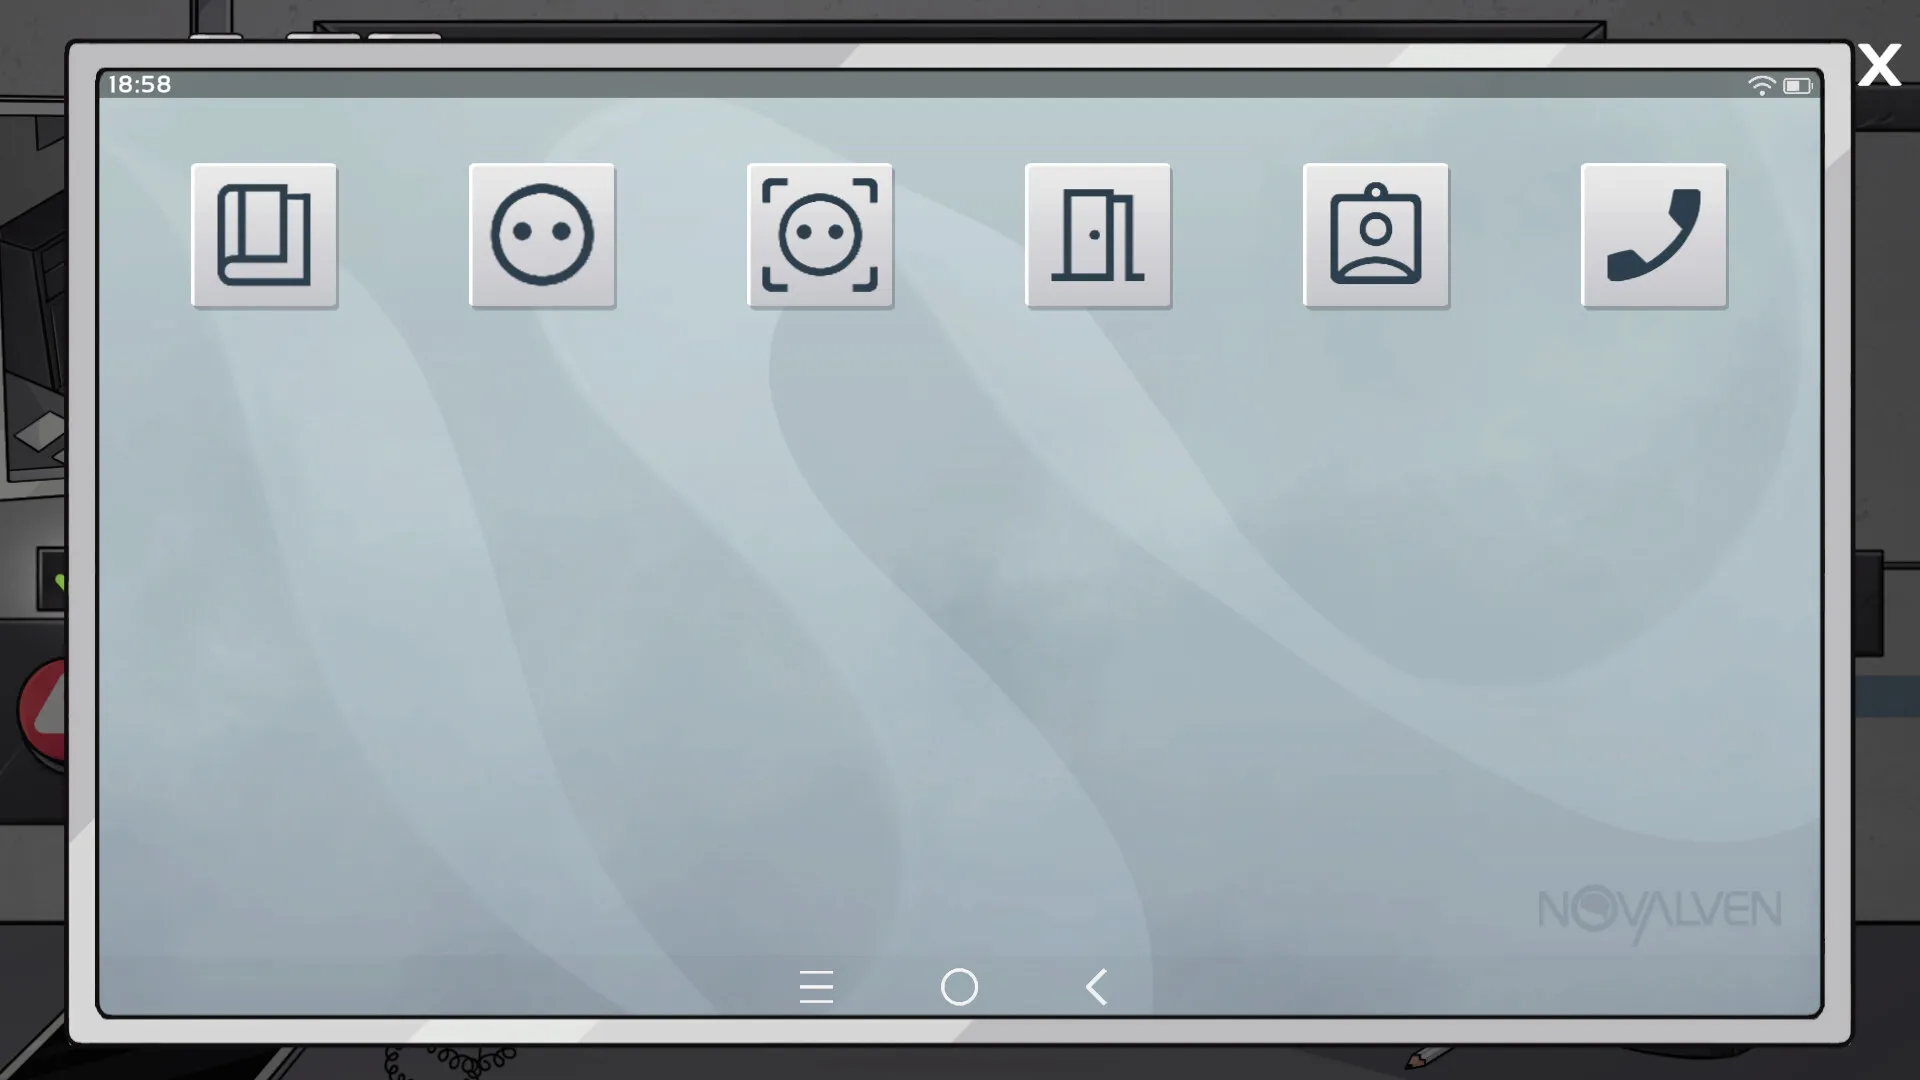
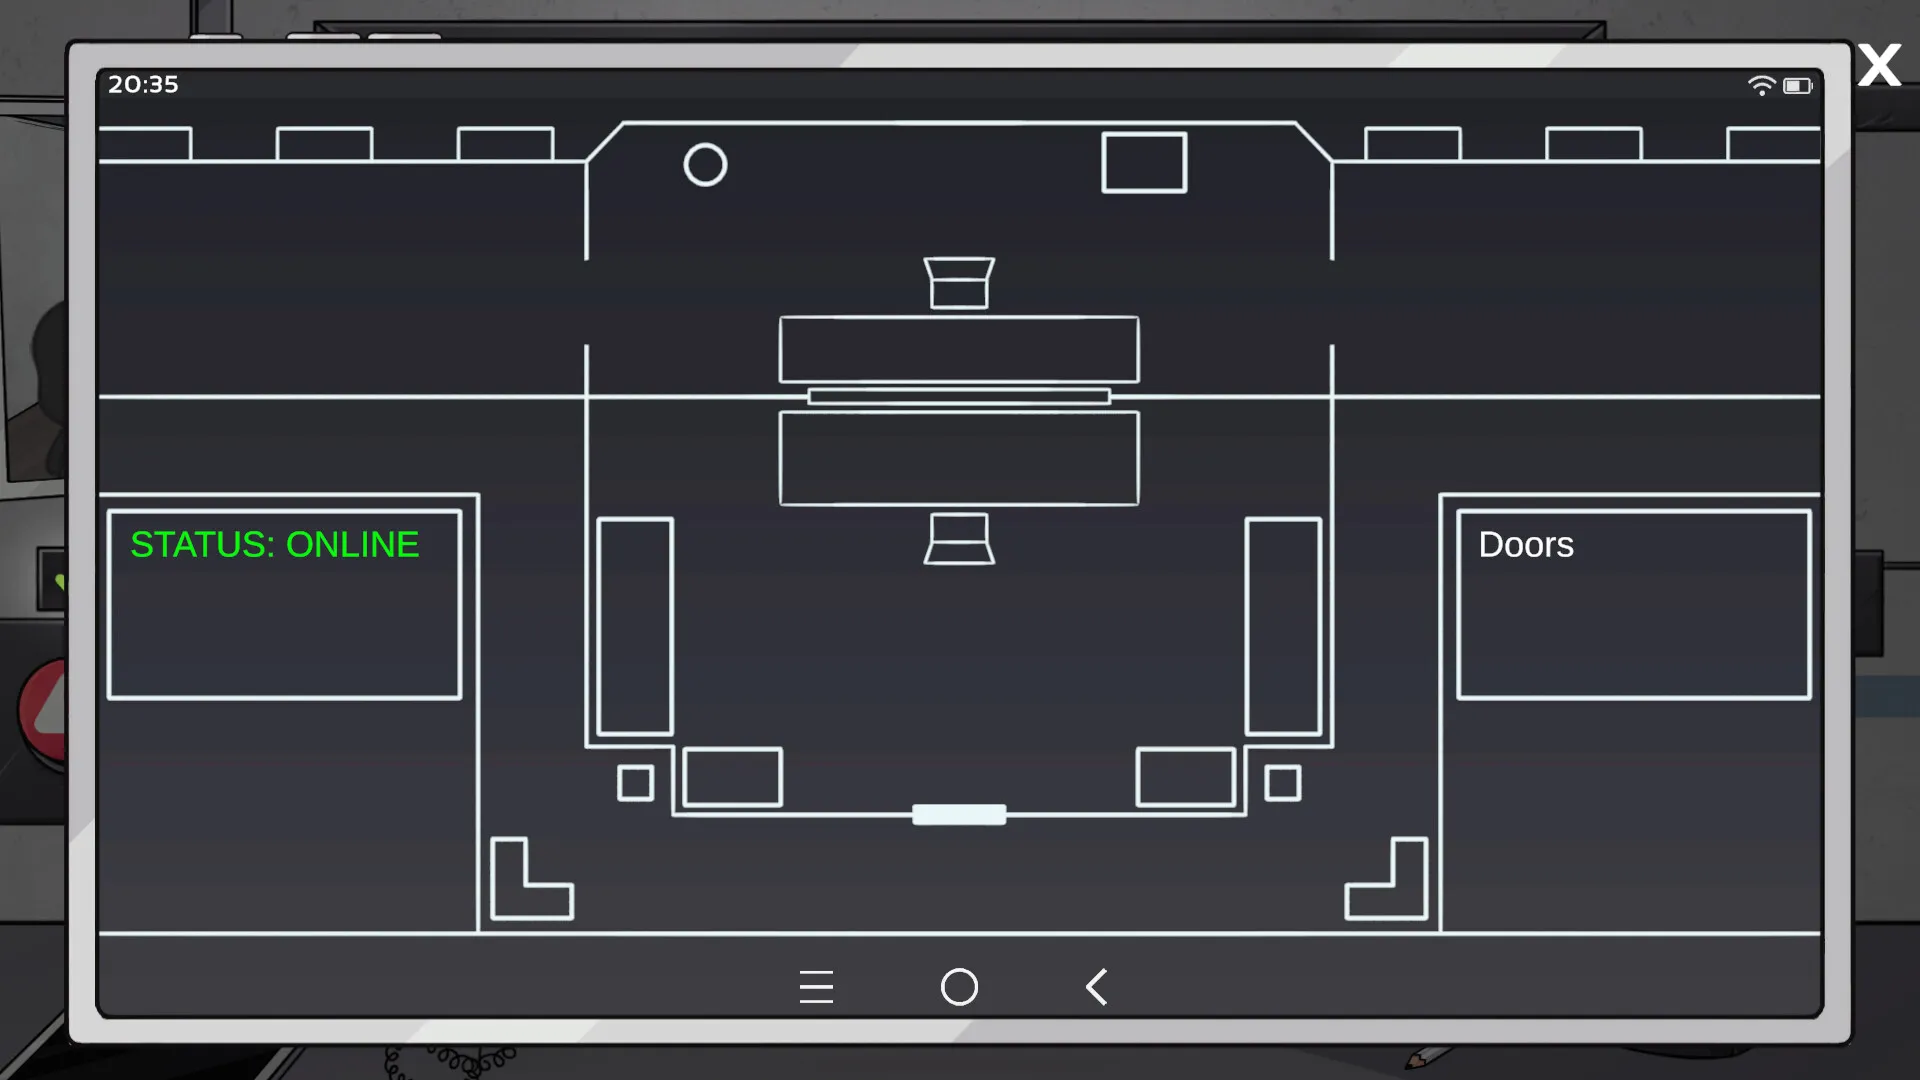
Day 1 (free day): Since v1.4.0 you cannot lose sanity on day 1 until you open the door. Use it: learn the tablet (it got a full UI overhaul in 1.3.2, names on apps, easier navigation), check every arrival slowly, and note which document types the tutorial emphasizes. Complete your first stamp to unlock "First Day" (the achievement bug was fixed in 1.4.0).
Days 2–3 (build the buffer): Load easy cases first. Chain correct decisions for the +5% streak bonus. Your goal by end of day 3: a habit of the 2-minute protocol and knowledge of the current patch's anomaly tell (check the briefing for what's "on the move" this week).
Days 4–5 (the gauntlet): Anomalies get subtler, documents get more corrupted, and the meter sits lower. This is where tool discipline matters — save X-ray for physical suspicions, phone for clean-doc-but-off-behavior cases. If a briefing mentions a "high-value target," save before that arrival.
Days 6–7+ (endgame): The final 1–2 arrivals of the game's last shift are designed to be impossible to judge perfectly. The game forces a moral choice. Recognize it for what it is, make the call, and don't reload to "fix" it — the narrative outcome is the point.
Resource priority order
- Sanity > accuracy > speed. Sanity is the only resource that can end your run mid-day. Everything you do trades a little sanity for information; keep the trade favorable.
- Physical documents > terminal > tools. When they disagree, trust in that order — documents are the least corruptible source on average, tools the most sanity-expensive.
- Streak bonus > individual verdicts. Three correct calls pay +5%. One wrong call costs −10% to −15%. The streak math means it's better to take your time and get the streak than to rush through six arrivals and break it.
What to unlock / prioritize (achievement-oriented)
- Perfect Shift (100% accuracy in one shift): save-scum early days when arrivals are simple.
- Tool Addict (use every tool in one shift): costs 6% sanity total; do it on an easy day at high sanity.
- Speed Reader (arrival under 30 seconds): days 1–2 only, when cases are simple.
- Madman (finish shift under 10% sanity): plan a day where you let the meter drain to 9–10% but never zero; end the day successfully.
Step-by-Step Strategy
Sequence 1 — The 2-minute inspection protocol (every arrival)
- 0:00–0:10 — Observe. Watch the arrival before touching anything. Look for looping animations, static posture, shadow behavior.
- 0:10–0:25 — Briefing check. Does this person match any anomaly type or format change from today's briefing?
- 0:25–0:45 — Scan documents. Open each of the 3–5 docs, look for corruption (text change on reopen).
- 0:45–1:15 — Terminal cross-reference. Field by field: ID, permit, health, employment, family. Watch for mismatches.
- 1:15–1:35 — Photo verification. Look once, look away, look back. Check eye color, hair, breathing.
- 1:35–1:50 — Interrogation. Ask all questions; then repeat the destination question. Note voice tells.
- 1:50–2:00 — Tool check if needed. X-ray for physical suspicion, phone for behavior. Then decide.
- 2:00 — Stamp. Apply the golden rule from the decision matrix.
Sequence 2 — Recovering from a sanity crash spiral
- Identify the trigger: was it a wrong verdict, a corrupted-doc stare, or tool spam?
- Stop using tools immediately — each use costs 2% you can't afford.
- Process the next 2–3 arrivals with maximum caution but minimal tool use. What you need is correct decisions, not more data.
- Take the +5% streak bonus twice if you can. That recovers 10% and lifts you out of the hallucination band.
- If you're below 15%: save right now, then rush remaining arrivals. A completed day with 9% sanity beats a reloaded day.
Sequence 3 — Beating the ambiguous case (everything clean but wrong)
- Run the full protocol once. Everything matches.
- Ask the destination question again — memory inconsistencies surface here.
- Watch for the arrival's idle animations during the repeat question. Real people react to repetition; mimics loop.
- Use ONE tool — phone verification is best here because it checks the story, not the body.
- If the phone confirms the story and behavior stays natural, approve. If anything reacts, deny.
- When truly stuck, use low-sanity Second Opinion (~70% accurate) as the tiebreaker.
Sequence 4 — Preparing for the rigged final shift
- From day 5 onward, save before every arrival that the briefing flags as story-critical.
- Keep your sanity above 50% entering the last day — the final shift's arrivals punish low-sanity misreads hardest.
- Do not spend tool uses early in the final day. You'll need them for the 1–2 impossible arrivals.
- Use your saved manual save after the final shift if you want to re-watch the forced-choice scene with different decisions (the game warns you before reloading — a safety message added in 1.4.0).
- Accept that no decision on the final shift is "correct." The ending you get is determined by your whole run, not the last stamp.
Sequence 5 — The Truth Seeker clue chain (Valerie K.)
- Run 1: play normally but note every recurring name in documents and dialogue. Don't worry about accuracy.
- Valerie K. appears across multiple arrivals on different days — flag each appearance in your notes.
- Run 2: on days where Valerie K. appears, exhaust every dialogue option and use phone verification (the contact may be listed).
- Cross-reference the Nyrel Design interconnected universe (nyreldesign.com — regions, characters, map) — the developer runs an ARG-style lore network, and some document names reference its wider setting.
- The Truth Seeker ending unlocks when you've gathered the full clue chain across the run. It cannot be done in a single blind playthrough.
Builds & Specialization (Decision Philosophy)
This is not a build game, but your playstyle choices function like builds. Three viable philosophies:
The Humanist (accuracy-first): Approve unless evidence stacks. Prioritize the +2% admit bonus. Best for the Good Ending. Risk: one anomaly slips through and costs −15%.
The Auditor (evidence-first): Deny unless everything matches. Prioritize database mismatch detection (the definitive tell). Safer against anomalies, but −10% per denied human stacks fast.
The Investigator (tool-first): Spend sanity on information. X-ray everything suspicious, phone everything clean-but-odd. Best for discovering lore (Valerie K., hidden messages). Risk: tool costs accelerate the sanity drain, and below 40% tools lie.
Recommended for new players: Humanist early, Auditor in the middle days, Investigator only on a dedicated second run.
Advanced Tips
- The Terminal Lie Pattern. Database entries entered before 9:00 AM in-game are reliably more accurate than afternoon entries. When docs and terminal disagree, weigh morning-entered data more heavily.
- Voice actors differ. Anomalies have a slightly metallic or hollow resonance. Headphones make this audible. The first line of dialogue carries the most behavioral data — never skip it (spamming spacebar skips tells).
- The colleague tiebreaker. "Request Second Opinion" only appears below 40% sanity. It's ~70% accurate. Use as tiebreaker, never as primary.
- Tool reliability is sanity-gated. X-ray at 80% sanity is nearly perfect; X-ray at 35% can show false readings. Match the tool to your state, not just the case.
- Check documents in fixed order. ID → Travel Permit → Health → Employment → Family Registry. Muscle memory prevents missed checks.
- The final shift is rigged. 1–2 arrivals are impossible to judge correctly by design. Don't reload to fix it; the game wants a moral decision.
- The phone-call sanity change (1.3.3). Phone calls only affect the meter during good-bad choices now, not during normal calls — use the phone freely during ordinary verification.
- Quarantine is feedback. The end-of-day Quarantine section (1.4.0) tells you which cleared arrivals were actually anomalous. Use it as a nightly scorecard to calibrate your tells for the next day.
- Idle penalty (1.3.3). Doing nothing during a day now penalizes you. If you're stuck on a hard case, keep processing — standing still is the one move that's always wrong.
- Avatar system is cosmetic but fun. 1.3.0 added 4 outfits plus a Randomizer — a cheap break between tense days. The mirror UI (overhauled through 1.3.2–1.4.0) is your anchor for the Mirror Test.
Endings Guide (all 7)
| Ending | Requirements | Difficulty |
|---|---|---|
| The Good Ending | ≥80% accuracy, admit real people, deny anomalies, sanity never below 40% on final day | Hard |
| The Neutral Ending | 50–79% accuracy, mixed decisions | Easy (default) |
| The Bad Ending (Collapse) | Sanity hits 0% at any point | Accidental |
| The Anomaly Ending | Admit 10+ anomalies AND deny 10+ real humans | Medium |
| The Truth Seeker | Discover the hidden truth about city leadership via story clues (Valerie K. chain) | Hard |
| The Martyr | Refuse to admit anyone on the final shift | Medium |
| The Betrayer | Admit every suspicious arrival in the final 3 days | Medium |
Ending strategy notes:
- Good Ending: accuracy over everything. Save after every 3 correct decisions, never waste tools, read every briefing, and collect story clues alongside clean stamps.
- Anomaly Ending: easiest deliberate ending — reverse your judgment on obvious cases. Your sanity will crash; embrace it.
- Martyr vs Betrayer: both are final-day stances. Martyr = deny everyone (the moral hardline). Betrayer = admit everyone suspicious for the last 3 days. They're deliberately cheap to trigger once you know the endings exist.
Achievement Guide
| Achievement | Unlock | Notes |
|---|---|---|
| First Day | Complete your first shift | Was bugged; fixed in v1.4.0 |
| Perfect Shift | Complete a shift with 100% accuracy | Save-scum the easy early days |
| Tool Addict | Use every tool in a single shift | Costs 6% sanity; do it on an easy day |
| Speed Reader | Complete an arrival in under 30 seconds | Days 1–2 only with simple arrivals |
| Anomaly Hunter | Correctly identify 50 anomalies | Cumulative across runs |
| Humanist | Correctly admit 100 real humans | Cumulative; stacks with Good Ending runs |
| Madman | Finish a shift with less than 10% sanity | Survive to day end above 0% |
| Truth Seeker | Uncover the hidden truth | Valerie K. clue chain |
| No Tools Run | Complete a full shift without tools | Easy days; don't touch the toolbar |
| Perfectionist | 100% accuracy across ALL shifts in one playthrough | Requires ~4–6 hours of perfect play |
Hidden Secrets & Easter Eggs
The Base64 message: the Steam store description contains a hidden base64 message. Decoded: "Did you see the mysterious man who showed up on the 100th day?" The game runs 7–10 days, so this is a narrative hook. Theories: a secret ending, a hidden character, or a fourth-wall event. v1.1.1 added "2 new hidden messages" that "may be related to the main story."
Named characters: Grace Dawson and Lucien Brooks (v1.1.0/v1.2.0) are arrivals with unique document sets and dialogue trees. Their appearances are tied to the deeper narrative.
Nyrel Universe ARG: document names and locations cross-reference the wider Nyrel Design connected universe (nyreldesign.com), which hosts regions, characters, syndicates, companies, and a map. Cross-referencing arrival details with that lore reveals background story elements.
Hidden messages in documents: some documents contain encoded text referencing the Nyrel Universe. Check every unusual string — the lore rewards the patient.
Latest Updates & Roadmap (up to v1.4.0)
The game receives bi-weekly content updates. Current version: 1.4.0 (this guide supersedes older version references).
v1.4.0 (latest)
- Reality Meter no longer decreases until you click the door button on day 1 (free exploration day)
- "First Day" achievement bug fixed
- Mirror object + UI updated, preparation for a new system
- +3 X-ray anomaly type added (X-ray reactive responses)
- Blinking animation added to avatar
- Warning animations on Saved Days / New Game / Store screens before reloading
- "Quarantine" section added to end-of-day screen with warning message
- Next stop: v1.5 with "much bigger goals"
v1.3.3
- Reality Meter updates in real time and drops more slowly
- "Subtle" bug fixed (rebalanced)
- Phone calls no longer drop the meter unless a good-bad choice is made
- Back button on Avatar screen
- Clock behaves abnormally (not backward) when meter drops
- Idle penalty: no activity during the day = penalty
- Days last longer — process more arrivals per day
v1.3.2
- Tablet UI overhaul (names on apps, more intuitive)
- Mirror sliding animation + system update
v1.3.1
- "Game saved" message at day start
- Warning pop-ups for locked features
v1.3.0
- +4 outfits, Randomizer system
- Improved tutorial (easier beginning)
- +2 items — characters can give weapons or sticks instead of documents
- Fixed Game Over system and daily statistics view
v1.2.x
- Tablet redesign + 7 backgrounds
- Japanese and Korean support (Traditional Chinese in 1.2.1)
- Notification icons when features unlock
Planned
- v1.5 — developer states "all upcoming updates will change the fate of the game"; larger goals announced
- Multiple Game Modes (announced on the Steam page)
- More tablet customization, more languages
What the updates mean for your playthrough
- Day 1 is now genuinely free — use it.
- Days are longer — plan for more arrivals and more streak bonuses per day.
- The X-ray reacted anomaly (1.4.0) is your newest confirmed-deny tool.
- The Quarantine report turns every night into a calibration session — read it every day.
- The game is being developed by a single person ("I'm working on this alone") — expect occasional rough edges and frequent changes, and check the news feed before updating your own strategies.
Accessibility & Comfort
Steam lists 4 accessibility features: no timed input (take as long as you need per arrival), save anytime (manual saves), mouse-only control, custom volume sliders.
- No time pressure per arrival — take breaks between cases
- Save every 3–4 arrivals
- Headphones recommended — voice tells are part of detection
- Low sanity creates screen distortion; keep ambient lighting on if you're sensitive
FAQ / Common Mistakes
Q: Why did my game end on day 4 with sanity left? A: The game's story runs 7–10 days depending on playthrough. You didn't die — the story ended. Start a new game for a different outcome.
Q: Is denying everyone safe? A: No. Each denied human costs −10% sanity. Paranoid play crashes faster than permissive play.
Q: What does green highlight on a document mean? A: The terminal verified that field matches its database. Green means database-document agreement, not truth. Databases corrupt.
Q: Why did the arrival's face change after my X-ray scan? A: That's a confirmed anomaly reaction. Since v1.4.0 there are three X-ray anomaly types — a reactive face change is an automatic deny.
Q: Can I replay a specific day? A: No. The game saves full playthrough state. Manual saves before a specific arrival are the only way to redo a decision. v1.4.0 warns you before reloading previous days.
Q: How long is a full playthrough? A: 4–6 hours for one ending; 10–15 hours for all achievements across multiple runs.
Q: What is the Quarantine section on the end-of-day screen? A: Added in v1.4.0 — it lists cleared arrivals that turned out anomalous. Treat it as a nightly accuracy report.
Q: Is there a hard mode? A: Not an official one. Difficulty comes from route, choices, and sanity management. The upcoming multiple game modes update may change this.
Guide reflects game version 1.4.0 as of August 2026. Content updates arrive every two weeks — new arrivals, characters, hidden messages, and mechanics land regularly, so re-check the Steam news feed and this guide's update sections between patches.