Daily Pick
One deeply researched guide worth reading today.
A practical route through the systems that matter most, written to help new players make confident decisions quickly.
Overview
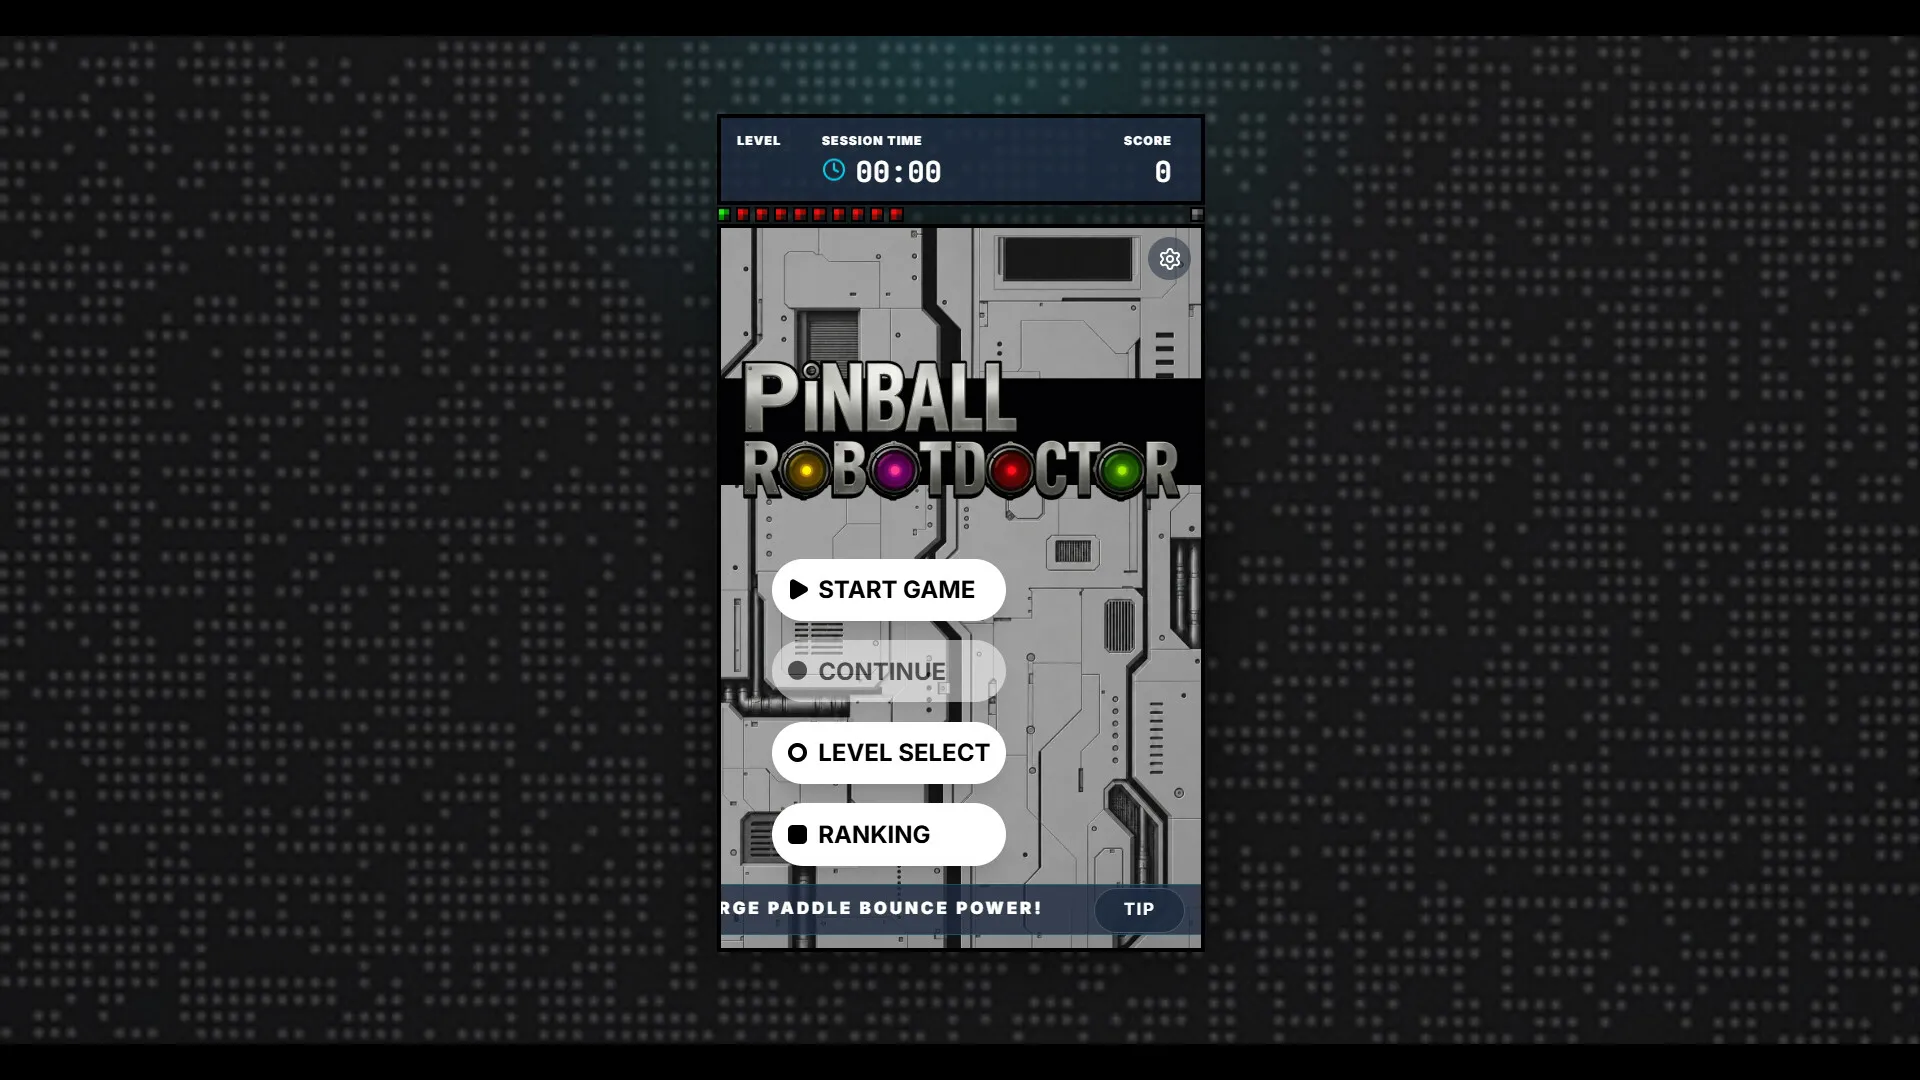
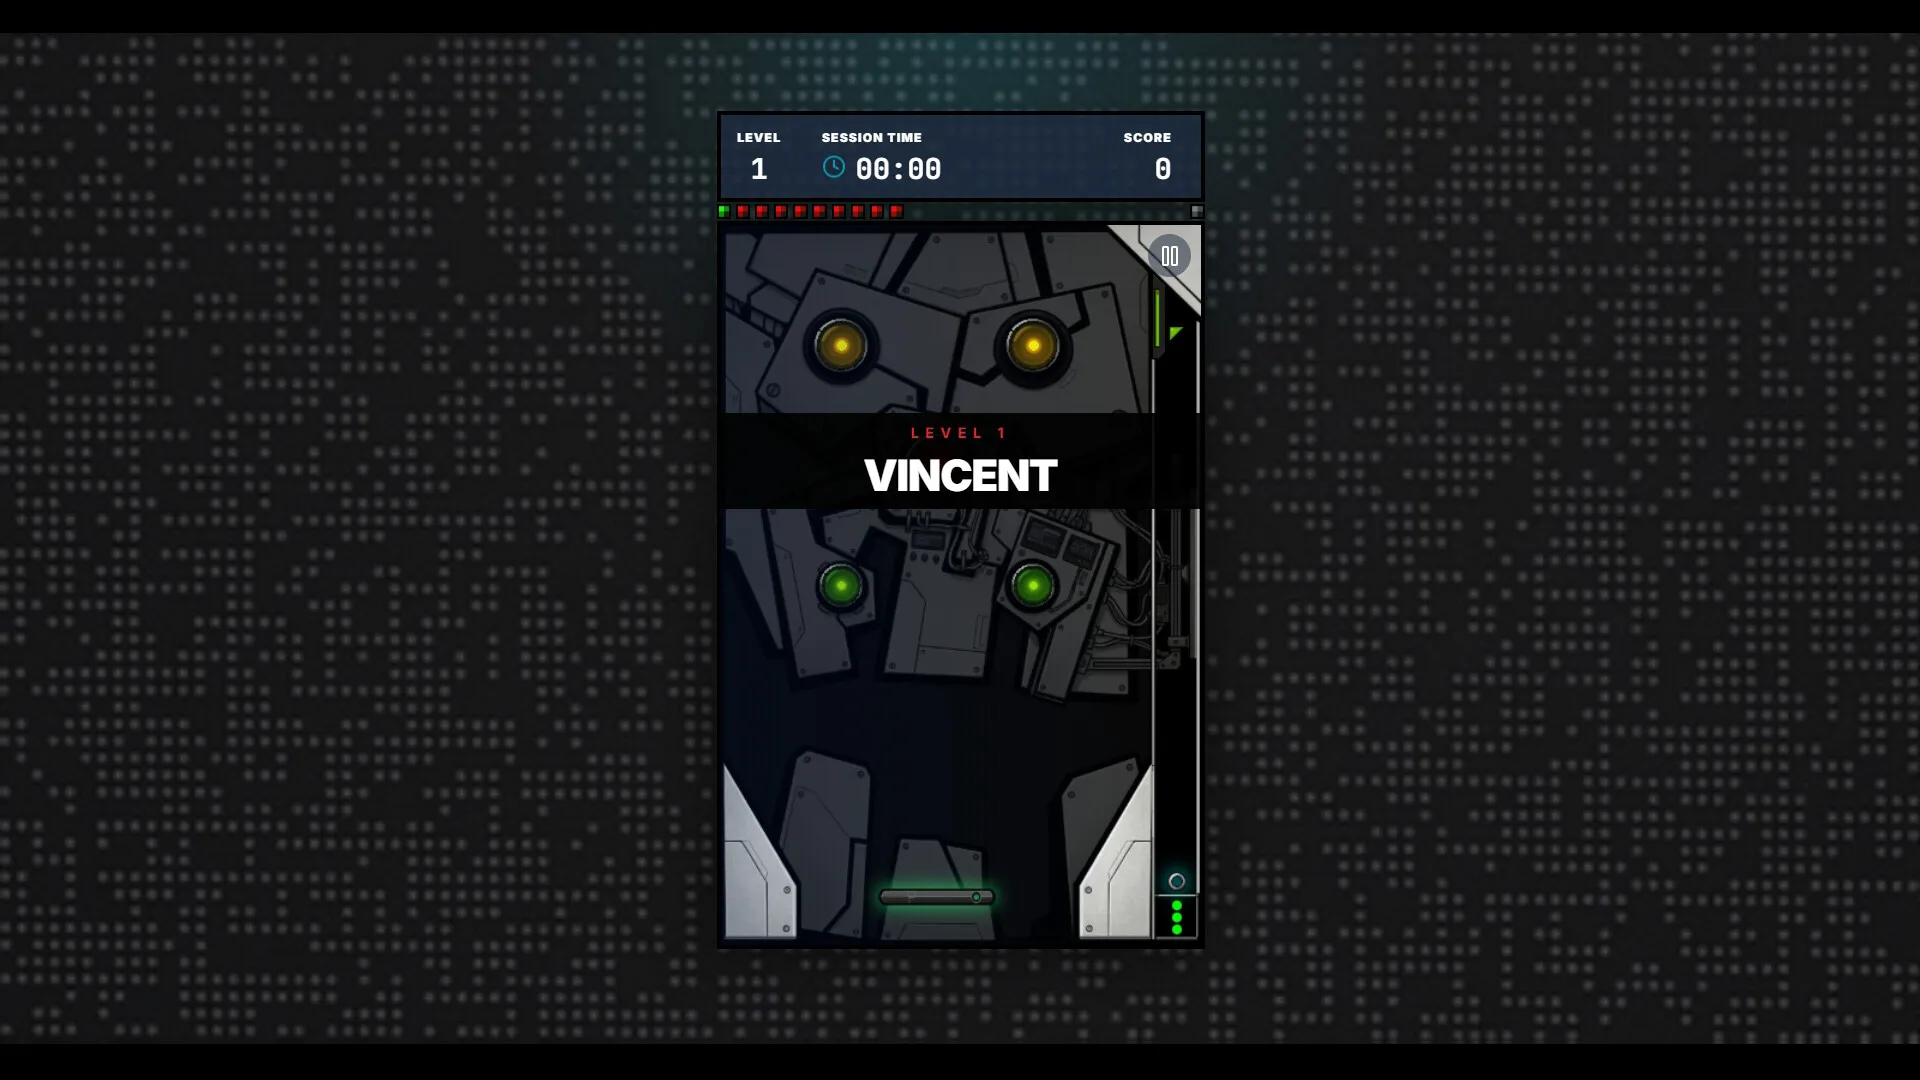
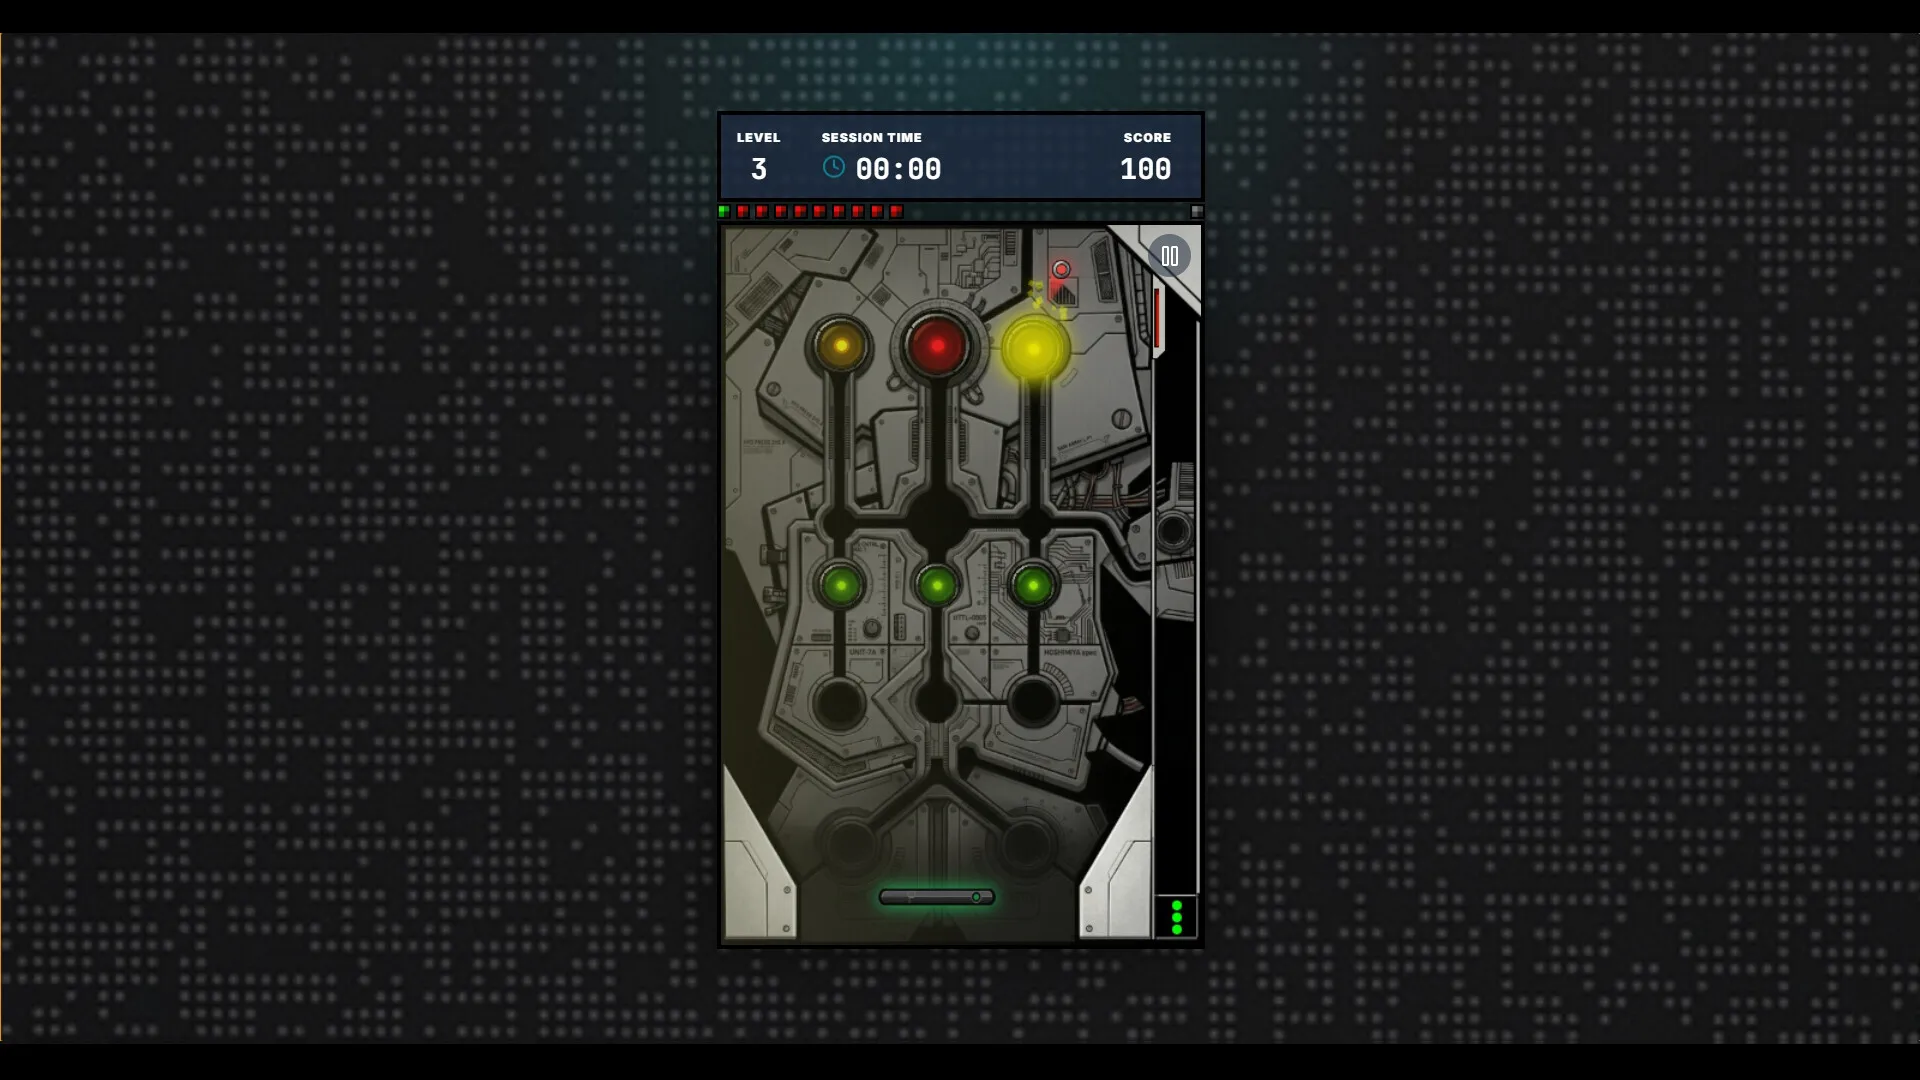
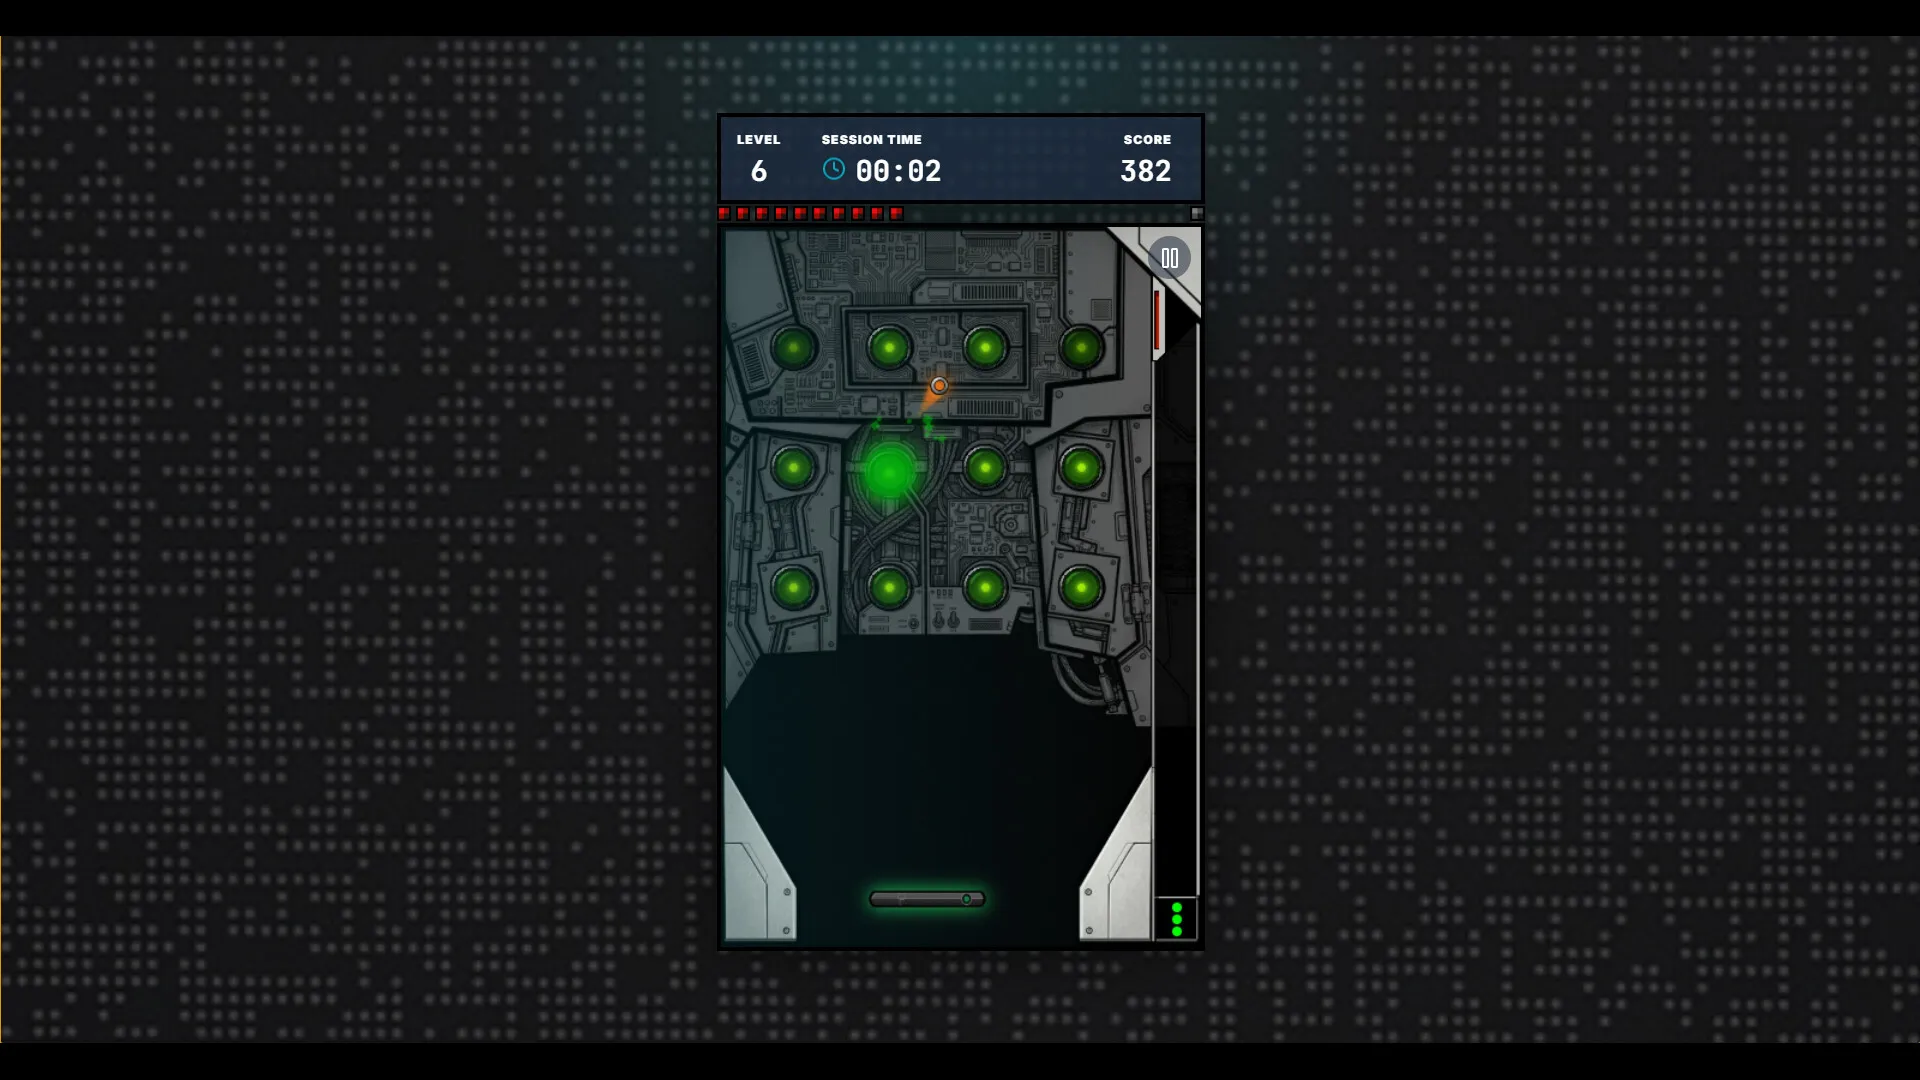
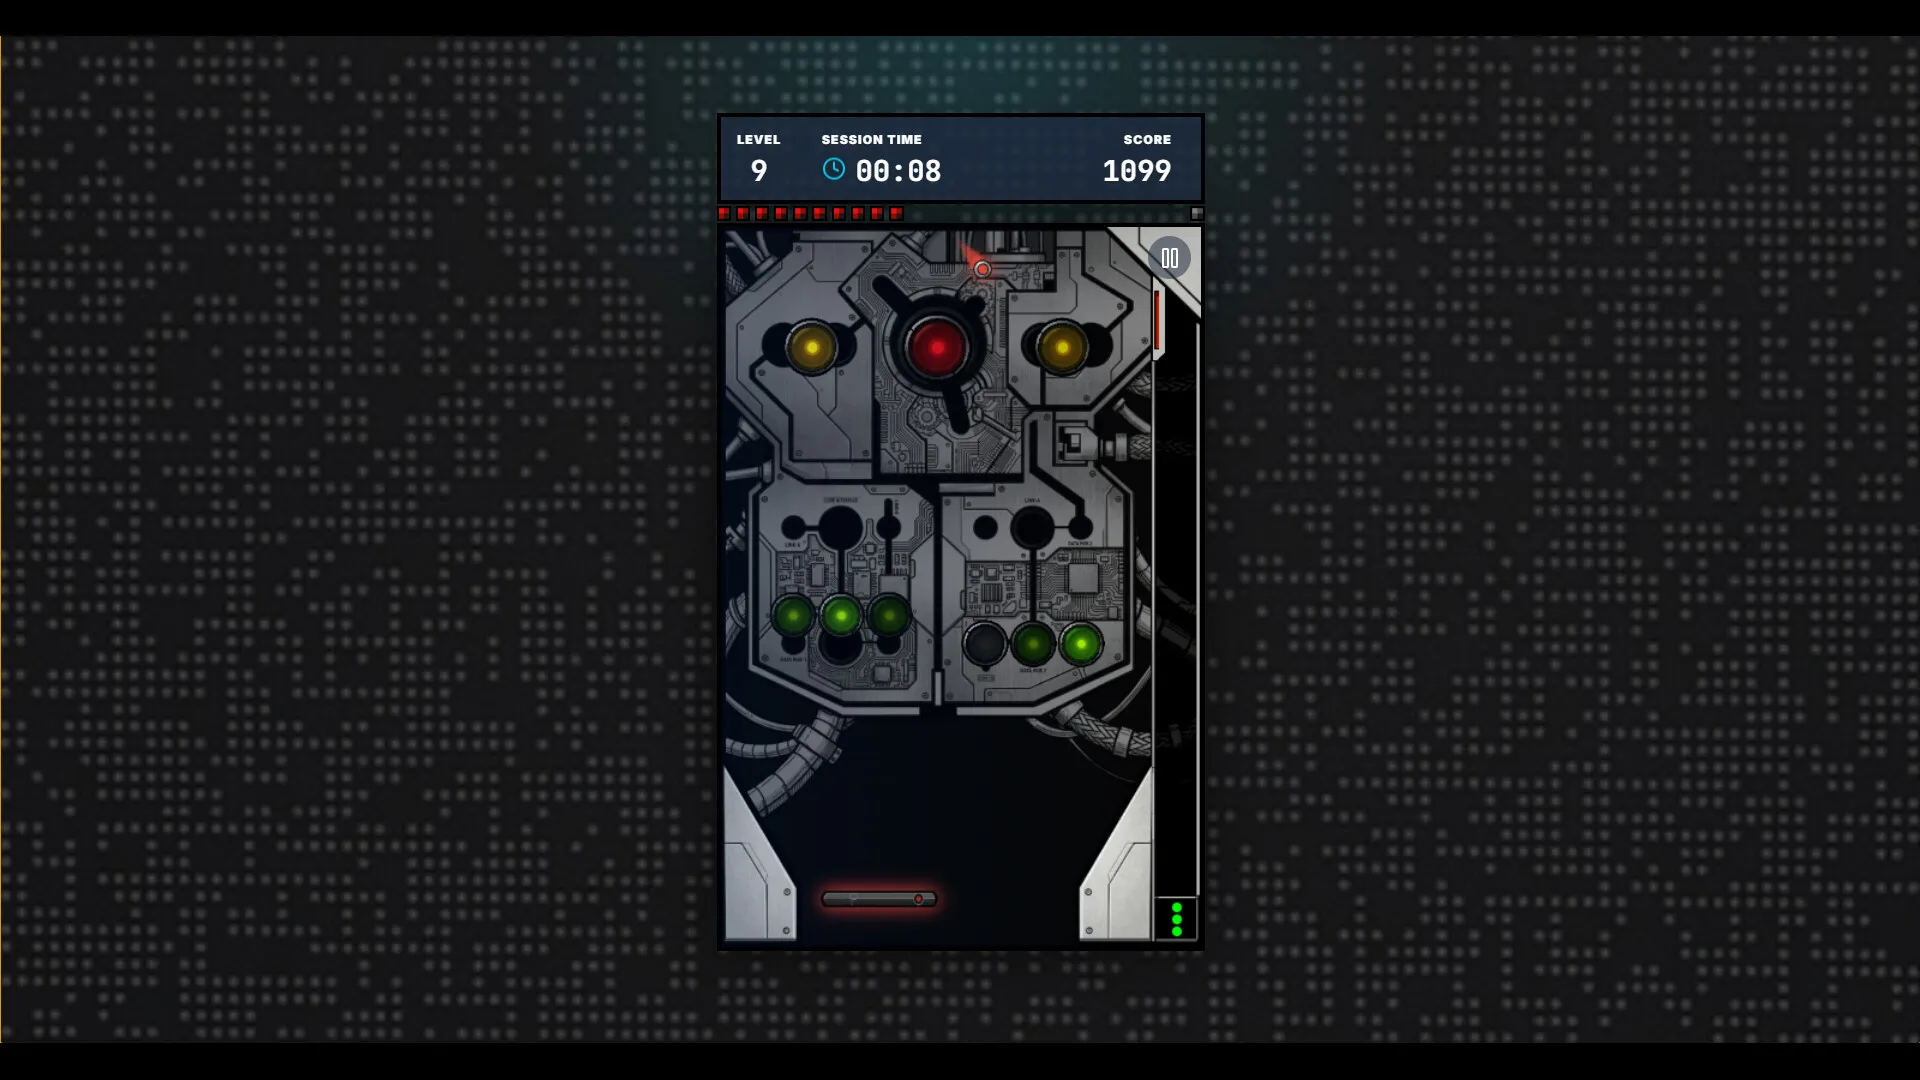
PinballRobotDoctor is a free cyberpunk pinball game from LittleSkullGames, a small Chinese indie studio. It released on Steam on June 20, 2026, with a free demo that came first on June 11. The setup is odd and charming: you are a cybernetic "mechanical repair" device, and your job is to deflect a metal pinball with your fingertips so it collides with broken mechanisms. Hit the right things in the right way, and you repair the target to complete the level.
The game is small and honest about what it is. The store page literally puts "simple" in quotation marks. There is no campaign map, no character progression, no loot. What you get is a sequence of pinball tables, each with its own geometry, its own hidden traps, and its own repair objective, wrapped in a retro-futurist cyberpunk skin. The pinball collides "between retro gameplay and cyberpunk-metal platforms," as the DLC description puts it.
What sets it apart from a standard pinball table:
- Every level is a repair puzzle, not just a score chase. The ball is a tool.
- Hidden traps are scattered through every level, and they change how the table behaves.
- Physics-based rebound logic is the core skill: angle in, angle out, energy retained or bled.
- Local and global leaderboards push score attack for those who want it.
- A $1.25 story DLC hides an actual narrative under the arcade surface: encrypted story fragments, hidden clues, and a choice at the end.
Platform: Windows only (Steam). Touch input works, so it runs on Steam Deck and touch-enabled Windows devices.
Price: Free. The PinballRobotDoctorStoryDLC costs S$1.25 (about $0.99 USD).
Languages: English, Japanese, Simplified Chinese.
System requirements (minimum): Windows 10, Intel Core i3-4160 or AMD A8-7600, 4 GB RAM, Intel HD Graphics 4000, 800 MB storage. It runs on almost anything.
Who It's For
Casual players who want a chill physics toy. Pinball fans who want short, contained tables without the overwhelming depth of modern virtual pinball. Players who like "one more try" score chasing. The accessibility options (adjustable difficulty, no timed input mode, save anytime) make it genuinely friendly to newcomers and to players who dislike pressure mechanics.
Not for you if you want deep progression, story in the base game, or competitive multiplayer. The base game is a quiet arcade loop; the story lives behind the DLC paywall.
Getting Started
Your First Launch
The game opens straight into the pinball loop. There is no tutorial video; the first level teaches you by being simple. Set aside five minutes to feel the physics before you try to win.
- Play the demo first. It is a separate free Steam listing (PinballRobotDoctor Demo) and contains the first 3 levels. It saves anytime but has no leaderboards and no difficulty adjustment. It is the perfect sandbox for learning the rebound physics without score pressure.
- Use the Adjustable Difficulty system in the full game. The full game ships with a difficulty adjustment system; the demo does not. If you are new to pinball, start on the easier settings and step up as the ball stops escaping you.
- Learn the launch. The launch is a hold-and-release. A full-power launch sends the ball deep into the table's upper third, where ramps, bumpers, and traps cluster. A short partial launch drops the ball in the controlled middle zone. Start with short launches.
- Read the level before you shoot. Each level has a repair objective and its own layout. Look at where the target is before you launch, not after the ball is already in play.
- Expect traps. Every level has hidden traps. The first time you hit one, you lose the ball or waste time. The second time, you know where it is. Treat the first playthrough of each level as reconnaissance.
Beginner Mistakes
| Mistake | Why It Hurts | Fix |
|---|---|---|
| Full-power launching every time | Ball lands in the chaotic upper zone, control is gone | Use partial launches; save full power for top targets |
| Flipper spamming | Ball trajectory becomes unpredictable, feeds traps | Flip only when the ball is near a flipper, then wait |
| Ignoring the repair objective | You bounce the ball around scoring points but never finish the level | Watch which mechanism needs repair, aim for it |
| Fighting the physics instead of using it | Every surface has its own rebound; forcing shots fails | Let the ball come to you, plan the next hit from its exit angle |
| Never touching the difficulty settings | The game punishes you at default settings if you are new | Lower difficulty in the full game; the demo has no difficulty system |
| Buying the DLC before the base game clicks | The story fragments drop as you clear levels; you want the loop first | Beat several base levels, then buy the DLC |
Core Mechanics
The Repair Loop
The core loop is simple: deflect the ball, collide with mechanisms, repair the target, complete the level. Levels are the unit of progression, and each one is a self-contained table with a specific repair job. The HUD tracks the objective; keep it in view while you play.
The repair framing changes how you think about pinball. In a normal table you want high scores and long ball times. Here, you want efficiency: hit the mechanism that needs repair, then the next one, and finish the level before the ball drains. Score still matters for leaderboards, but completion comes first.
Physics and Rebound Logic
The game leans on realistic physics-based rebound logic. That phrase hides the real skill of the game. Every surface has its own bounce behavior:
- Flat walls return most of the ball's speed at a predictable angle. Safe for controlled shots.
- Curved ramps bleed energy and redirect the ball. Good for reaching distant targets, but the ball exits slowly.
- Bumpers add spin on top of angle change. They are chaos generators; treat them as hazards, not tools.
- Speed matters. A fast ball skips off surfaces and flies; a slow ball clings and rolls. Most control problems in this game come from playing everything at full speed.
The practical rule: you cannot use the same shot twice on different tables. Each level's geometry is unique, so each level needs its own mental map. After a few hits you should be able to predict where the ball goes next from where it is now.
Hidden Traps
Traps are the game's main source of difficulty and surprise. Every level has at least one, and they are deliberately disguised as normal table elements. Observed trap behavior falls into a few families:
- Redirect surfaces: a wall or plate that looks safe but funnels the ball toward the drain on first contact.
- Bumper clusters: a group of bumpers that launches the ball into a dead-end pocket, wasting seconds while the ball rattles uselessly.
- Layout changes: a switch or trigger that physically alters the table, sliding a wall, retracting a ramp, or opening a new drain lane.
The trap lesson is about memory, not reflexes. The first ball through a trap is a sacrifice. After that, you know the layout and can plan around it. Experienced play is mostly trap avoidance: knowing which angles are safe and which are bait.
Leaderboards and Score
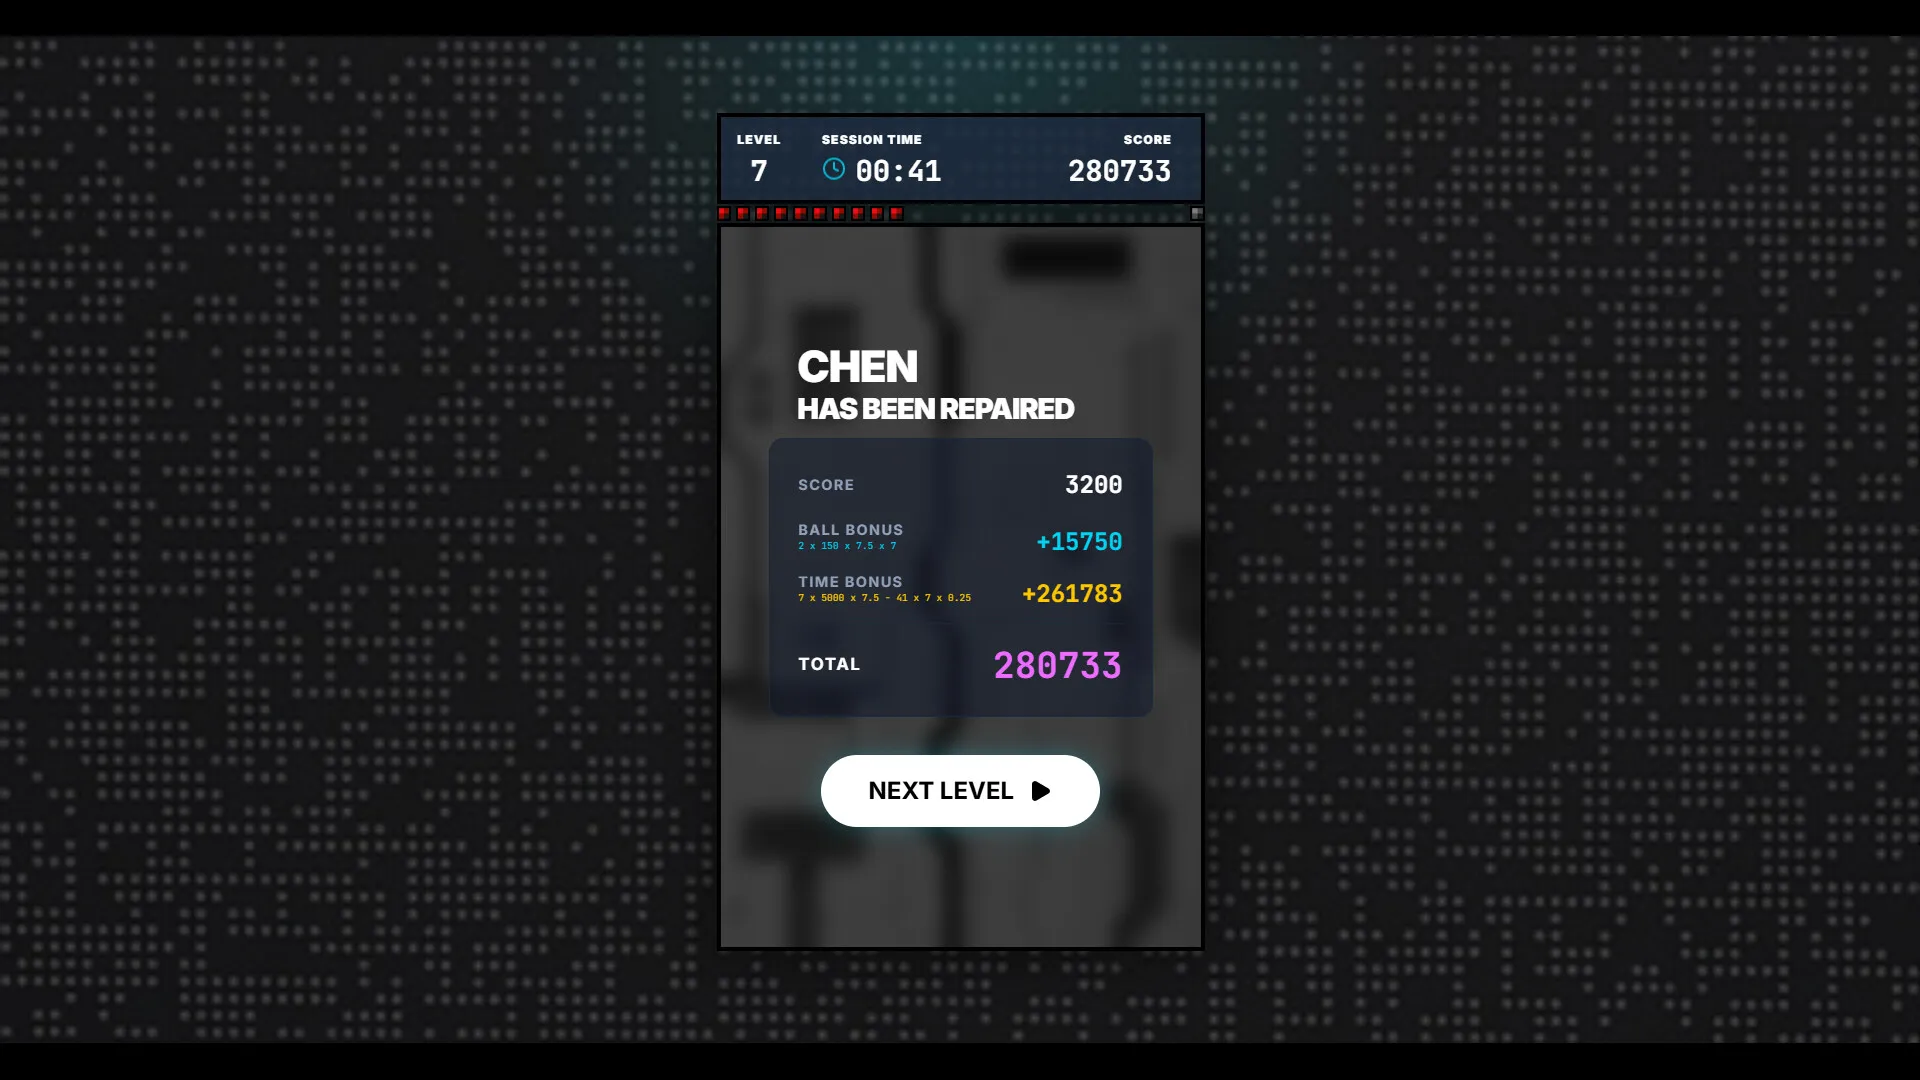
The full game supports local and global leaderboards. The demo has neither. Scoring rewards clean, fast repairs and long chains of hits. If you want to climb the boards, treat each level like a speedrun: plan the route, execute it, restart until it is clean.
The Story DLC
The base game teases it directly. The store description ends with a struck-through line: "If you want to know more... please unlock the DLC to start the story mode." and then "Error: Insufficient system privileges, port will be closed."
The PinballRobotDoctorStoryDLC (S$1.25) delivers on that hook. Its official description: explore the backstory of the pinball robot doctor, find hidden clues, unravel the mystery, uncover the truth behind the entire incident, then make your choice. The framing is a "digital consciousness prison," with the ball's collisions "tearing apart the false lies" of that prison. As you clear levels you gradually find encrypted story fragments. The DLC can be enabled or disabled at any time from the settings interface, so you can play it as a separate mode or weave it into the main loop.
Progression Strategy
How Progression Works
Progression is level-based and sequential. There is no skill tree, no shop, no upgrade path. You clear a level to unlock the next, and the difficulty curve comes from new mechanics and new trap layouts, not from stat inflation.
What to Prioritize
- Learn the base physics before pushing levels. Every later level assumes you can read rebound angles. If you cannot clear level 1 without losing a ball, the later tables will punish you.
- Clear each level until it is consistent. The fastest way to improve is to replay each level until you can finish its repair objective in a single ball. That forces you to learn the trap locations and the safe routes.
- Use the demo as a training ground. Three levels, no leaderboard pressure, save anytime. Perfect for drilling launch control and flipper discipline.
- Add score attack after completion. Once you can finish levels reliably, start chasing par times and chain multipliers for the leaderboards.
- Buy the DLC after the loop clicks. It adds story fragments as you clear levels, so you want the base loop comfortable first. At about a dollar it is the cheapest narrative expansion in the genre.
Shot Types and Table Zones
Pinball has no classes or builds, but it does have shot types and zones. Treat these as your toolkit.
Shot Type Priority
| Shot | When to Use | Notes |
|---|---|---|
| Trap catch | Always, when possible | Let the ball settle on a lowered flipper, then cradle it. Full control, time to aim |
| Controlled flip | Default | One deliberate flip from a cradled ball toward a known target |
| Dead flip | Ball too fast to aim | Let the ball hit a raised flipper and bounce; resets the situation predictably |
| Pass | Moving ball from one flipper to the other | Redirect across the bottom to set up the stronger flipper |
| Post pass | Flipper-to-flipper without touching the ball | Advanced; saves position and keeps control |
Table Zone Priority
| Zone | Value |
|---|---|
| Lower middle | The control zone. Ball settles here; set up your shots from here |
| Flipper lanes | The danger zone. Left and right gaps at the bottom drain the ball |
| Upper third | The chaos zone. Ramps, bumpers, traps. Visit on purpose, never by accident |
| Dead-end pockets | The time-sink zone. Traps often hide here; learn which pockets eat balls |
The rule of thumb: keep the ball in the lower middle as much as possible, treat the upper third as a destination you choose, and never let the ball drift toward the flipper lanes unplanned.
Step-by-Step Strategy
1. Launch Control
- Hold the launch button. Feel the power build.
- For most levels, release at about a third to half charge. The ball lands in the middle zone where you can read the table.
- Reserve full-power launches for levels where the first target sits high on the table.
- Never launch at full power "just to see." The chaos zone is where traps live.
- If you do not know the level yet, launch short. A short launch costs nothing and gives you table time.
2. The Ten-Second Table Read
Before every launch, scan:
- Where is the repair target? Its position decides your launch power and first shot.
- Where are the drain lanes? Note their width. Some tables have one wider gap, and the wide one is where the ball will die.
- What moves? Rotating gears, sliding walls, retracting ramps. Know what changes during the round.
- Where is the safe zone? Every table has an area where the ball settles. Find it and play from it.
3. Flipper Discipline
Flipper discipline is the single skill that separates players who drain in seconds from players who clear levels.
| Skill Level | Behavior | Typical Result |
|---|---|---|
| Beginner | Flipping constantly, reacting to every bounce | Ball drains fast, trajectory unpredictable |
| Intermediate | Flipping only when the ball nears the flippers | Better control, still reactive |
| Advanced | Waiting, anticipating, letting the ball settle | Controlled shots, few drains |
| Expert | Trap catches, dead flips, planned sequences | Level clears on one ball, leaderboard scores |
The core habit: after a flip, put the flipper down and wait. A flipped ball that is still in motion is not aimable. Let it bounce, read where it is going, then act.
4. Nudging
A nudge is a small table shake that changes the ball's path at the critical moment. Use it when:
- The ball is rolling slowly along the drain lane wall. A tiny nudge tips it back into play.
- The ball is bouncing between bumpers toward the gap. A nudge disrupts the rhythm.
- The ball exits a trap at an unexpected angle. A nudge buys a half-second to reposition.
Do not nudge constantly. Nudging has diminishing returns and can feed the ball into a worse position. Save it for drain saves.
5. The Multiball Mindset
When multiple balls are in play at once:
- Pick the ball closest to the drain. That is your only real problem.
- Let physics handle the others temporarily.
- Keep flippers mostly passive. Flip only when a ball is about to drain.
- If a ball is draining and you cannot reach it, launch another ball. The pop-up collision can bump the draining ball back into play.
- During multiball, every target hit is worth more, but survival comes first.
6. Trap Reconnaissance
- On your first ball of a new level, play loose. Do not try for the perfect run.
- Deliberately probe suspicious surfaces: bumpers, side walls, anything that looks like it funnels somewhere.
- Note which surfaces redirect and which pockets eat balls.
- On your second ball, play the route you mapped. Avoid the traps you found.
- Repeat until the level is memorized. This is how every level gets cleared consistently.
7. Score Attack Route
- Memorize the exact shot sequence for a level: launch power, first shot, route through the repair targets.
- Drill it until it is muscle memory. The goal is repeatability, not improvisation.
- Chase clean time first. A fast, clean repair beats a messy high-score attempt.
- Add chain multipliers only after the clean route is reliable.
- Push for leaderboard attempts only when you can clear the level on one ball.
Advanced Tips
Cradle everything. The trap catch is the foundation of controlled pinball. Let the ball settle on a lowered flipper, then raise it at the last moment. You now have all the time in the world to aim. This single technique turns chaotic tables into puzzles.
Pre-spin the ball. When the ball rests on a flipper, a quick tap of the flip button applies a small spin. It changes the ball's exit angle on the next hit and can curve shots around obstacles that block direct lines.
Use ball one as a scout. Some table elements persist between balls within the same attempt. If you unlock a route or trigger a layout change on ball one, it stays changed for ball two. Spend the first ball exploring and unlocking, then execute on the second.
Learn the sound cues. Traps and layout changes have audio signatures before they trigger. A mechanical click often precedes a redirect, a rising hum a bumper cluster, a metallic clang a layout change. Play with the volume up and the trap becomes a warning, not a surprise.
Respect the demo's limits. The demo has no leaderboards and no difficulty adjustment. If the demo feels too easy or too hard, that is the demo, not the game. The full version's difficulty system changes the feel substantially.
The DLC is a second game. The story DLC reuses the repair loop as a narrative delivery system. Story fragments drop as you clear levels, and the "make your choice" ending rewards replay. At S$1.25 it is cheap enough to treat as a reward for finishing the base loop.
The physics is the content. This is a game where the table itself is the opponent. Every level teaches you a new piece of geometry. The players who progress fastest are the ones who treat each table as something to study, not something to brute force.
FAQ / Common Mistakes
Is PinballRobotDoctor actually free? Yes. The base game is free to play on Steam. The only paid content is the PinballRobotDoctorStoryDLC at S$1.25 (about $0.99 USD).
What is the difference between the demo and the full game? The demo contains the first 3 levels, allows saving anytime, but has no leaderboards and no difficulty adjustment system. The full game has the complete level list, leaderboards, and the difficulty system.
How do I control the game? Mouse or touch. Click or tap the left and right halves of the screen for the flippers, hold and release to launch the ball, and use the middle mouse button to nudge. Touch works on Steam Deck and touch-enabled Windows devices.
What are the system requirements? Very low. Windows 10, a Core i3-4160 or AMD A8-7600, 4 GB RAM, Intel HD Graphics 4000, 800 MB storage.
Is there a story? The base game is pure arcade. The story lives in the DLC: the backstory of the pinball robot doctor, hidden clues, encrypted fragments found as you clear levels, and a final choice.
What does the DLC add? A story mode with narrative choices, hidden clues, and multiple endings. It can be enabled or disabled in settings at any time.
Does it have achievements? It supports Family Sharing and single-player. The game is small; expect a modest achievement list rather than a sprawling one.
Why is the level so hard? You are probably full-power launching and flipping constantly. Launch short, let the ball settle, and treat the first ball of each level as reconnaissance. If you are on the full game, use the difficulty adjustment; the demo does not have one.
Is it worth playing if I do not like pinball? The repair objective changes the game. It is less about score and more about precision, which makes it friendlier than classic pinball for people who bounce off score-chase tables. The demo costs nothing; try it.
Is it worth buying the DLC? At about a dollar, yes, if you enjoy the base loop and want to see the mystery resolve. Complete the base levels first so the story fragments land on a foundation you understand.
Final Verdict
PinballRobotDoctor is a quiet, well-made little game that knows exactly what it is: a free physics toy with a repair twist, a leaderboard hook, and a surprisingly ambitious story DLC hiding underneath. The level-based structure and hidden traps give it more shape than the average free arcade release, and the accessibility options make it unusually welcoming.
Who should play it: casual players, pinball beginners, fans of short score-attack loops, and anyone who wants a free game that respects their time.
Who should skip it: players who need progression systems, story in the base game, or competitive multiplayer.
Rating: 3.5/5 for the base game, 4/5 with the story DLC. Free, so the only real question is whether you enjoy the loop. Try the demo first; it answers that in three levels.
Last reviewed by Game How To Editorial. We play each game, verify controls against official sources, and update guides when game mechanics change.