Daily Pick
One deeply researched guide worth reading today.
A practical route through the systems that matter most, written to help new players make confident decisions quickly.
Overview
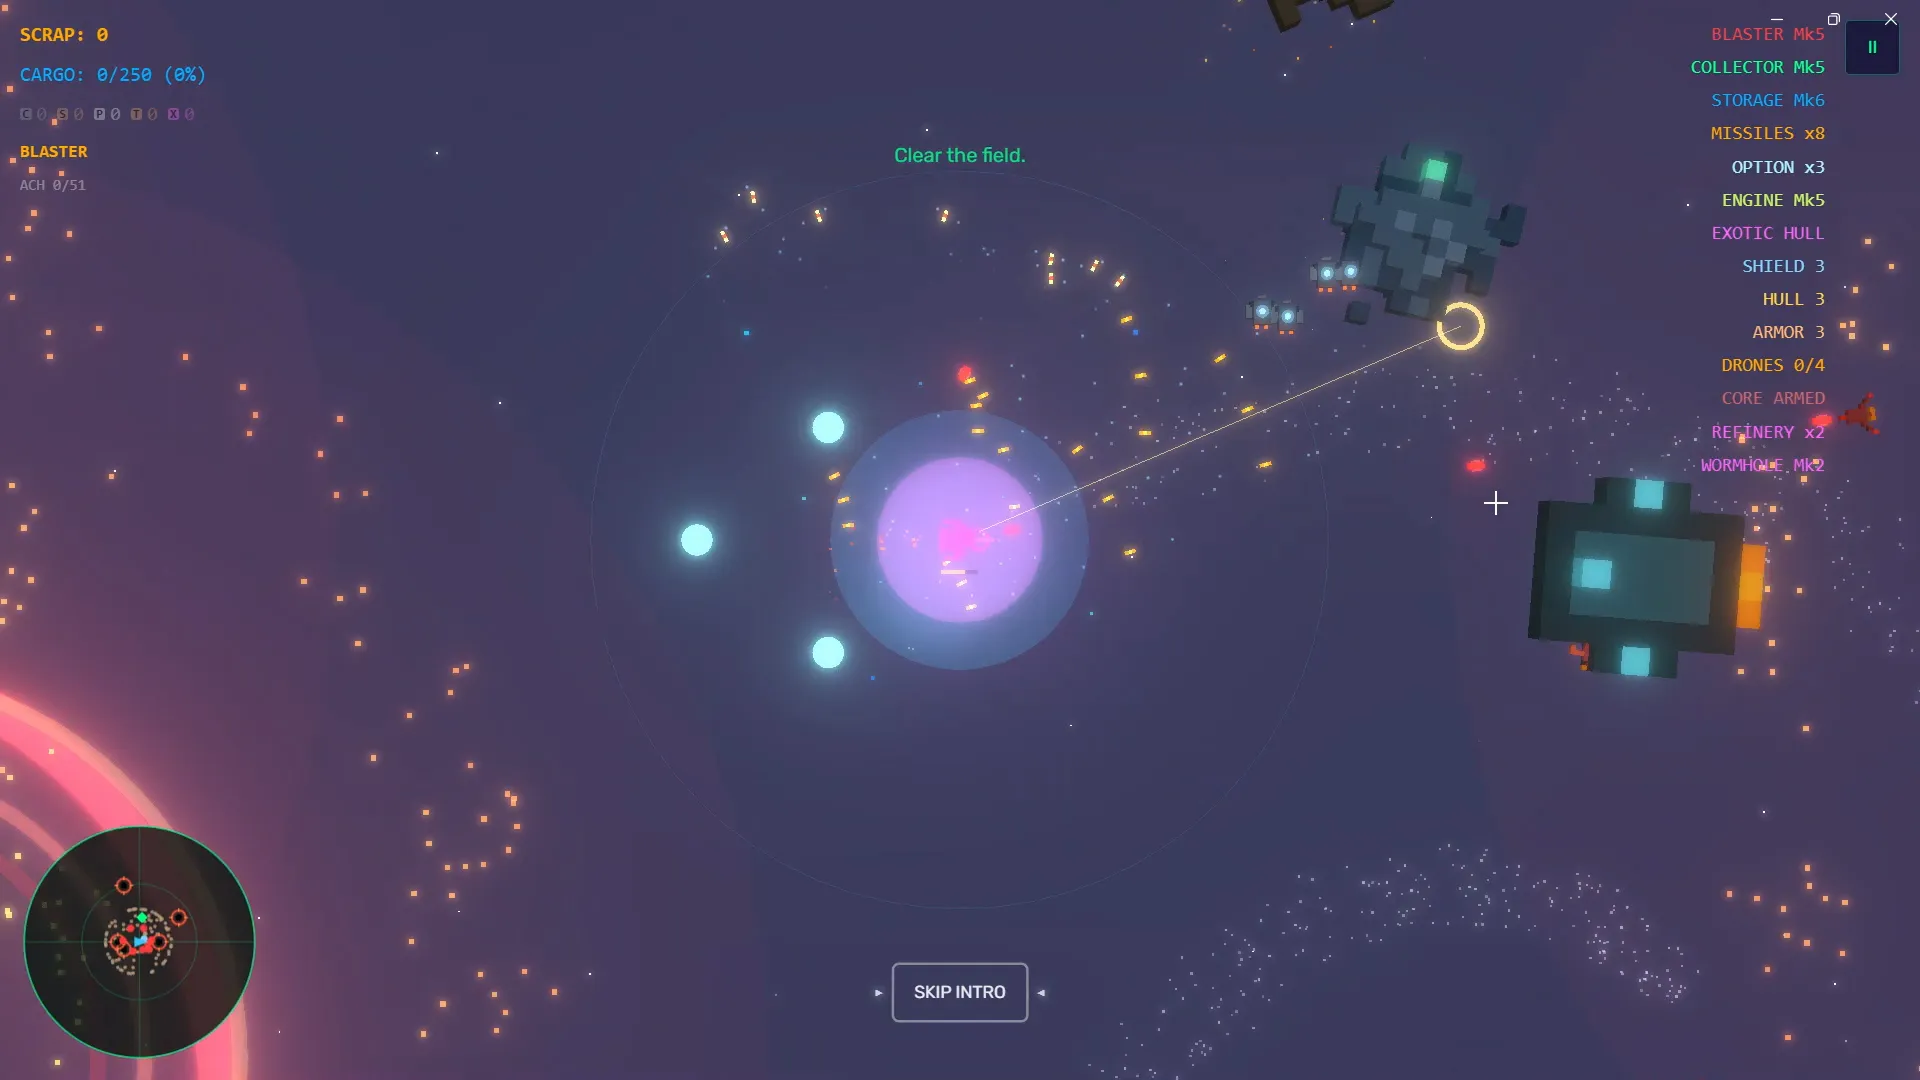
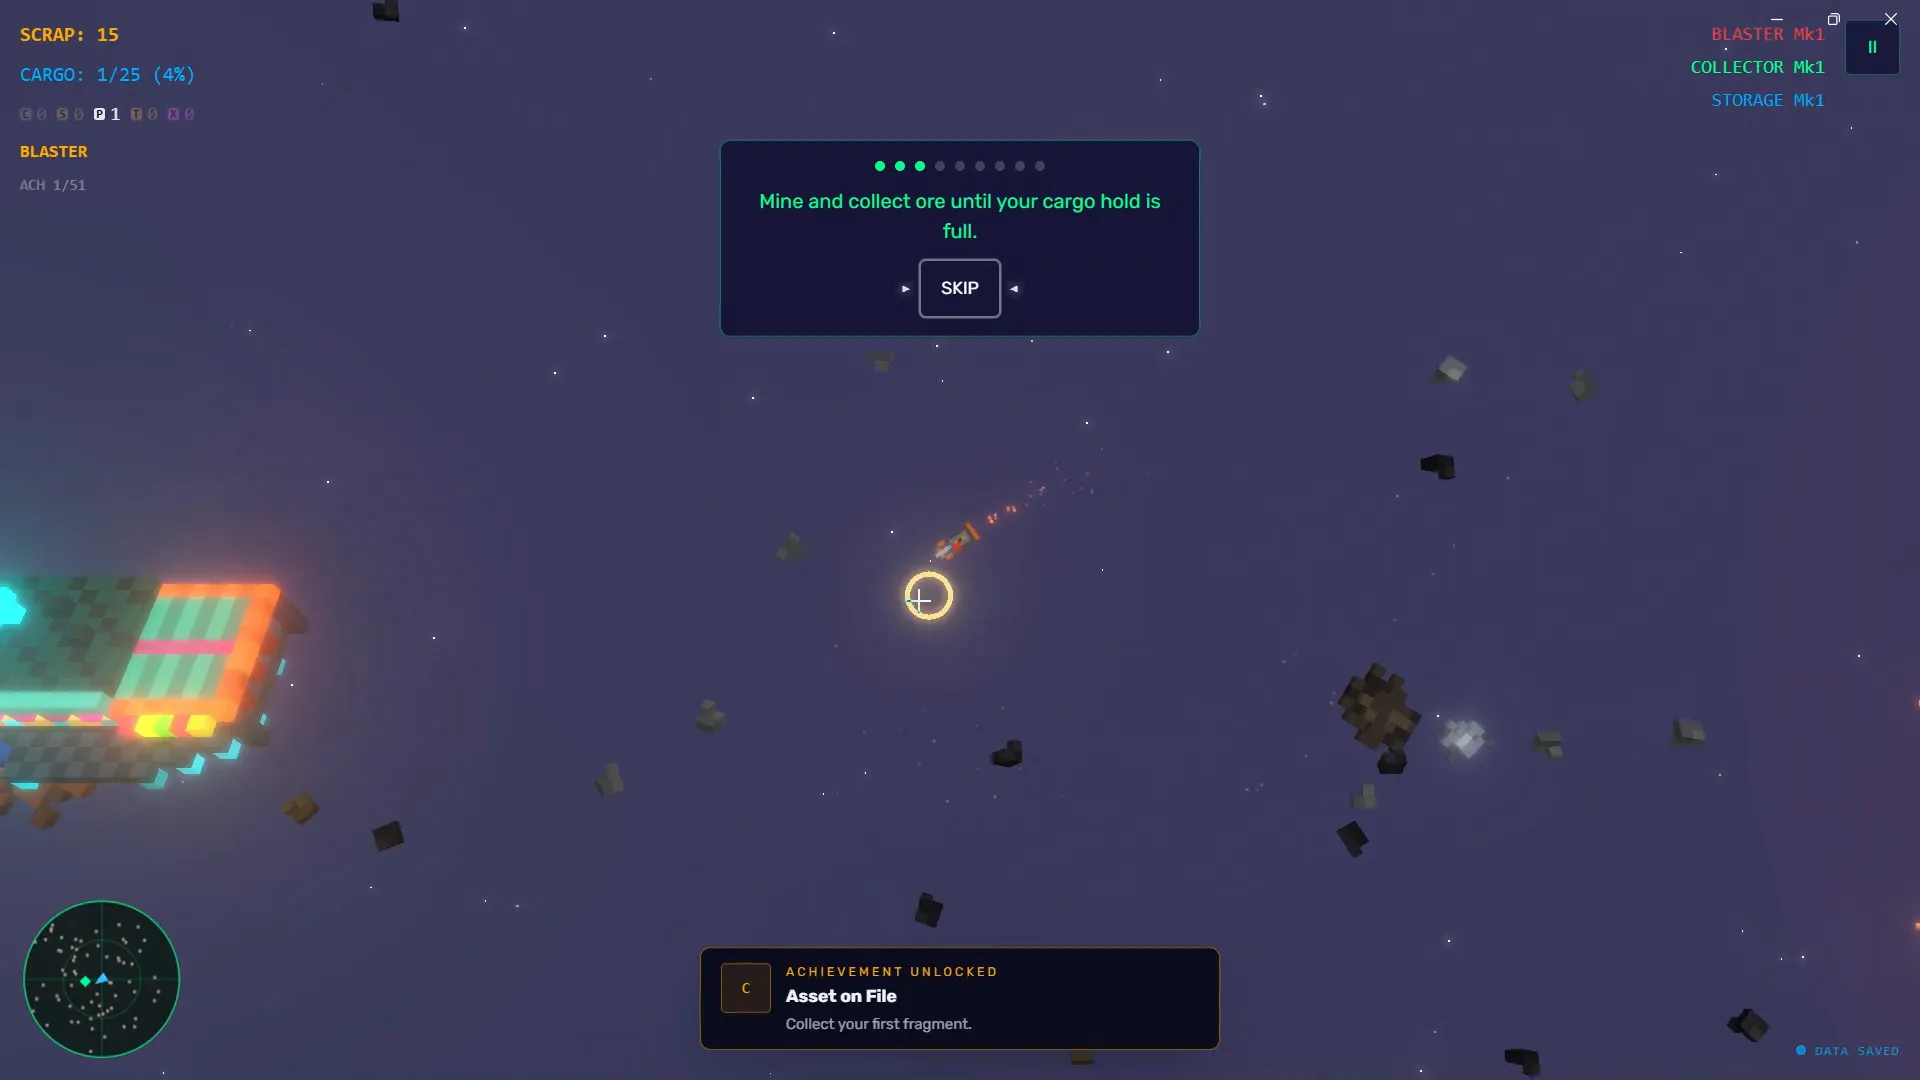
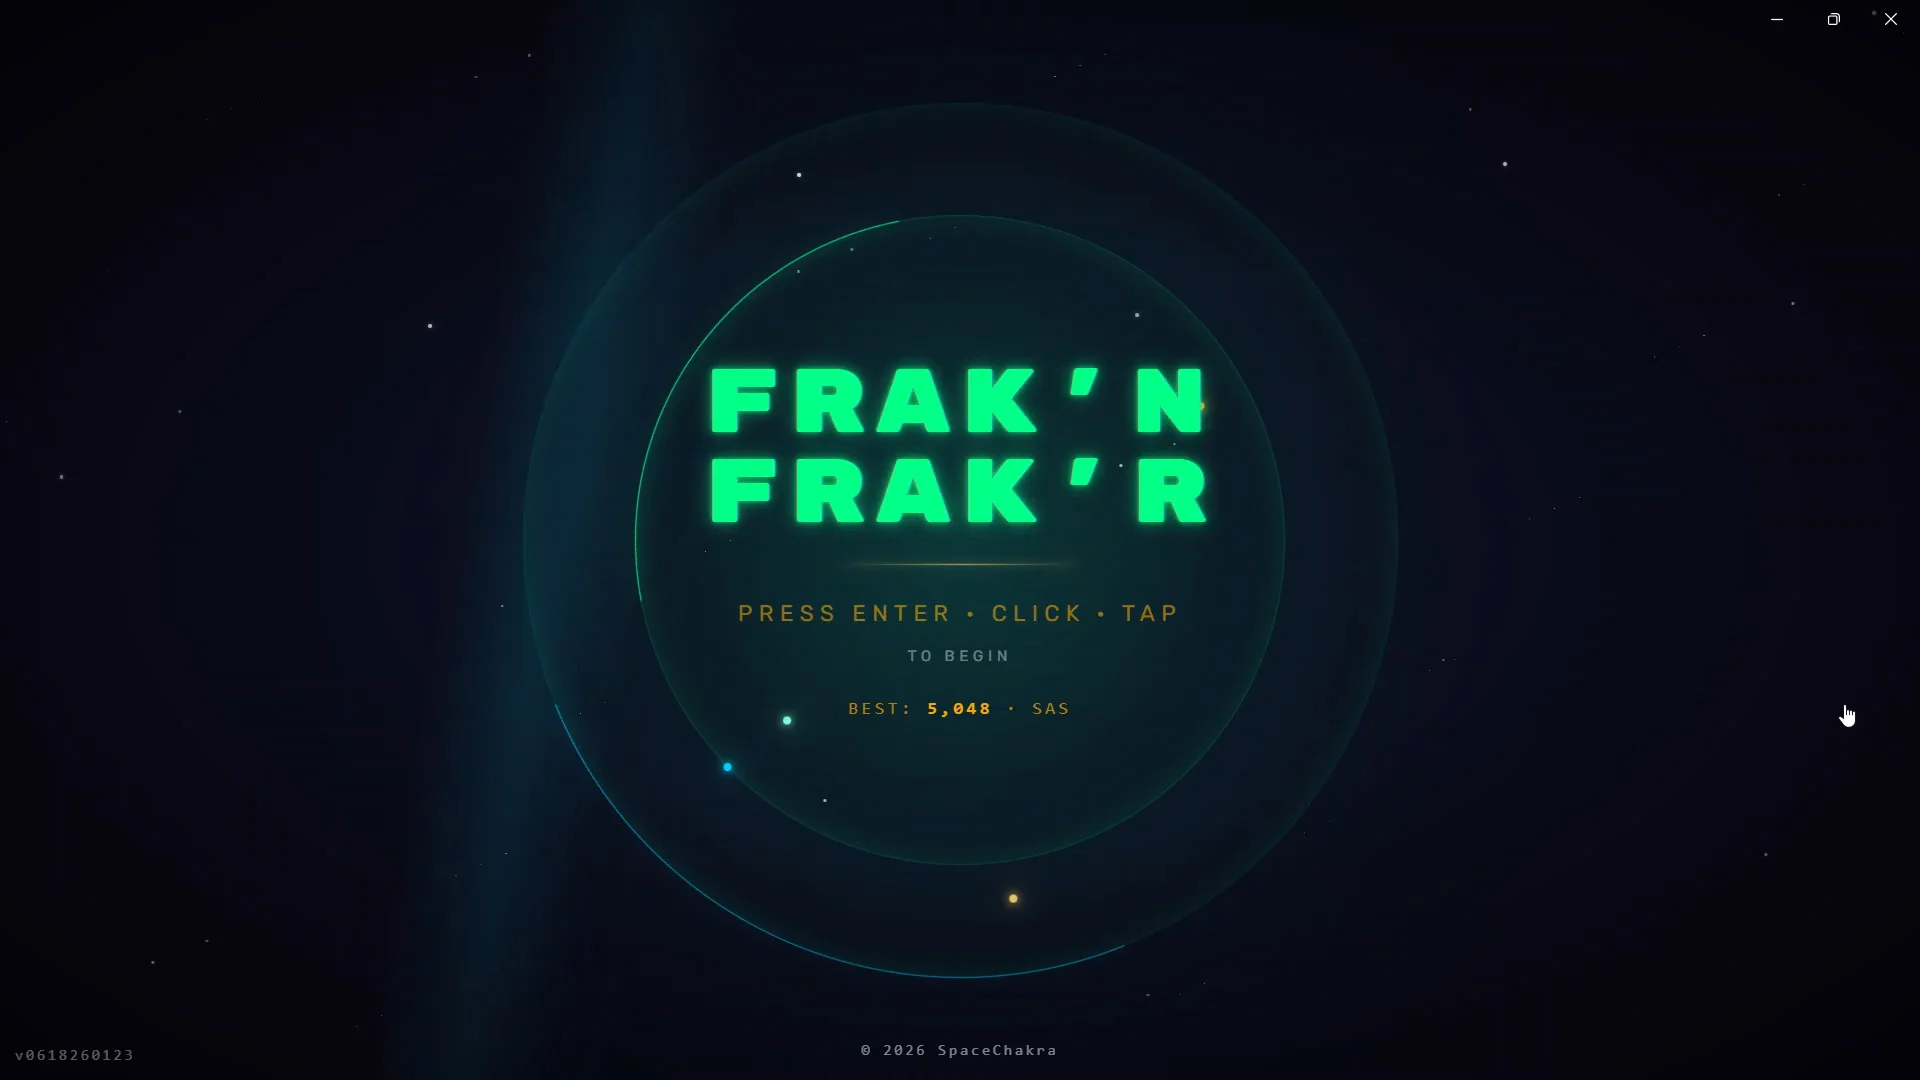
Frak'n Frak'r is a browser-based voxel arcade mining shooter by Santiago Salvador, free on itch.io. You pilot a mining rig through a contested asteroid belt — restricted territory, and you're not licensed to be here. Everything in the sector wants you dead. The rocks yield scrap. The scrap buys upgrades. The upgrades let you crack rocks faster and survive longer. And every rock you crack fills the Ledger, which makes the sector hunt you harder. Eventually the Arbiter comes to collect.
This is the central tension of the game: your success is your difficulty curve. There is no campaign, no ending, no level select. There is only the run — survive, bank scrap, die, climb the leaderboard. Every decision is a risk-reward calculation between greed and survival.
Built with Three.js, everything in the game is destructible voxels. Asteroids fracture into particles when you crack them. Enemy ships explode into chunks. The feedback is immediate and every moment is loud.
| Stat | Value |
|---|---|
| Developer | Santiago Salvador (spacechakra) |
| Release | June 2026 (itch.io, HTML5) |
| Price | Free |
| Platform | Any browser (Chrome, Firefox, Edge); gamepad/touch supported |
| Genre | Voxel arcade shooter, mining roguelite |
| Tags | Arcade, Endless, Mining, Roguelite, Space, Singleplayer |
| Engine | Three.js |
| Input | Keyboard+mouse, gamepad, touch |
| Status | In development, updated frequently (last update Aug 2026) |
Who this guide is for: Players who've survived their first Arbiter encounter and want to push deep into high-Ledger territory. This guide covers the Ledger economy in detail, the tool matchups, the full upgrade tree with a tier list, three build archetypes with sample purchase orders, every Arbiter pattern and its counter, and the session-level habits that separate top leaderboard scores from average runs.
Getting Started — First 30 Minutes
Before your first real run
1. Do a recon run on purpose. Your first run should be pure observation. Mine some rocks, watch how the tools behave, let the Arbiter kill you. Learn the feel of movement and the pace of the Ledger before you care about score.
2. Pick your input. Keyboard+mouse, gamepad, and touch all work. The twin-stick gamepad layout is the strongest: left stick for movement, right stick for aim, independent control that keyboard aiming can't match. If you have a controller, use it from the start.
3. Memorize the tool-asteroid matchups immediately. This is the single most important skill in the game. Using the wrong tool on a rock costs you 3–5 seconds per rock — time the enemy patrols use to find you.
The tool-asteroid matchup table
| Asteroid | Appearance | Weakness | Scrap value | Correct tool time | Wrong tool time |
|---|---|---|---|---|---|
| Standard Rock | Gray, common | Any tool | Low (1–2) | ~1s | ~1s |
| Crystal | Blue, translucent | Lazer | Medium (3–4) | ~0.5s | 3–4s |
| Obsidian | Black, jagged | Ripple | Medium-High (4–5) | ~0.5s | 4–5s |
| Volcanic | Orange, glowing | Blaster | High (5–6) | ~0.5s | 3–4s |
| Ice | White, shimmering | Lazer | Medium (3) | ~0.5s | 3s |
| Metal | Silver, metallic | Blaster | High (5–6) | ~0.5s | 4–5s |
Cheat sheet: Blaster = Volcanic + Metal. Lazer = Crystal + Ice. Ripple = Obsidian. Standard Rocks take any tool.
Force-fire: Hold left-click (or RT on gamepad) to fire at your exact crosshair instead of letting auto-targeting pick the nearest target. Force-fire lets you pre-aim at the next rock while the current one is still cracking — a habit that quietly doubles your scrap-per-minute.
Beginner mistakes that end runs
| Mistake | Why it kills | Fix |
|---|---|---|
| Wrong tool on rocks | 3–5s lost per rock; enemy swarm while you're stationary | Memorize the matchup table |
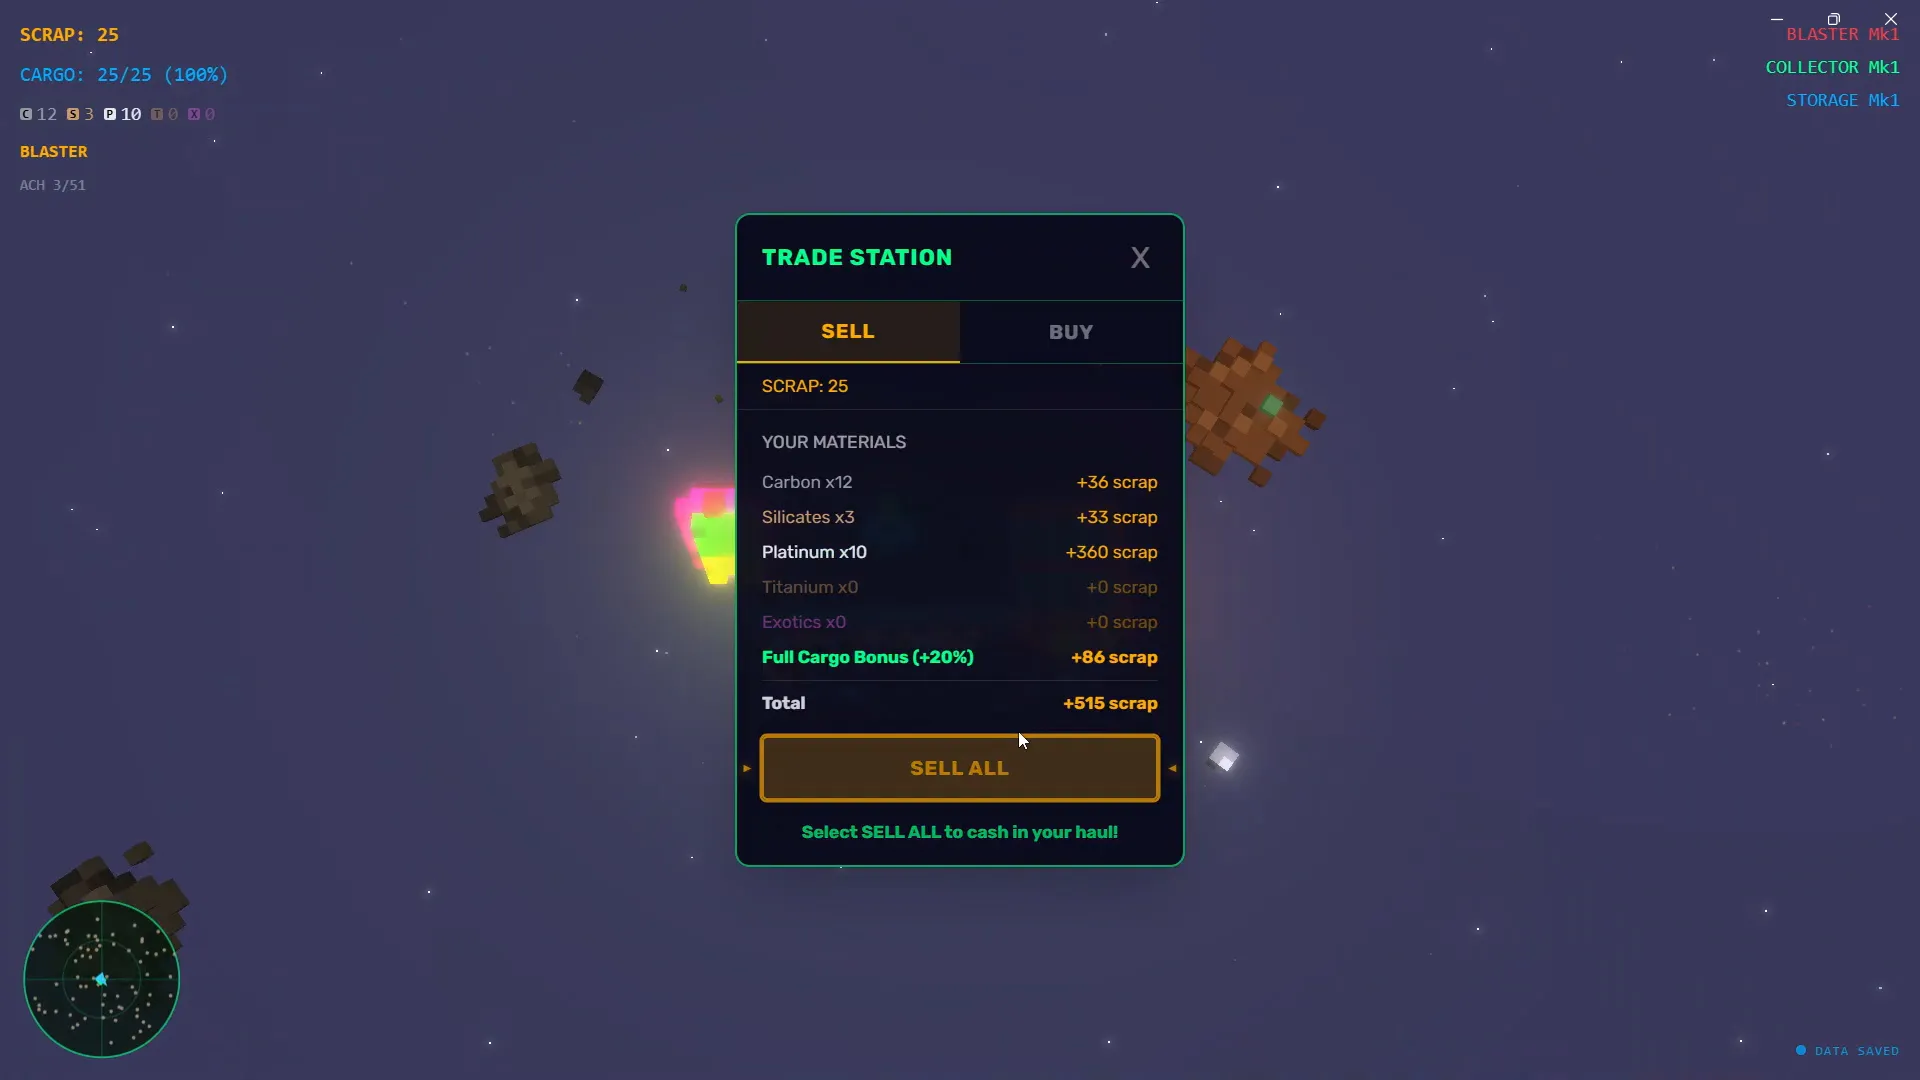
| Hoarding scrap | The Ledger rises from scrap collected, not scrap spent. Unspent scrap = harder enemies + no upgrades | Spend between every mining phase |
| Mining every rock | Ledger fills fast, Arbiter spawns early and under-upgraded | Skip Standard Rocks; prioritize Volcanic, Metal, Crystal |
| Ignoring boost | Default movement is slow; you can't dodge or escape | Unlock boost at the station in visit 1 or 2; tap Shift constantly |
| Flying straight lines | Enemy projectiles track your movement; a straight line is an easy hit | Change direction every 1–2 seconds |
Core Mechanics Explained
The Ledger — dynamic difficulty
The Ledger is a meter that fills as you collect scrap. Each time it fills a segment, threat level increases. It never goes down. Difficulty only escalates.
| Ledger level | Enemy activity | Arbiter status |
|---|---|---|
| 1–2 | Sparse patrols, slow asteroid regen | Not active |
| 3–4 | More patrols, fast regen, small fighters | Preparing |
| 5–6 | Heavy patrols, shielded elites | Approaching |
| 7+ | Maximum intensity | Spawns and pursues |
The math that matters: scrap collected from the moment you crack a rock enters the Ledger, whether or not you survive to spend it. This is why spending early is non-negotiable. Every scrap you die holding is scrap that made the game harder and then vanished.
The three tools
| Tool | Key | Behavior | Best against | Special property |
|---|---|---|---|---|
| Blaster | 1 | Standard projectile | Volcanic, Metal | Fast fire rate, long range, reliable against everything |
| Lazer | 2 | Continuous beam | Crystal, Ice | Sustained DPS, heats up with extended use, melts crystal fastest |
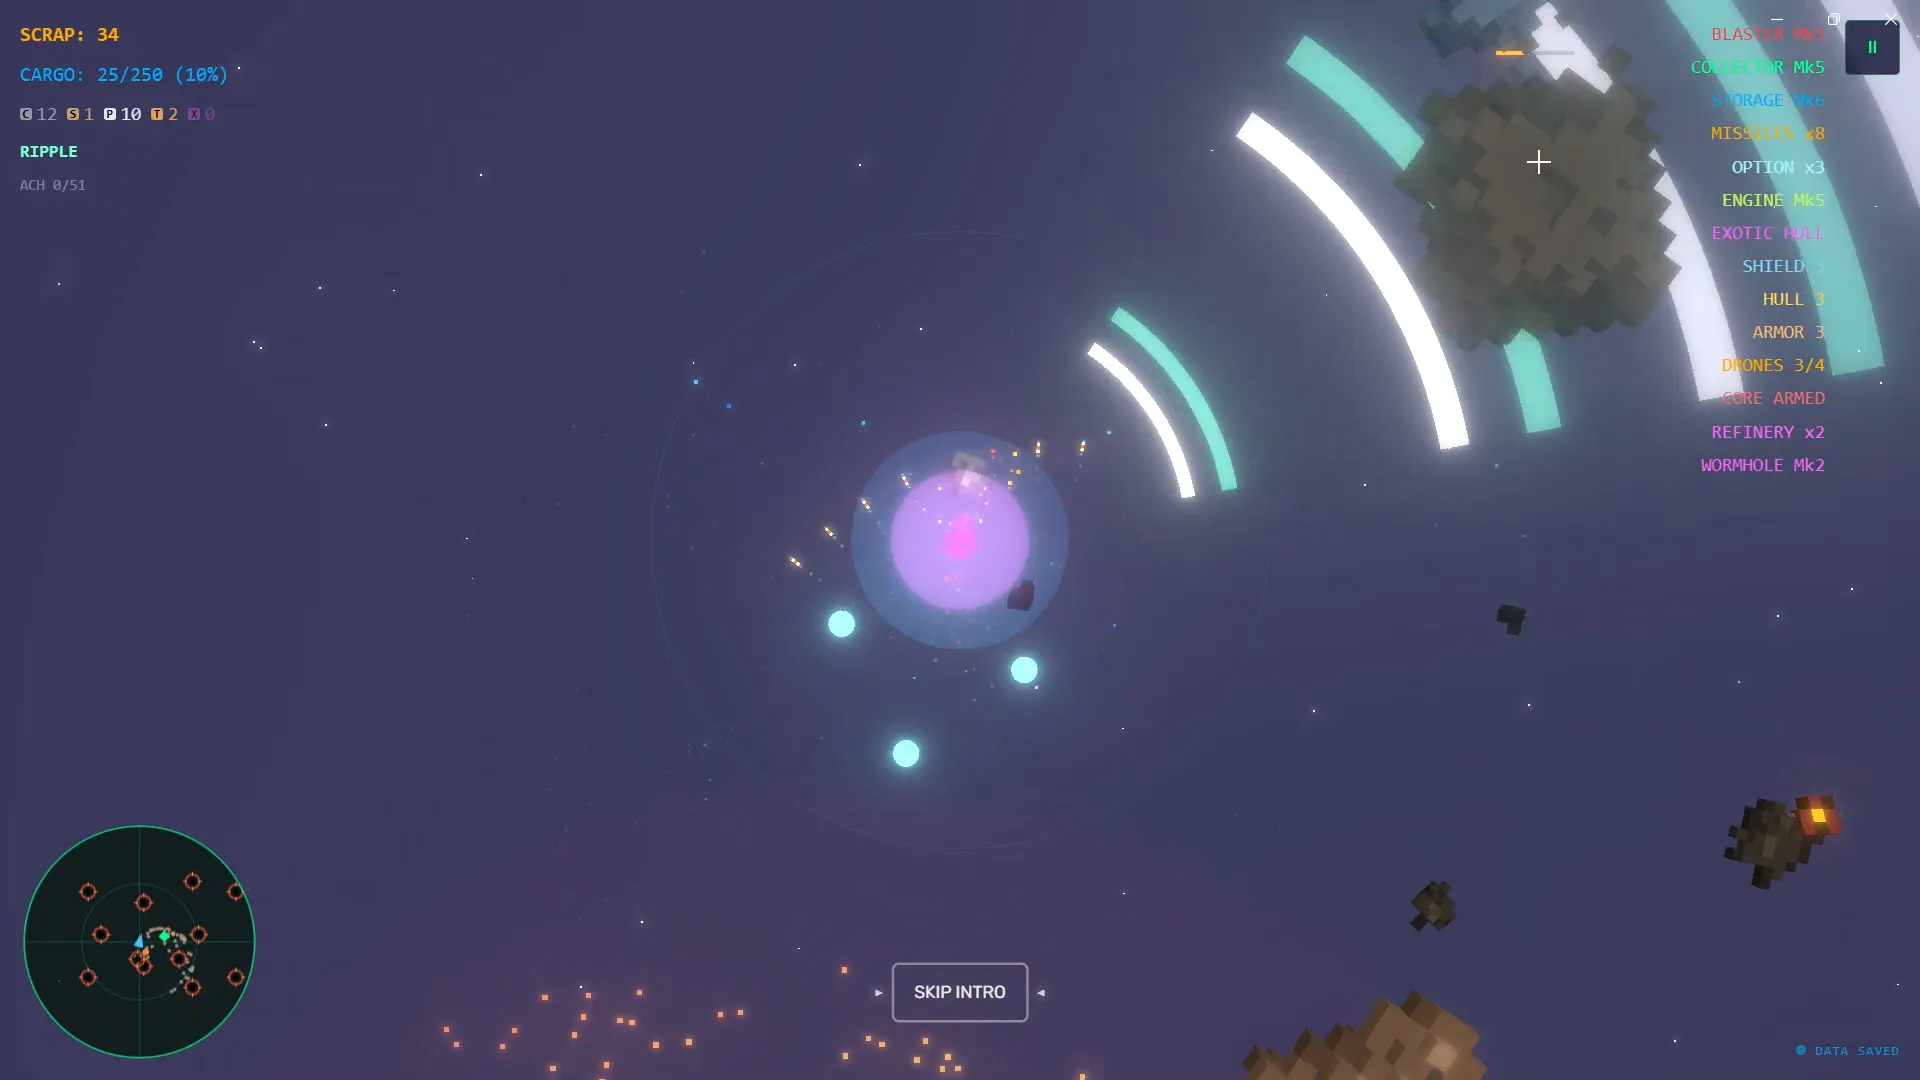
| Ripple | 3 | Shockwave blast | Obsidian, clustered rocks | Wide AoE, shatters multiple targets, clears swarms |
Auto-fire targets the nearest valid rock or enemy. Force-fire overrides it. Cycle with Q or 1/2/3. Practicing the swap until it's under 0.3 seconds is the mechanical skill ceiling of the game — tool swapping is free and instant, so every fraction of a second you save on the swap is pure profit.
The Smart Bomb
The Smart Bomb is a passive survival item: when a lethal hit lands and the bomb is charged, it auto-detonates — saving your hull and clearing the screen of enemies and projectiles.
- No button to press. It fires automatically
- Cooldown after each use (visible on the UI)
- Extra charges purchasable at the station
- There's a ~0.3s delay between the hit and the detonation. Follow-up damage in that window can still kill you
- If you take a lethal hit while the bomb is on cooldown, you die
The upgrade tree
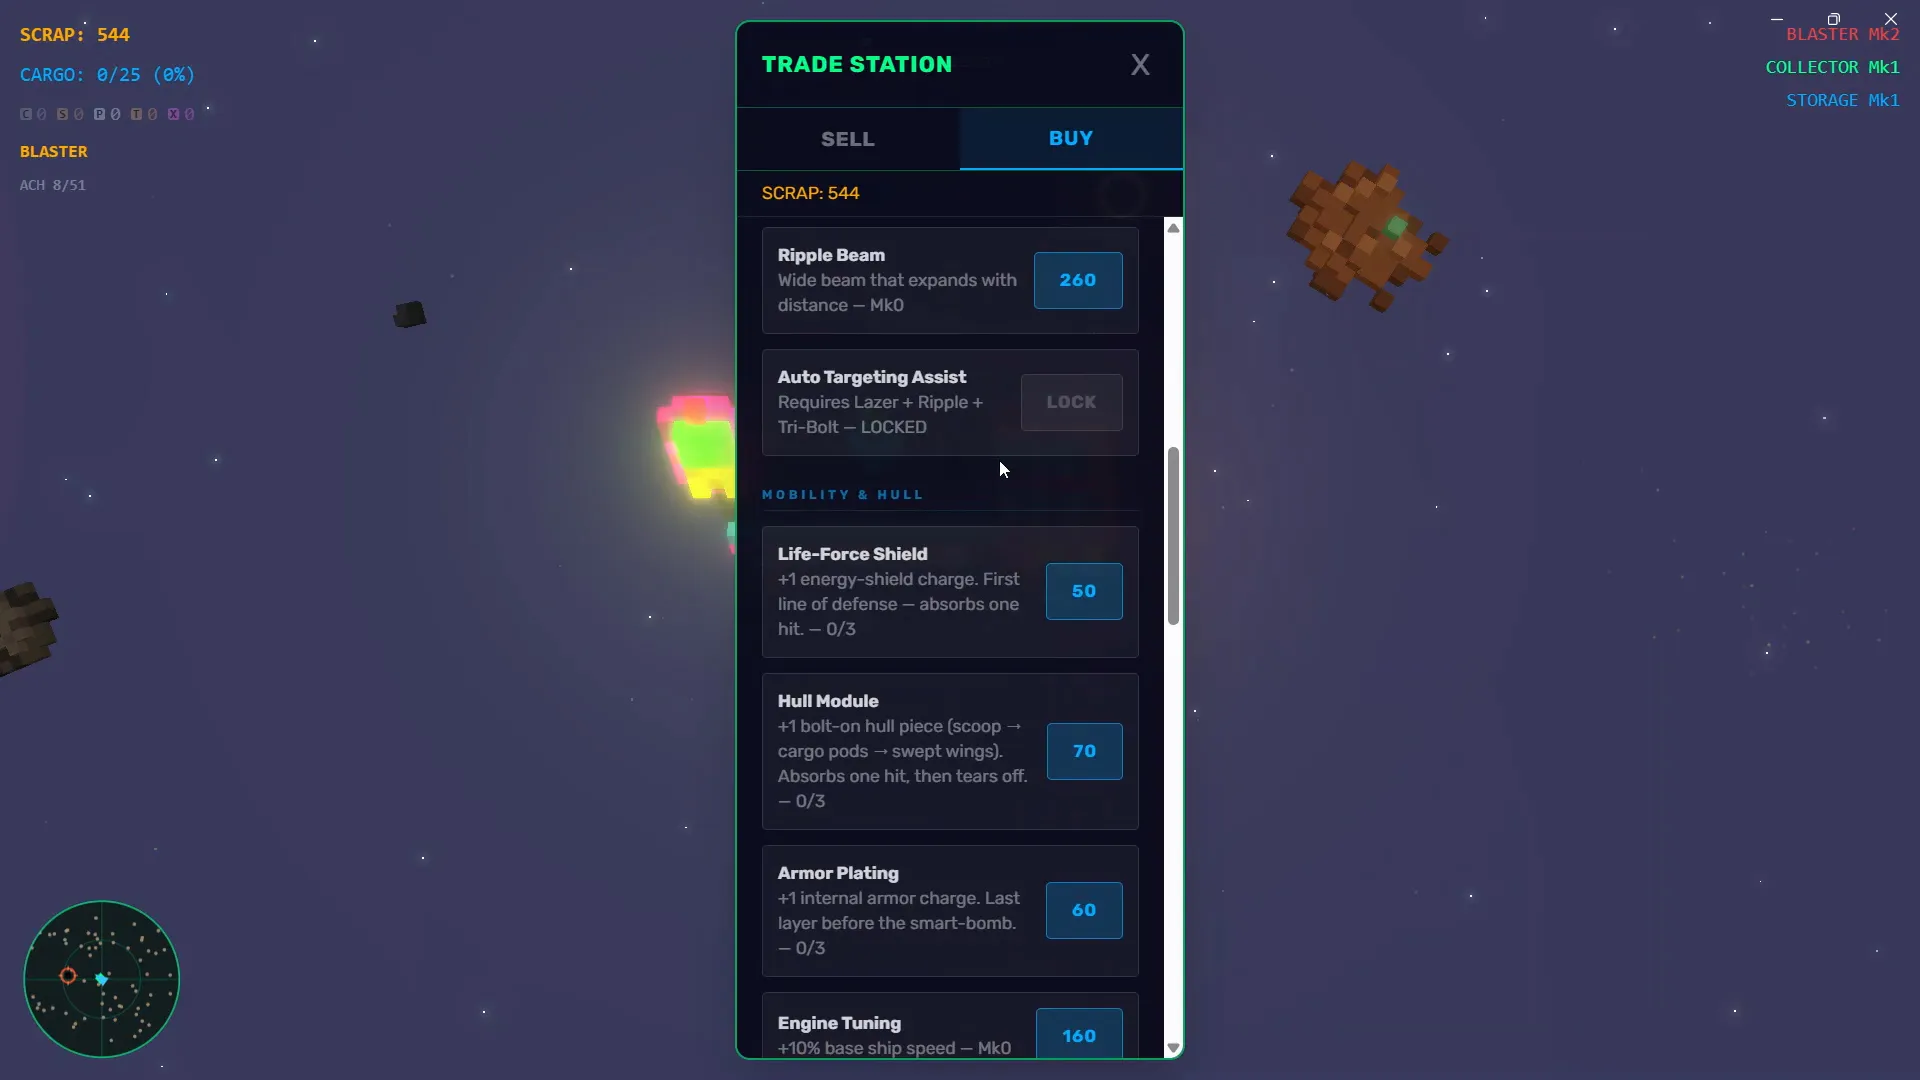
Spend scrap at the station between mining phases. Five categories, rising costs per purchase in each category — the tree forces specialization.
| Category | What it does | Best for |
|---|---|---|
| Drones | Autonomous helpers — mine scrap or fight enemies | Passive income, distraction, crowd control |
| Shields | Absorb one hit, recharge slowly | Beginners, Arbiter survival |
| Armor | Permanent health (more hits before the Smart Bomb matters) | Late-game survival |
| Smart Bombs | Extra charges, reduced cooldown | Pure survival |
| Options | Auto-firing weapon pods, fire in parallel with your tool | Maximum DPS, aggressive play |
| Tool Upgrades | Damage, fire rate, range per tool | Maximum scrap income |
Options pods are the weapon-pod upgrades from the store description: auxiliary cannons that fire automatically at nearby targets in parallel with your tool. They handle patrols while you mine.
Drone quantity beats drone tier. Two basic mining drones generate more scrap than one upgraded drone and cost less total. Buy quantity first until you own 3–4 drones.
Progression Strategy
Upgrade priority by Ledger phase
| Ledger | Scrap target | Recommended purchases | Why |
|---|---|---|---|
| 1–2 | 50–80 | 1 drone + 1 tool upgrade | Drones = passive income; tool upgrade = faster mining = less exposure |
| 3–4 | 100–150 | Shield + second tool upgrade | Enemies are real now; the shield saves your first mistake |
| 5–6 | 200+ | Armor + bomb charge + 1 option pod | Arbiter incoming; you need stacked survival layers and extra DPS |
| 7+ | Everything | Armor, shields, bomb charges, more options | Survival mode; mining is secondary |
The upgrade tier list
Ranked by value per scrap spent across an average run:
- Boost unlock (S tier) — not an upgrade branch but the single most impactful early purchase. It converts your ship from a target into a dodger. Buy it first or second.
- First drone (S tier) — passive income that scales across the whole run.
- Tool upgrade for your primary tool (A tier) — mining faster means less time stationary and more scrap per minute.
- Shield (A tier) — one free mistake per recharge cycle. Cheap insurance.
- Options pods (B tier) — strong passive DPS but expensive early; buy when the Ledger is already at 3–4.
- Armor (B tier) — valuable at Ledger 5+, wasted early when an enemy volley can still shred you.
- Smart bomb charges (B tier) — a second chance, but costs scrap that could buy offense. Buy one charge before the Arbiter, more only in deep survival.
- Extra drones beyond 4 (C tier) — diminishing returns; the field gets crowded and scrap income plateaus.
The three build archetypes
Miner Build — Drones + Tool Upgrades
Order: Boost → Drone → Drone → Tool(Blaster) → Drone → Drone → Tool(Lazer) → Shield
Goal:  outpace the Ledger with volume
Risk:   low survivability when the bombs run out
Playstyle: crack fast, bank scrap, avoid fights, out-earn the escalation
Tank Build — Armor + Shields + Bomb charges
Order: Boost → Shield → Armor → Bomb charge → Shield lv2 → Armor lv2 → Bomb lv2
Goal:  survive the Arbiter for as long as possible
Risk:   slow scrap income; defense spends money that never earns
Playstyle: dodge first, mine opportunistically, outlast everything
Gunner Build — Options + Tool Upgrades
Order: Boost → Tool(Blaster) → Option → Option → Tool(Ripple) → Option → Shield
Goal:  aggressive clearing; turrets handle patrols while you mine
Risk:   glass cannon; one mistake and you're dead
Playstyle: kill fast, mine fast, win through offensive pressure
Balanced Build — one of everything
Order: Boost → Drone → Tool → Shield → Option → Armor → Bomb charge
Goal:  consistent performance with no glaring weakness
Risk:   no ceiling; can't compete with specialized builds on the leaderboard
Recommended: Tank for learning Arbiter patterns, Miner for leaderboard chasing, Gunner when you know enemy behavior cold. Balanced for your first 3–5 runs.
Step-by-Step Strategy
Sequence 1: First five minutes (Ledger 1–2)
- Spawn and immediately identify the nearest high-value rocks — orange Volcanic, silver Metal, or blue Crystal.
- Switch to the correct tool before you reach them. Switching at the rock wastes the time enemies use to find you.
- Crack 3–4 high-value rocks. Leave Standard Rocks alone.
- When the first patrol appears (around 30–45s in), check your scrap: 30+? Boost to the station.
- Buy the boost unlock if you haven't, then a drone (50+) or a tool upgrade (30–50).
- Return to the field and repeat.
Sequence 2: Surviving the first elite patrol (Ledger 3–4)
- Shielded elites glow with a visible energy bubble and take 2–3 hits instead of 1.
- Don't duel elites head-on. Use Ripple's AoE to damage them while cracking surrounding rocks.
- Kite elites into your drone's range — drones distract and chip.
- If your shield breaks, retreat. Boost to the station and let it recharge.
- Buy another upgrade while there. Always spend before returning.
Sequence 3: The Arbiter arrives (Ledger 7+)
The Arbiter has three patterns:
Bullet-hell spiral — expanding rings of projectiles.
- Counter: stay near the center of the spiral where the gaps are widest.
- Circle-strafe at medium range. Never boost through the spiral.
Homing missiles — red-tinted, track with increasing accuracy.
- Counter: boost perpendicular to the missile's approach; they can't turn sharply.
- Lead missiles through asteroid clusters; the rocks absorb the explosion.
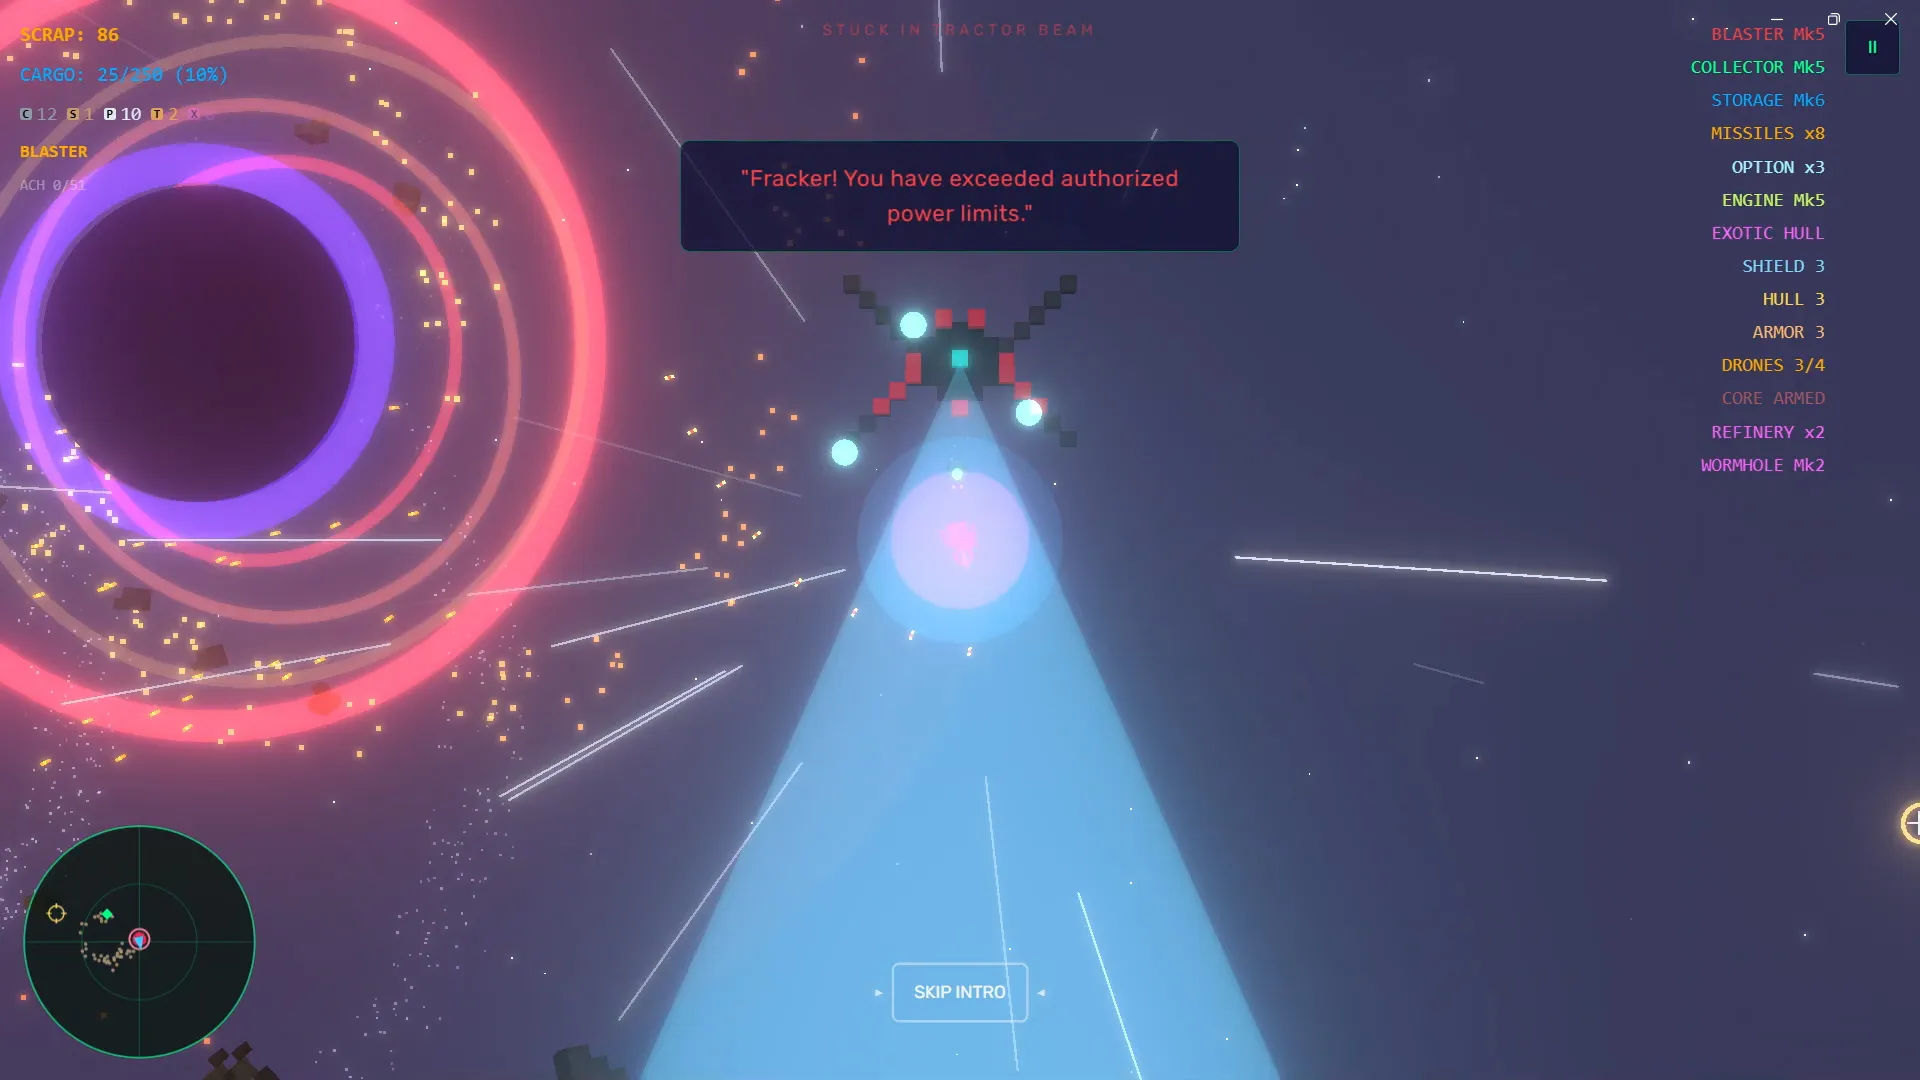
Tractor beam — a blue beam pulls you toward the Arbiter.
- Counter: boost away. On cooldown? Fire at the Arbiter to trigger its flinch and break the lock.
- Audio cue: the beam hums at rising pitch. Hear it, look for the blue beam, boost before it locks.
- Always hold one boost charge during Arbiter phases.
Sequence 4: Maximizing scrap per minute
- Survey the field on entry. Mark the 3 highest-value rocks.
- Crack in value order: Volcanic/Metal first, then Crystal/Obsidian. Skip Standard.
- Pre-select the next rock's tool while the current one cracks (force-fire + Q).
- Boost between rocks, not during mining — mining locks you in place.
- Return to the station when your cargo is full OR enemy density hits 4+ ships.
- Cycle targets: 45–60s per mining phase at Ledger 1–4, 60–90s at Ledger 5–6.
Sequence 5: Deep run survival (Ledger 10+)
- The Arbiter is permanent now. You're in survival mode.
- Stop mining. Every rock you crack adds to the Ledger and you no longer need scrap.
- Movement is your primary skill. Dedicate yourself to dodging.
- Let the drones collect. Don't chase rocks.
- Use the station as a shield-recharge safe zone.
- Buy ONLY defense: armor and bomb charges extend survival.
- Every 10 seconds at this level is another 50–100 leaderboard points.
Advanced Tips
- Boost management is the core skill. It's your only speed increase, with a short cooldown. Use it to travel, dodge, and break the tractor beam. Tap it — never hold it.
- The Smart Bomb window. The 0.3s delay between lethal hit and detonation can still kill you. Keep moving when the bomb fires.
- Ripple clusters. Ripple shatters any asteroid in its AoE, not just Obsidian. Five Standard Rocks around you? One Ripple blast clears them all — emergency scrap on demand.
- Force-fire discipline. Auto-fire is convenient; force-fire is control. Use it for distant rocks and pre-aiming.
- The station is not safe after Ledger 7. Arbiter homing missiles still reach near-station airspace. Buy, boost, leave.
- Options pods stack. Three pods create meaningful passive DPS that clears patrols without your attention.
- Audio is a pre-warning system. The tractor beam hums; enemy spawns have signatures. Play with sound on — you get a second or two before the visuals confirm.
- Swap speedrunning. Practice 1→2→3 and Q cycles until swapping is muscle memory. Pre-select on field entry. Sub-0.3s swaps separate good runs from great ones.
- The game tracks your local best. Even without the online board, the browser stores your personal record. Beat it every session.
- Touch controls are genuinely playable on a tablet — left thumb moves, right thumb aims and fires.
- Watch your cooldown marker before re-engaging after a bomb. The window after the Smart Bomb fires is your most vulnerable moment. Disengage, let the cooldown tick, then re-enter.
FAQ / Common Mistakes
Q: Is Frak'n Frak'r free? A: Yes. Free browser game on itch.io. No download needed.
Q: Can I play offline? A: No. It needs an internet connection to load.
Q: Does it support gamepads? A: Full support — Xbox, DualShock, generic controllers. Twin-stick layout is the best way to play.
Q: What is the Ledger? A: The difficulty meter that fills as you collect scrap. Higher levels mean harder enemies. It never goes down.
Q: How do I beat the Arbiter? A: You don't beat it. You outlast it. Stack shields and armor, let drones distract, dodge everything, and it despawns temporarily. It always comes back.
Q: Is there an ending? A: No. It's a high-score chaser. Your run ends when you're destroyed.
Common Mistake #1 — Mining everything. Standard Rocks are a trap: minimal scrap, full Ledger increase. Skip them.
Common Mistake #2 — Waiting too long between station visits. Visit every 45–90 seconds. Scrap in the field doesn't help you survive.
Common Mistake #3 — Lazy tool switching. One second pressing 1/2/3 or Q saves 3–5 seconds of mining. Tool switching is free — use it constantly.
Common Mistake #4 — Fighting the Arbiter head-on. You can't out-damage it. Survival beats victory. Dodge first, shoot second.
Common Mistake #5 — Forgetting Smart Bomb cooldown. After a detonation you're vulnerable. Avoid contact until the cooldown clears.
Common Mistake #6 — Not unlocking boost. It's gated behind a station purchase. New players often don't notice and play the whole run at base speed. Unlock it first or second visit — it's the most impactful early upgrade.
Enemy Catalogue & Threat Assessment
Knowing what the sector throws at you is half the survival equation. Threat levels scale with the Ledger.
| Enemy | Ledger threshold | Behavior | Threat rating | Counter |
|---|---|---|---|---|
| Scout | 1+ | Slow approach, single slow shot | Low | Blaster one-shot; don't stop mining |
| Fighter | 2+ | Linear patrol, two-shot burst | Low-Mid | Kill with auto-fire while cracking rocks |
| Interceptor | 3+ | Faster, tracks your heading | Medium | Boost to change vector; never fly straight |
| Shielded Elite | 4+ | Energy bubble, 2–3 hits, burst fire | High | Ripple AoE; kite into drones; don't duel |
| Bomber | 5+ | Drops area denial mines | High | Don't chase; let it pass, clear mines with Ripple |
| Sniper | 6+ | Long-range charged beam, telegraphed | High | The beam has a windup — boost perpendicular at the flash |
| Arbiter | 7+ | Spiral, homing missiles, tractor beam | Extreme | Full Sequence 3 protocol |
The sniper is the silent run-ender. Its charged beam looks like ambient background at a glance. Learn the flash timing: the bolt charges for about a second, glows, then fires along your current heading. The moment you see the glow, boost perpendicular.
Mines linger. Bomber mines don't despawn on a timer in the early Ledger ranges — they sit until something triggers them. If you see a cluster, don't boost through it. Ripple-clear it from range.
The Station Economy — Spending Rules
The station is your only shop, repair bay, and safe zone. Three rules govern it:
Rule 1: Always spend before leaving. Scrap held in the field is dead weight — the Ledger already counted it. Convert it into something that survives.
Rule 2: Spend in the order that buys survivability first. Boost, then drones, then tool upgrades, then shield. A new player's instinct is to buy the shiny weapon pod; the correct purchase is the one that keeps you alive to use it.
Rule 3: Buy the boost in visit 1 or 2, no exceptions. It's the only movement multiplier in the game. Every dodge, escape, and tractor-beam break depends on it. It costs scrap you'd otherwise spend on a drone — buy it anyway.
The 45–90 second visit cadence: Return to the station every 45–90 seconds during Ledger 1–4. The station is a refresh: shield recharge, scrap spending, and a moment to breathe. At Ledger 5+ the cadence tightens to every shield-break.
Scoring & the Leaderboard
There's no ending, so the score IS the goal. What feeds it:
- Scrap banked (the dominant contributor)
- Rocks cracked (volume-based)
- Enemies destroyed (minor but additive)
- Survival time at high Ledger levels (multiplied by difficulty)
- Boss damage dealt to the Arbiter (bonus per pattern survived)
Score strategy insight: the best scores come from long deep runs, not fast early ones. A 20-minute run at Ledger 8–10 with maxed defense outscores a 5-minute burst that cracks 40 rocks. The multiplier at high Ledger levels rewards time over velocity. So your endgame is always: survive, then survive more. The local leaderboard stores your personal best in the browser — the online board compares runs across players.
When to push vs when to play safe: in the first 60 seconds of any run, greed is correct — the Ledger is low and mistakes are cheap. From Ledger 4 on, flip to discipline: take the safe route, spend early, and treat every mining phase as an optional luxury.
Session Strategy — Planning a Leaderboard Day
A 30-minute session structured for score improvement:
- Run 1 (warm-up): Play normally. Note where you died and why. Watch for your recurring mistake — usually mining greed or missing the sniper.
- Run 2 (execution): Apply the fix from run 1. Focus on Ledger-appropriate spending and the 45–90s station cadence.
- Run 3 (push): Full Miner build, aggressive early, disciplined late. This is your score run.
- 10-minute break. Rest your eyes — the voxel chaos and bullet density cause real fatigue.
- Run 4 (deep survival): Tank build, targeting Ledger 10+. Every 10 seconds at this level adds serious points.
Fatigue is a real factor. Reaction time measurably drops after 20 minutes of continuous bullet-hell. The break between runs 3 and 4 isn't a nicety — it's part of the score.
Performance & Browser Settings
- The game is HTML5/Three.js — close every other heavy tab before running.
- If frames drop during bullet-hell spirals, lower the browser window size; canvas resolution scales with it.
- Chrome and Firefox both run it well. Hardware acceleration must be enabled in browser settings.
- A wired gamepad reduces input latency vs Bluetooth, which matters at Ledger 7+.
- The game loads in seconds from itch.io; no install, no account required.
Comparison With Similar Games
| Game | Genre | How Frak'n Frak'r differs |
|---|---|---|
| Minecraft (mining) | Sandbox | No building; mining is combat-driven and scored, not creative |
| Motherload | 2D mining | 2D vs 3D voxel; Frak'n Frak'r is arcade-speed and combat-heavy |
| Asteroids (classic) | Arcade | One-hit deaths shared, but Frak'n Frak'r adds an economy, upgrades, and a boss |
| Enter the Gungeon / roguelite shooters | Roguelite | Runs are shorter, no meta-progression between runs — only your skill and the leaderboard |
| Vampire Survivors-likes | Horde survivor | Same escalation tension, but active aim + mining replaces auto-fire builds |
The distinctive mix: arcade one-hit deaths + roguelite upgrade economy + endless leaderboard chase, all packed into a browser tab. There's no run meta-progression — no permanent unlocks. The only thing that carries between runs is you.
Update History & Roadmap
The game is in active development. The itch.io page was updated as recently as August 2026, and the current tag set (Arcade, Endless, Mining, Roguelite, Shoot 'Em Up, Singleplayer, Space, Voxel) reflects its direction: an endless, run-based roguelite arcade experience with leaderboard chase as the endgame.
The developer, Santiago Salvador, is a solo creator with a well-documented style: "hard-hitting, over-the-top carnage" delivered at maximum velocity. Prior projects include Neighbor Wars (turn-based artillery) and Beyond-Bit (adventure), plus a portfolio of audio tools (Robo-Voice Generator, Shruti Box, PLEX-78 Event Horizon). His background in procedural audio carries directly into Frak'n Frak'r's sound design — the generated voiceovers and synthesized soundtrack are part of the game's identity.
What to watch for going forward:
- Balance patches around the Ledger curve and Arbiter spawn timing
- Additional tool types or asteroid families (the six-rock/three-tool matrix is the core that will likely expand)
- Deeper leaderboard integration and possibly run seeds for fair comparison
- More upgrade branches in the station tree
Guide current as of August 2026, reflecting the active itch.io build. The developer updates frequently — check the itch.io page for patch notes before your next session, and treat the section above as a living document alongside the game.