Daily Pick
One deeply researched guide worth reading today.
A practical route through the systems that matter most, written to help new players make confident decisions quickly.
Overview: What Kind of Game Is Cluck And Tag?
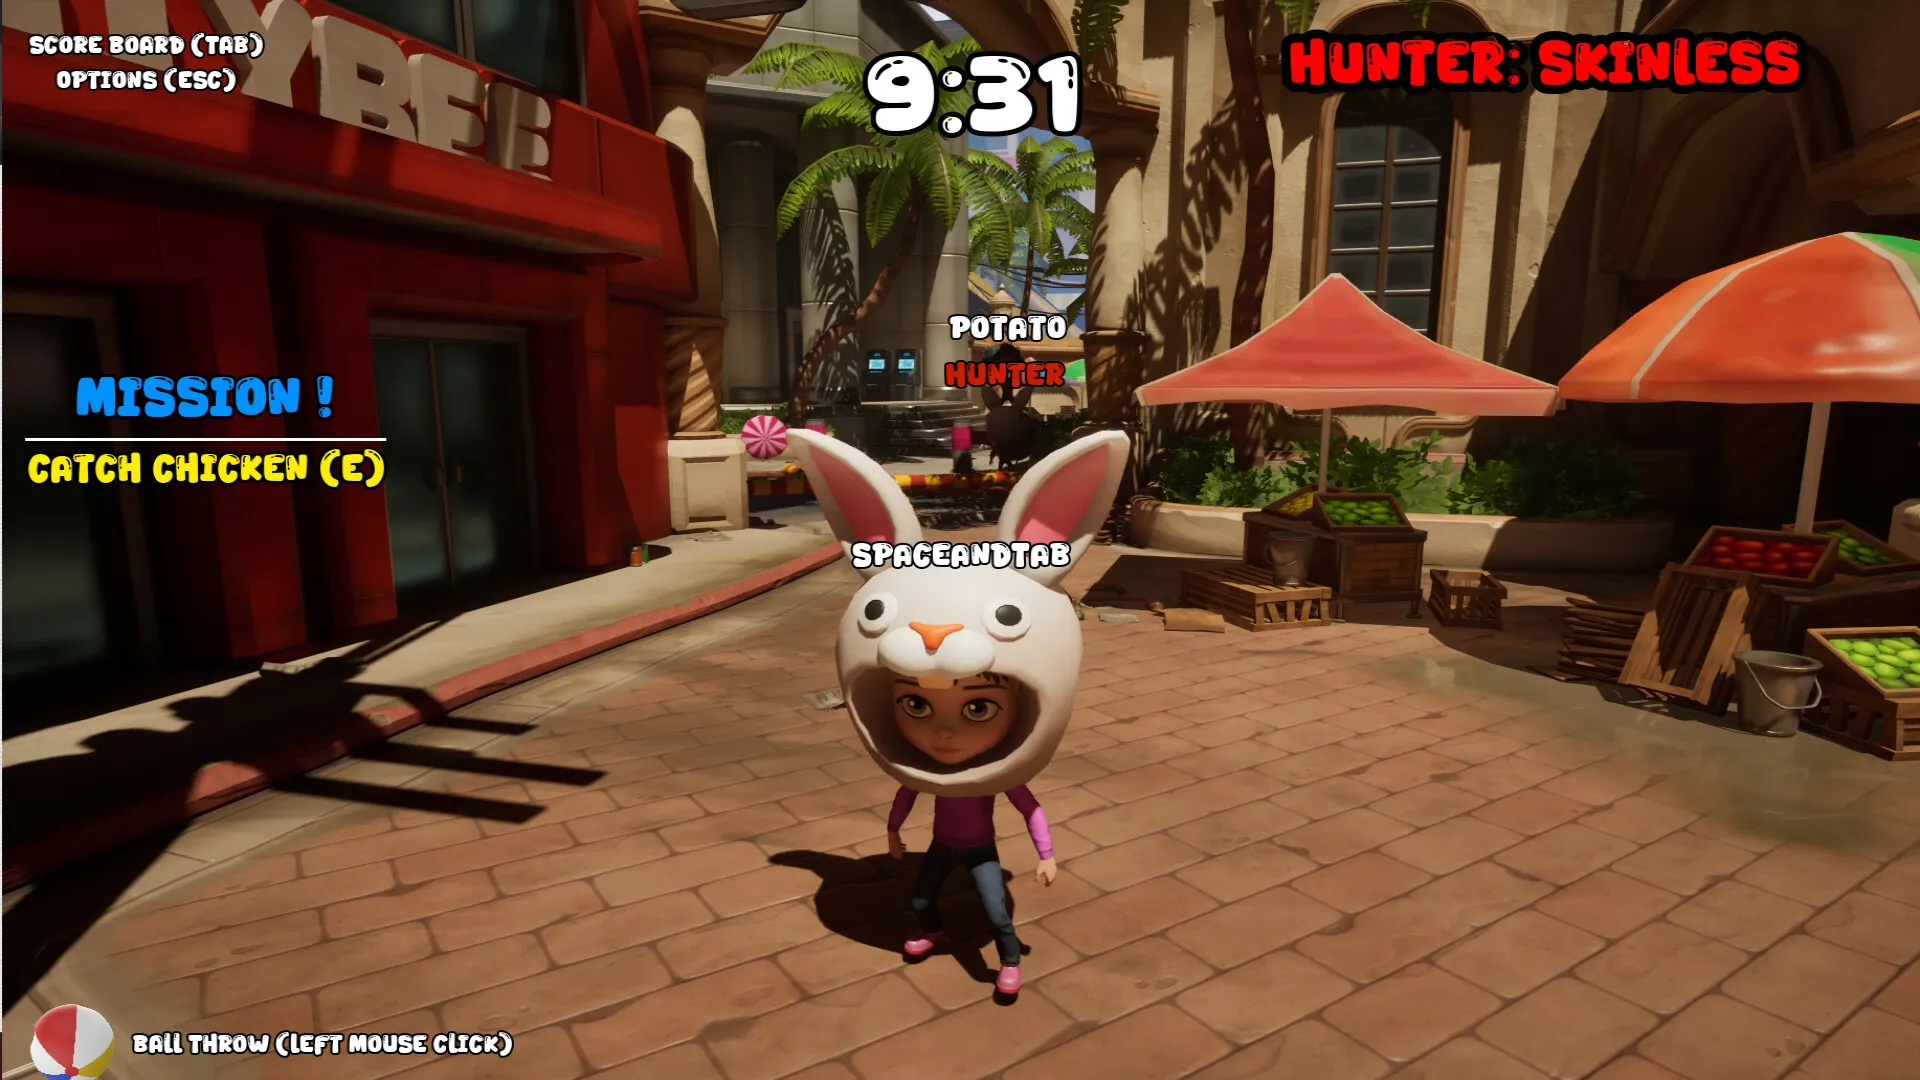
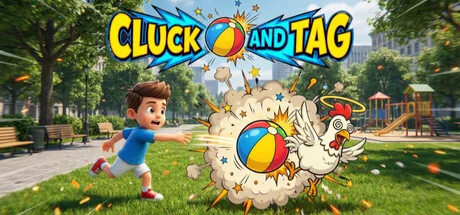
Cluck And Tag is a chaotic multiplayer party game from Spaceandtab Company, a software and design studio. It takes the schoolyard game of blind man's bluff, adds free roaming chickens worth points, and arms every player with an infinite supply of beach balls. The pitch is simple: catch chickens, deliver them to the vendor, and sabotage everyone who tries to do the same. Someone is always the Hunter. When the Hunter touches you, the roles flip.
The game lives in the tension between two jobs. As a collector you chase chickens, score points and throw beach balls at rivals to knock their haul loose. As the Hunter you cannot score at all, so your only job is to touch someone and pass the curse. Every few seconds the game asks you to abandon one strategy and adopt its opposite. That whiplash is the fun.
Matches are fast, built for quick sessions with friends, strangers or bots. The game supports online PvP, LAN play, Steam Remote Play Together, and single player matches against AI bots. It released June 20, 2026 on Steam for $2.92, a one time purchase with no microtransactions. It is Windows only, runs on modest hardware, and uses a keyboard first control scheme.
| Field | Detail |
|---|---|
| Genre | Party game / PvP / casual |
| Developer | Spaceandtab Company |
| Platform | Windows (Steam) |
| Price | $2.92, one time purchase |
| Release | June 20, 2026 |
| Players | Online PvP, LAN PvP, Remote Play Together, single player vs bots |
| Match length | A few minutes per round |
| Input | Keyboard (WASD / arrows) |
| Achievements | 1 confirmed (Rich Cluck) |
| Storage | 2 GB |
| Minimum specs | Intel Core i3, 4 GB RAM, Intel HD 4000, DirectX 11 |
How to Play: The Two Roles
Every match assigns one player the Hunter role. Everyone else is a collector. The rules are asymmetric and you must internalize both sides, because the role changes the moment a tag lands.
Collector (Non-Hunter)
Your goals, in order of importance:
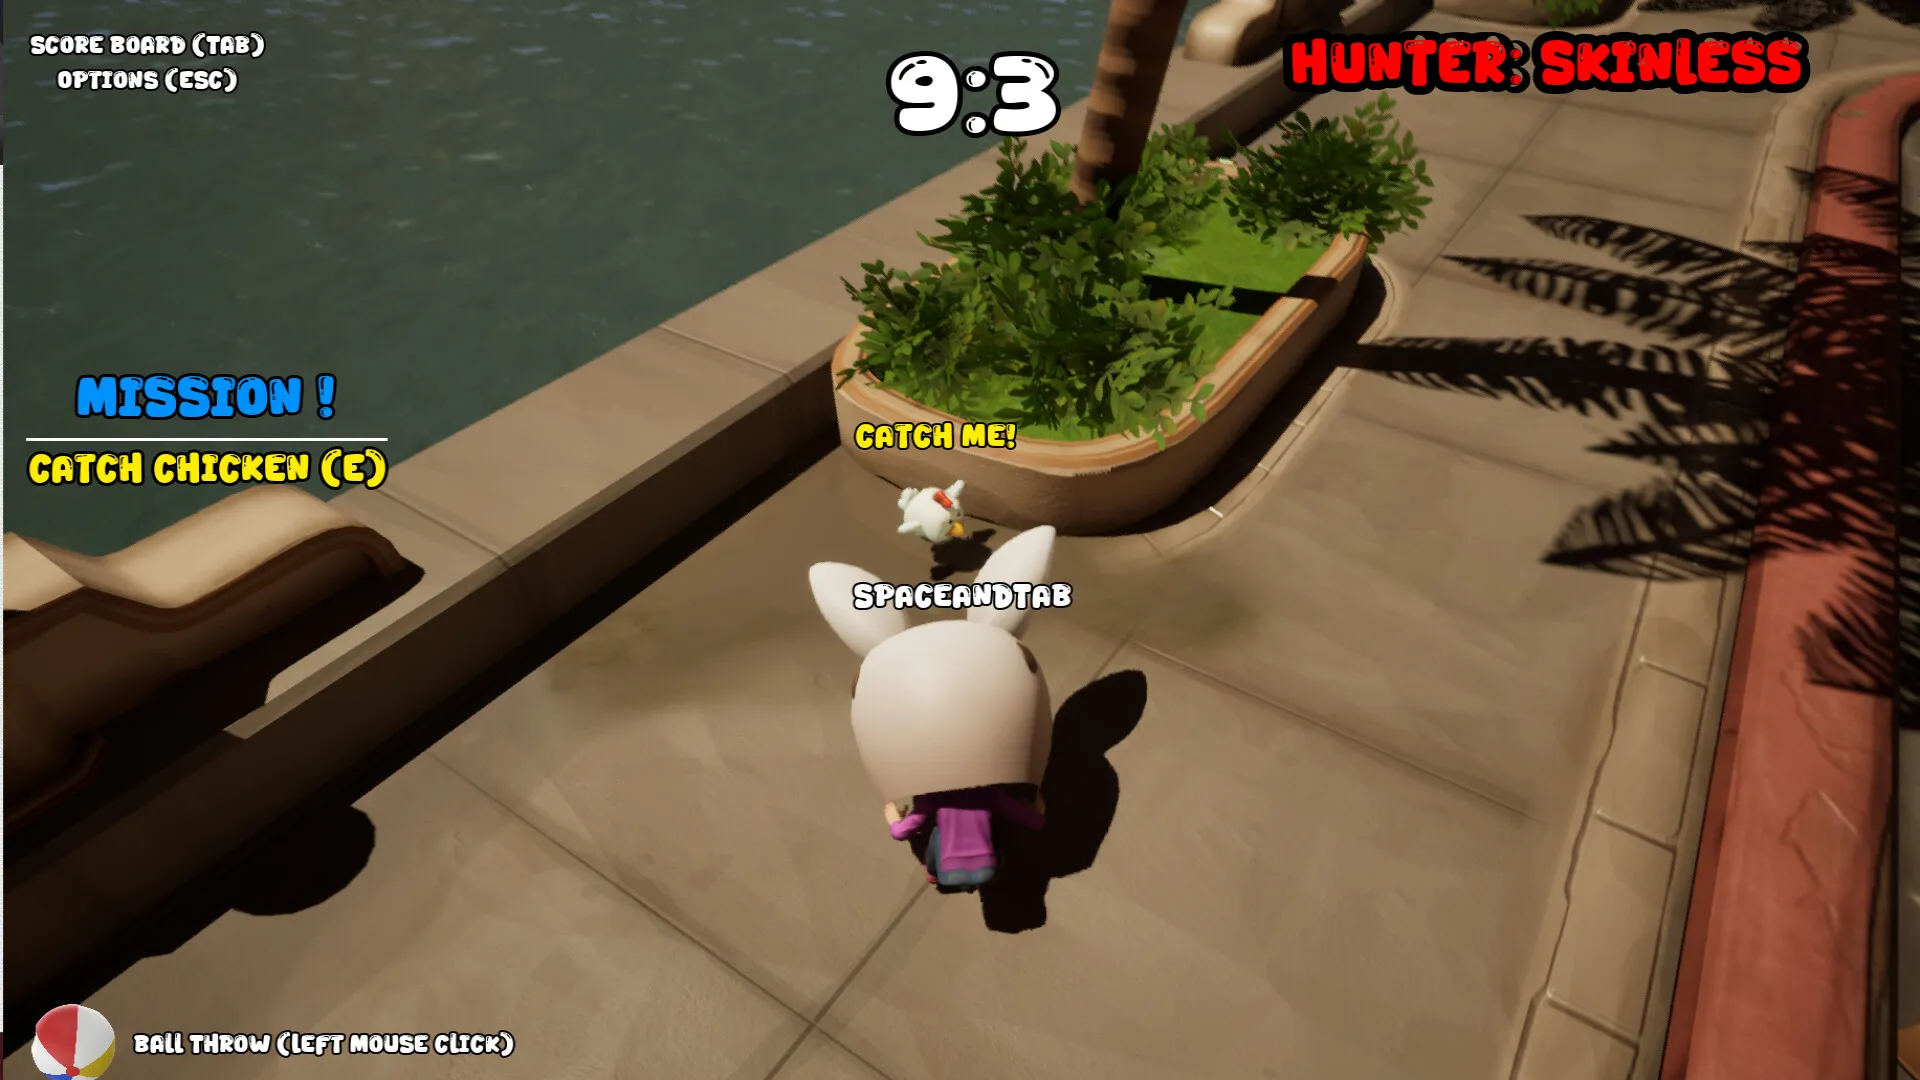
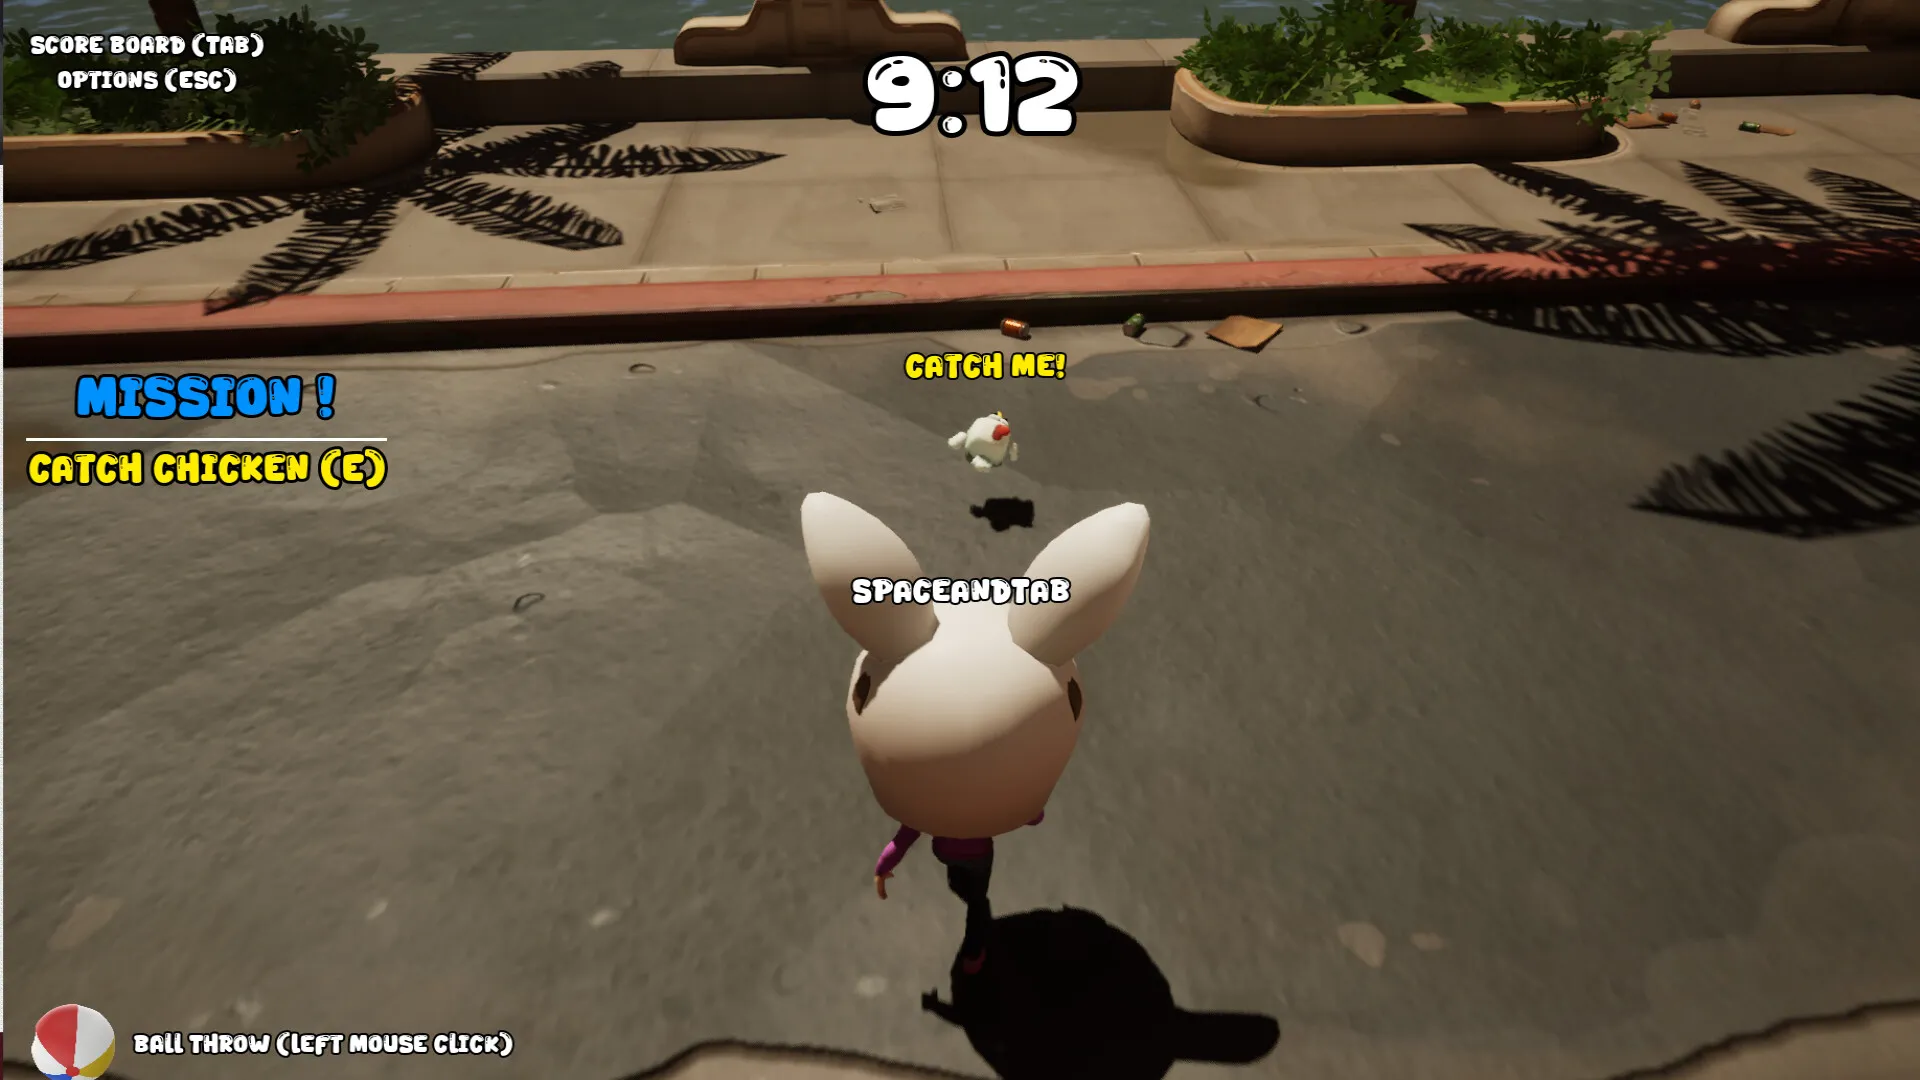
- Catch chickens. Chickens roam freely across the map. They do not wait in a coop. They run, hide and wander, and finding them is a skill.
- Deliver to the vendor. A chicken in hand is worth nothing until it reaches the vendor. Delivery scores points for you.
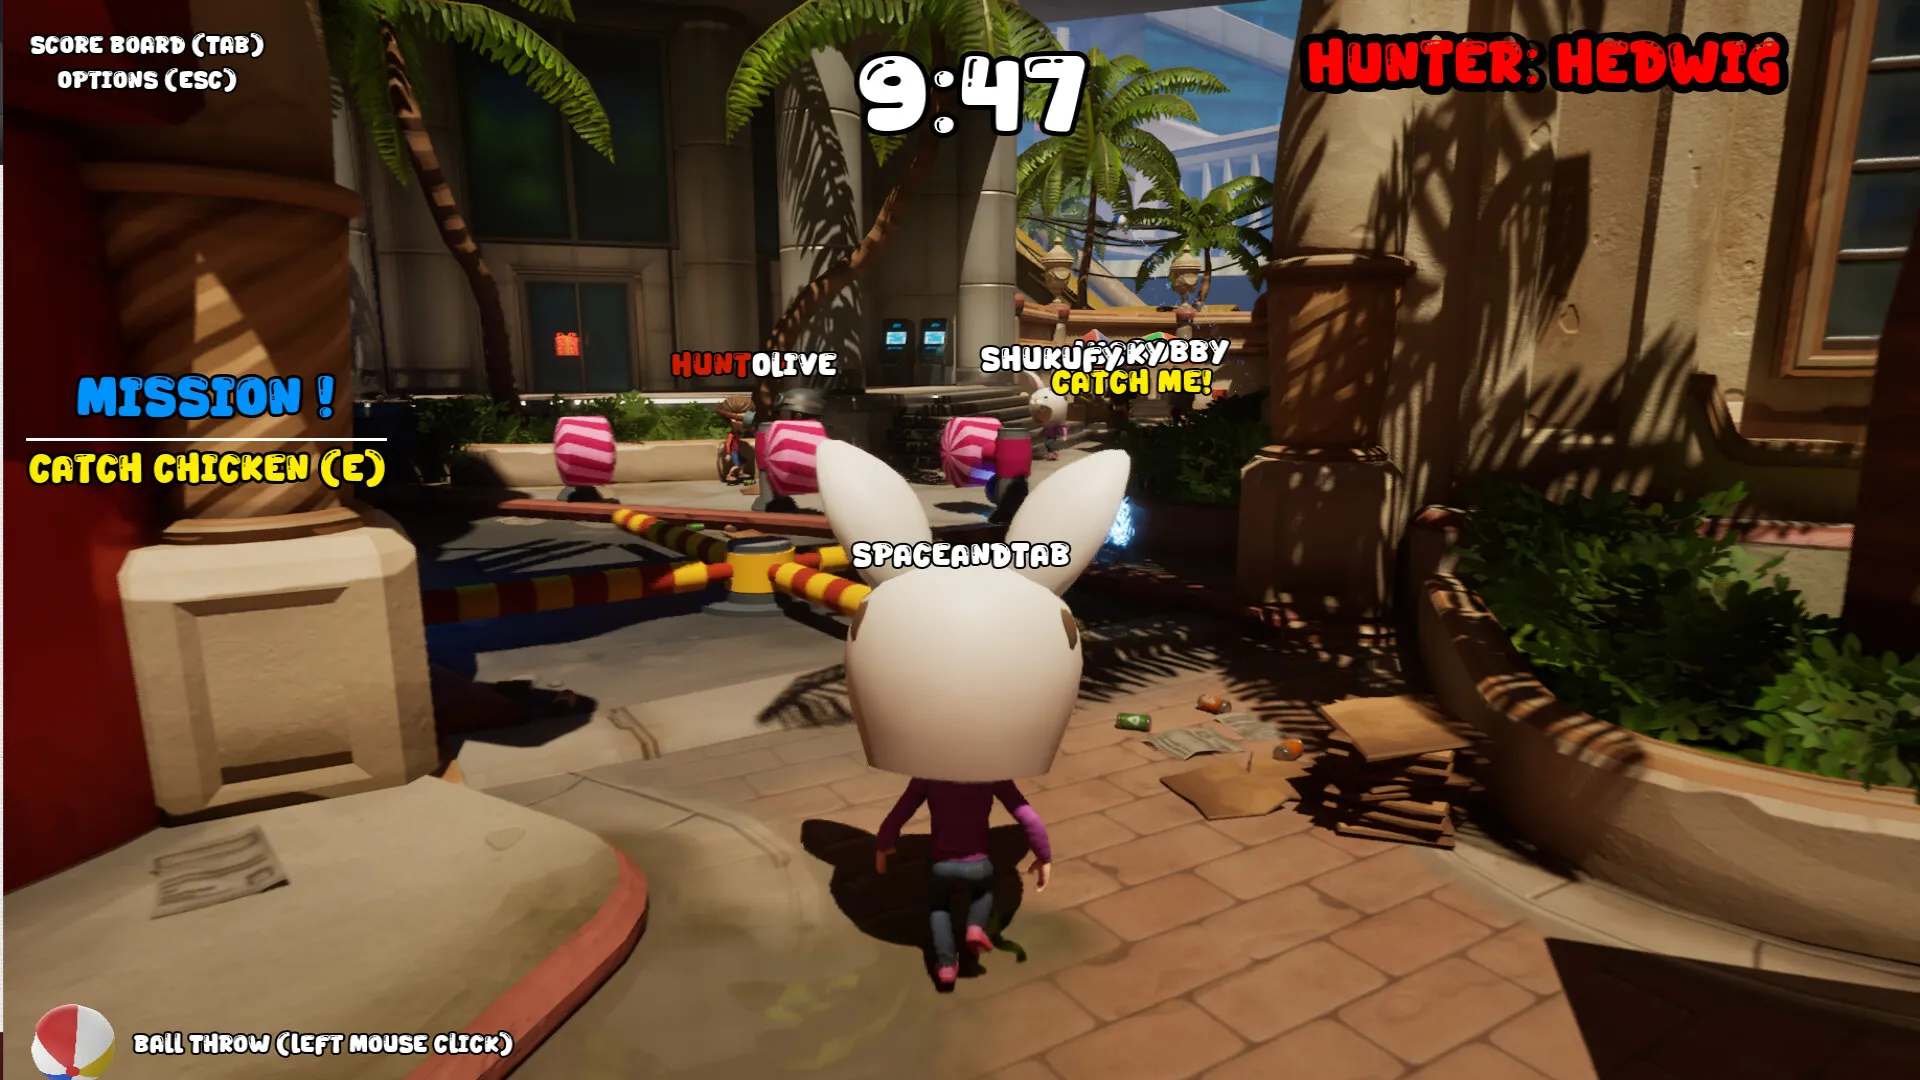
- Sabotage rivals. Throwing a beach ball at another player makes them drop the chickens they have collected. Their loss is your gain.
You can carry one chicken at a time. You cannot score while the Hunter is on you. You have no defensive tool against the Hunter beyond movement, parkour and the map itself.
Hunter
Your goals:
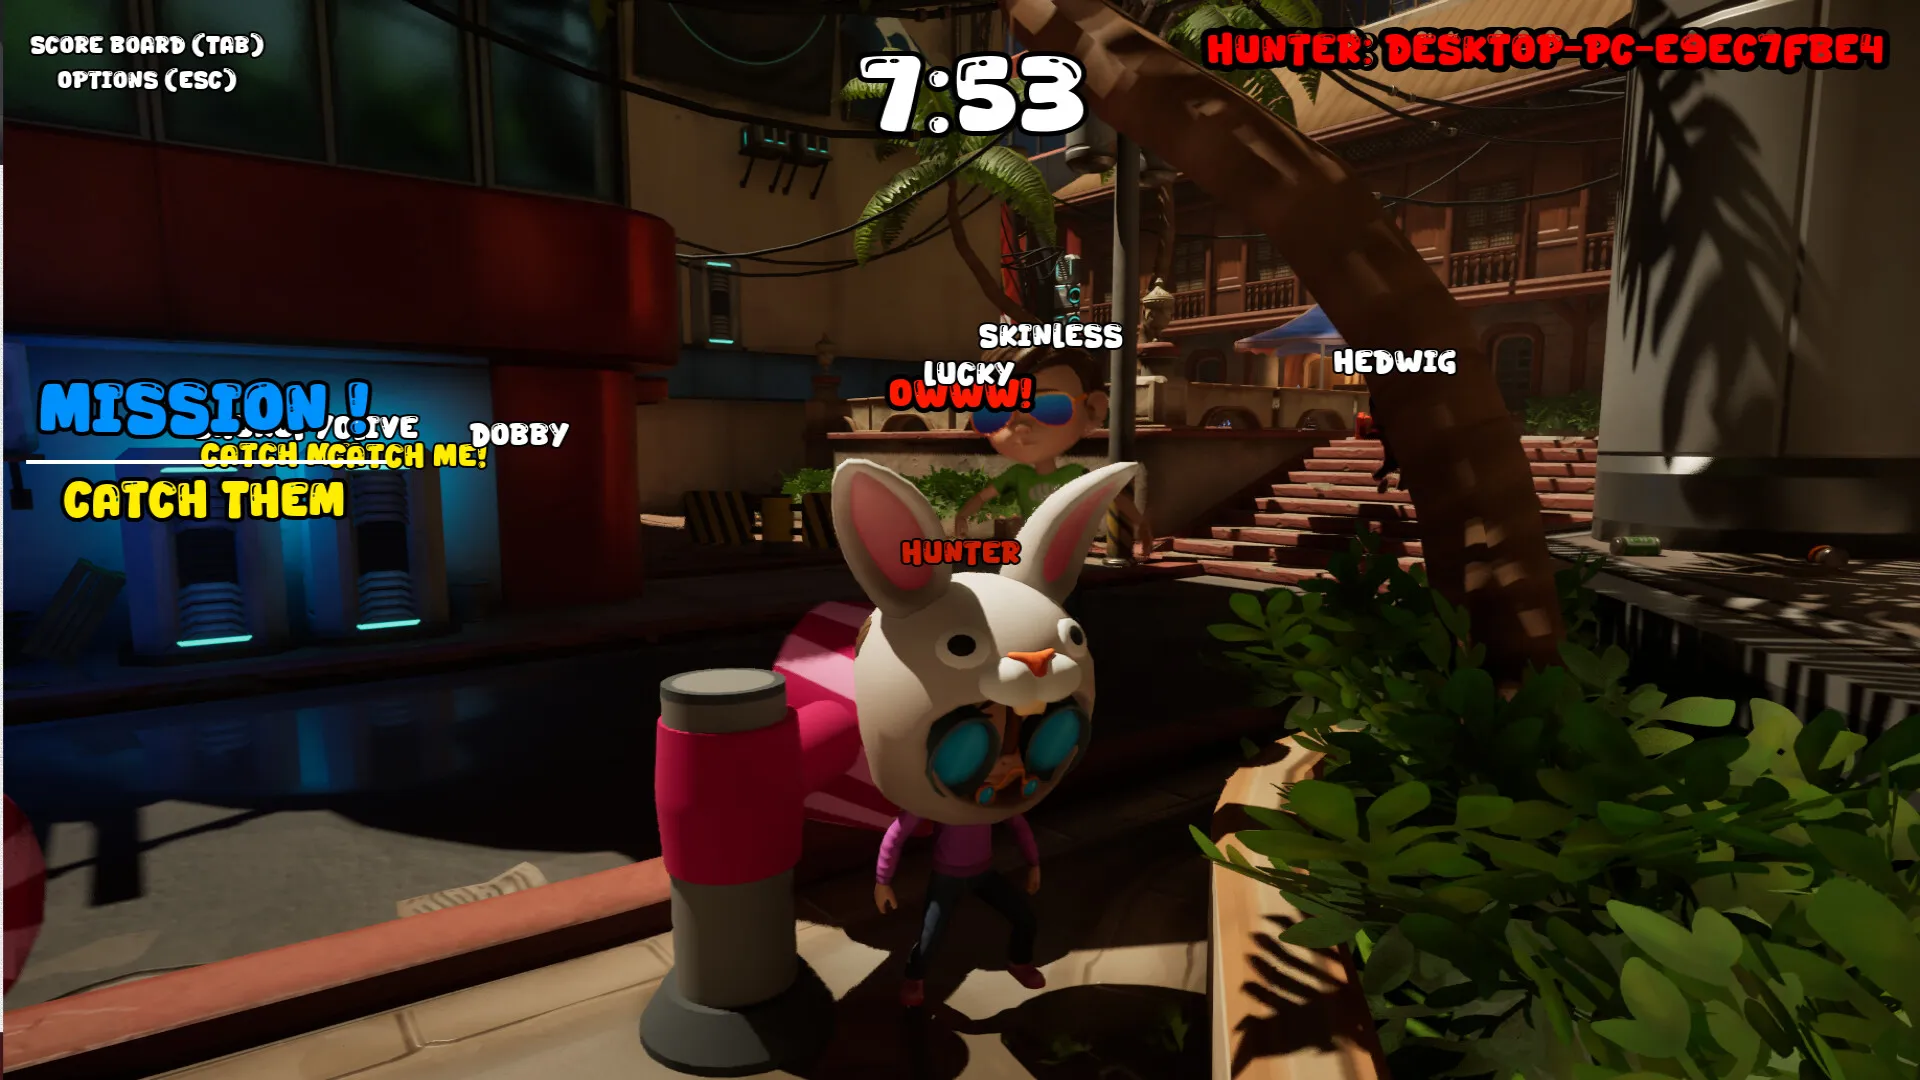
- Touch someone. The moment you touch a collector, the roles swap. You become a collector, they become the Hunter.
- Use the pressure. Being it is a weapon. Corner players, force bad decisions, and remember that you cannot score while you are the Hunter, so the longer you hold the role, the more points you bleed.
The Hunter has no scoring ability and no beach balls. The role is pure pressure. The best Hunters are not the fastest players, they are the ones who think two moves ahead.
Core Mechanics Explained
Chickens: Roaming, Fleeing, Hiding
Chickens are the resource and they are not passive. The Steam page is explicit: chickens run away, hide and roam randomly around the map. Finding them is a test of map knowledge, not luck.
Practical implications:
- Chickens move. A spot that had three chickens thirty seconds ago can be empty now. Do not commit to a remembered location.
- Chickens flee. Approach one directly and it will bolt. A direct chase is the least efficient catch because the chicken reacts to your approach.
- Chickens hide. Obstacles, corners and map geometry shelter them. Learning where chickens can disappear is how you find them before anyone else.
- Chickens cluster. Free roaming means density varies. Some zones are naturally richer. The players who learn the spawn patterns score first.
The Vendor
The vendor is the scoring point. Collectors must reach it with a chicken in hand to convert their haul into points. This makes the vendor the most predictable point on the map, and therefore the most dangerous.
- Every delivery requires a moment of commitment near the vendor.
- The Hunter knows collectors must come here.
- Rivals know you must come here too, which makes the approach lane a shooting gallery for beach balls.
Beach Balls: Physics-Based Sabotage
Every collector has an infinite supply of beach balls. The throw is physics based, which means arc, distance and target movement all matter. The Steam page stresses that accuracy is crucial and that you must use foresight to hit moving targets.
The beach ball is not a weapon in the damage sense. It is a disruption tool:
- A hit makes a rival drop their chicken.
- A dropped chicken can be picked up by anyone, including you.
- A thrown ball is also a message. Even a miss forces a dodge, which slows a delivery.
Parkour and Mobility
Movement is the skill ceiling. Jumping and overcoming obstacles lets you escape the Hunter, reach chickens first and control the high ground. The map is a tool, not scenery:
- Obstacles block beach balls. Use them as cover.
- Obstacles slow the Hunter. Use them to create distance.
- Height gives sightlines. Use them to read the match.
The AI Bots
No internet connection, or just want to practice? The game ships with advanced bots. The official description says they do not just run around: they hunt chickens, throw and use tactics. Bot matches are a legitimate training ground for both roles, and they scale from gentle to punishing.
Match Strategy: Reading the Score Race
A match is a score race with a rubber band built in. The Hunter mechanic is the rubber band: the player who is winning becomes the target, and getting tagged forces them to stop scoring. This creates three distinct phases.
Phase 1: The Opening
The first Hunter is assigned and everyone scatters. Early decisions set the tone:
- Collectors: the first delivery matters. It establishes momentum and puts a target on whoever falls behind. Do not fight over the first chicken you see. Read where the chickens actually are and commit to a route.
- Hunter: do not chase immediately. Players are still orienting. Position yourself between the richest chicken zone and the vendor, then wait for a collector to commit to a catch. The catch moment is the easiest tag of the match.
Phase 2: The Middle
Routes exist now. Scores are separating. The Hunter has picked a favorite target.
- Collectors: rotate between zones so the Hunter cannot predict you. If a zone is empty, the chickens fled or someone cleared it. Move. When you see the Hunter commit to another player, that is your window to deliver.
- Hunter: target the leader, not the easiest target. The leader's deliveries are worth more in terms of score control. Herd collectors toward the vendor zone, where they must eventually arrive. Do not chase one player forever; wasted Hunter time is free points for everyone else.
Phase 3: The Endgame
Scores are diverging and desperation sets in.
- Leading collector: stop carrying chickens. You are the biggest target and every delivery is a risk. Shift to disruption. Throw beach balls at approaching rivals and protect your lead instead of extending it.
- Trailing collector: take risks. Head for the far zones with low traffic. Skip beach ball play and focus on raw catch volume. If the Hunter chases you, that is fine: you are the lowest value target and their time on you is time off the leader.
- Hunter: camp the vendor. The leader must eventually arrive to score. Your presence near the vendor freezes their scoring even if you never land a tag.
Step by Step Strategy Sequences
Sequence 1: The First Delivery
- Orient at the spawn. Identify the nearest chicken zone and the vendor position.
- Move to the zone at an angle, not straight through the middle of the map.
- Approach the first chicken indirectly. Cut off its escape line instead of chasing it directly.
- Catch it and immediately check your surroundings before heading to the vendor.
- Approach the vendor from the side with cover between you and the map's center.
- Deliver and move. Never linger at the vendor after scoring.
Sequence 2: The Chicken Ambush
- Find a zone where chickens cluster.
- Position yourself behind an obstacle near the zone's edge, out of sight.
- Wait for a chicken to wander within reach. Do not chase.
- Catch it the moment it is close, then break toward the vendor.
- If another collector arrives first, throw a beach ball to scatter the chickens, then collect the chaos.
Sequence 3: The Sabotage Run
- Spot a rival carrying a chicken toward the vendor.
- Move to a position ahead of them, on the delivery lane.
- Lead the throw: aim where they will be, not where they are. A sprinting target needs more lead than a walking one.
- Hit them and watch the chicken drop.
- Pick up the chicken yourself if you are close, or let the disruption slow their score while you catch your own.
Sequence 4: The Hunter's First Tag
- As the Hunter, start between the richest zone and the vendor.
- Watch for a collector committing to a catch animation. That moment locks them in place.
- Close the distance and tag them while they are committed.
- The moment the role flips, run. You are now the collector and the new Hunter is behind you.
- Do not celebrate. The new Hunter will be angry and fast. Use parkour to break the pursuit.
Sequence 5: The Endgame Defense
- When leading with under a minute left, stop hunting chickens.
- Position yourself near the vendor, on the delivery lane.
- Throw beach balls at every rival approaching the vendor. Even misses force dodges and slow their deliveries.
- If the Hunter comes for you, run toward the trailing player. The Hunter must choose between a difficult tag on you or an easy tag on them.
- A frozen leaderboard is a win. You do not need more points, you need to stop the others from getting theirs.
Sequence 6: The Hunter Vendor Camp
- As the Hunter in the endgame, stand near the vendor, slightly out of the obvious line of sight.
- Do not patrol. Patrol creates gaps. Standing creates a wall.
- When a collector arrives to deliver, tag them during the delivery commitment.
- The role flips. You score now. Use the momentum to bank your own delivery before the new Hunter recovers.
- Repeat. The vendor is the highest traffic point on the map and the best Hunter position in the game.
Advanced Tips
- Catch at the edge, not the center. Chickens in the open have more escape routes. Chickens near map edges and obstacles have fewer options. Herd them toward geometry before you commit.
- The catch animation is a vulnerability. Both for you and for rivals. When you catch, expect the Hunter to be coming. When a rival catches, that is your window to throw or to deliver.
- Lead every throw. Beach balls are physics based. A moving target is never where it appears. Aim a body length ahead for walkers, two or three for sprinters.
- Misses are not wasted. A beach ball that forces a dodge has done its job. Dodge animation is time the rival is not scoring.
- The vendor approach is the kill zone. Never approach the vendor in a straight line. Zigzag, use cover, and expect a beach ball from every direction.
- Use the Hunter as cover. When the Hunter chases someone else, you have a window. Deliver. When the Hunter chases you, drag them toward the leader. The Hunter is a resource, not just a threat.
- Parkour beats sprinting. A player who knows the jump lines crosses the map faster than a player who only runs on the ground. Learn the vault routes.
- Sound and vision. The Hunter is coming for the leader. If you are the leader, assume you are being hunted at all times. Check behind you before every catch and every delivery.
- Bots punish bad habits. A bot match on the hardest setting is a mirror. If you lose to bots, the flaw is in your routing or your throws, and the fix transfers to human matches.
- The scoreboard is a strategy tool. It tells you who to protect (yourself, if leading), who to disrupt (anyone near your score) and who to drag the Hunter toward (the leader, if you are behind).
Roles Deep Dive: Playing Both Sides Well
Playing Collector Well
The collector's game is triage. You constantly choose between three goals: catching, delivering and disrupting. The best collectors never do all three at once. They sequence them.
A strong collector cycle looks like this: catch from a safe zone, check for the Hunter, deliver under cover, throw one disruption ball on the way back out, repeat. The disruption throw is what separates good collectors from great ones, because it converts your own safe delivery into someone else's lost one.
The common collector failure is greed. Holding a chicken too long, waiting for the perfect delivery window, chasing one more point while the Hunter closes. A chicken in hand is a liability. Convert it fast.
Playing Hunter Well
The Hunter's game is psychology. You cannot score, so every second you hold the role is a second of lost points. The role is a timer, and the timer only resets when you touch someone.
A strong Hunter reads the scoreboard first. The leader is the target because tagging the leader stops their scoring. The trailing player is a trap: tagging them hands them the Hunter role, which costs them nothing, while you lose scoring time.
The Hunter's best tool is the vendor. Every collector must pass through it. Patrol the zone between the richest chicken area and the vendor, and the match comes to you.
Multiplayer Modes and Setup
Online PvP
The core mode. Play against friends or players from around the world. The official description is honest about the stakes: friendships may be broken, but fun is guaranteed.
LAN PvP
Same game, no internet dependency. Ideal for events, office parties and any situation where everyone is on the same network.
Remote Play Together
Steam's built in sharing. One player hosts and friends join through the host's connection. This is the easiest way to get a full lobby together without everyone owning the game.
Single Player vs Bots
Practice mode. The bots hunt chickens, throw and use tactics. It is a legitimate way to learn the map, practice beach ball aim and train both roles before taking your skills online.
System Requirements and Performance
| Minimum | Recommended | |
|---|---|---|
| OS | Windows (64 bit) | Windows 11 |
| Processor | Intel Core i3 or equivalent | Intel Core i5 or equivalent |
| Memory | 4 GB RAM | 8 GB RAM |
| Graphics | Integrated (Intel HD 4000 or better) | Dedicated GPU (NVIDIA GTX 1050 or equivalent) |
| DirectX | Version 11 | Version 12 |
| Storage | 2 GB | 2 GB |
The game is lightweight. The minimum spec is a decade old integrated GPU, so it runs on almost anything. The recommended spec is modest, which makes it a strong candidate for laptops and low end desktops.
FAQ and Common Mistakes
How do I play with friends? Online PvP, LAN, or Steam Remote Play Together. Host a lobby and invite them. There is no split screen local play.
Can I play solo? Yes. Single player pits you against AI bots that hunt chickens, throw and use tactics.
How long is a match? A few minutes. Rounds are designed to be quick, so you can chain several in a session.
What happens when I get tagged? You become the Hunter. You stop scoring and must tag someone else to swap back.
Can I carry more than one chicken? No. One chicken at a time. Deliver it before catching another.
What does the beach ball do? A hit makes a rival drop their carried chicken. The dropped chicken can be picked up by anyone. The throw is physics based, so you must lead moving targets.
Are there microtransactions? No. One time purchase, no DLC, no battle pass, no cosmetic shop.
Common mistake: chasing chickens in straight lines. The chicken flees from your approach. Cut off its escape instead of running behind it, and you will catch more in less time.
Common mistake: holding a chicken too long. Every second you carry, you are a target for the Hunter and every rival with a beach ball. Deliver fast.
Common mistake: never throwing beach balls. Disruption is half the game. A hit on a rival is a point swing. Even a miss slows them down.
Common mistake: throwing beach balls constantly. Every throw is time you are not catching or delivering. Throw with purpose: disruption, defense or denial.
Common mistake: approaching the vendor in a straight line. The vendor lane is the most predictable path in the game. Zigzag, use cover, and expect fire from every direction.
Common mistake: chasing one target as the Hunter. If a collector escapes you for more than a few seconds, pivot. Hunter time is the most expensive resource on the board.
Common mistake: ignoring the scoreboard. The match is a score race. Know who is leading, who is close behind you, and who the Hunter should be dragging toward. The scoreboard answers all three.
Final Verdict
Cluck And Tag is a party game that understands its own chaos. The role flip is a brilliant rubber band: it keeps matches close, keeps scores honest, and forces every player to master two opposite skills. The beach ball physics add a genuine aiming skill on top of the movement game, and the vendor choke point creates the tension that makes every delivery feel like a heist. At $2.92 with no microtransactions, it is an easy recommendation for anyone who wants a loud, fast party game for a lobby of friends. There is no friendship in this game, only the top of the leaderboard. That is exactly the point.
Last reviewed by Game How To Editorial. We play each game, verify mechanics against official sources, and update guides when the game changes.