Daily Pick
One deeply researched guide worth reading today.
A practical route through the systems that matter most, written to help new players make confident decisions quickly.
Overview
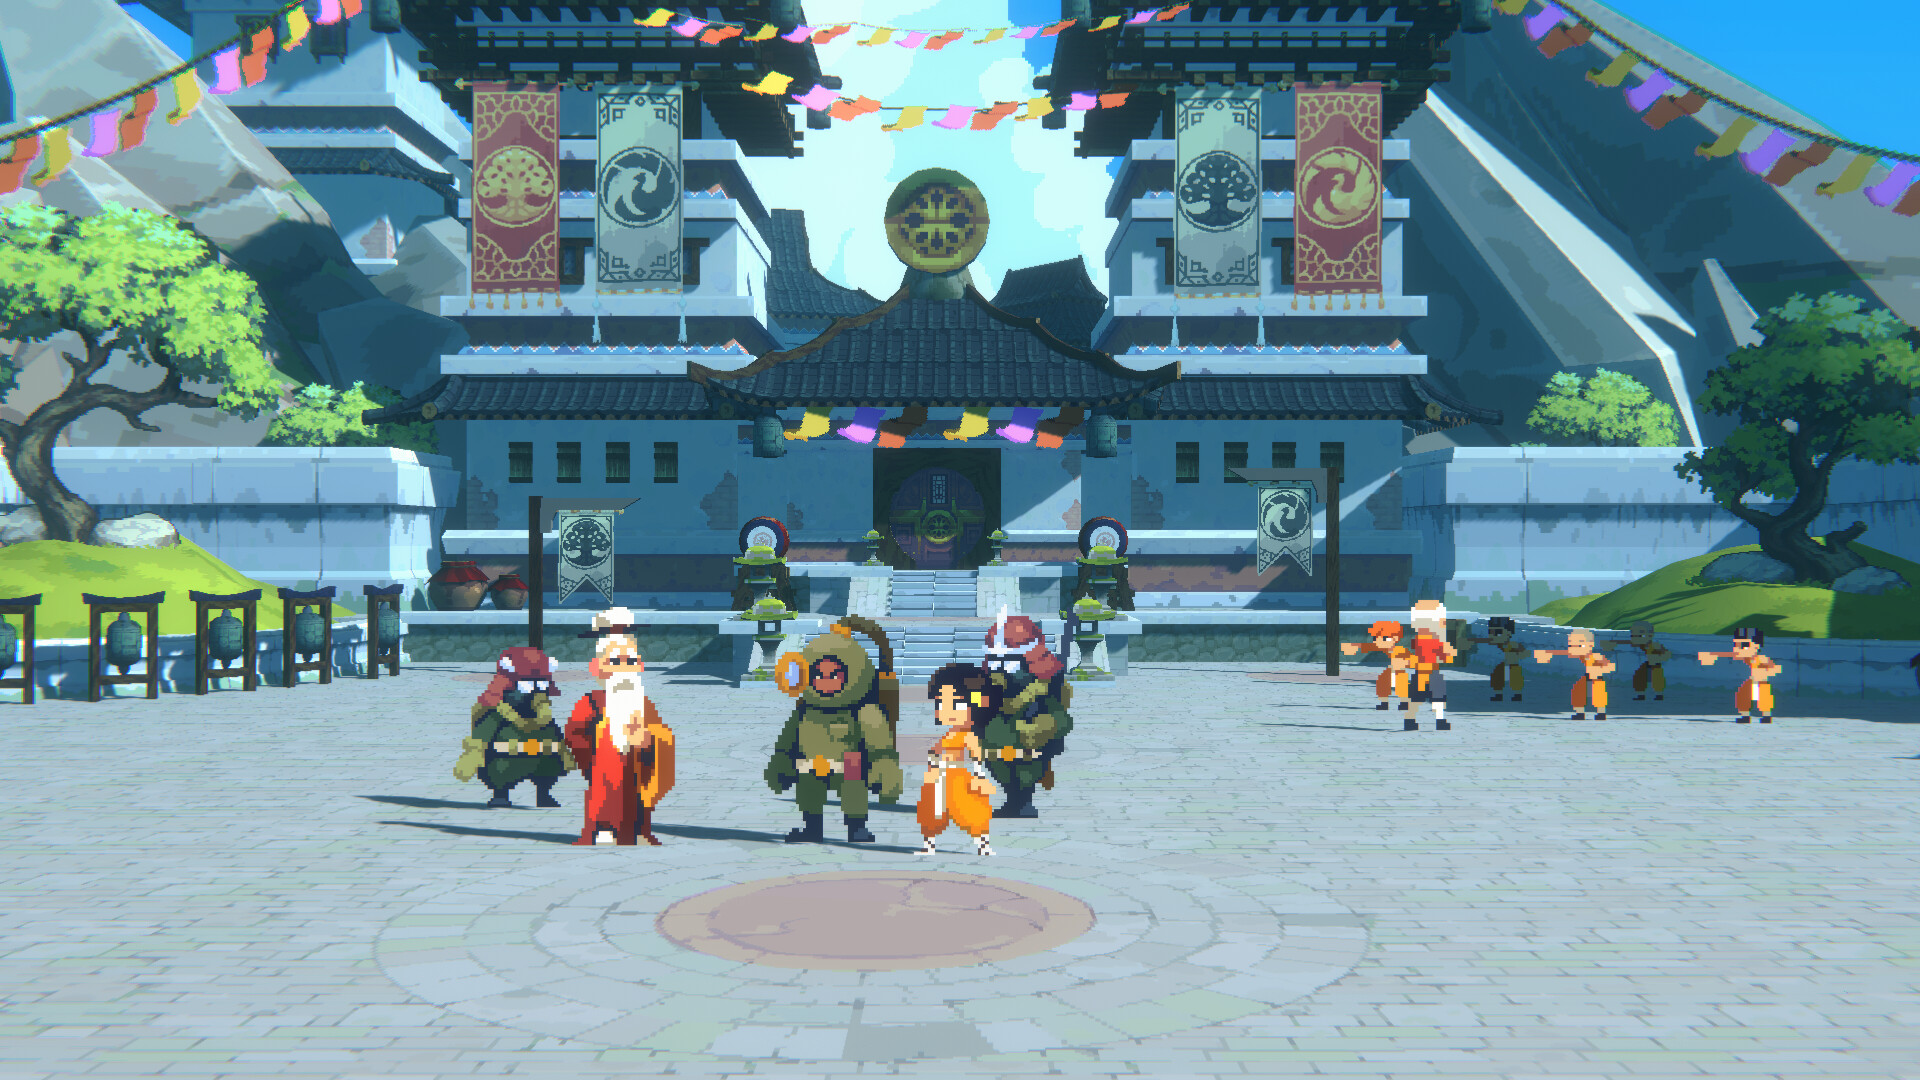
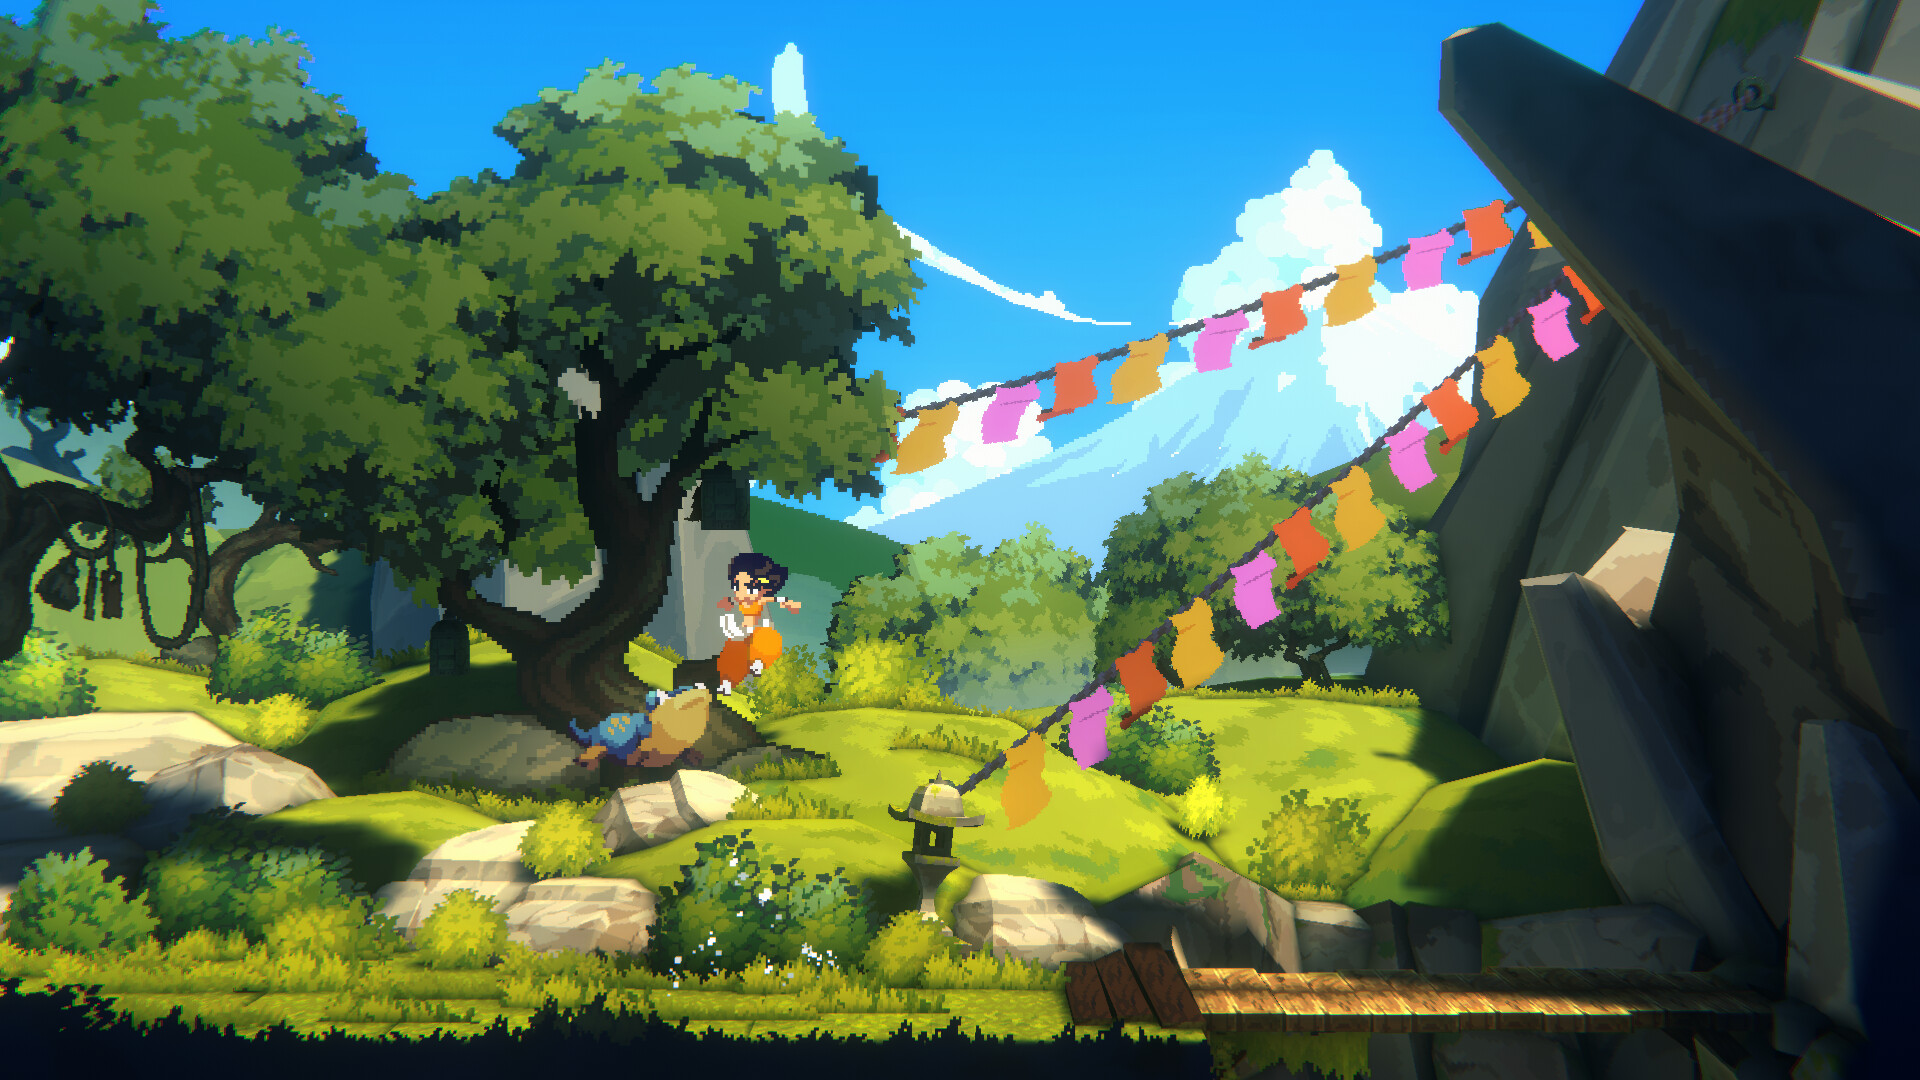
Akatori is a hand-drawn action platformer from Contrast Games with metroidvania-style ability gating, released on PC August 5, 2026, with console versions following August 12 and a Switch 2 port planned for 2027. You play Mako, a young battle monk from the Akatori Monastery, who travels through five amber-infested worlds to stop the storms that twist every living thing they touch. Her companion is a red bird that transforms into a staff. That staff is the whole game: weapon, glider, wall hook, projectile, and puzzle key in one.
Before you buy in on the genre label, know what this actually is. Akatori gates progression behind new staff abilities, but the world is linear. You move forward through the Monastery, Amber Castle, Amber Mines, Amber Forest, and Amber Plant in order, and old areas rarely invite you back. If you want Hollow Knight's interlocking map, you will be disappointed. If you want a polished 8-15 hour action platformer with flowing combat and gorgeous pixel art, this hits the spot. Recent Steam reviews sit at Very Positive, with the overall score at Mostly Positive across 330 reviews.
| Fact | Detail |
|---|---|
| Genre | Action platformer with metroidvania elements |
| Developer | Contrast Games |
| Publishers | Games Harbor, Esprit Games |
| Platforms | Windows (consoles Aug 12, 2026; Switch 2 in 2027) |
| Price | Around $14.99 / S$16.25 |
| Playtime | 8-15 hours, roughly 10 to reach the credits |
| Difficulty | Adjustable; "Difficult" is a top Steam tag |
| Achievements | 31 (14 visible, 17 hidden) |
| Controls | Full controller support, gamepad recommended |
The systems requirements are gentle: a Core i3-6100 with 6 GB RAM and a GT 740 runs it, and a Core i5-3470 with a GTX 1050 covers the recommended tier. Storage is 10 GB. Any laptop from the last decade handles it.
One honest warning before the strategies: the first hour is the weakest part of the game. Mako starts with fists only and gets the staff about sixty minutes in. A patch added reduced air inertia and better tutorials, but the opening still moves slower than everything after it. Push through it.
Getting Started — Your First 30 Minutes
Embrace the fists, briefly
The opening section teaches unarmed combat before the bird becomes a staff. Two things matter here. First, the fists have no energy cost, so learn the rhythm of attack strings without worrying about resources. Second, the uppercut launcher works with fists for free. The muscle memory you build now becomes your panic button later.
Meet the orange bar
At the top of the screen sits a bar that the game never explains loudly enough. It is your staff energy. Staff special moves, including the uppercut launcher, drain it. When Mako refuses to do the launcher mid-combo, the bar is empty, not the game bugging out. Regular attacks with the staff restore it. The rhythm is: light hits to charge, spend on specials, repeat. Fists never touch the bar, which is why swapping to fists for a moment during a long fight is a legitimate recovery tactic.
Talk to everyone, touch everything
Akatori hides its best content behind optional interaction. Cats can be collected (a postcard-exchange bug with cloud saves existed at launch, later patched). Guide Stones act as checkpoints. Amber, the glowing currency dropped by enemies and found in crystals, pays for upgrades and potions. Grab every crystal you see, even when a platform section feels like a detour.
Difficulty settings are real
The game launched with separate difficulty and language menus, later combined. Normal is friendly: most bosses fold in a handful of attempts. The harder modes make the Serpent escape sequence genuinely brutal, and that is the section community complaints concentrated on before a patch reworked its hitboxes. Pick Normal if you are here for the art and flow. Pick harder if you want the tag "Difficult" to mean something.
Core Mechanics Explained
The staff is five tools
- Melee weapon. Fast three-hit strings with good reach. This is your default.
- Uppercut launcher. Pops light enemies into the air for juggle damage. Costs energy.
- Projectile. Thrown staff hits switches and distant enemies, then returns. Throwing it leaves you unarmed until it comes back, so time it.
- Traversal tool. Glide through the air, hook onto walls, slide down slopes. New abilities unlock gated paths forward.
- Ski. On slopes, Mako can ride the staff downhill. It is faster than running and some slope sections hide Amber along the racing lines.
The staff is also your style meter in practice. The game rewards chaining ground strings into air juggles into glides without touching the floor. Momentum never resets between combat and platforming, so a fight that ends near a wall can flow straight into a climb.
No contact damage
Mako only takes damage when an enemy actually attacks her. Walking into a standing enemy's shoulder does nothing. The developer confirmed this directly after launch. Play accordingly: you can hug enemies, reposition through them mid-swing, and stand inside some attack animations safely. A lot of player deaths come from dodging attacks that never would have hit.
Chaos is a second resource
The chaos system got reworked in patch 1.0.03. The chaos potion now completely fills the chaos bar instead of temporarily boosting accumulation, and chaos bells moved from prominent map locations into secret areas. Chaos is your comeback currency. Bank it, spend it when a fight goes wrong, and treat every bell you find in a secret as a free insurance policy.
Health upgrades are permanent and missable-ish
The "Mako Got Stronger" achievement (find all health upgrades) sits at 8.7% unlock rate, which tells you how thoroughly the game hides them. Health upgrades hide behind glide-and-hook sequences that are technically optional. Fewer than one in ten players finds them all. If you want the full health bar, check every suspicious ceiling gap.
Water is a mechanic, not scenery
The rarest visible achievement asks you to spend ten minutes in water across a playthrough. Water sections slow you down and hide collectibles. The achievement is basically a nudge to explore the flooded parts of the mines instead of rushing past them.
Progression Strategy
Priority order for early Amber
Amber drops from every kill and crystal, and the shop economy rewards focus. Spend in this order:
- Health potions capacity — you want to carry more than the starting number before the Mines.
- Damage upgrade — the first damage boost cuts boss fight lengths noticeably.
- Chaos potion — one in the pocket at all times after the Castle.
- Second damage upgrade — grab before the Forest.
- Everything else — cosmetics and convenience.
The "Starting Capital" achievement (3,000 Amber in one playthrough) unlocks naturally through normal play. "Moneybags" at 30,000 Amber requires actually sweeping areas for crystals and replaying a couple of combat rooms. Fewer than 16% of players bother.
Route through the five worlds
| World | Difficulty | What you learn | Watch out for |
|---|---|---|---|
| Akatori Monastery | Tutorial | Fists, basic platforming | Nothing, honestly |
| Amber Castle | Easy | Staff combat, wall cling, first boss | Chaos bell tutorial secret |
| Amber Mines | Medium | Staff throw, glide | Falling rocks + acid combos |
| Amber Forest | Medium-Hard | Wall hook depth, skiing | The Serpent |
| Amber Plant | Hard | Everything combined | Final gauntlet, true final boss |
The "On the Run" achievement for reaching the Mines sits at 40%, and the Forest at 25%. attrition between worlds comes from the escape sequences, not the bosses.
The Serpent and Other Bosses
The Serpent (Amber Forest)
This is the fight players quit over, and the patch history shows why. The tongue attack had a janky hitbox that killed players who looked safely clear of it, and the escape sequence after the fight moved Mako slowly across collapsing terrain while the serpent lunged. Both got reworked in patches, and the current version is fair. The strategy that works:
- Stay mid-range. The tongue punish window opens when you stand just outside lunge range.
- Save the staff throw for the head when it rears. Melee trades badly with the body.
- During the escape, do not stop moving forward. The sequence kills stragglers who stop to watch the serpent. Hold the run direction, jump on instinct, and treat falling rocks as weather.
- If acid is on the ground, take the high route even if it looks longer. Ground-level dodging into leftover acid was the most common unfair death before the patch, and it still costs health.
The Amberized Shieldsman
"Staff Master" (5.6% unlock) asks you to deflect this enemy's shield. The deflection is a timing move: attack the moment his shield flash starts, and the staff bounces it back. It is one of the hidden achievements and one of the few pure skill checks in the game. Practice on the first one you meet in the Castle; the timing window is generous once you see the animation.
Manipulator
The "Manipulator" achievement (55.6% unlock) wants enemies to kill each other five times. Amberized ranged enemies happily hit their melee cousins. Kite a shooter until a melee walker stands between you, then sidestep. Five times over a playthrough happens without effort once you know friendly fire exists.
General boss advice
Every boss in Akatori follows a two-phase structure with a clear animation tell before the phase swap. The moment a boss flashes amber and roars, stop attacking and reposition. Phase-two attacks punish greed harder than anything else in the game. With the damage upgrades from the shop, most fights take three to six minutes on Normal.
Step-by-Step Strategies
1. The first-hour survival plan
Play the unarmed opening aggressively. Punch everything, die once or twice on purpose to see how Guide Stones work, and spend zero Amber until the staff arrives. The moment the bird transforms, buy the potion capacity upgrade first. You will bank the hour's worth of Amber instead of wasting it on an early damage bump that fists cannot use anyway.
2. The energy-neutral combo loop
Ground: light, light, light (charge)
Launcher: up+attack (spend)
Air: light, light, light (juggle)
Glide: hold after the juggle (reposition)
Land: light, light (top up energy)
Repeat or throw staff at the next target
The loop keeps the orange bar between 30% and 80%, which means the launcher is always available when a second enemy walks in. Against shield enemies, replace the launcher with the deflection timing.
3. The crystal sweep pattern
Each screen in Akatori hides Amber in three places: ceiling gaps above the main path, dead-end pockets behind breakables, and slope racing lines. When you enter a new screen, jump twice at the ceiling near the entry, check both screen edges, and ski every slope you cross. This pattern gets you to 3,000 Amber before the Castle ends and keeps potion money flowing.
4. The secret-finding pass
Chaos bells, health upgrades, and cats all live in secret rooms marked by the same design language: a wall that looks slightly different in texture, a gap one tile too high for a normal jump, or a glide current that pulls upward. When you see any of the three, commit to exploring it. The bells moved into secrets in patch 1.0.03, so old guides that show bells on the main path are outdated.
5. The boss-first-death protocol
Die to every boss once with full attention on its animations instead of your health bar. Akatori bosses telegraph everything: wind-ups are long, hitboxes were patched to be honest, and phase transitions flash. The information from one sacrificial death cuts total attempts roughly in half compared to fighting safe and learning nothing.
6. The 100% completion route
Plan two passes. First pass: play normally through all five worlds, buy every upgrade, find bells and health upgrades you stumble into. Second pass: revisit worlds via chapter select with the full movement kit, sweep every ceiling gap and water section, deflect the Shieldsman if you missed it, and grind the ten-minute water achievement during the Mines flood sections. The game has no fast travel, which is the single most complained-about omission in reviews, so save your 100% ambitions for the second pass rather than backtracking on foot.
Advanced Tips
- Fists are a resource tool, not a downgrade. During any fight where the orange bar is empty and potions are gone, switching to fists keeps damage output alive while the bar refills passively.
- The staff throw returns through walls in most rooms. You can throw around corners to trigger switches or bait enemies without exposing yourself.
- Ski jumps chain into glide. A slope exit at speed launches Mako higher than a standing jump. Several Amber caches only open up with a ski-jump-glide chain.
- Contact damage does not exist, so overlap enemies. Standing inside an enemy's model is safe until it starts an attack. A lot of tight platforming-combat rooms become trivial once you stop respecting enemy bodies.
- Potions work mid-air. Drinking during a glide saves you from a landing you cannot win.
- The chaos potion is a full refill now. Post-patch, hoarding two chaos potions for the Plant's final gauntlet beats spending them early.
- Motion blur bothers some players. There is no framerate cap setting and the blur cannot be fully disabled; if the screen smearing strains your eyes, drop the resolution scale a notch, which sharpens the pixel art anyway.
- Controller rebinding exists now. Patch 1.0.04 added gamepad button rebinding after launch complaints. Map the launcher to a shoulder button; the default face-button layout makes the up+attack input awkward in long sessions.
- The bestiary achievement requires every enemy type. Some variants only spawn in optional rooms. If your bestiary has gaps, sweep the secret rooms in the Forest first; three rare spawns live there.
- Achievement hunting order matters. Do the 30,000 Amber run and the all-health run in the same second playthrough. Both require full sweeps anyway, and combining them saves a third pass.
Steam Achievements Worth Planning For
| Achievement | Requirement | Unlock rate |
|---|---|---|
| Akatori Monastery | Visit the Monastery | 89.5% |
| The Abbot's Mission | Visit the Amber Castle | 80.2% |
| Manipulator | Enemies kill each other 5 times | 55.6% |
| Starting Capital | 3,000 Amber in one playthrough | 54.7% |
| On the Run | Visit the Amber Mines | 40.2% |
| In Search of the Moth | Visit the Amber Forest | 25.3% |
| Cheers! | Drink 50 potions | 21.4% |
| In Search of the Chancellor | Visit the Amber Plant | 18.6% |
| Moneybags | 30,000 Amber in one playthrough | 15.2% |
| Bestiary | Defeat one of every enemy type | 14.2% |
| Mako Got Stronger | Find all health upgrades | 8.7% |
| Water Meditation | 10 minutes in water | 8.2% |
| Guide Stone reader | Visit Guide Stones 100 times after death | 7.2% |
| Staff Master | Deflect the Shieldsman's shield | 5.6% |
The potion-drinking achievement is the sneaky one: 50 potions sounds like a lot until you realize cheap potions stack and chugging one before every boss attempt counts. Buy potions on sight and drink liberally.
FAQ and Common Mistakes
Is this a real metroidvania? Not by strict definition. Ability progression gates the path forward, but there is almost no backtracking and no fast travel. Reviews that rate it negatively for linearity are accurate about the structure. Judge it as a linear action platformer and the score flips positive.
My launcher stopped working. Is the game bugged? Probably not. The staff uppercut needs the orange energy bar, and when the bar is empty the input silently fails. Land a few regular staff hits to refill, or swap to fists, which launcher for free.
The Serpent tongue killed me when I was clearly away from it. The launch hitbox was genuinely broken; the developer reworked it in a patch along with the escape sequence. Update to the current version before judging the fight. If you are on the escape sequence, the fix is behavioral: never stop running forward.
Can I revisit earlier worlds? Only by loading chapter checkpoints. There is no map teleport. If an achievement or collectible needs a revisit, load the relevant chapter instead of walking back.
Do I take damage from touching enemies? No. Mako only takes damage from attacks. Overlapping enemies is safe and often optimal.
Why does the game feel slow at the start? The first hour is unarmed combat, which lacks the staff's flow. The staff arrives at roughly the one-hour mark, and the game's actual design opens up from there. A patch also reduced Mako's air inertia, so current versions feel noticeably better than launch footage.
Is the cat collection safe with cloud saves? A cloud-save bug affecting cat collection was reported and addressed after launch. If you collect cats, let the game sync fully before closing, and keep a local backup of the save folder if your collection matters to you.
Is it worth the price? At $15 the length-to-price ratio is the main criticism: some players finished in eight hours. On sale, which happens regularly (the game has appeared in the Autumn Sale and publisher bundles with GRIME, GRIS, and Constance), it is an easy recommendation for fans of hand-drawn action platformers.