Daily Pick
One deeply researched guide worth reading today.
A practical route through the systems that matter most, written to help new players make confident decisions quickly.
Overview
GUNTAI 3000 is a free browser-based army-building action game by memez6dev, built with GDevelop for the 🍪 Cookie Jam #4, a game jam with the theme "companions." The developer read that theme as "command an army, aka your companions," and the result is a tiny top-down war game: an army of Klaed robots is attacking your hometown, and you must defeat them using an army you grow yourself.
The pitch is four lines long and tells you everything about the loop:
- Collect orbs to gain your army
- Charge your troops into battle
- Use numbers to your advantage
- Destroy their outposts
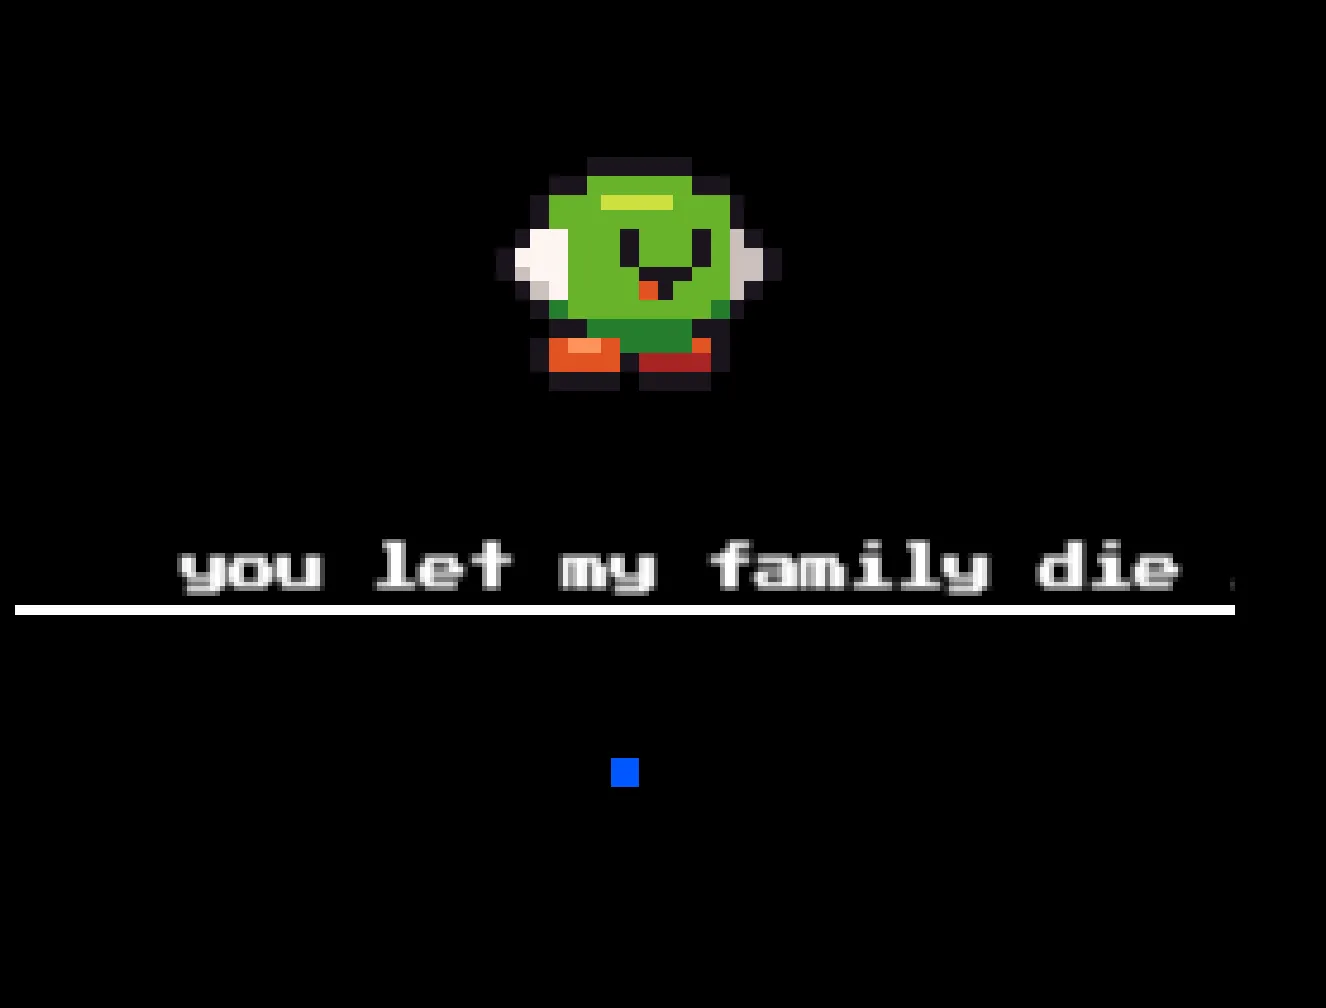
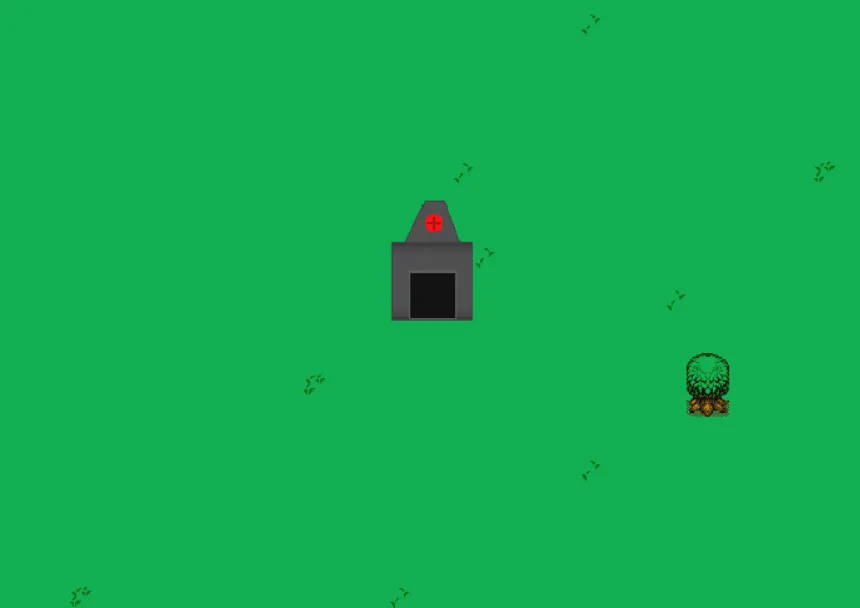
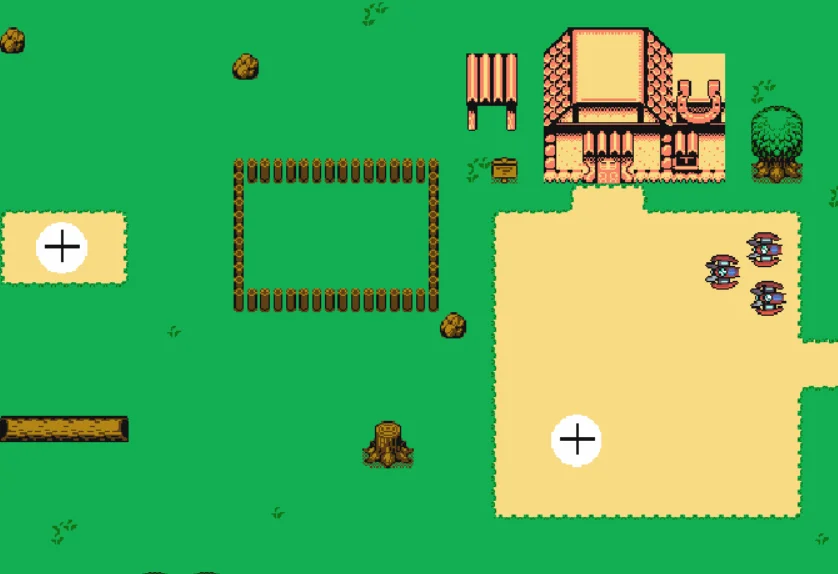
You play as a small pixel character on a top-down battlefield rendered at a strict 256×224 resolution, NES-style, scaled with pixel-perfect nearest-neighbor. The vibe is deliberate: chunky sprites, retro chiptune-adjacent soundtrack, minimal UI. It is a game jam game, which means it is short, focused, and free. It also means the rough edges are visible: the zoom-out view is blurry, the maps are large for the resolution, and one on-screen indicator confuses most new players.
Platform: Browser (HTML5) on itch.io. No download, no install, plays in any modern browser.
Price: Free.
Engine: GDevelop 5.6 (build 272). Resolution 256×224, NES-style pixel-perfect scaling.
Release: June 2026 (Cookie Jam #4 submission, uploaded 16 hours 49 minutes before the deadline).
Music: RagnarRandom and Waterflame. Art: faceless-minions asset pack by ninjikin, legend-of-zink asset pack by balloon-cart, and GDevelop assets. No AI was used in the creation of the game.
Jam Reception
The game placed mid-pack in a 70-entry jam: Visuals #30 (3.0/5), Theme #31 (2.9/5), Fun #37 (2.5/5), Originality #40 (2.7/5), across 10 ratings. The praise concentrated on the presentation. One jam player called the vibe spot on, saying it genuinely feels like an NES game and the music is amazing. Another loved the concept and the gameplay loop. The criticisms were consistent and useful: the arrow indicator is confusing, the zoom-out is blurry, and the maps are big enough that it is easy to get lost. Every one of those issues is fixable with player knowledge, which is what this guide is for.
Getting Started
There are no tutorial screens. You click start and your character spawns on a battlefield with zero soldiers. The first fifteen minutes decide your run, so do them in the right order.
- Move with the arrow keys and survey the map. Orbs cluster around map features: trees, rocks, ruined structures. Spot the nearest cluster before you commit to a direction.
- Collect orbs by walking over them. Each orb adds to your army. The game is explicit: collect orbs to gain your army. Do not fight until you have a meaningful count.
- Zoom out with the scroll wheel. The default view is tight. Zooming out reveals orb clusters, outpost locations, and incoming waves. This is the single biggest quality-of-life move in the game.
- Use the left mouse button to attack. Your own weapon is a sidearm, not the main force. The main force is the army you command.
- Use the right mouse button to command troops. This is the heart of the game. Right-click a target and your soldiers charge it. Right-click the ground and they move there.
The Arrow Indicator
A persistent arrow sits at the top of the screen, and the jam feedback shows almost nobody understood it on first contact. It tracks the nearest uncollected orb cluster. Follow it during the early game to find orbs faster. Ignore it completely during combat, because it points at loot, not at threats. This single misunderstanding accounts for most early confusion.
Beginner Mistakes
| Mistake | Why It Hurts | Fix |
|---|---|---|
| Fighting before collecting orbs | Your solo weapon is weak; without soldiers, even light enemies overwhelm you | Collect a solid orb base before engaging anything |
| Treating your own gun as the main damage | Your shots tickle; the army does the work | Let your soldiers engage; you support from range |
| Staying zoomed in | You cannot see orb clusters, outposts, or incoming waves | Scroll out during exploration, zoom in for combat |
| Wasting troop commands on every enemy | Soldiers are your primary resource; spending them on light targets bleeds your army | Command troops only on meaningful targets and outposts |
| Following the arrow during fights | It leads to orb clusters, not objectives, and drags you into bad positions | Arrow during lulls, never during combat |
| Standing still | Orbs only grow your army while you collect them; idle time is lost army | Always be moving, always be collecting |
Core Mechanics
The Army Economy
Your army size is the most important number in the game. It is your damage output, your health pool, and your win condition. The entire early game is about growing it.
- Orbs are the primary income. They sit in clusters across the map and respawn over time. Walking over one adds a soldier to your army.
- Collecting is a continuous job. The army stops growing the moment you stop moving. There is no passive income.
- Destroying outposts removes enemy pressure and is the actual goal of the game. The tagline is explicit: defeat the robots and destroy their outposts.
The economy rule that carries the whole run: your army is only as big as your willingness to keep collecting. Every second spent standing still is a soldier you did not earn.
Combat and Command
Two combat layers stack. Your own character has a basic attack on the left mouse button, effective at finishing off damaged enemies and adding fire while the army engages. The real tool is the right-click command:
- Right-click an enemy: your army charges and engages it.
- Right-click the ground: your army moves to that position, engaging anything in its path.
- Right-click an outpost: your army swarms it while you add fire from range.
The game tells you the strategy in three words: use numbers to your advantage. A bigger army wins fights it has no business winning individually. Light enemies are not worth soldier losses; heavy enemies and outposts are exactly what the army is for.
The Klaed Forces
The enemy is the Klaed army, and it comes in layers. You will meet light, fast machines that zip around the map, standard combat robots that make up the bulk of waves, heavier assault units that absorb damage, and boss-class machines that serve as the run's big checks. The game jammed in a boss battle, and it shows up as a wall that demands your full army.
The practical difference between the layers is how you answer them:
| Enemy Layer | How to Answer |
|---|---|
| Light scouts | Outrun them, ignore them, or let your army brush them aside while moving |
| Standard fighters | Engage with a sizeable army; never 1v1 them with your own weapon alone |
| Heavy units | Right-click a swarm onto them; your army needs the numbers advantage |
| Boss-class machines | Save your whole army, position it between you and the boss, and fight as a team |
Outposts and Wave Spawns
Enemies arrive in waves from the map edges, and outposts act as enemy anchors. Outposts matter twice: they are the win condition to destroy, and they generate pressure while they stand. The earlier you clear an outpost, the less pressure you absorb over the run. But outposts also cost soldiers, so the order you attack them in is a real decision.
The Day Counter
The game tracks progression by day, and the days escalate. The opening day plays like a tutorial: light resistance, time to collect. Later days bring heavier waves and the boss encounters. The day counter is the run's difficulty clock, and managing when it advances is part of the strategy.
Progression Strategy
Phase 1: Build (Start to Mid Day)
Goal: grow your army before the pressure arrives.
- Move in a widening spiral from your spawn. Orbs cluster around map features, and their positions are consistent enough to learn across runs.
- Avoid fighting. Light enemies can be outrun with diagonal movement.
- Scout outpost positions without engaging them. You are building a mental map.
- Collect until your army feels substantial. The game's own advice is "use numbers to your advantage," and the numbers come from orbs.
Phase 2: Clear (Mid to Late Day)
Goal: destroy outposts to relieve pressure and push toward the win.
- With a grown army, right-click your troops onto the nearest outpost.
- Stay at range and add your own fire while the army swarms.
- Prioritize outposts near your spawn first; they threaten you for the whole run if left alone.
- Replenish between outposts. Orbs respawn, and the clusters you cleared early are the first to come back.
Phase 3: Survive (Late Day and Bosses)
Goal: hold through the boss-class encounters.
- When the boss warning appears, pull your army back to a defensible position.
- Put the army between the boss and you. Let it absorb the first assault.
- Move to the side and keep firing while the army holds aggro.
- If the army collapses, fall back, kite the boss, and hunt respawning orbs to rebuild.
Step-by-Step Strategy
1. The Opening Route
- Spawn. Grab any orbs within immediate reach.
- Zoom out. See the whole map before choosing a direction.
- Follow the arrow to the nearest orb cluster. Collect it.
- Move diagonally between clusters; diagonal movement covers ground faster than straight lines.
- Do not fight anything for the first stretch. Your job is army size.
- When you have a solid army, pick the nearest outpost and begin Phase 2.
2. The Outpost Assault
- Right-click your army onto the outpost. Do not walk in alone.
- Circle at range while the army engages. Your weapon adds pressure without risking the army's formation.
- If the army starts losing numbers, pull back and collect a few respawned orbs before re-engaging.
- Once the outpost falls, immediately scan for the next target and the nearest orb cluster.
3. The Boss Wall
- On the boss warning, stop collecting and consolidate. A split army is a dead army.
- Position your force between the boss and your position.
- Let the army take the first exchange. During that window, flank.
- Fire from the flank while the boss focuses on the army.
- When the boss turns on you, move behind the army again. Let it trade.
- After the boss falls, collect orbs immediately. The run continues.
4. The Recovery Loop
- Army below a safe threshold? Fall back. Do not engage anything.
- Return to the earliest orb clusters you collected; they respawn first.
- Collect until the army feels safe again.
- Re-engage only light targets until the numbers are back.
- Return to outpost clearing only when the army is strong again.
5. The Map Awareness Cycle
- Zoomed out during lulls. The blurry zoom is a trade, not a bug: you trade detail for awareness.
- Zoom in only during active combat, when precision matters more than awareness.
- Learn to read the zoomed-out view: trees are dark blobs, outposts are blocky structures, orb clusters shimmer.
- Keep the arrow in your peripheral vision during exploration.
- Never follow the arrow into a fight.
Advanced Tips
Diagonal movement is faster. The eight-directional movement system covers more ground diagonally than cardinally. Use diagonals for all long-distance travel, and use them to outrun light enemies without fighting.
Orbs respawn in the order collected. The first clusters you clear are the first to come back. Your starting area is a reliable refill point during lulls, which makes it the natural fallback position when your army is low.
Let the army scout. Right-clicking unexplored ground sends your soldiers forward, and they engage anything they meet. Use troop commands to scout fog-of-war areas instead of walking into them blind. This is how you find outposts without walking into a wave.
Positioning beats reflexes. The army does the fighting; your job is placement. Keep yourself at the edge of engagements, keep the army between you and the biggest threat, and keep moving during boss fights.
The day counter is a lever. The run escalates as days advance, and how fast the days advance is partly in your hands. If you need more prep time, slow down the pace of outpost clearing. The enemies that spawn are finite for a given day; the next escalation comes when you push it.
Treat the blurry zoom as information. The zoomed-out view is soft because the game is running at a strict NES resolution scaled up. Learn to recognize map features at that softness, and the blur stops being a complaint and becomes your radar.
The soundtrack is a difficulty cue. The music shifts as the days progress. When the track changes, expect the pressure to change with it. Use the music as a warning that the escalation has arrived.
Controls Reference
| Action | Input |
|---|---|
| Move | Arrow Keys (8-directional) |
| Attack / Fire | Left Mouse Button |
| Command troops | Right Mouse Button |
| Zoom camera | Scroll Wheel |
There is no rebinding in the jam build, so plan around the defaults. The mouse does double duty: left for your own weapon, right for the army. Muscle memory for "right-click = army" is the single most important control habit to build.
FAQ / Common Mistakes
Is GUNTAI 3000 really free? Yes. It is a browser game on itch.io, free to play, no download required. There are no microtransactions, no ads, no level gates.
What do I do first? Collect orbs. The whole opening is about army size. The game says it plainly: collect orbs to gain your army, and use numbers to your advantage.
What is the arrow for? It points to the nearest uncollected orb cluster. Follow it while exploring, ignore it in combat. Most new players find it confusing because it is never explained, and the jam feedback confirms it.
What is the goal? Defeat the Klaed robots and destroy their outposts. The tagline on the page is the entire objective list.
Why is the zoomed-out view blurry? The game renders at 256×224 NES resolution and scales up. The blur is the pixel-perfect scaling trade: detail for awareness. Learn to read the soft shapes and it becomes an advantage.
Why do I keep losing fights? You are fighting before your army is big enough, or you are spending soldiers on light enemies. Collect more orbs, and reserve troop commands for meaningful targets.
Is there a story? No. It is a game jam action game with a one-line premise: robots are attacking your hometown, defeat them and destroy their outposts. The charm is in the execution, not the narrative.
Is it worth playing? It is a free ten-to-twenty-minute arcade loop with a strong retro vibe and a genuinely good soundtrack. If you like NES-style action games or game jam experiments, it is worth the click. If you need depth, progression systems, or content volume, it is a jam game and it shows.
Final Verdict
GUNTAI 3000 is a charming, focused game jam artifact. The core loop is sound: collect orbs, grow an army, charge it into battle, destroy outposts, and let the numbers do the talking. The NES presentation is the star, and the music carries the mood. Its weaknesses are the classic jam weaknesses: unexplained systems, a confusing arrow, a blurry zoom, and maps that are big for the resolution. Every one of those is a knowledge problem, not a design wall, and they all dissolve once you understand the arrow, the zoom, and the economy.
Who should play it: fans of NES-era action games, game jam enthusiasts, and anyone who wants a free ten-minute arcade snack.
Who should skip it: players who need depth, progression, or long-form content. This is a jam game, and its honesty is part of its charm.
Rating: 3/5 as a jam entry, which is exactly what it is: a well-executed idea with a great vibe, rough edges included. Free to play, so the only cost is the ten minutes it takes to learn the arrow.
Last reviewed by Game How To Editorial. We play each game, verify controls against official sources, and update guides when game mechanics change.